

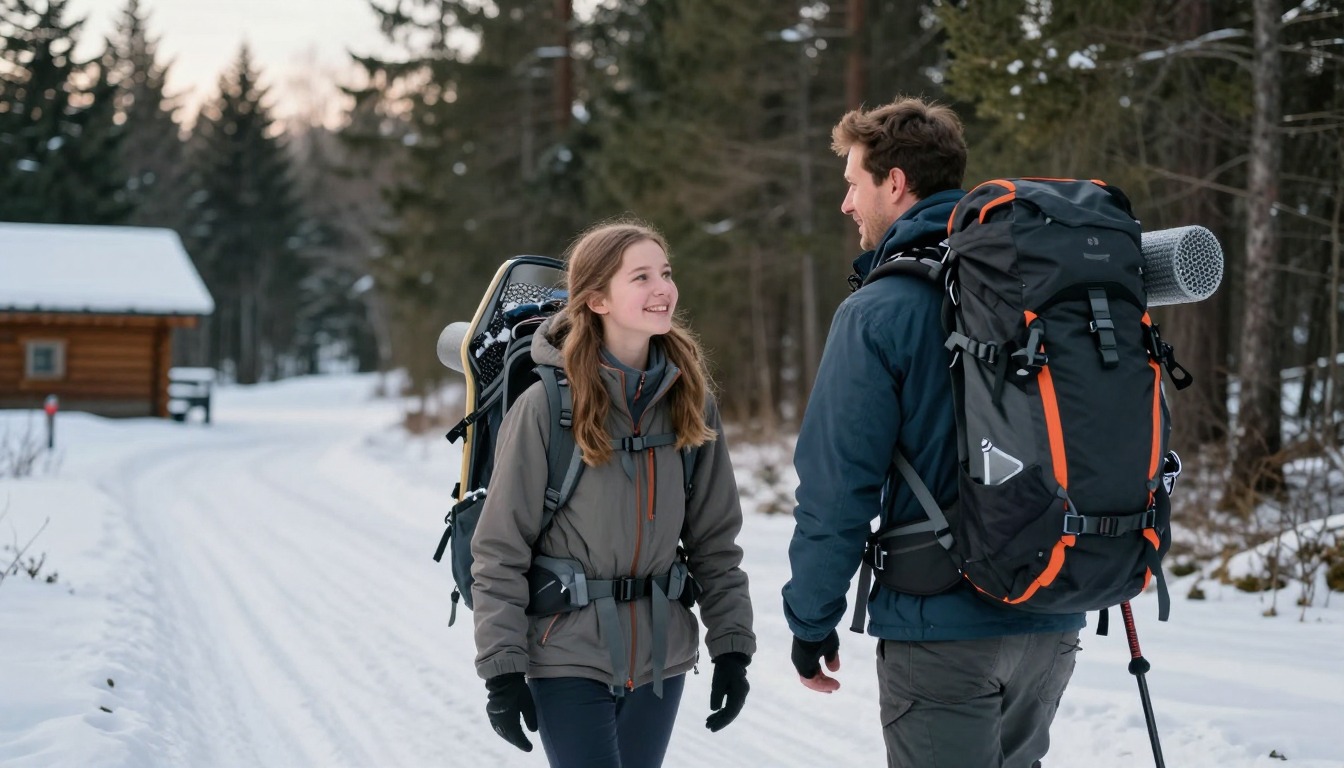
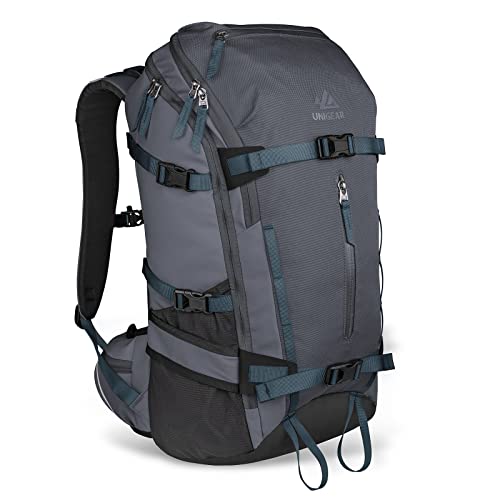

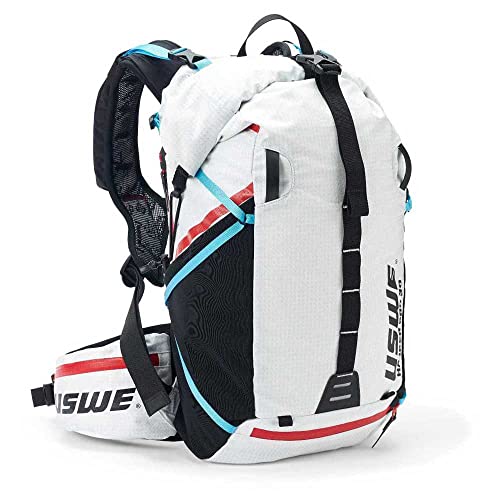


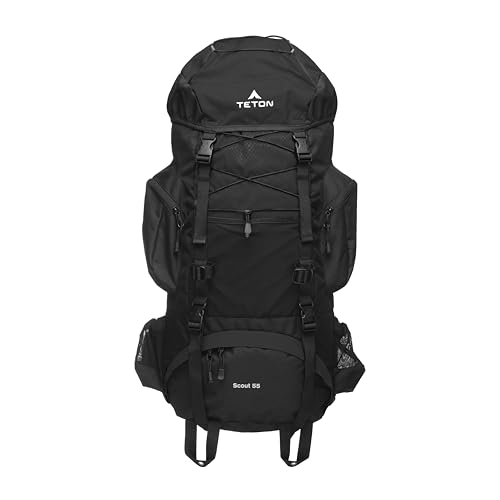
Carrying snowshoes, skis, and ice tools on a backpack means using the pack's dedicated external attachment points rather than stowing sharp or bulky gear inside the main compartment, where it can puncture fabric, shift the load, or eat space needed for insulation and food. Each tool has its own standard attachment method, and trekking poles use a simpler version of the same hardware.
How do you attach trekking poles to a backpack?
Trekking poles attach by slotting the tip or basket into a loop near the base of the pack, then cinching a shock-cord or webbing keeper around the shaft higher up to hold the poles flat against the pack body. This two-point system — bottom loop plus upper retention — is standard on nearly every hiking backpack sold today, from daypacks to expedition packs.
Most packs place the pole loops on the lower front or side of the pack, near the compression straps, so the poles ride close to the body instead of swinging outward. The upper keeper is usually a stretch of bungee with a hook, or a webbing strap with a buckle; bungee is faster to use one-handed but wears out faster than webbing over years of use. Some packs add a second pole loop on the opposite side so both poles can be stowed independently while a hiker's hands are needed for scrambling, taking photos, or eating on the move.
How do you attach snowshoes to a backpack?
Snowshoes attach either through side compression straps that pin the deck flat against the pack's side, or through a rear bungee-and-daisy-chain lash system that holds the pair against the back panel. Side-strap carry keeps the load closer to the body's center of balance, while rear lash carry keeps the bindings and crampon points away from the hiker's legs on narrow trail sections.
Side-strap attachment works well on packs that already have two or more compression straps per side, since the straps simply route through the snowshoe's frame or binding webbing before cinching down. Rear lash systems need a pack with a daisy chain — a row of stitched loops — or a diagonal bungee network across the back panel; this method spreads the snowshoe weight more evenly but adds bulk directly behind the hiker's shoulders, which can affect balance on steep sidehills. Snowshoes with metal traction rails should always face the crampon points away from the pack body and the hiker's back to avoid tears or cuts during a fall.
How do you attach skis to a backpack?
Skis attach in a diagonal carry, running at an angle across the pack's back with tips up and secured by two straps, or in an A-frame carry, mounted vertically on either side of the pack body. Diagonal carry loads and unloads faster and suits mixed travel that switches between skinning and boot-packing, while A-frame carry balances the load better for sustained approaches on foot.
Diagonal carry needs two straps set at roughly ski-length intervals so the base and edges lie flat against the pack rather than twisting. A-frame carry needs stronger side compression straps rated for the leverage of a ski mounted vertically, since a loose A-frame strap lets the ski tip catch on brush or rock. Splitboarders use a similar diagonal or vertical method depending on the pack's strap layout, and most winter-oriented packs list which ski-carry methods they support rather than assuming one universal system fits every pack shape.
How do you attach an ice axe to a backpack?
An ice axe attaches by sliding the head or pick through a reinforced loop at the base of the pack, then cinching an adjustable strap or bungee near the top of the shaft to hold it flat against the pack body. This is the same bottom-loop-plus-upper-strap system used for trekking poles, and on many packs the two share hardware.
The axe head should sit close to the pack body with the pick angled so it can't catch clothing, a shoulder strap, or a passing hiker on a narrow trail. Packs built for winter or mountaineering use typically include two axe loops side by side, letting a hiker carry a second axe or an ice tool for steeper terrain. A pack without a purpose-built axe loop can usually still carry one through a compression strap, but a dedicated loop holds the axe more securely and keeps the strap free for other gear.