
The thru-hike & long-distance setup
A thru-hike isn't a longer weekend trip — it's the same kit worn every day for months, resupplied in trail towns, and pushed until something breaks. This setup for the AT, PCT, CDT or any long trail stays light enough to carry daily, but favors durability and repairability over shaving the last few ounces.

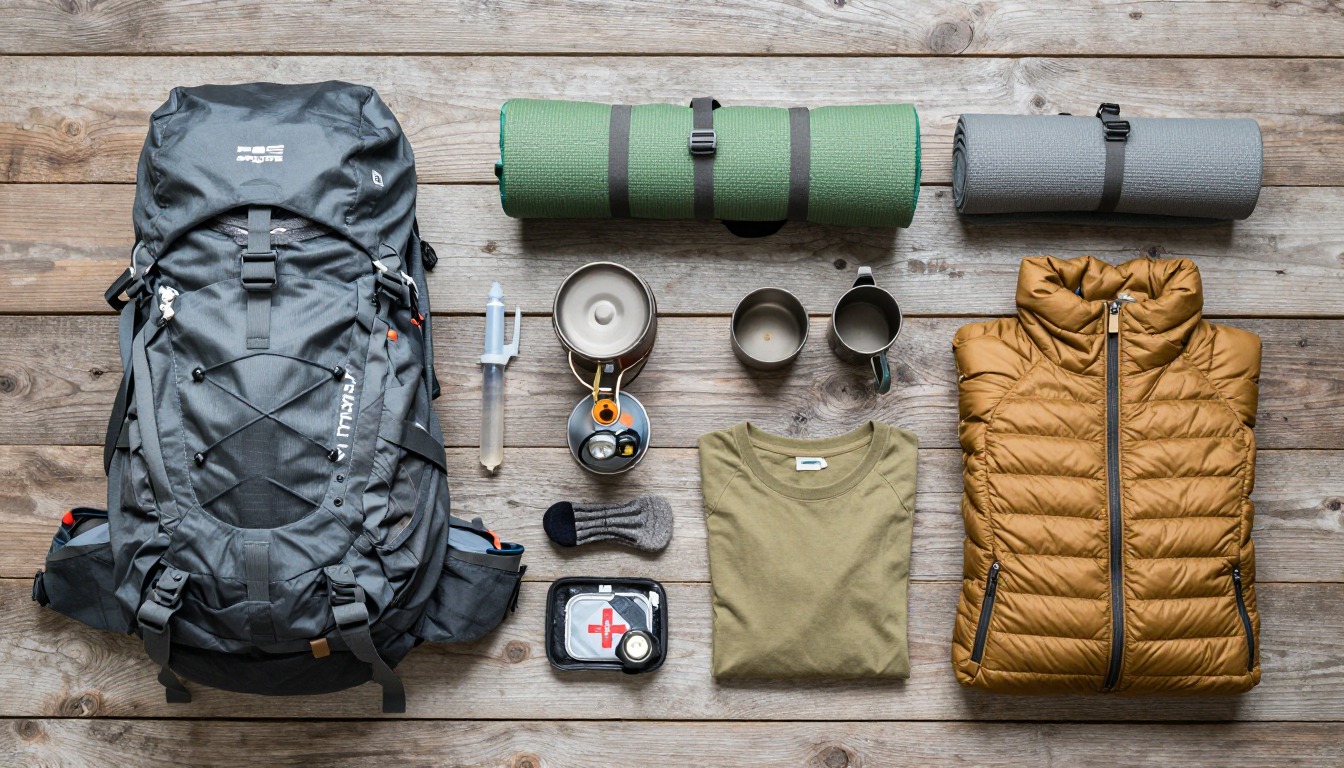
Long-distance gear gets packed, rained on and re-packed every day for months, then replaced in town when it finally fails. So this setup favors proven, field-repairable gear over the lightest option: fabric that survives daily abrasion, zippers that still work at month four, and a sleep system rated for the trail's coldest night, not just its average one. It's still light — you carry it daily — but light is the second priority. Reliable is the first.
This setup suits hikers heading out for weeks or months — a full thru-hike, a long section hike, or an extended trip with real town resupply. Out for a weekend? Start with the weekend setup instead. Chasing the lowest possible weight over a shorter trip? Try the ultralight setup.
- Start with the big three — pack, shelter, sleep system — sized for months of comfort, not the lightest number on a list.
- Choose a sleep system rated for the coldest realistic night, then adjust with layers for the warm stretches.
- Build a simple, field-repairable kitchen, and plan resupply and fuel strategy town by town before you start.
- Break every item in before day one, carry a repair kit, and expect to replace worn gear on trail.
About this setup
A thru-hike is a different animal from a weekend out. The AT, PCT and CDT each run over 2,000 miles, and a thru-hike typically takes four to six months of daily walking through every season the trail offers — desert heat, alpine snow, weeks of rain. That grind finds every weakness in gear that felt perfect at mile one hundred; nothing asked to work daily for months gets a free pass.
Life on a long trail runs on towns as much as trail. Hikers resupply food a few days at a time, and mail drops cover specialty items that aren't sold everywhere. Zero and nero days are where laundry happens, blisters get checked, and worn-out gear gets replaced — hostel hiker boxes are often stacked with gear other hikers cut along the way.
This setup doesn't chase the lightest number on a gear list. Ultralight backpacking is its own discipline, worth doing if minimal weight is the goal — but a thru-hike rewards gear you trust for months over gear that's a few ounces lighter and less durable. Most thru-hikers land in the light-but-reliable middle. Foot care deserves the same seriousness as gear choice — more thru-hikes end from blisters and overuse than from anything failing in a pack.
The pack
Thru-hiking packs carry more food between resupply stretches, loaded and unloaded daily for months — fit and durability matter more here.
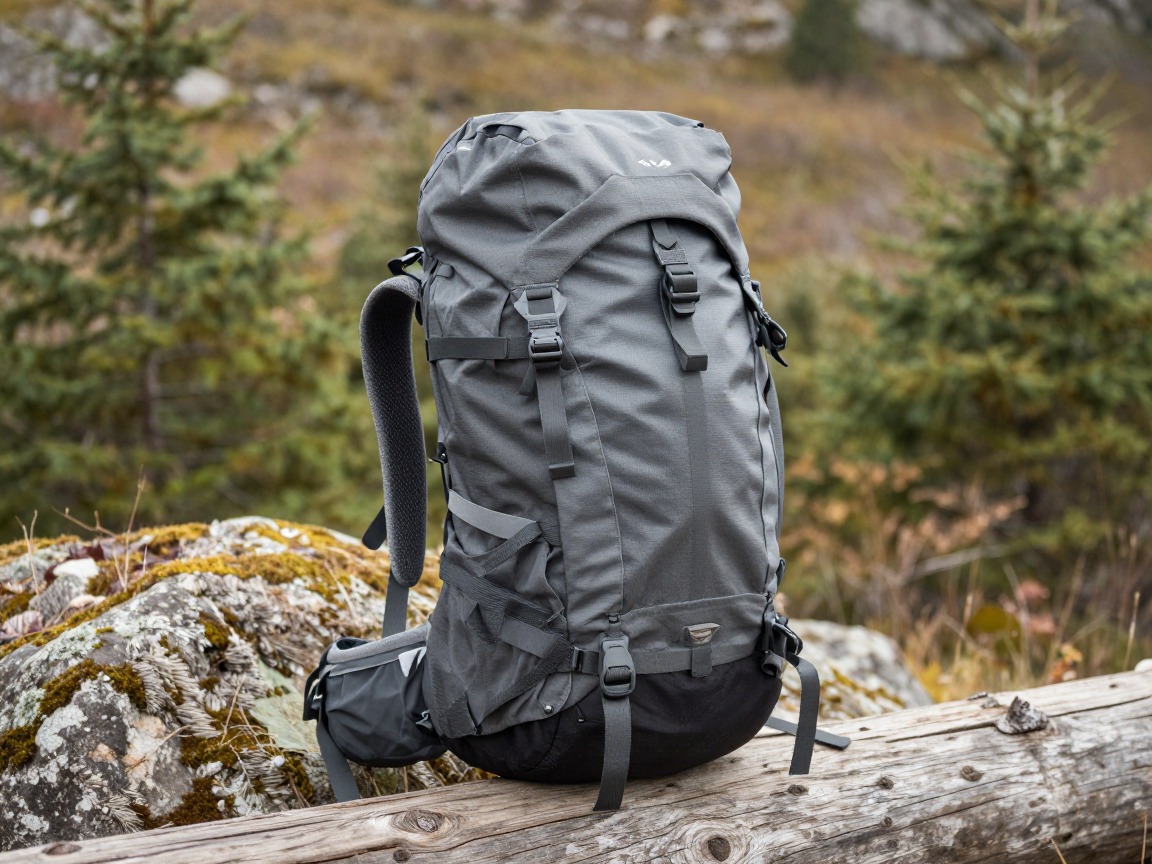
Thru-hike pack
Carries several days of food between towns, loaded and unloaded daily for months — durability and a comfortable hip belt matter most.
What to look for: A hip belt and frame that still feel good after eight hours a day, fabric tough enough for months of brush and rock, and adjustability for a body that changes shape on a long trail.
 WoneNice 50L Check price
  Teton 55L Scout Internal Frame Backpack for Hiking Check price
 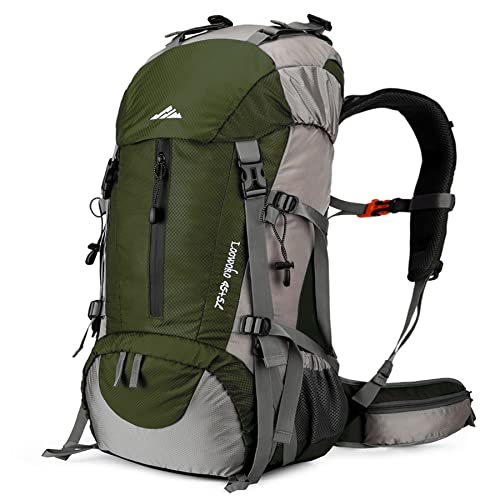 Loowoko 50L Hiking Backpack with Rain Cover for Both Men & Women Check price
 - A pack liner (a trash compactor bag works well) to keep everything dry when a rain cover fails
- A small repair kit — tenacious tape, a spare buckle, needle and dental floss for field fixes
Shelter
Your shelter gets pitched and struck daily, often tired and in bad light — fast, durable pitching matters as much as weight.
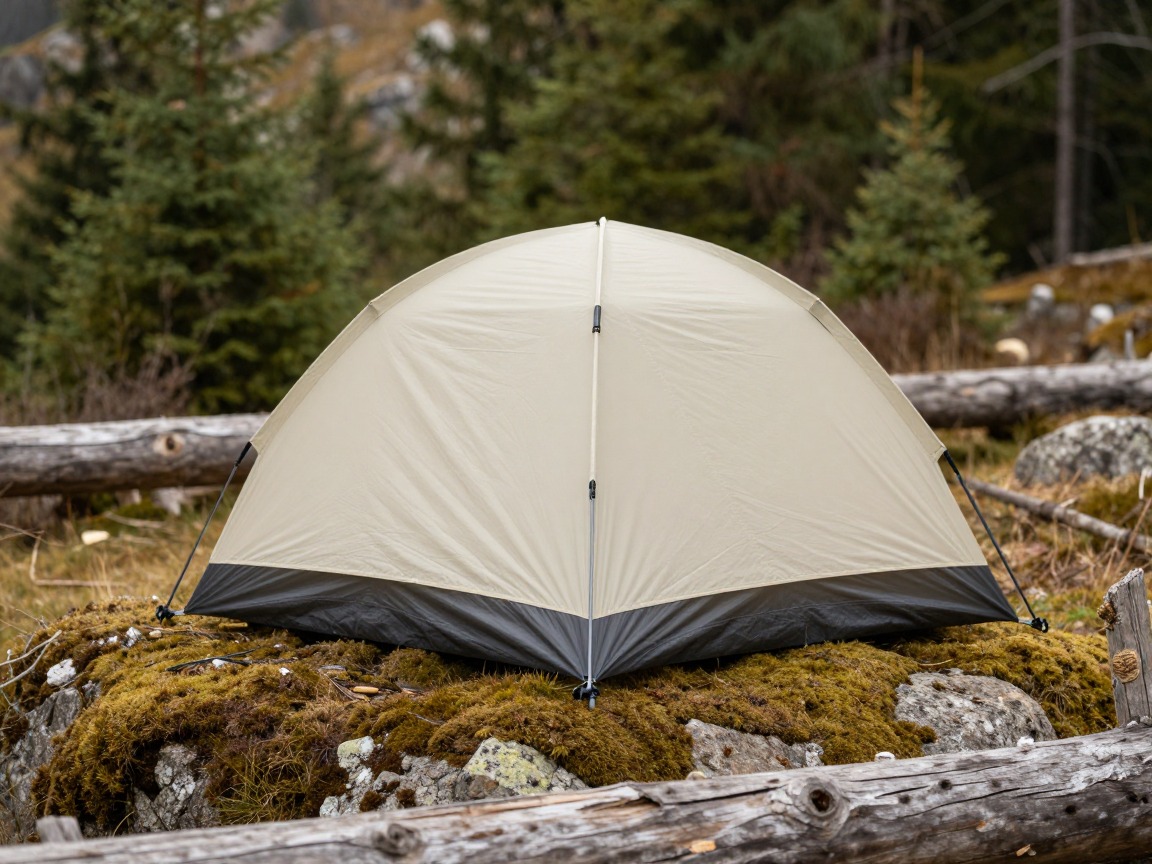
Long-distance shelter
A trekking-pole or freestanding tent that pitches quickly after a long day and holds up to nightly use on rock, dirt and snow for months.
What to look for: A shelter you can pitch fast and half-asleep, fabric tough enough for daily use on rough ground, and enough ventilation to manage nightly condensation.
 Night Cat 2-Persons Backpacking Tent: Waterproof Lightweight Camping Check price
  BISINNA 2/4 Person Camping Tent Lightweight Waterproof Backpacking T Check price
  Forceatt Tent for 2 Person is Waterproof and Windproof Check price
 - Stakes and guylines, plus a couple of spares — they get lost or bent
- A durable groundsheet or footprint to protect the floor across months of rocky sites
Sleep system
Your bag and pad work across the trail's whole temperature range and take a beating from months of use.
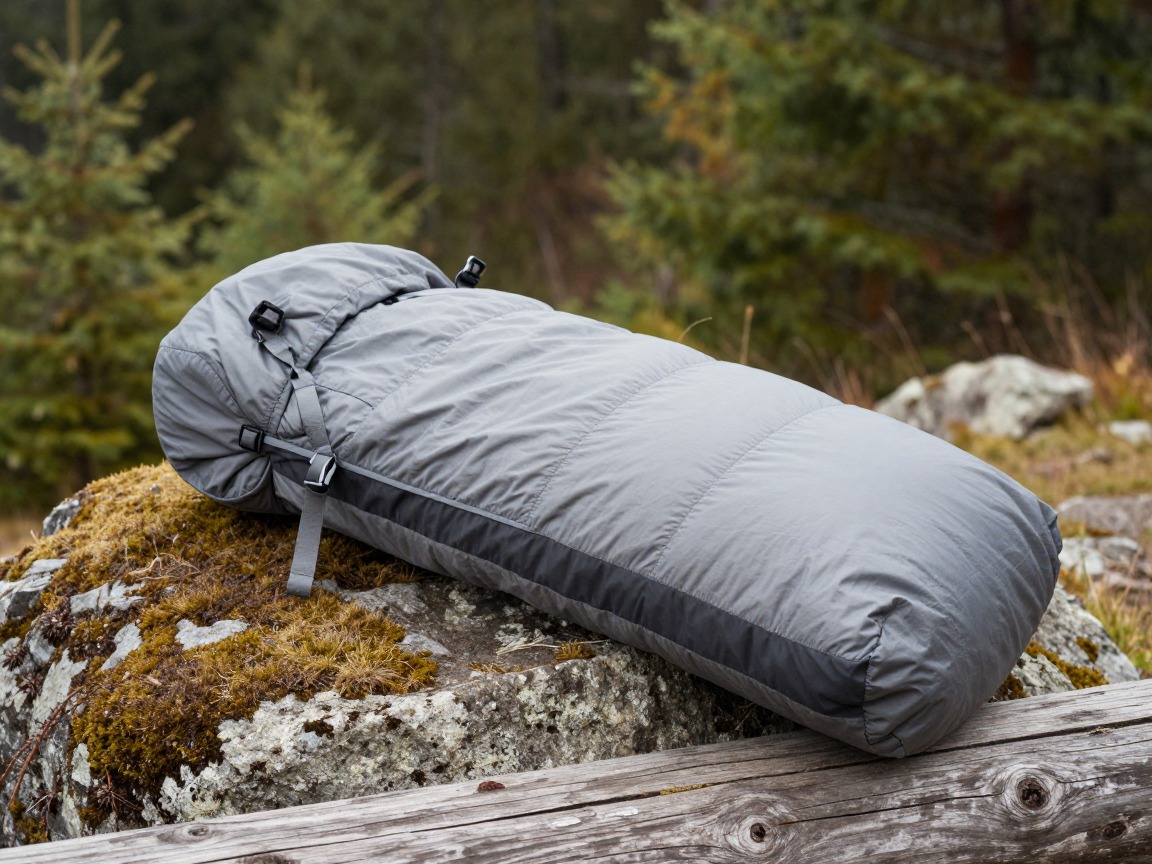
Sleeping bag or quilt
Rated for the coldest night you'll hit on the trail — often a chillier stretch early, late, or up high — with venting for warm nights too.
What to look for: A comfort rating for your coldest realistic night, a shell fabric durable enough for months of stuffing, and a fill suited to how wet your trail's climate gets.
 MalloMe Sleeping Bags for Adults Cold Weather & Warm - Backpacking C Check price
 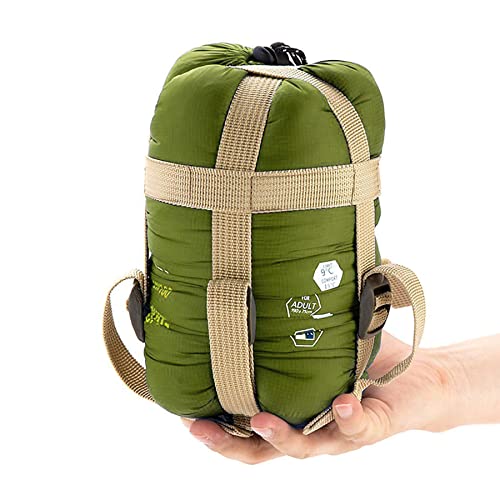 ECOOPRO Portable Check price
  Teton Trailhead Check price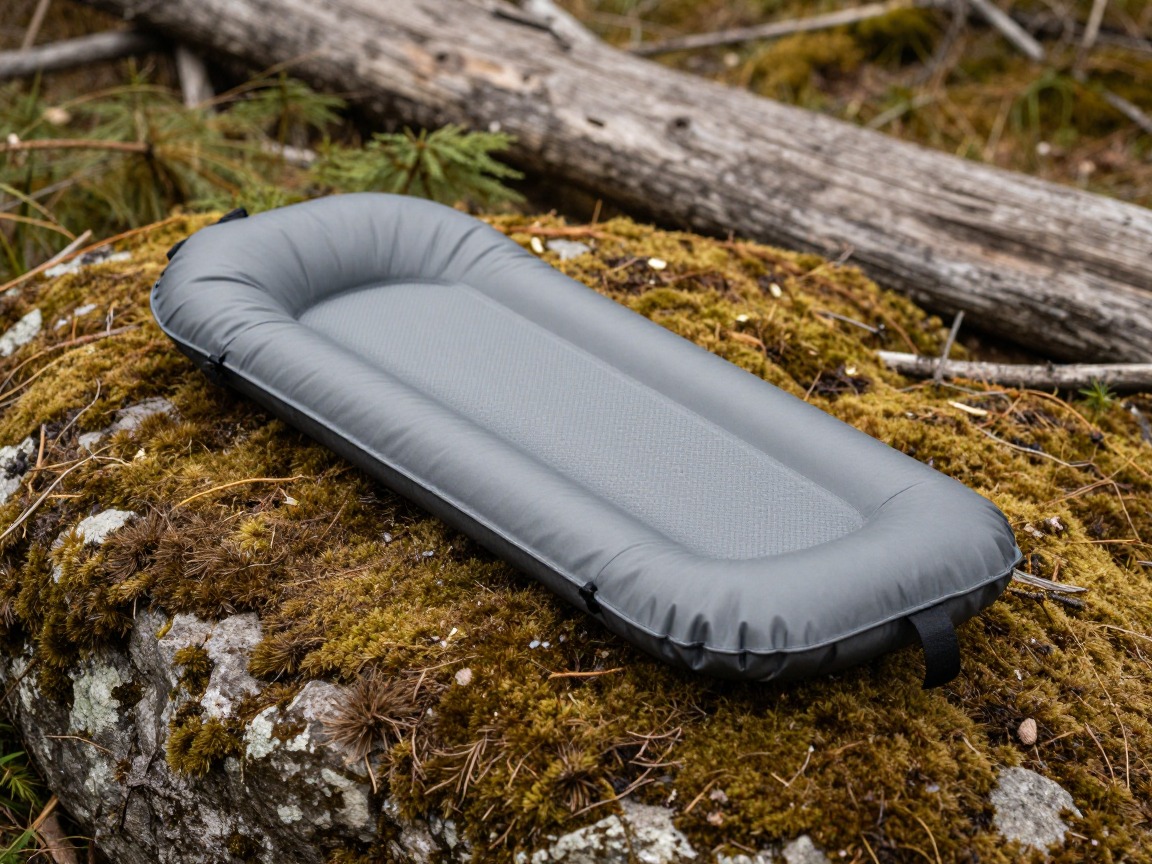
Sleeping pad
Insulates you from the ground every night for months — enough R-value for your coldest camps, and durable enough that a small puncture won't end the trip.
What to look for: Enough R-value for the coldest ground you'll sleep on, fabric that shrugs off rocks and needles, and a pad you can field-patch.
 FUN PAC Camping Sleeping Pad Check price
  Gear Doctors® Ether 17.5oz Ultralight Camping Sleeping Pad Check price
  Oramoose 4in Ultralight Camping Sleeping Pad with Pillow and Foot Pu Check price
 - A pad repair kit and a small patch of glue-on material
- An inflatable or stuff-sack pillow
Kitchen & water
Keep the kitchen simple and easy to maintain, and carry a backup way to make water safe — filters fail at the worst time.
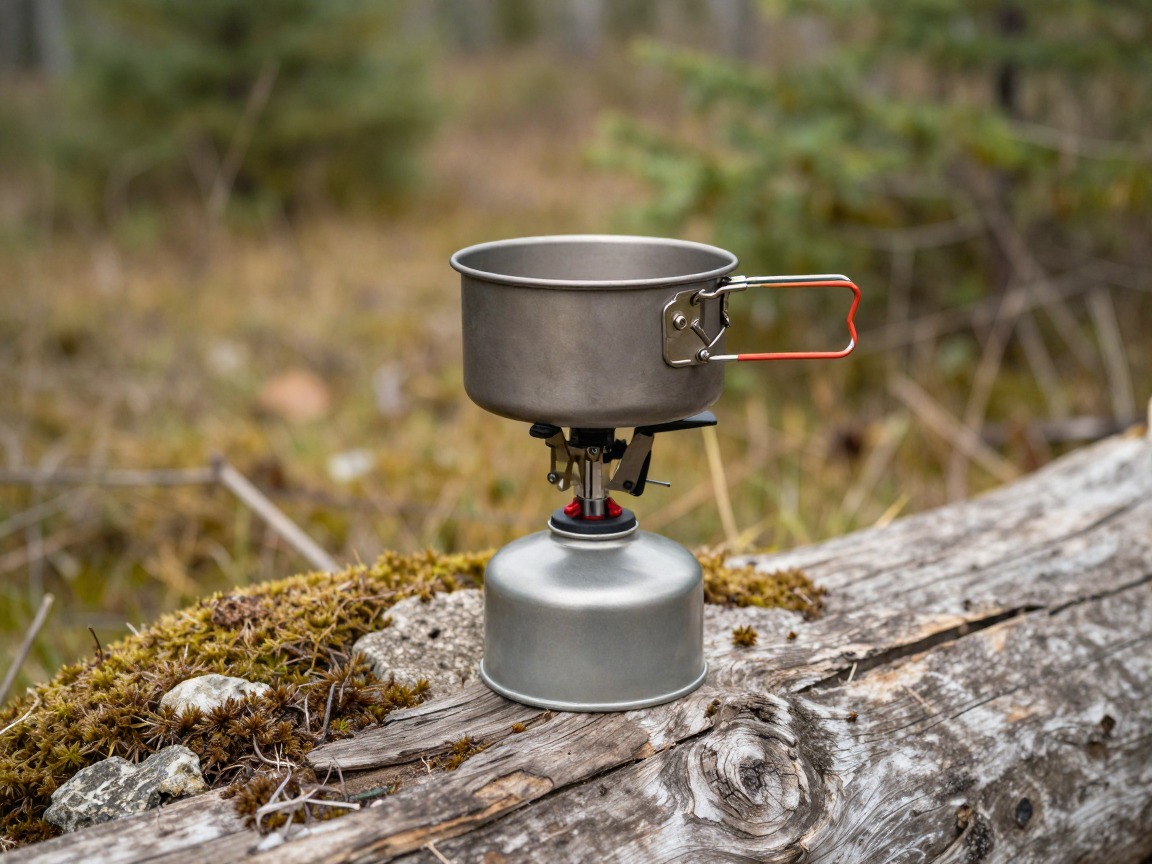
Backpacking stove
A simple canister stove that's easy to keep running over months on trail, using fuel you can buy in towns along your route.
What to look for: Simplicity and reliability over features — fewer parts to fail. Check what fuel is actually stocked in the towns along your specific trail before committing to a stove system.
 AOTU Portable Camping Stoves Backpacking Stove with Piezo Ignition S Check price
  MSR PocketRocket 2 Ultralight Camping and Backpacking Stove Check price
  Fire-Maple Greenpeak 1 Camping Stove with Piezo Ignition Portable Ga Check price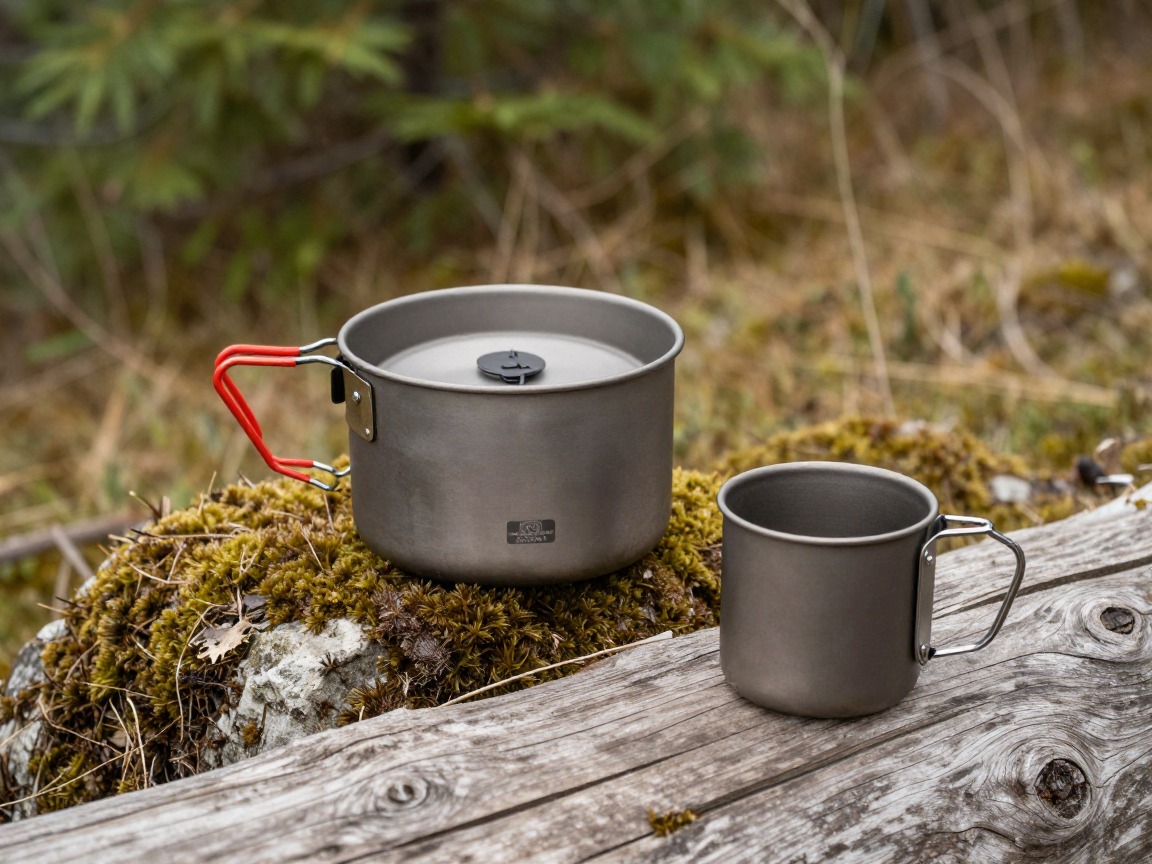
Pot & mug
One durable pot handles dinners and hot drinks for the trip; a dented pot still works, so simplicity beats any extra feature.
What to look for: A single pot around 700–900 ml, light metal that dents rather than cracks, and a lid that doubles as a plate.
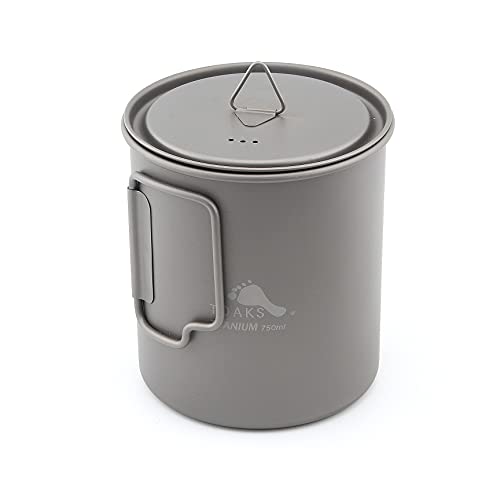 TOAKS Titanium 750ml Pot Check price
  TOAKS Titanium 750ml Pot with Bail Handle for Ultralight Camping Check price
  TOAKS Titanium 1100ml Pot with Pan Check price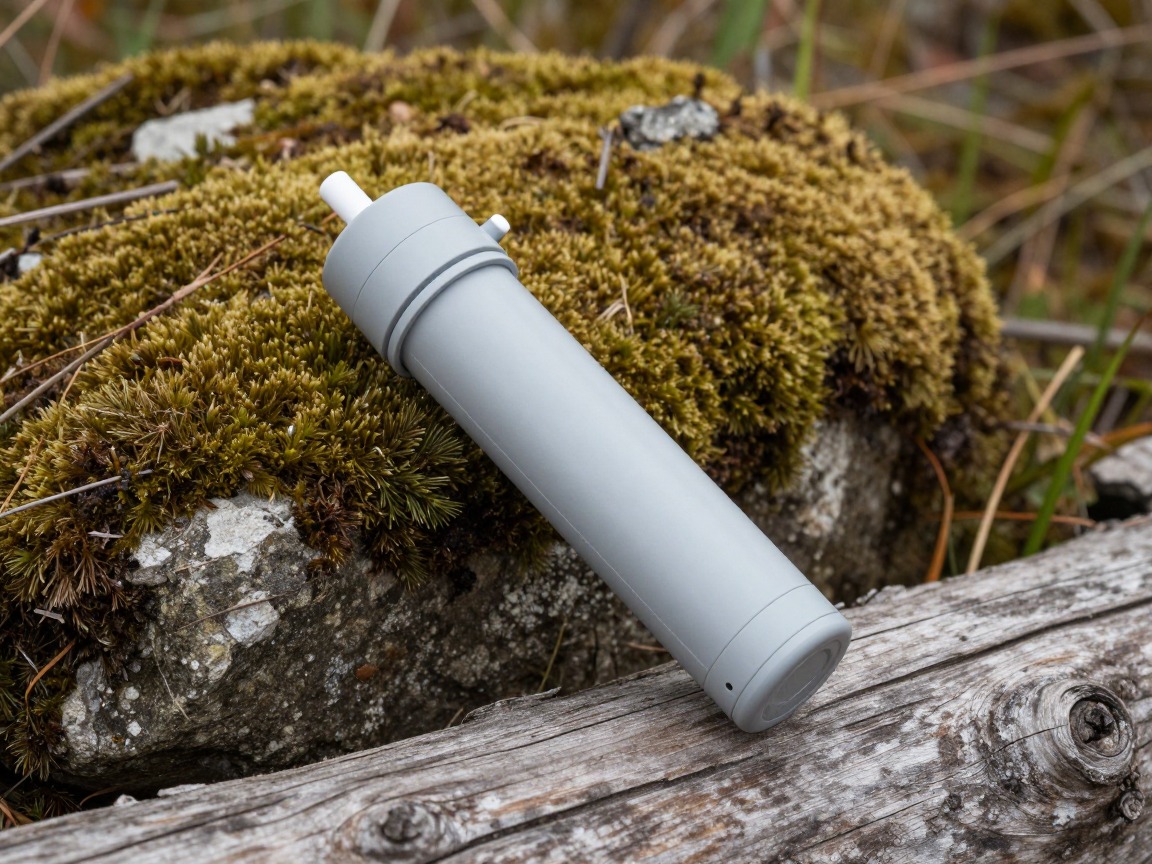
Water filter
Turns trail water safe for months of daily use — carry a backup treatment too, since every filter eventually clogs or fails.
What to look for: Fast flow and easy field-cleaning, freeze-awareness for cold nights, and a genuine backup — chemical drops or tablets — for the day the filter lets you down.
 Sawyer Squeeze Water Filtration System Check price
  Sawyer Products SP128 Mini Water Filtration System Check price
  LifeStraw Personal Water Filter for Hiking Check price
 - A resupply and fuel-availability plan, mapped town by town before you start
- Food storage appropriate to the section — bear canister, Ursack or a proper hang
- A long-handled spork and a lighter, plus backup matches
- Extra food for the longer stretches between resupply points
Clothing & layers
Clothing needs to survive months of daily wear and trail-town laundry — durable fabrics beat a closet's worth of options.

Base layer
Worn almost daily for months, so it needs to resist odor and hold up to laundromat washing and the odd stream rinse.
What to look for: Merino or a durable blend that resists odor and repeated washing, a fit you can live in all day, and a weight suited to your trail's overall climate.
 100% Merino Wool Base Layer Men Set - Thermal Underwear for Men Long Check price
  Merino.tech Merino Wool Base Layer Women Set - Heavyweight Check price
  100% Merino Wool Base Layer Men Set - Thermal Long Underwear with Ba Check price
Insulating layer
Warmth for cold mornings, high passes and camp, packed small enough you barely notice it on warm stretches.
What to look for: The most warmth for its weight and pack size, a shell durable enough for months of stuffing, and synthetic fill if your trail's climate runs wet.
 Outdoor Ventures Women's Packable Lightweight Puffer Jacket with Hoo Check price
  Amazon Essentials Women's Lightweight Long-Sleeve Water-Resistant Pa Check price
  Outdoor Ventures Women's Packable Lightweight Puffer Jacket with Hoo Check price
Rain shell
Blocks wind and rain across everything a long trail throws at you, from desert squalls to weeks of mountain rain — and must still work at month three.
What to look for: Genuine waterproofing that holds up to repeated wear and washing, a fabric brush and pack straps won't shred, and a DWR coating worth re-treating partway through.
 UIQUR Mens Rain Jacket Raincoat Waterproof Windbreaker Black L Check price
  COOFANDY Men's Waterproof Hiking Travel Shell Breathable Rain Jacket Check price
  Columbia Womens Arcadia II Waterproof Rain Jacket Check price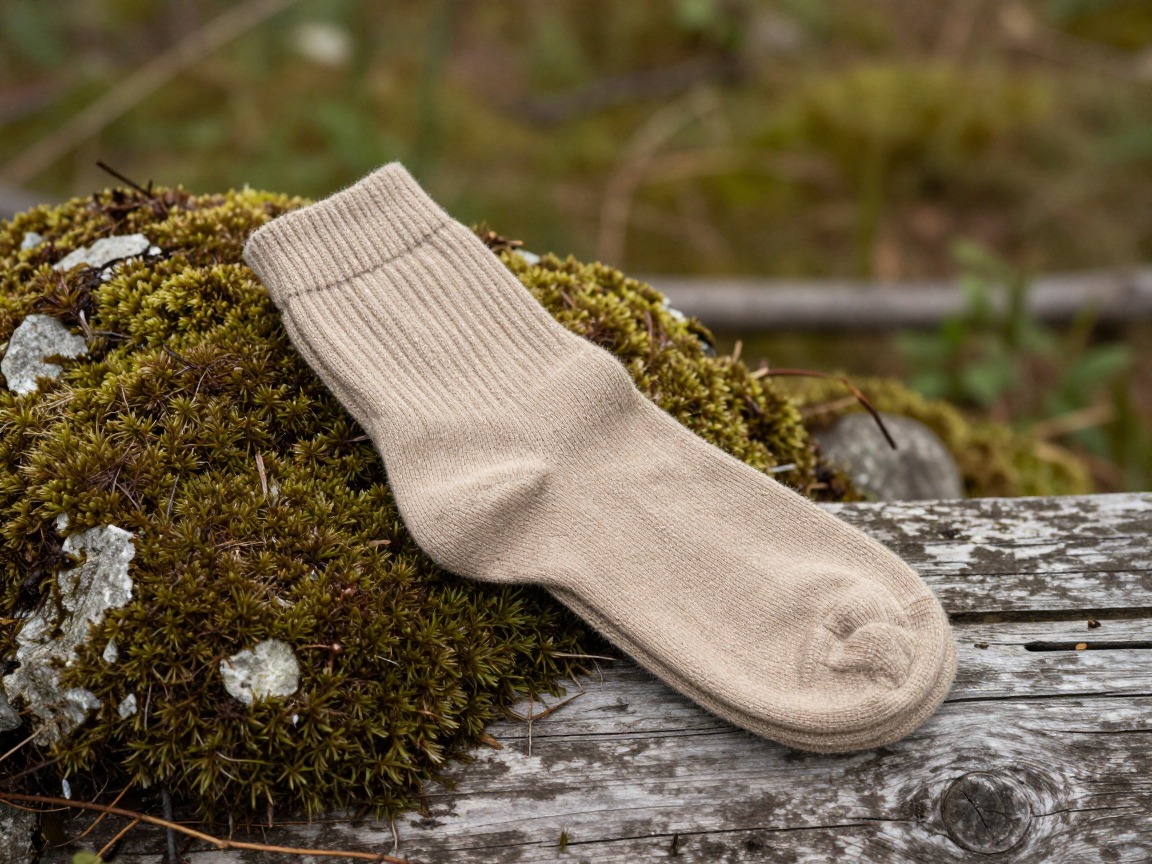
Hiking socks
The most replaced item on a long trail — wool or synthetic socks that manage moisture and help prevent the blisters that end more thru-hikes than any injury.
What to look for: Wool or a wool blend, replaced partway through the trail as cushioning wears out. Most thru-hikers carry two or three pairs and treat worn socks as a normal resupply item.
 Alvada Merino Wool Hiking Socks Thermal Warm Crew Winter Boot Sock F Check price
  DANISH ENDURANCE Merino Wool Socks for Men & Women Check price
  innotree 3 Pack Men's Merino Wool Hiking Socks Check price
 - Sun hoodie, sun hat and sunglasses for exposed miles
- Lightweight camp shoes or sandals to let your feet recover at night
- A separate, minimal set of town clothes for laundry day
- Gaiters for scree, mud, sand or ticks, depending on your trail
Navigation, light & safety
Redundancy matters over months on trail — carry gear you trust, and treat foot care as a daily habit.

Headlamp
Used most nights for camp chores, occasionally for hiking into the dark — reliable, and rechargeable or easily resupplied in town.
What to look for: Comfortable for months of nightly use, a red mode that's easy on other hikers in shared camps, and a charging system that fits your resupply rhythm.
 LHKNL Headlamp Flashlight Check price
  Lepro LED Headlamp Rechargeable IPX4 Waterproof Headlight 5 Modes - Check price
  Energizer LED Headlamp PRO Check price
First-aid kit
Weighted toward foot care — blister treatment, tape, moleskin — plus the basics for cuts, meds and the overuse aches of months on trail.
What to look for: A kit built around blister and foot care first, since that's what actually ends most thru-hikes, plus your own reliable meds for the stretch to the next town.
 Mini First Aid Kit - 150 Piece Small Waterproof EVA Hard Shell Case Check price
  Adventure Medical Kits Ultralight/Watertight Medical Kit .5 Check price
  211 PCS Waterproof First Aid Kit Check price
 - Trekking poles — save your knees over months of daily miles, and double as your shelter's poles if you use a trekking-pole tent
- Offline maps or a guidebook/app for your specific trail, plus any required permits
- Traction (microspikes or similar) for known early-season snow sections — check current conditions before you go
- A phone and a way to keep it charged between towns
- A whistle and a way to signal in an emergency
How to adapt this setup
Doing a few weeks at a time lets you lean lighter, since gear sees less cumulative wear — keep the same resupply-and-repair mindset for whichever stretch you're on.
Lean into sun protection and water capacity for long dry stretches, plus a warm night layer for cold desert nights — heat and dry camps are the bigger risk here.
Add traction and know your route's snow sections before you start; alpine travel over exposed passes needs its own skills beyond any packing list.
Want to shave weight without losing months of reliability? The ultralight setup shows where the big savings live — weigh every cut against whether it'll last.
Trails with weeks of steady rain reward waterproof gear and quick-drying layers over the lightest options — wet and cold for months wears hikers down fast.
Common mistakes to avoid
- Buying the lightest gear available without checking it's built to survive months of daily use, then having it fail hundreds of miles from home.
- Starting with brand-new, unbroken-in shoes, a pack or a pad instead of testing everything on shorter trips first.
- Ignoring hot spots and blisters until they become the injury that ends the hike.
- No resupply or fuel-availability plan, leading to running short between towns.
- Chasing high mileage from day one instead of building up gradually, inviting overuse injuries.
- Skipping a backup water-treatment method and getting stuck when the filter clogs or freezes.
Make it yours
Frequently asked questions
What's a good base weight for a thru-hike?
Most thru-hikers land somewhere between 15 and 25 lb of base weight (everything but food, water and fuel), trading a few pounds for gear they trust to last months. Chasing an ultralight number under 10 lb is possible, but it demands gear and skills most beginners haven't built yet.
How does resupply work on a long trail?
Most thru-hikers buy food a few days at a time in trail towns, supplementing with mail drops or bounce boxes for specialty items that aren't sold everywhere along the route. Mapping your resupply stretches and fuel availability before you start makes town stops fast instead of stressful.
Should I break in my gear before starting a thru-hike?
Yes — shoes, a pack and a sleeping pad especially should be tested on shorter trips first. New gear tends to reveal its problems in the first hundred miles, and it's far easier to fix or exchange something at home than from a trail town.
How often do thru-hikers replace gear on trail?
Regularly — worn-out shoes, socks and even packs are a normal part of a multi-month hike, not a failure. Many hikers plan on replacing footwear every few hundred miles and treat gear replacement as a routine resupply task rather than an emergency.
What causes most thru-hikes to end early?
Overuse injuries and foot problems — blisters, shin splints and joint pain from too many miles too soon — end far more thru-hikes than dramatic gear failures. Pacing yourself, resting when you need to, and taking foot care seriously prevent more early exits than any single piece of gear.
Illustrative images show the type of gear, not specific products. Recommendations link to similar items on Amazon; we only ever link real listings and never show fabricated prices or ratings. General planning guidance, not a substitute for your own judgment or professional backcountry-safety instruction.