
The weekend backpacking packing list
Your first overnights are where backpacking clicks. This weekend setup covers the full system — a pack, shelter, sleep, kitchen, clothing and safety — explained piece by piece so you understand not just what to bring, but why, and how to shape it into your own kit.

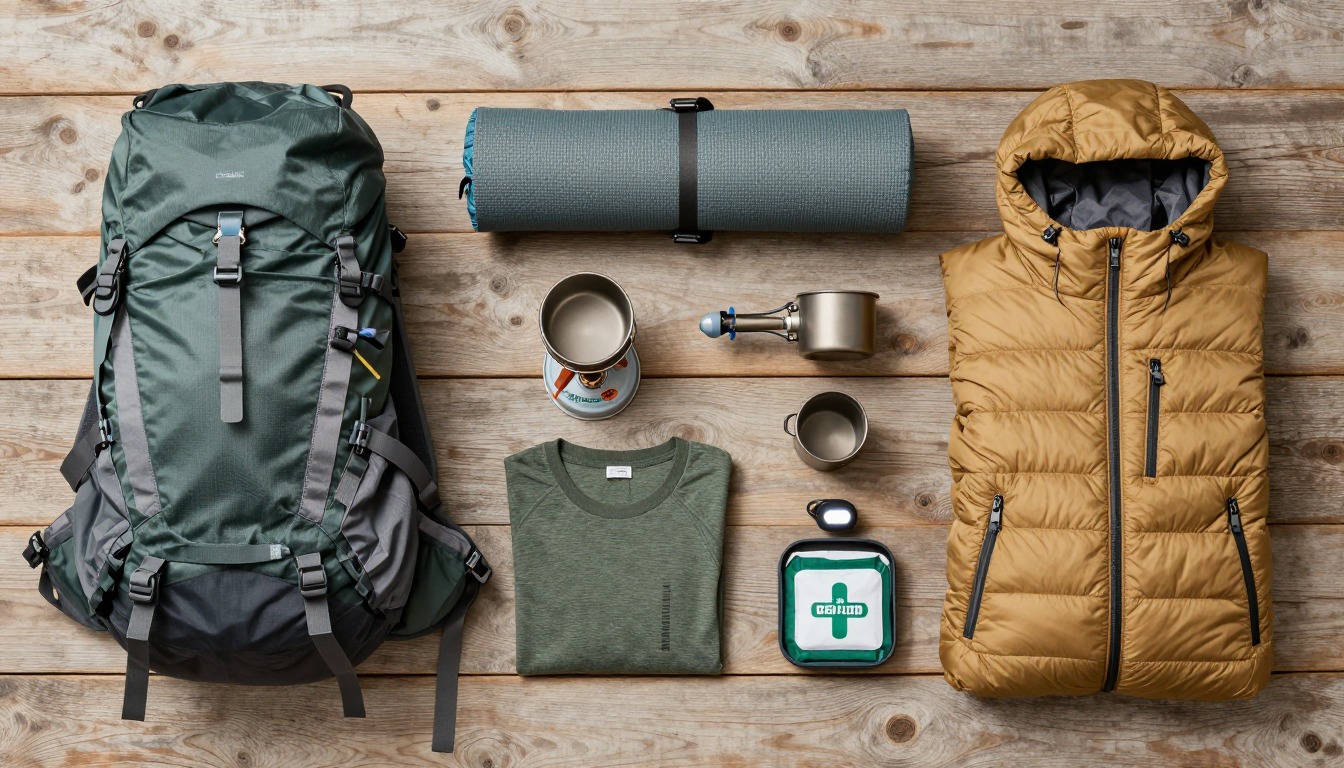
An overnight kit is a system: the pack carries it, the shelter and sleep system keep you warm and dry, the kitchen turns water and food into meals, and the safety layer covers the rest. We keep each part simple and proven, and watch base weight — everything but food, water and fuel — because a lighter kit is a kit you'll actually enjoy carrying.
Newer backpackers heading out for one to three nights on established trails in three-season conditions. If you're going ultralight, winter, or deep into the backcountry, treat this as the foundation and adjust from there.
- Fit the pack first — dial your torso length, then choose 45–60 L for a weekend.
- Build the sleep system to the expected low temperature; being warm at night matters more than saving a few ounces here.
- Keep the kitchen minimal — a canister stove and one pot cook almost anything.
- Weigh your base weight, then trim: the biggest savings are almost always in the pack, shelter and sleep system.
About this setup
A weekend in the backcountry is the trip that turns a hiker into a backpacker. The leap from a day hike isn't really about walking further — it's that you now carry the things that keep you alive overnight: shelter, warmth and a way to make meals. Get that system right and a weekend out is one of the best things you can do with two days; get it wrong and you spend a cold, damp night promising yourself you'll never do it again.
The number that quietly runs everything is base weight — what your pack weighs with all your gear but before food, water and fuel. Backpackers track it because consumables change every trip, and because base weight is where comfort and misery are decided. Most of it lives in the 'big three': the pack, the shelter and the sleep system. Spend your attention (and, if you choose to, your money) there, and the rest of the kit falls into line.
Below, the kit is grouped the way you'd build and carry it: pack, shelter, sleep, kitchen, clothing, then the safety layer. Build it in that order, weigh it, and trim what you didn't touch last time — but never trim the safety essentials. A lighter, well-chosen kit doesn't just feel better; it lets you walk further, camp more comfortably, and enjoy the reason you came.
The pack
For 2–3 nights most people land between 45 and 60 liters. Fit matters more than any feature — dial your torso length first.
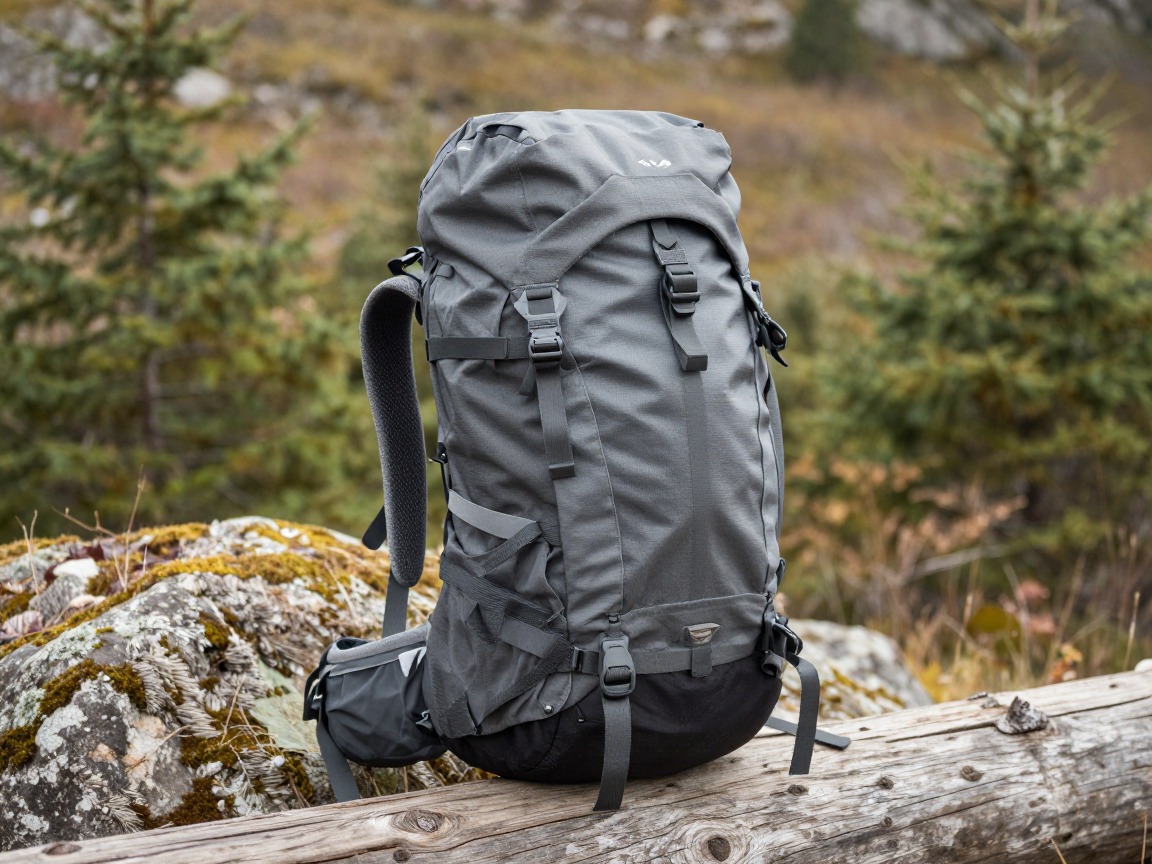
Overnight backpack
Big enough for the sleep system and food, with a real hip belt to carry the weight on your hips instead of your shoulders.
What to look for: A hip belt that genuinely carries weight, a torso length matched to you (not just an S/M/L guess), and 45–60 L for a weekend. A supportive frame and load-lifter straps matter far more than pocket count.
 WoneNice 50L Check price
  Teton 55L Scout Internal Frame Backpack for Hiking Check price
 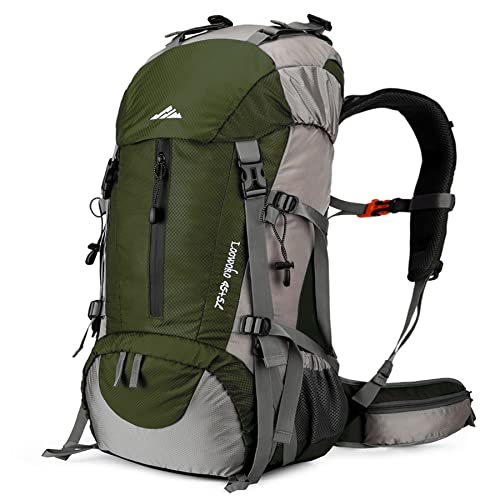 Loowoko 50L Hiking Backpack with Rain Cover for Both Men & Women Check price
 - A pack rain cover or liner
Shelter
A lightweight 1–2 person tent is the do-everything choice; tarps and bivies go lighter once you're comfortable with them.
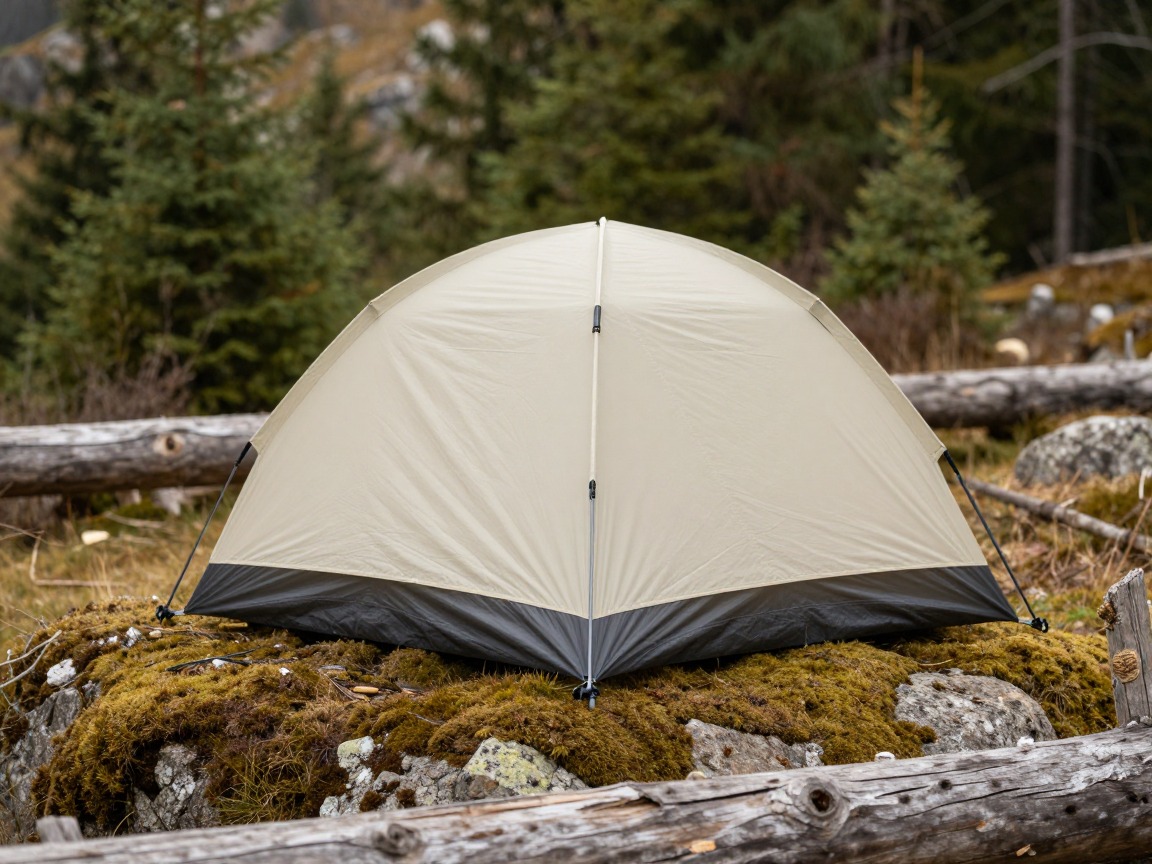
Backpacking tent
Your home on the trail — a freestanding two-person tent is forgiving to pitch and roomy enough for one plus gear.
What to look for: A freestanding or semi-freestanding two-person tent (roomy for one plus gear), a full-coverage fly, real vents to fight condensation, and a packed weight around 2–4 lb. Easy pitching in the dark earns its keep.
 Night Cat 2-Persons Backpacking Tent: Waterproof Lightweight Camping Check price
  BISINNA 2/4 Person Camping Tent Lightweight Waterproof Backpacking T Check price
  Forceatt Tent for 2 Person is Waterproof and Windproof Check price
 - Stakes & guylines
- Groundsheet / footprint (optional)
Sleep system
A bag rated a little below the expected low, plus a pad with enough insulation for the ground, is what actually keeps you warm.
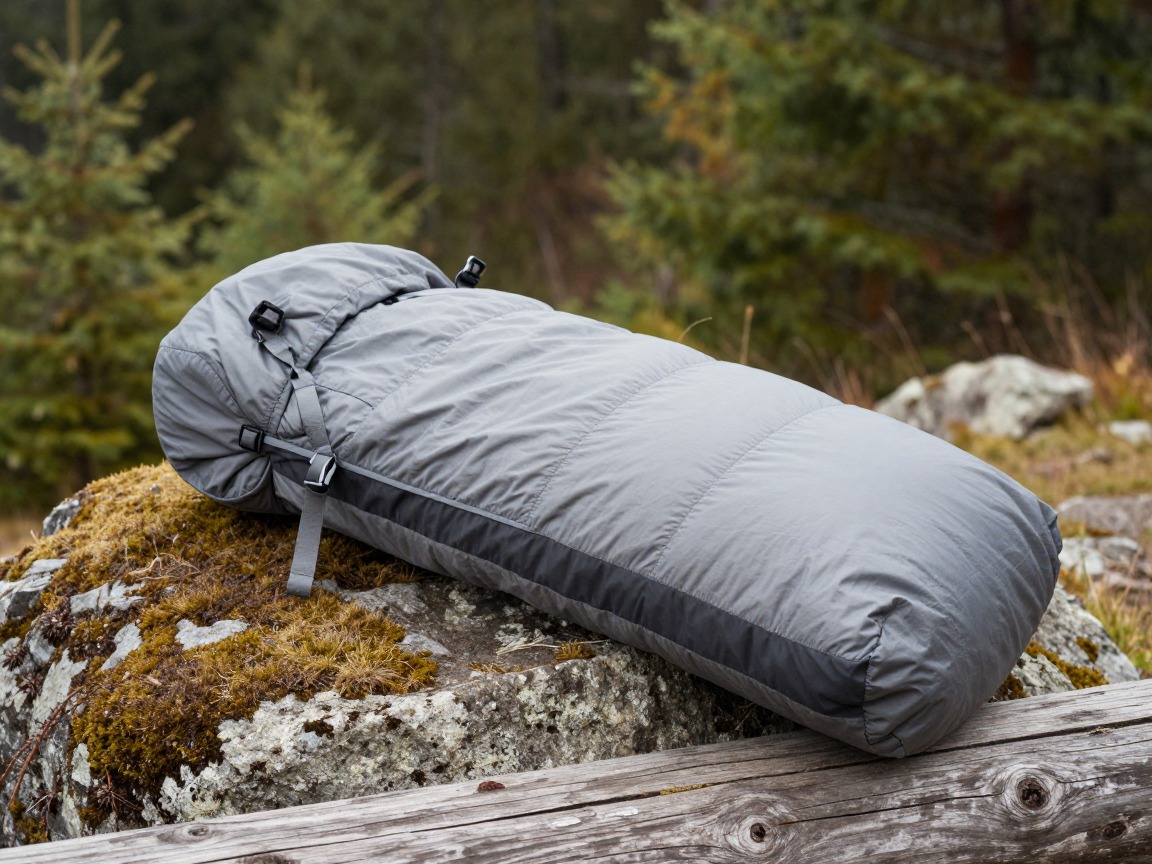
Sleeping bag
Rated a little colder than you expect the night to get; you can always vent, but you can't add warmth you didn't bring.
What to look for: A comfort rating a little below your expected low — not the survival rating — and fill to suit conditions: down for weight and packability, synthetic for damp. A good hood and draft collar trap the warmth you're paying for.
 MalloMe Sleeping Bags for Adults Cold Weather & Warm - Backpacking C Check price
 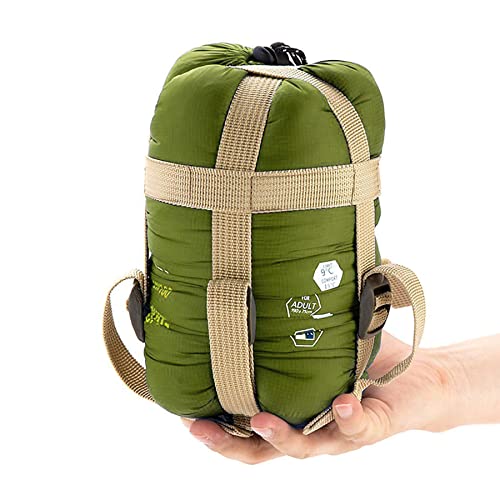 ECOOPRO Portable Check price
  Teton Trailhead Check price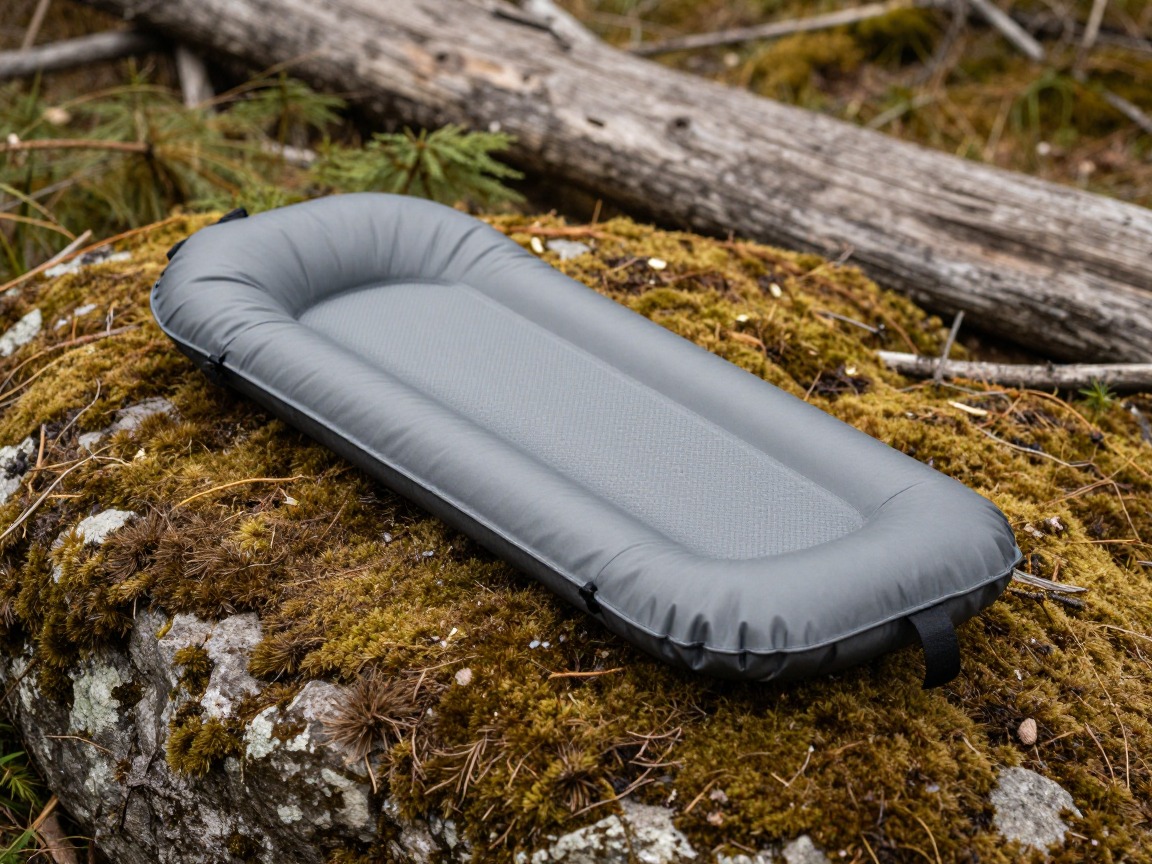
Sleeping pad
Cushions you from the ground and, just as importantly, insulates you from the cold coming up through it.
What to look for: Enough R-value for the ground (roughly 3+ for three-season), a thickness you find comfortable, and a packed size and weight you can live with. A quieter pad genuinely helps you sleep.
 FUN PAC Camping Sleeping Pad Check price
  Gear Doctors® Ether 17.5oz Ultralight Camping Sleeping Pad Check price
  Oramoose 4in Ultralight Camping Sleeping Pad with Pillow and Foot Pu Check price
 - Inflatable or stuff-sack pillow
Kitchen & water
A canister stove and a single pot cover most backcountry cooking. Always carry a way to treat water.
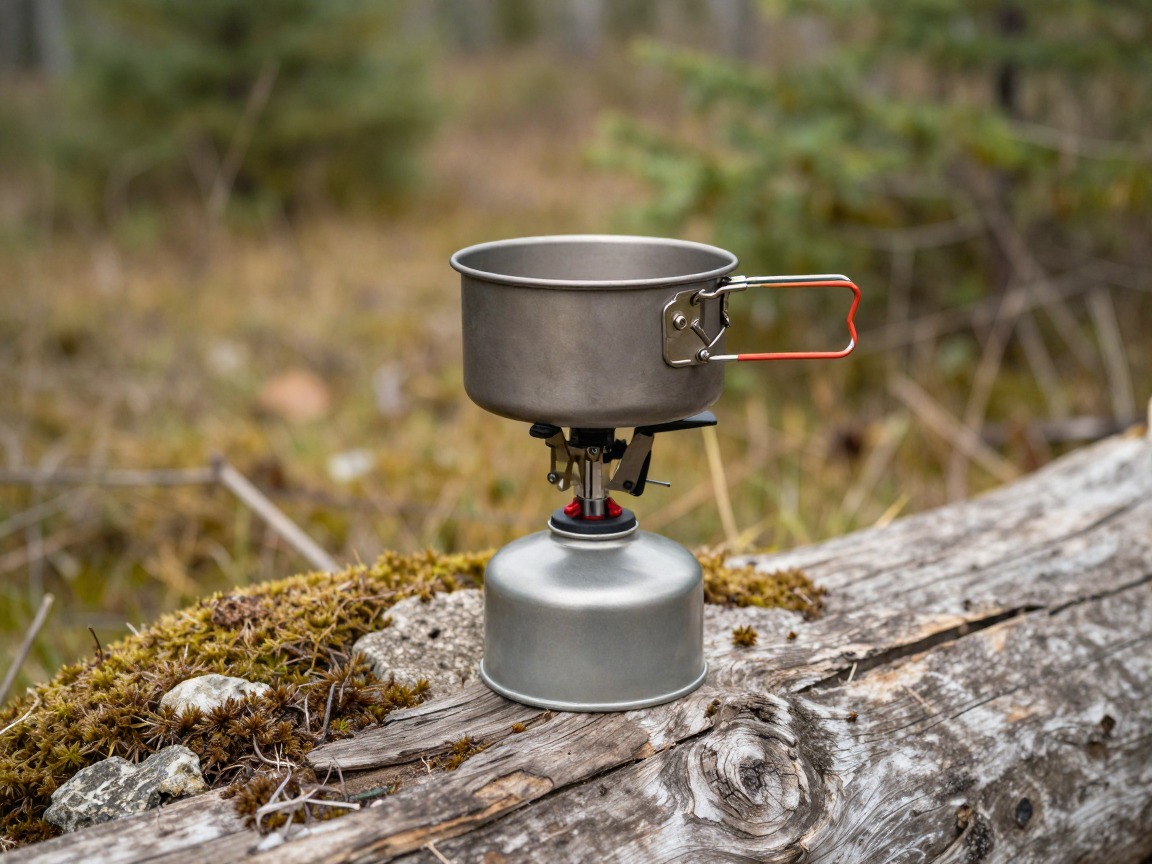
Backpacking stove
A compact canister stove boils water in a couple of minutes for dinners and hot drinks — simple and reliable.
What to look for: A stable canister stove with usable simmer control and a quick boil — or an integrated system if you mostly just boil water. Check it runs on fuel you can actually buy near the trailhead.
 AOTU Portable Camping Stoves Backpacking Stove with Piezo Ignition S Check price
  MSR PocketRocket 2 Ultralight Camping and Backpacking Stove Check price
  Fire-Maple Greenpeak 1 Camping Stove with Piezo Ignition Portable Ga Check price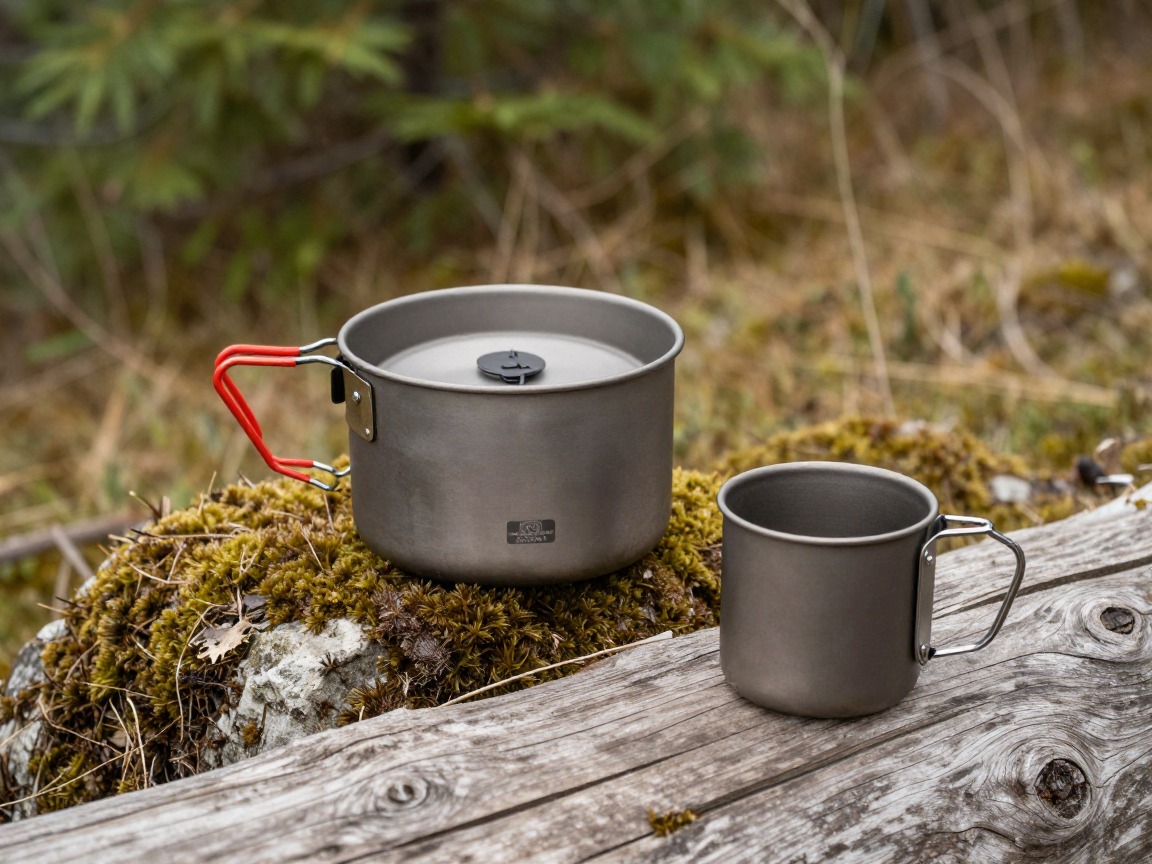
Pot & mug
One lightweight pot doubles as your bowl; titanium and aluminium keep the weight down.
What to look for: One pot sized to your meals (about 700–900 ml for one person), light metal like titanium or hard-anodized aluminium, and a lid that doubles as a plate. One pot is usually the entire kitchen.
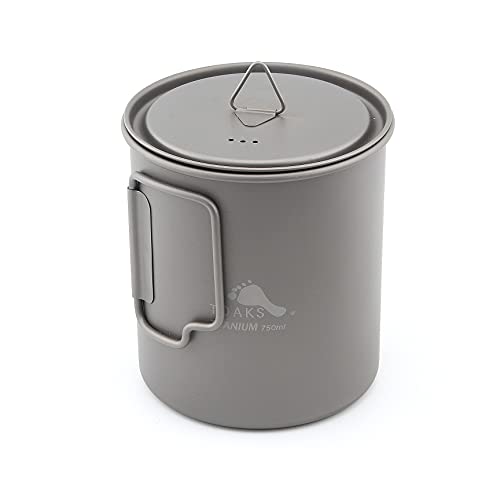 TOAKS Titanium 750ml Pot Check price
  TOAKS Titanium 750ml Pot with Bail Handle for Ultralight Camping Check price
  TOAKS Titanium 1100ml Pot with Pan Check price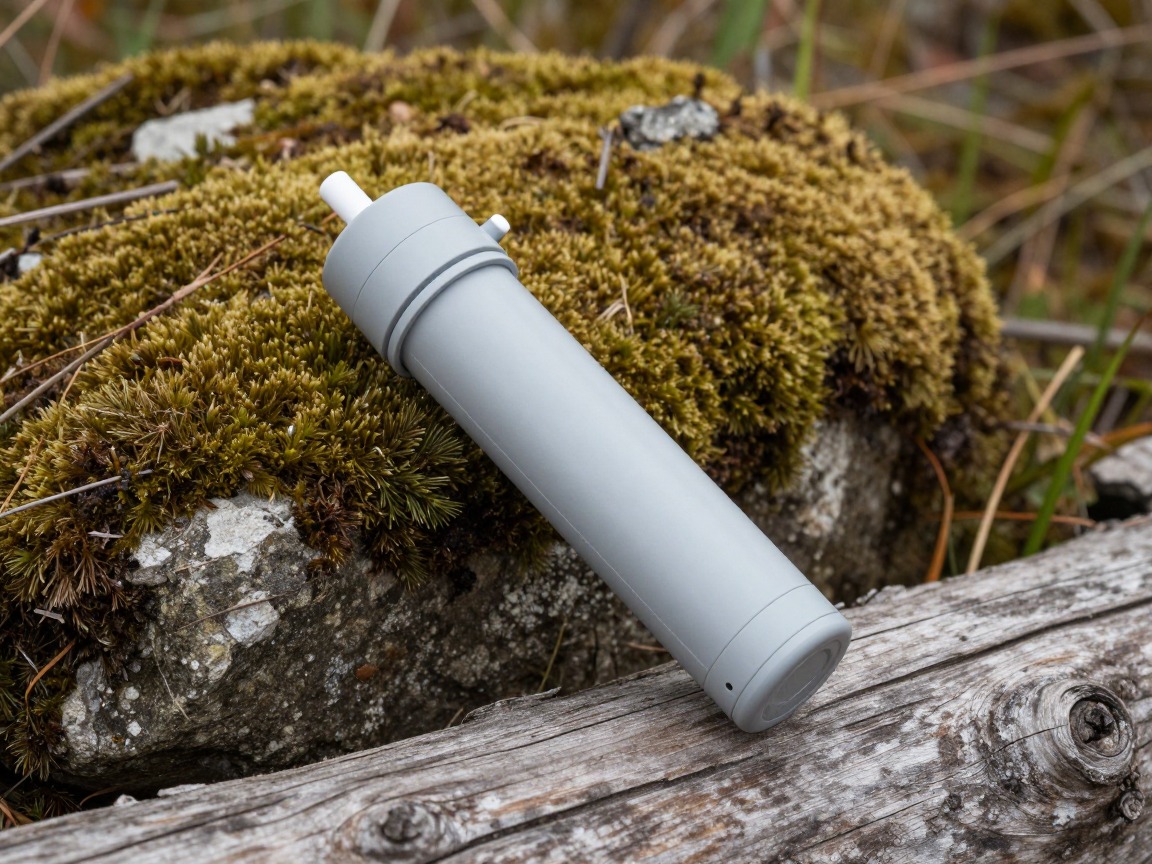
Water filter
Non-negotiable in the backcountry — treats stream and lake water so you can carry less and refill on the go.
What to look for: Fast flow, easy field cleaning, and a design that won't clog on murky water, plus freeze-awareness in the shoulder seasons. A squeeze or gravity filter suits most weekend trips.
 Sawyer Squeeze Water Filtration System Check price
  Sawyer Products SP128 Mini Water Filtration System Check price
  LifeStraw Personal Water Filter for Hiking Check price
 - Fuel canister
- Spork & lighter
- Meals + snacks for each day
- Food storage (canister/bag + hang line)
Clothing & layers
Pack a layering system, not outfits: a base layer, an insulating mid-layer and a waterproof shell handle most conditions.

Base layer
Merino or synthetic against the skin wicks sweat and resists odor over multiple days — the foundation of staying comfortable.
What to look for: Merino or a merino blend for odor resistance over several days, a close-but-not-tight fit, and a weight matched to the season. It's against your skin the whole trip, so comfort is the priority.
 100% Merino Wool Base Layer Men Set - Thermal Underwear for Men Long Check price
  Merino.tech Merino Wool Base Layer Women Set - Heavyweight Check price
  100% Merino Wool Base Layer Men Set - Thermal Long Underwear with Ba Check price
Insulating layer
A packable puffy or fleece for camp and cold mornings; down packs smallest, synthetic handles damp better.
What to look for: A packable puffy with the most warmth for its weight; down packs smallest, synthetic keeps working when damp. Size it to layer over your base and under your shell.
 Outdoor Ventures Women's Packable Lightweight Puffer Jacket with Hoo Check price
  Amazon Essentials Women's Lightweight Long-Sleeve Water-Resistant Pa Check price
  Outdoor Ventures Women's Packable Lightweight Puffer Jacket with Hoo Check price
Rain shell
Waterproof, breathable protection from rain and wind — and a backup wind layer around camp.
What to look for: Genuinely waterproof, not merely water-resistant, breathable, with a sealing hood and pit zips to vent on the move. It doubles as your wind layer around camp.
 UIQUR Mens Rain Jacket Raincoat Waterproof Windbreaker Black L Check price
  COOFANDY Men's Waterproof Hiking Travel Shell Breathable Rain Jacket Check price
  Columbia Womens Arcadia II Waterproof Rain Jacket Check price
 - Spare hiking socks
- Camp/sleep clothes
- Warm hat & gloves (shoulder seasons)
- Sun hat & sunglasses
Navigation, light & safety
Redundancy matters more overnight — carry navigation you can trust without a signal, and know your route out.

Headlamp
Essential after dark for cooking, camp chores and night navigation; bring spare batteries or a charge.
What to look for: Bright, comfortable, with a red mode for camp and spare power or batteries — you'll use it far more overnight than on a day hike, so don't go minimal here.
 LHKNL Headlamp Flashlight Check price
  Lepro LED Headlamp Rechargeable IPX4 Waterproof Headlight 5 Modes - Check price
  Energizer LED Headlamp PRO Check price
First-aid kit
A slightly fuller kit than a day hike — blister care, meds and the basics, plus the knowledge to use them.
What to look for: A fuller kit than a day hike: blister care, wound cleaning, your own reliable meds, and a small repair element (tape, a needle). Match its depth to how far you are from help.
 Mini First Aid Kit - 150 Piece Small Waterproof EVA Hard Shell Case Check price
  Adventure Medical Kits Ultralight/Watertight Medical Kit .5 Check price
  211 PCS Waterproof First Aid Kit Check price
 - Map + compass or GPS (offline)
- Trekking poles
- Sunscreen & lip balm
- Whistle
- Phone + power bank
- Fire kit
- Toilet kit — trowel, TP, waste bags (Leave No Trace)
How to adapt this setup
An overnighter needs less food and can forgive a slightly smaller pack, but the whole big-three system still comes — shelter, sleep and kitchen don't get optional because it's a single night.
Mostly more consumables: extra food (and the weight and storage that brings), a bigger battery, and a harder look at base weight, because every ounce is carried further.
Lighten the sleep system to the conditions, favor breathable layers, and lead your planning with water and sun — but keep a warm layer for clear, cold nights at altitude.
Warmer bag, higher-R pad, more insulation and a hat and gloves; plan for long, cold nights and early darkness. Genuine winter is a different setup with traction and more redundancy.
Trim the big three first — a lighter pack, a trekking-pole shelter and a down quilt are where the pounds are. See the ultralight backpacking setup for the full approach.
Common mistakes to avoid
- A heavy 'big three' (pack, shelter, sleep) you never actually weighed or trimmed.
- A sleep system too cold for the real overnight low — being cold at night ruins the trip.
- No reliable water treatment, or a filter you let freeze and crack.
- Packing your fears (an enormous first-aid kit, three knives) instead of your needs.
- Taking brand-new, untested gear on the trip instead of trying it at home first.
- In bear country, skipping proper food storage — a canister or a correct hang.
Make it yours
Frequently asked questions
What should I pack for a weekend backpacking trip?
The full overnight system: a 45–60 L pack; a tent; a sleeping bag and pad rated for the night's low; a canister stove, pot and a way to treat water; a layered clothing set (base, insulation, shell); and a safety layer of navigation, a headlamp and first aid. Then food, water and fuel on top.
How heavy should my backpacking pack be?
A comfortable target is a base weight (everything but food, water and fuel) around or under 20 lb for a three-season weekend, with total pack weight ideally under about 20–25% of your body weight. Lighter is more enjoyable, but never at the cost of a warm sleep system or safety gear.
What size backpack do I need for 2–3 nights?
Most people land between 45 and 60 liters for a weekend. Go smaller as your kit gets lighter and more dialed; go bigger for bulky winter gear. Fit — matching the pack to your torso length — matters more than the exact liter number.
What temperature sleeping bag do I need?
Choose a bag whose comfort rating sits a little below the coldest night you realistically expect, then fine-tune warmth with your pad's R-value and your sleep clothing. It's easier to vent a slightly warm bag than to add warmth you didn't bring.
How much food should I bring backpacking for a weekend?
A rough planning figure is around 1.5–2.5 lb of food per person per day, aiming for calorie-dense, low-water foods. Two nights out usually means packing three days of food to cover the full time on trail, plus a little emergency margin.
Illustrative images show the type of gear, not specific products. Recommendations link to similar items on Amazon; we only ever link real listings and never show fabricated prices or ratings. General planning guidance, not a substitute for your own judgment or professional backcountry-safety instruction.