
Packing & Load Order: Complete Guide
Comprehensive technical analysis of sizing, materials, installation requirements, and manufacturer standards for packing & load order.
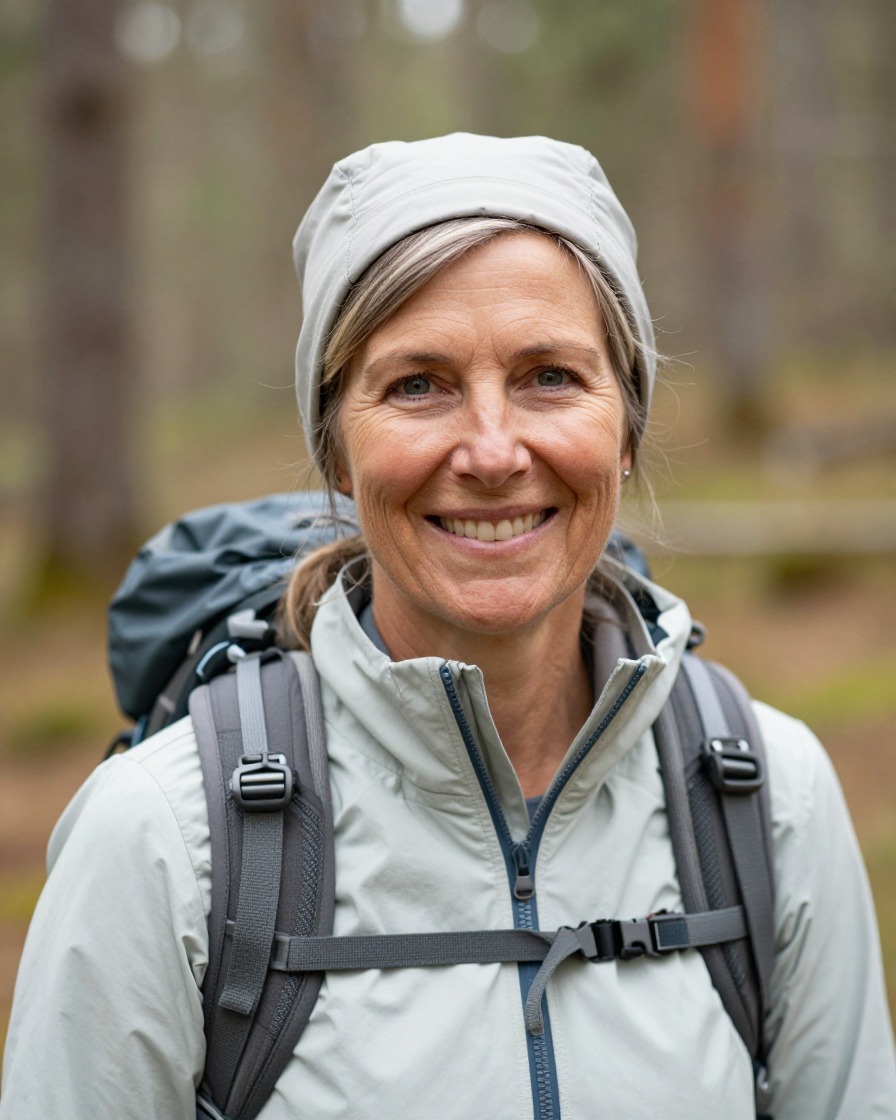
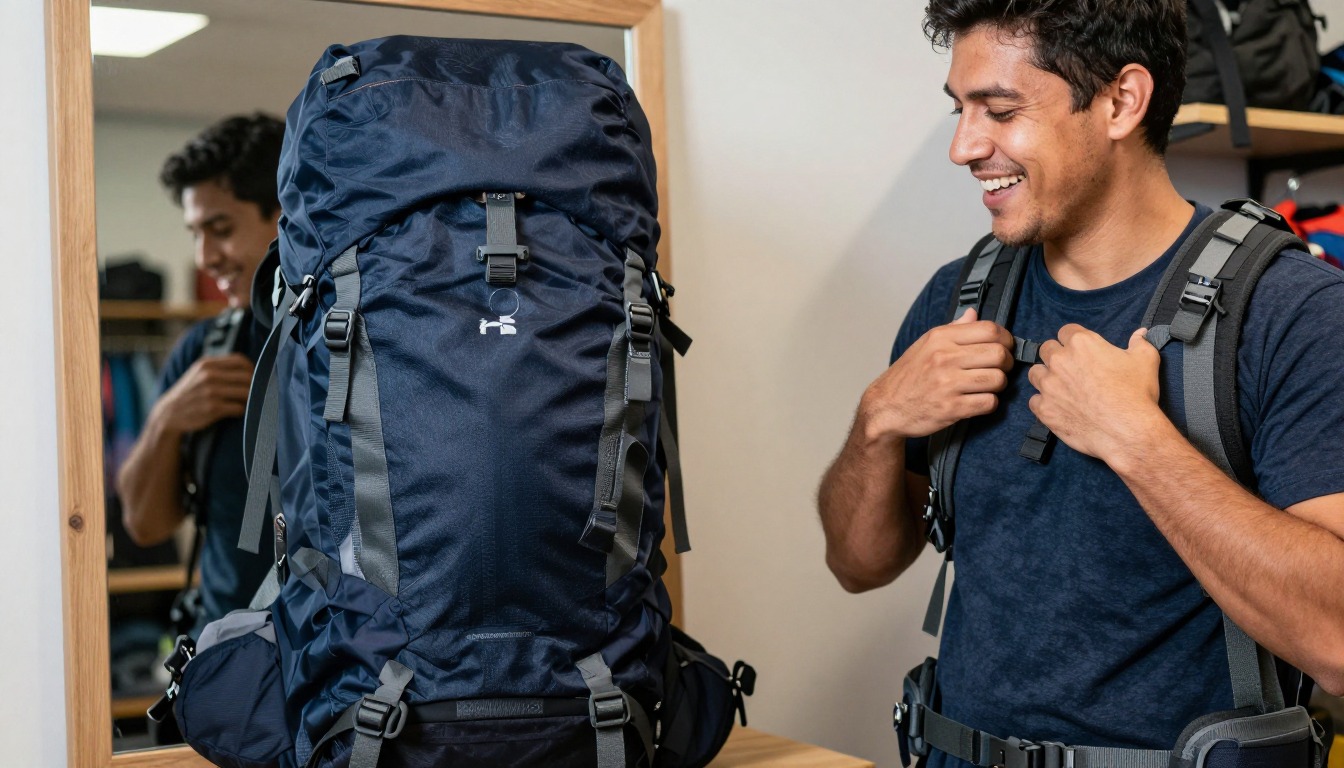
Pack a hiking backpack in three horizontal zones: sleep gear at the bottom, dense and heavy items pressed against the spine at mid-height, and quick-access items up top. This keeps a loaded pack's center of gravity close to your back and roughly level with your shoulder blades, which is what makes a heavy load feel manageable instead of top-heavy or saggy. The same three-zone order works whether you're loading a 30-liter overnight pack or a 65-liter multi-day pack — only the volume inside each zone changes with trip length.
A hiking backpack packs into three zones: the bottom zone holds bulky, low-priority gear like your sleeping bag; the core zone holds heavy, dense items — food, cook system, water — against your back; the top zone holds gear you need without unpacking, like rain shell and snacks.
The bottom zone is the first section you fill and the last one you'll open at camp. A sleeping bag, loose or compressed in a stuff sack, forms a soft, stable base, and insulated layers you won't need until night pack in around it.
The core zone runs from roughly hip height to shoulder height, closest to your spine — the pack's heaviest items belong here, covered in more detail below. A tent body, food bag or bear canister, cook system, and water reservoir all fit naturally into this middle section.
The top zone is the lid or brain pocket plus whatever main-compartment space remains. It holds items you'll want during the day without unpacking: rain shell, snacks, a headlamp, sunscreen, and a first aid kit.
| Zone | What goes there | Why it goes there |
|---|---|---|
| Bottom | Sleeping bag, camp clothes, insulated layers | Bulky items you won't need until camp compress well and form a stable base |
| Core (mid-back) | Food, bear canister, cook system, water, tent body | Heaviest, densest gear sits against the spine near your body's center of gravity |
| Top / lid | Rain shell, snacks, first aid kit, headlamp, map | Items needed during the day stay reachable without unpacking |
Most packs add a fourth practical zone: hipbelt pockets and a front shove-it pocket, suited to items you reach for constantly, like snacks or a phone.
The heaviest, densest items — food, bear canister, water, cook system — belong in the pack's core, pressed against the back panel, between your shoulder blades and your hips. This keeps the load's center of gravity close to your spine and near your body's own center of gravity, which reduces strain and improves balance.
Where exactly within the core zone the heaviest items sit depends on terrain. On a smooth, maintained trail, heavy gear high and close to your shoulder blades lets your torso carry more of the load upright. On uneven or off-trail terrain, dropping it slightly lower, closer to hip height, improves stability over rocks or roots.
Either way, "close" matters more than "high or low." Heavy items packed away from the back panel create a lever effect that pulls your shoulders backward and forces your lower back to compensate. Pressing dense items directly against the back panel, then packing lighter gear around them, keeps that lever arm short.
A correctly fitted hipbelt carries roughly 80% of a loaded pack's total weight, so heavy-item placement works together with pack fit, not instead of it. Measuring your torso length correctly and getting the hipbelt riding on your hip bones matters as much as the zone method itself.
Balance a loaded pack by keeping weight even from side to side, not just top to bottom, then reserve outer pockets and the top lid for gear you need without breaking stride. A pack that's heavier on one side pulls and twists with every step, while one balanced left-to-right tracks straight.
Split heavy items like a water reservoir or food bag toward the center of the back panel rather than off to one side, and distribute paired items — two water bottles, a canister and a fuel bottle — evenly between left and right side pockets.
Quick-access gear belongs somewhere you can reach it without taking the pack off:
- Rain jacket, for sudden weather changes
- Snacks, for eating without stopping
- Water filter or bottles, for refills on the move
- Headlamp, for reaching camp after dark
- First aid kit, for immediate use
- Map, compass, or GPS device, for navigation checks
- Sunscreen and insect repellent, for reapplying through the day
Use a pack's external attachment points — hipbelt pockets, side compression straps, the front shove-it pocket, ice axe loops, and sleeping pad straps — for bulky or wet gear you need quickly, and keep the list short, since anything strapped outside shifts weight away from your body and can snag on brush.
A sleeping pad often rides under the lid or lashed to compression straps, since a full-length pad rarely fits inside a loaded main compartment. Trekking poles typically clip into side loops or a dedicated pole attachment near the base, a detail covered in how to attach trekking poles to a backpack. A wet tent rainfly fits well in a front mesh pocket, away from dry gear.
Ice axe loops and daisy chains exist for technical gear that needs quick access, mattering more for mountaineering and alpine trips than standard backpacking. A sleeping bag can also ride in a bottom external pocket, covered in how to attach a sleeping bag to a backpack.
External straps work best for bulky or wet gear, not heavy items. A water bottle clipped to a shoulder strap earns its spot outside because it needs to be reachable dozens of times a day, detailed in how to attach a water bottle to a backpack. The more weight strapped externally, the less predictable your balance becomes, so treat it as the exception, keeping overall pack weight and base weight in mind first.
Getting the zone order right assumes the pack itself already fits. A pack with the wrong torso length feels off-balance no matter how carefully you pack it, which is why measuring your torso and adjusting your pack comes before load order.
Go Deeper
Detailed companion guides for packing & load order.
How to Pack a Hiking Backpack (Zone by Zone)
A zone-by-zone method for packing a hiking backpack: sleeping bag low, heavy gear centered against your back, and quick-access items on top.
How to Pack a Backpack for Backpacking
How to pack a backpack for a multi-day backpacking trip: sleep system low, food and shelter centered, daily gear accessible on top.
Pack Weight & Base Weight
Related fit, sizing & packing guide.
Women's Fit Guide
Related fit, sizing & packing guide.