
Field & Home Repairs: Complete Guide
Comprehensive technical analysis of sizing, materials, installation requirements, and manufacturer standards for field & home repairs.


Recommended Products
See the full ranking →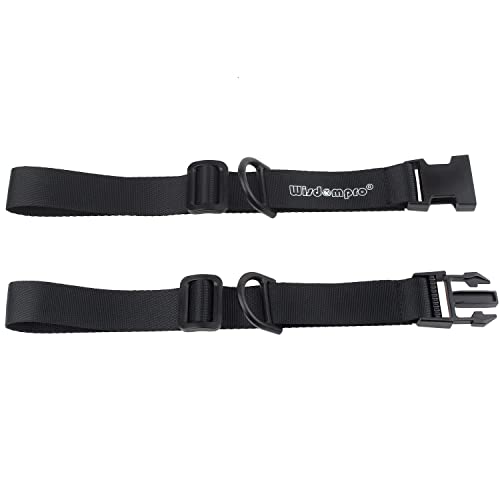
Most hiking backpack failures happen to the same handful of parts: zipper sliders, strap webbing, buckles, and fabric at friction points like hip fins and pack bottoms. Nearly all of these are field-repairable with a small kit — pliers or a spare slider, a strip of Tenacious Tape, a sewing awl, and a spare buckle — and none require sending the pack back to the manufacturer. A pack only needs professional or warranty repair when a frame stay is bent, a load-bearing seam fails from a manufacturing defect, or the damage is too structural for tape and thread to hold for the rest of a trip.
A zipper that won't close is almost always a splayed slider, not broken teeth. Squeeze the slider gently with pliers to re-tighten its grip on the coil, or swap in a replacement slider sized to the zipper's coil number, sold in repair kits from brands like YKK.
Diagnose before repairing. Run the zipper closed by hand and watch where it fails:
- Slider splits open behind the pull — the slider body has spread; pliers can often close it back up.
- Zipper won't stay closed under load — the slider has worn out and needs full replacement, not just squeezing.
- Teeth or coil are missing — no slider fix will work; the zipper tape itself needs replacing at a repair shop.
- Zipper drags or sticks — rub the coil with candle wax, a bar of soap, or graphite from a pencil to restore glide.
Strap failures almost always start at a bar-tack stitch point, where webbing is sewn to the pack body or a buckle. Sew the tear closed with heavy-duty upholstery or bonded nylon thread and a curved needle in a box-X pattern, matching the factory stitch; in the field, wrap the tear tightly with Gorilla Tape or lash the strap through the buckle with paracord or a zip tie as a stopgap.
A home sewing repair holds better than tape long-term, but a taped or tied strap is not a permanent fix for a load-bearing shoulder strap or hipbelt — treat it as enough to finish the current trip, then re-sew or replace the webbing before the next heavy carry. Fraying at a cut webbing end is normal; pass a lighter flame briefly over the cut edge to melt and seal the nylon so it stops unraveling.
| Damage | Field fix | Home fix |
|---|---|---|
| Torn bar-tack stitching | Zip tie or paracord lash through the anchor point | Re-sew with bonded nylon thread in a box-X pattern |
| Frayed webbing end | Wrap with tape to stop further fraying | Melt the cut edge with a lighter flame |
| Broken side-release buckle | Lash the strap through with cord or a zip tie | Unpick the old bar tack, sew on a matching replacement buckle |
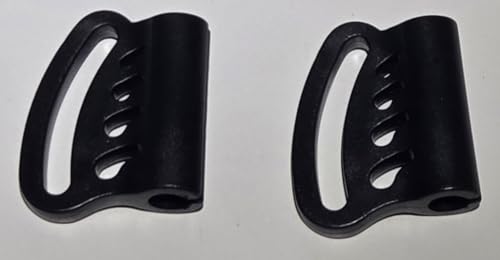
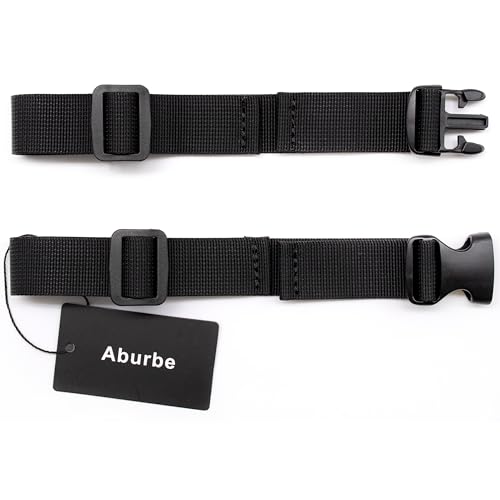
| Snapped sternum strap clip | Loop a cord or shock cord between the strap ends | Replace the whole strap with a sewn or slide-on sternum strap kit |
A punctured or torn pack panel is patched with a flexible adhesive-backed fabric tape — Tenacious Tape is the standard choice — applied to both the inside and outside of the hole with rounded corners so the edges don't catch and peel. Clean and dry the fabric first; body oils and trail dirt weaken the adhesive bond.
The basic patching process is the same for most woven pack fabrics:
Dyneema Composite Fabric (DCF) packs need DCF-specific repair tape rather than a standard nylon patch — the laminate structure doesn't bond the same way, and a mismatched patch peels quickly. For a hole larger than a few inches, sew a ripstop fabric patch in place first, then tape over both sides for a repair that will outlast tape alone.
Send a pack back to the manufacturer when the failure is a defect in materials or workmanship — a frame stay that snapped under normal loads, stitching that let go shortly after purchase, or hardware that broke without misuse — rather than damage from use, like an abrasion hole, a strap cut by a knife, or sun-faded fabric.
Warranty terms vary by brand. Osprey's All Mighty Guarantee repairs or replaces any Osprey pack, for any reason, for any owner, without proof of purchase, making it one of the more generous policies in the outdoor industry. Most other major brands, including Gregory and Kelty, cover manufacturing defects under a limited lifetime warranty but exclude normal wear and user damage. Warranty repairs typically take several weeks, since the pack has to be shipped to a service center and queued for inspection, so they suit off-trail damage rather than a fix needed mid-trip. For anything cosmetic or wear-related on a pack that's out of warranty, a home or field repair is usually faster and cheaper than a manufacturer return.
Go Deeper
Detailed companion guides for field & home repairs.
Best Replacement Sternum Straps & Hardware
Buyer's guide: best sternum strap replacement.
How to Repair a Hiking Backpack
How to repair a hiking backpack in the field or at home: fixing zippers, straps, buckles, and fabric holes with a small, lightweight repair kit.
Storage & Off-Season Care
Related care, repair & accessories guide.
Hydration Systems
Related care, repair & accessories guide.