



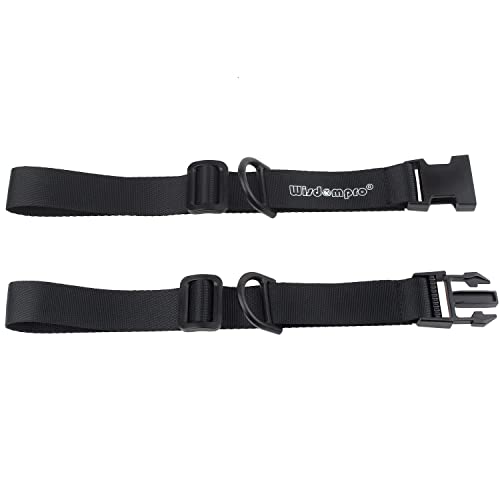

A hiking backpack strap almost always fails at a bar-tack — the reinforced stitch point where webbing meets the pack body or a buckle — rather than in the middle of the webbing itself. Repairing it means either re-sewing that stitch point or replacing the webbing section entirely, depending on how much of the original material is left to work with.
Sewing a strap repair at home
Use a curved needle or a hand-held sewing awl, loaded with heavy-duty upholstery or bonded nylon thread, and stitch a box-X pattern through the webbing and the fabric it anchors to — this pattern spreads load across multiple stitch lines instead of one seam, matching how factory bar-tacks are built. A sewing awl pushes a locked stitch through thick webbing layers that a standard needle struggles to get through, which matters most on a hipbelt or a multi-layer shoulder strap yoke.
Field fixes that buy time
| Situation | Fix |
|---|---|
| Torn stitching, strap still attached | Zip tie or paracord lashed through the anchor point |
| Strap torn completely free | Loop cord through both remaining ends to re-attach |
| Frayed webbing end | Wrap with tape, or melt the cut edge briefly with a lighter |
| Broken side-release buckle | Lash the strap through the remaining hardware with cord |
Field fixes aren't permanent on load-bearing straps
A taped or lashed shoulder strap or hipbelt repair is meant to get you through the current trip, not to carry heavy loads indefinitely. Re-sew the bar-tack or replace the webbing section at home before the pack goes back under a full pack weight, since a field fix under repeated load stress tends to fail again sooner than a proper stitch repair. Check any field-repaired strap at the start of each day on a multi-day trip, before it's carrying a full pack weight away from help.