

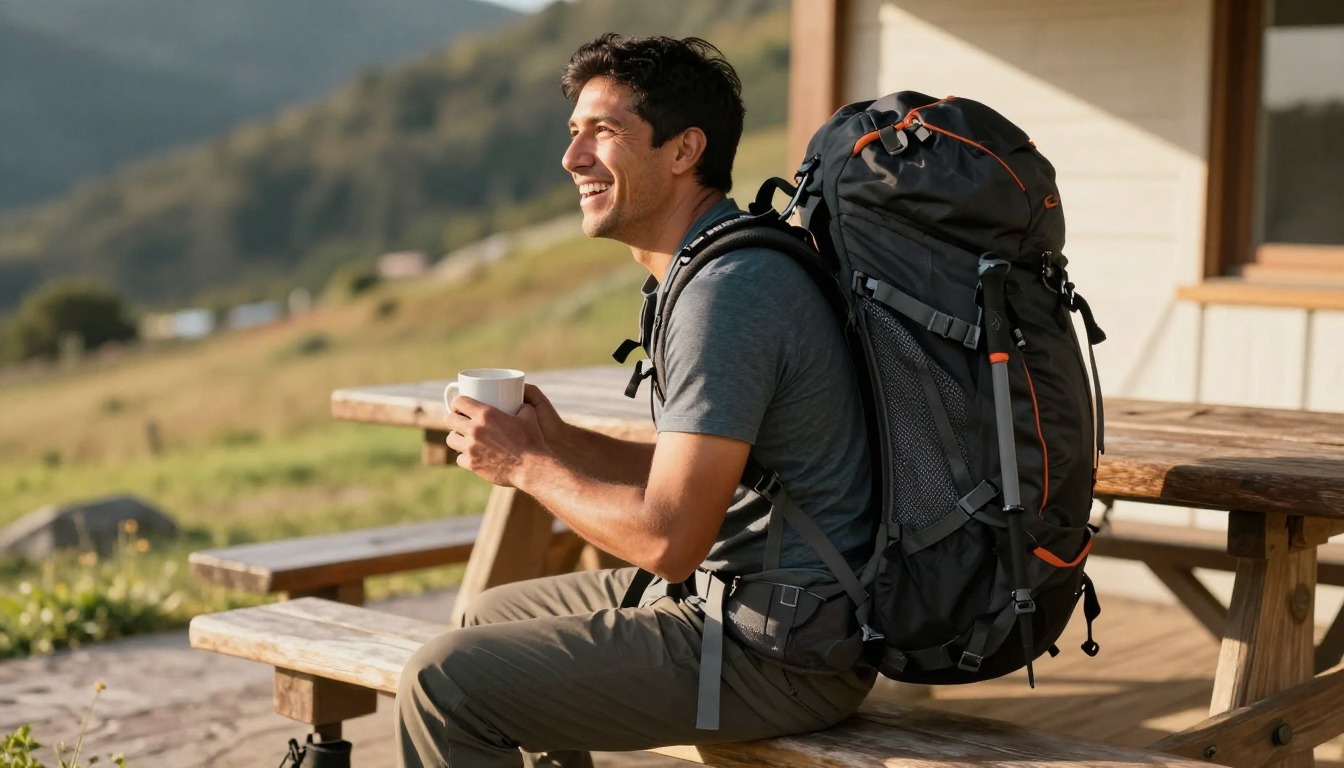

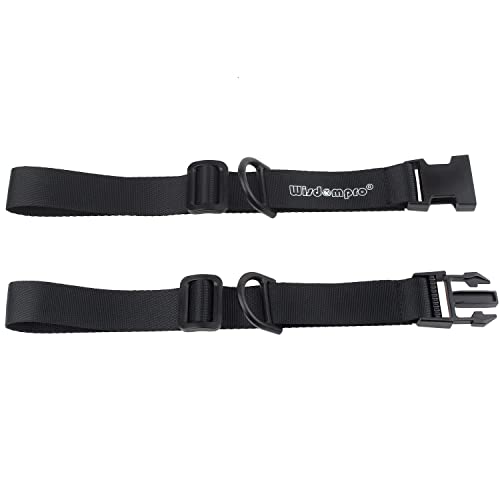

Trekking poles carry on a hiking backpack using a two-point attachment: a lower loop anchors the pole tips, and an upper strap, bungee, or quick-stow panel holds the shafts against the pack body near shoulder height.
Step-by-step: stowing trekking poles
What if a pack has no dedicated pole loop?
A pack without dedicated pole hardware can still carry poles using daisy chain webbing and a spare strap or short bungee, threading the tips through one loop and the shafts through a higher loop before cinching everything snug. This method is slower to rig than dedicated hardware but works on nearly any pack with front or side webbing.
Where should poles sit for the best balance?
Poles should sit along the side of the pack, close to the body, rather than sticking straight up above the pack or angled far out to the side. A pole carried too high raises the load's center of gravity; one angled too far out can catch branches, other hikers, or a passing trail sign on narrow sections.
| Attachment method | Speed | Best for |
|---|---|---|
| Quick-stow panel | Fastest, one-handed | Frequent on/off use |
| Loop and strap | Moderate | Standard day hikes and backpacking |
| Daisy chain + bungee | Slowest | Packs without dedicated pole hardware |
Poles left loosely stowed tend to work free within a mile or two of walking, so a quick check and retighten after the first climb or descent is worth the ten seconds it takes.