
Affiliate disclosure: this page contains affiliate links. Purchases made through them may earn us a commission at no extra cost to you. See our affiliate disclosure.
In plain English
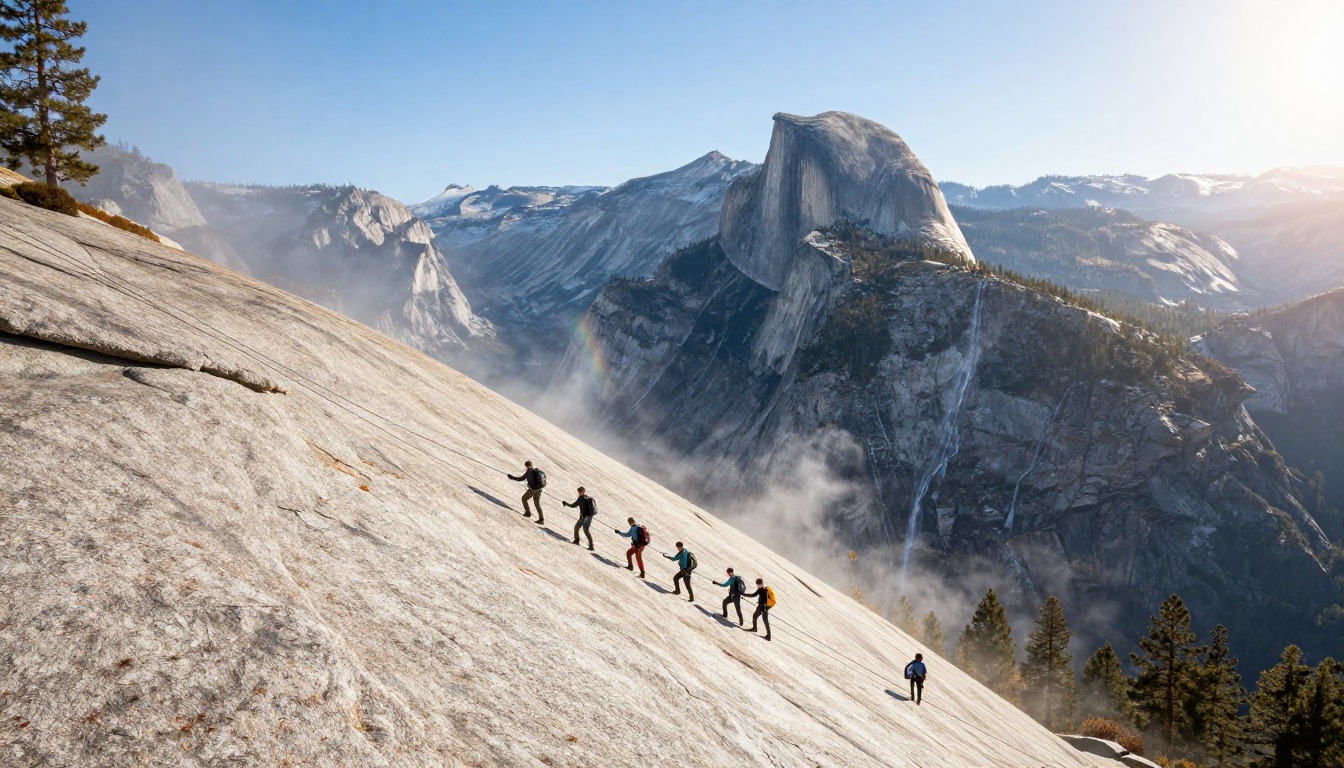
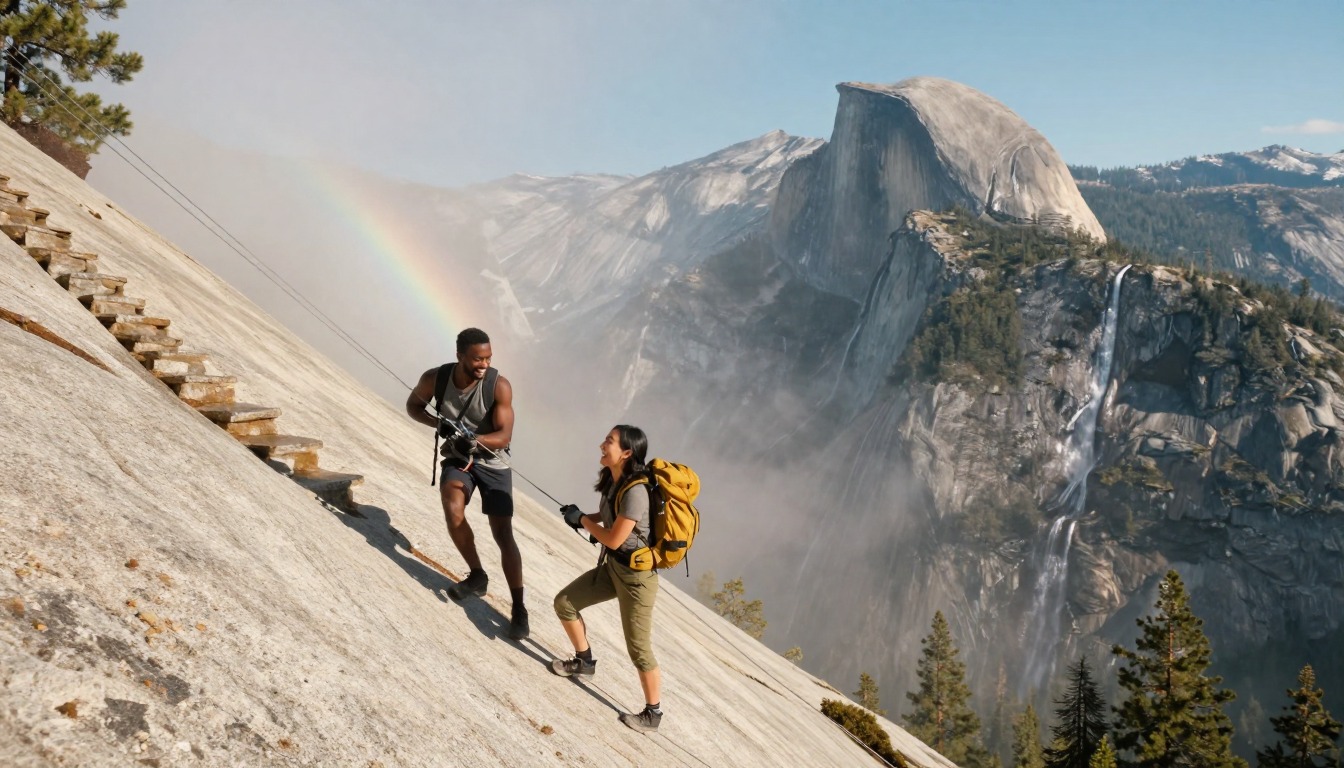
Half Dome is a giant rounded lump of granite that towers over Yosemite Valley. The hike to the top is long and steep, and the last part is unusual: you climb a smooth rock slope while holding two steel cables, a bit like pulling yourself up a very steep staircase using both handrails.
Because so many people want to do it, the park only lets a limited number of hikers onto the cables each day, and you win a spot through a lottery, which works like a raffle.1 If you want to sleep on the trail partway up, you need a separate overnight permit as well.1
Most people treat this as one very long day. They start in the dark, carry plenty of water and food, wear grippy gloves for the cables and turn back at a fixed time. The reason is simple: bare granite is a bad place to be if a storm rolls in, and the walk down is almost as tiring as the walk up.
What the hike is like
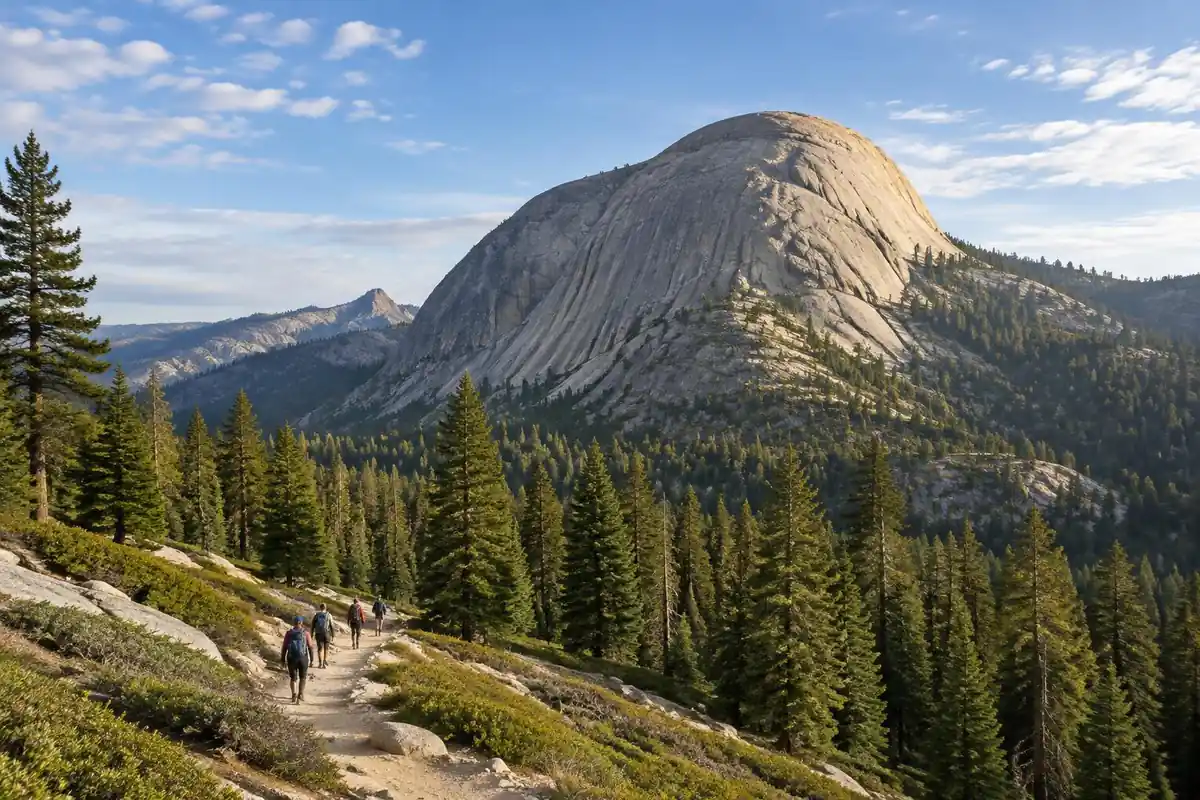
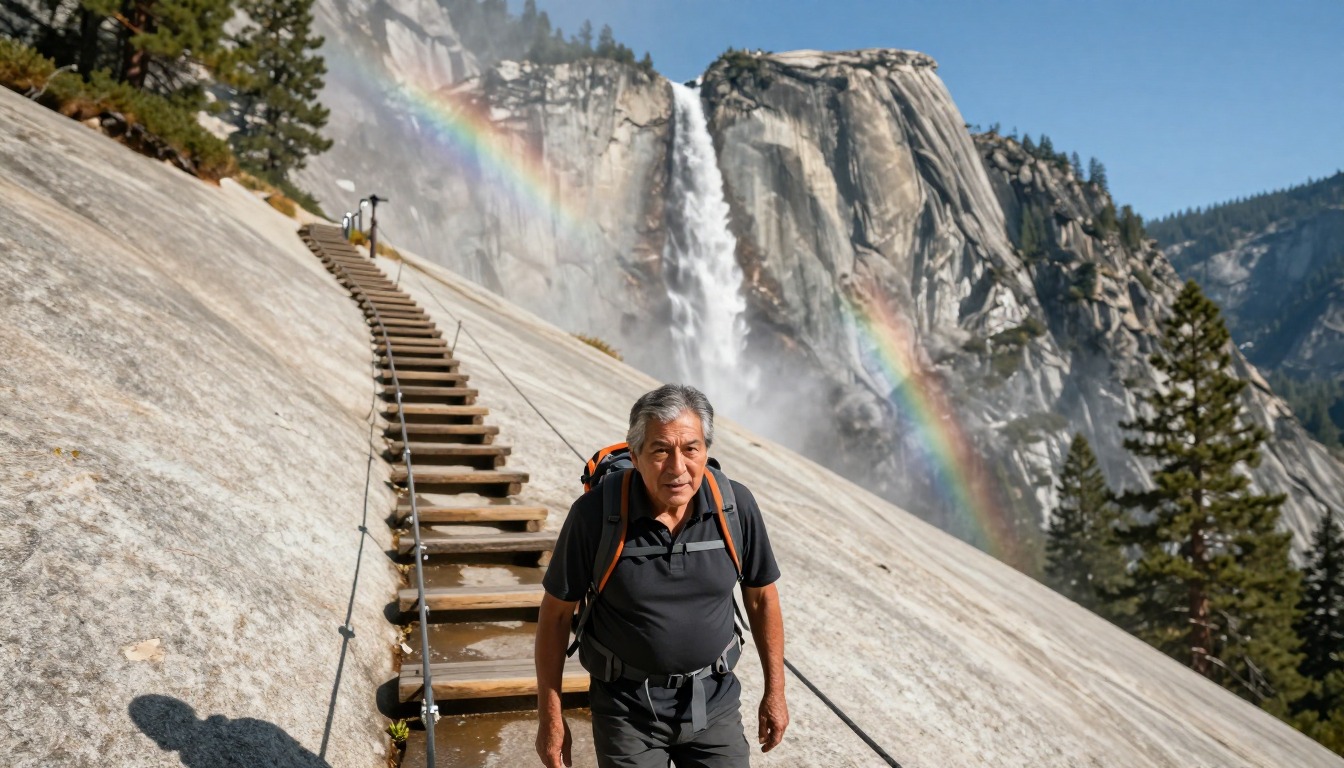
Most of this hike is a long, relentless staircase. The route leaves the valley floor on pavement, then turns into granite steps climbing beside the waterfalls — wet, slick rock and blown spray on the steeper Mist Trail, or a longer, drier set of switchbacks on the John Muir Trail if you'd rather trade grade for distance. Above the falls the angle eases through forest and a sandy, pine-shaded stretch before the trees thin and the tread turns to bare slab and cut rock steps. The last two sections are the ones people come for and worry about: a steep, switchbacking sub-dome of stone stairs with no shade and real exposure, then the cables — two steel handrails bolted to smooth granite, climbed hand over hand off wooden slats.
How to plan the itinerary
Two shapes dominate. The one-day version starts in the dark from the valley floor and runs long — most hikers are walking before dawn so they're up and down the cables with hours of daylight still in hand, and back at the trailhead in the evening rather than the afternoon. The alternative splits the climb with a night at a backcountry camp partway up, turning a brutal day into two manageable ones: a moderate afternoon walk in under a full pack, then an early, light-pack push to the summit and a long descent the next day. Whichever you pick, build the schedule around the cables rather than the mileage. The goal is to be off that exposed granite well before afternoon storms are a possibility, which means setting a turnaround time at the trailhead rather than negotiating with yourself at the sub-dome.
Plan this trip in 5 steps
-
Pick the right pack
Match a pack to your trip, fit and priorities.
-
Plan food & water
Calories, food weight and water for your days on trail.
-
Estimate your time
Pre-filled with this trail’s distance and climb — adjust for your pace.
Trail-specific tips
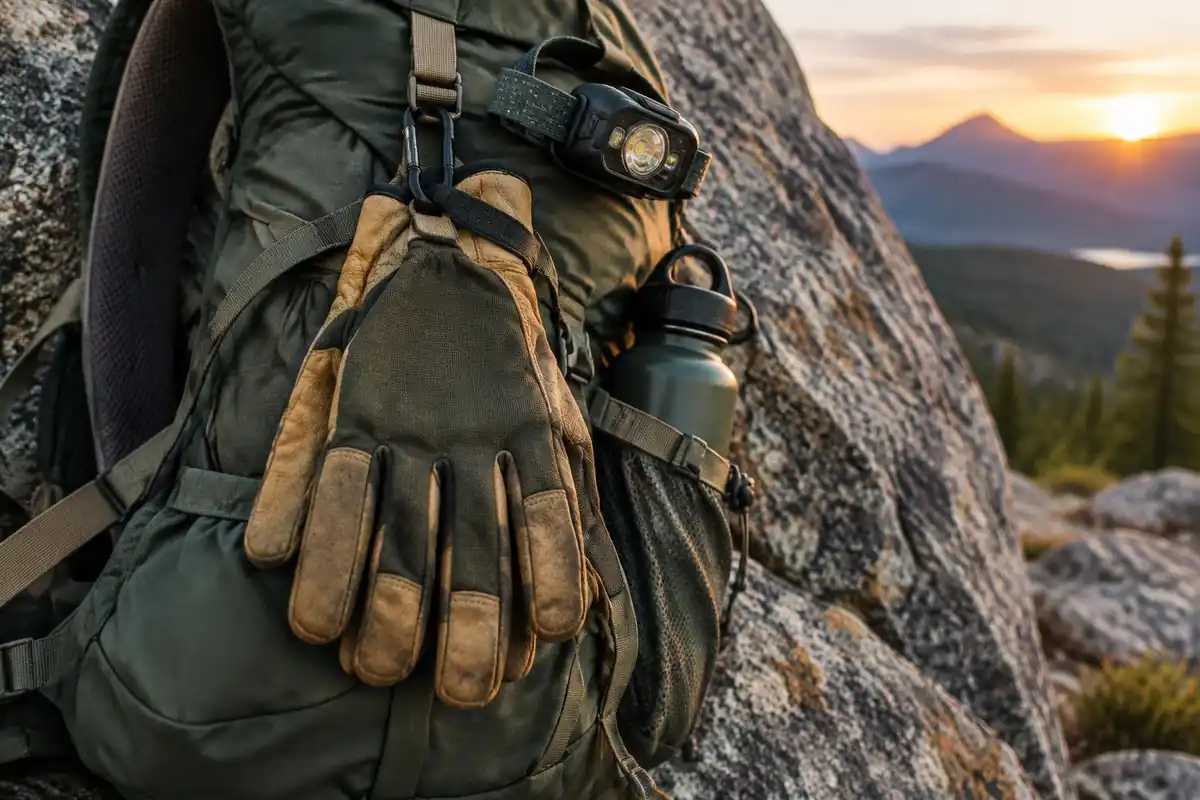
Gloves for the cables are the most-discussed piece of kit here — a cheap grippy pair makes the pull far less punishing on the hands. Descending the cables is slower and more unnerving than going up, so budget real time for it. The classic mistake is treating the waterfall staircase as the hard part and arriving at the sub-dome with nothing left; pace the lower climb like a warm-up. Wet granite and building storm cells change the whole calculation, and general judgment on conditions is covered over on /trail-smarts/. Yosemite requires a permit to climb the cables whenever they are up, and those permits are handed out by lottery; check the park's Half Dome page for current dates and rules, and remember that sleeping out on the way needs a separate wilderness permit.
Permits & rules
The Half Dome cables require a permit whenever they are up: permits to hike to the top are distributed by lottery, and wilderness permits are required for all overnight hikes, so check the park for the current process and dates.
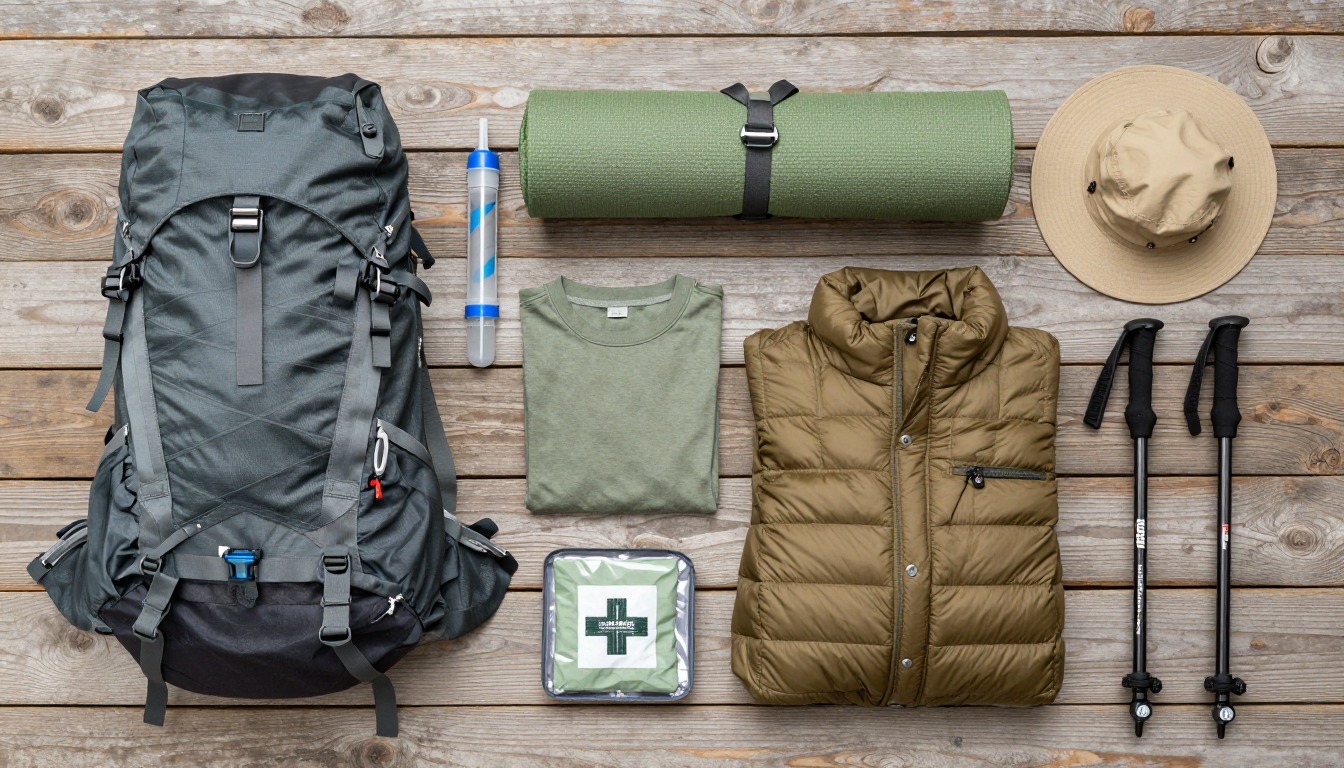
Gear suited to this hike
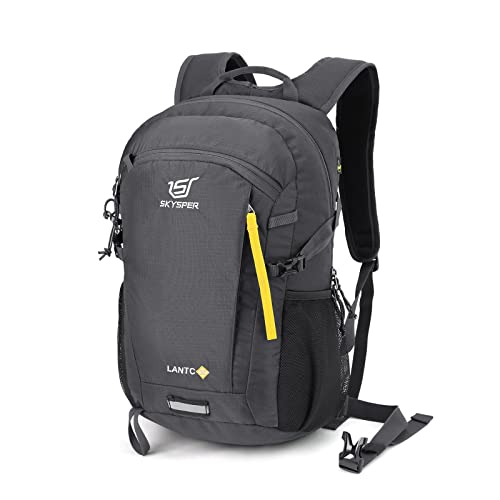
Matched to the terrain and conditions here. Real products — check current price on Amazon.


How the two permit systems fit together
There are really two separate gates on this trip. The park states that permits to hike to the top of Half Dome are required when the cables are up and are distributed by lottery, and, separately, that wilderness permits are required for all overnight hikes.1 A day hiker only deals with the first. A backpacker who sleeps out on the way deals with the second, and the way Yosemite runs that system shapes when you have to plan.
For wilderness permits, Yosemite opens its lottery 24 weeks ahead on Recreation.gov, releasing 60% of reservations at that point and holding 40% back until one week ahead.2 That split is useful for anyone who misses the first round: a second chance exists a week out, though it is smaller. An application fee applies to each request, so check the official page for the current amount rather than relying on an old figure.
Some guides describe a March preseason lottery plus a daily lottery for day hikers, and Half Dome being added to a backpacker's wilderness permit. Those specifics are not spelled out on the park's main page, so confirm the dates and process on Yosemite's own Half Dome permit pages before you build a trip around them.
Why the storm clock sets your turnaround
The sub-dome and the cables are exactly the kind of ground the National Weather Service tells hikers to avoid in a storm: exposed high points and ridge tops. It also notes that in the mountains thunderstorms often build in the early afternoon, and its advice is to hike early and be off the mountain by noon.3 If you can hear thunder, you are likely within striking distance, and there is no safe place outdoors once a storm arrives.5
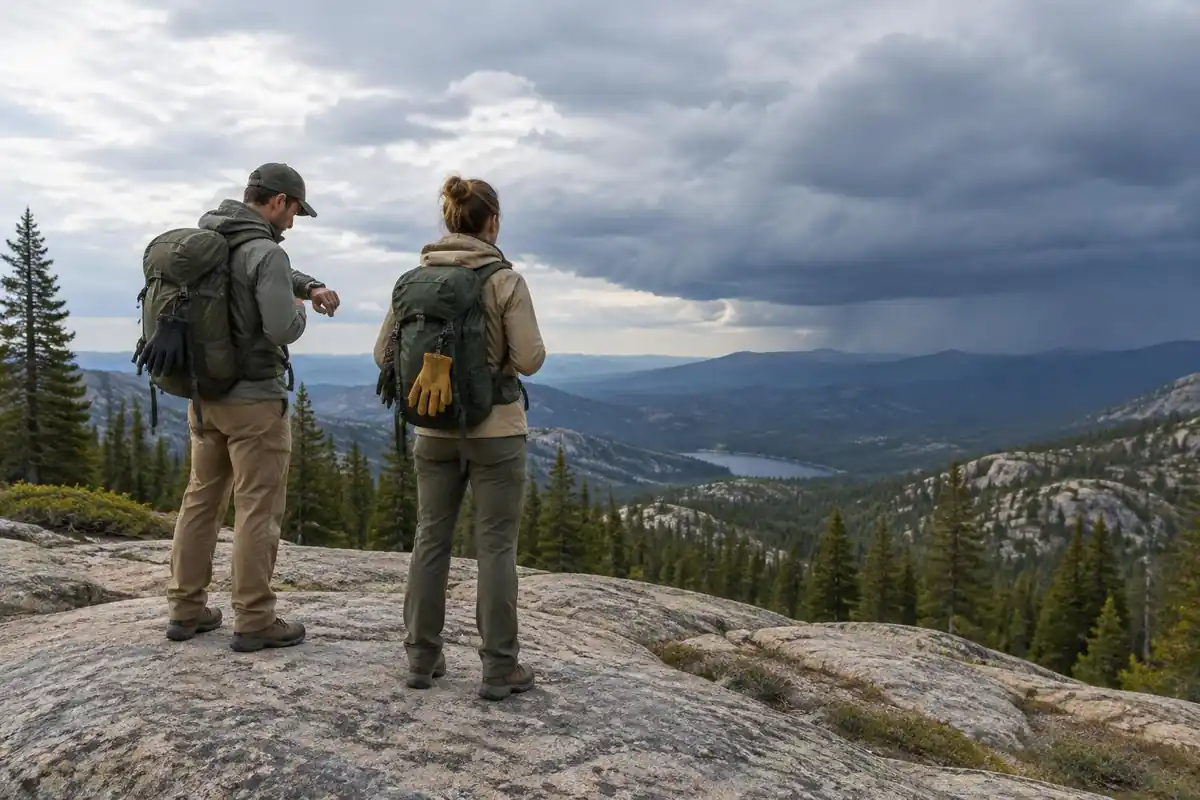
That is why a fixed turnaround time matters more here than a distance goal. The NPS suggests planning for uphill sections to take at least double the downhill time, and setting a turnaround time and sticking to it.6 On Half Dome the arithmetic runs the other way from most hikes' intuition: the descent is long, the stone stairs are hard on tired legs, and the cables are slower going down than up. A realistic plan works backward from being off the granite before the afternoon build-up, then adds the full descent to the valley.
What the overnight option does to your pack
Sleeping out adds more than a tent and bag. In Yosemite, 'food' that must be stored includes all food and drinks, trash, toiletries and other scented items, and hanging food is illegal everywhere in the park, so a canister is the default.4 The allowed list includes the Garcia Backpackers' Cache 812 and BearVault models 110B through 500.7 A canister is rigid and bulky, so a pack with a roomy, round main compartment is easier to live with than a narrow one.
The upside of the overnight version is that the summit push can be done with a nearly empty pack. Water still needs treating: the CDC notes that most portable filters remove parasites but not viruses or bacteria, so check what your filter is rated for.8 Trekking poles earn their place on the descent, where research found they reduced loads on the lower-limb joints across day-pack and expedition-pack weights.9 Just make sure they collapse and stow, because both hands belong on the cables.
Common questions
How hard is the cable section, really?
It isn't technical climbing, but it is steep, smooth granite taken hand over hand with your weight hanging on two steel cables. Most reasonably fit hikers manage it; the ones who struggle are those who dislike heights or arrive already spent. If you're unsure, walk to the base of the cables and decide there — plenty of people do exactly that and turn around.
Should I go up the Mist Trail or the John Muir Trail?
Many hikers climb the Mist Trail, which is shorter and steeper with wet granite steps beside the falls, then come down the John Muir Trail, which is longer but gentler on tired knees and drier underfoot. Descending slick stone stairs at the end of a very long day is where a lot of small injuries happen.
Do I need trekking poles for Half Dome?
They help far more on the descent than the climb, especially on the endless staircase sections where your quads take the beating. The catch is the cables: you want both hands completely free, so bring poles that collapse and stow on your pack rather than a fixed pair you have to juggle at the base.
Can I turn it into an overnight if the day version sounds like too much?
Yes, and it's a common choice. A night at a backcountry camp partway along splits the climbing across two days and lets you reach the cables early with fresh legs and a light pack. The trade-off is hauling overnight gear up the steepest part of the route on the first day, and sorting the extra paperwork that goes with sleeping out.
Complete gearsets for this trip
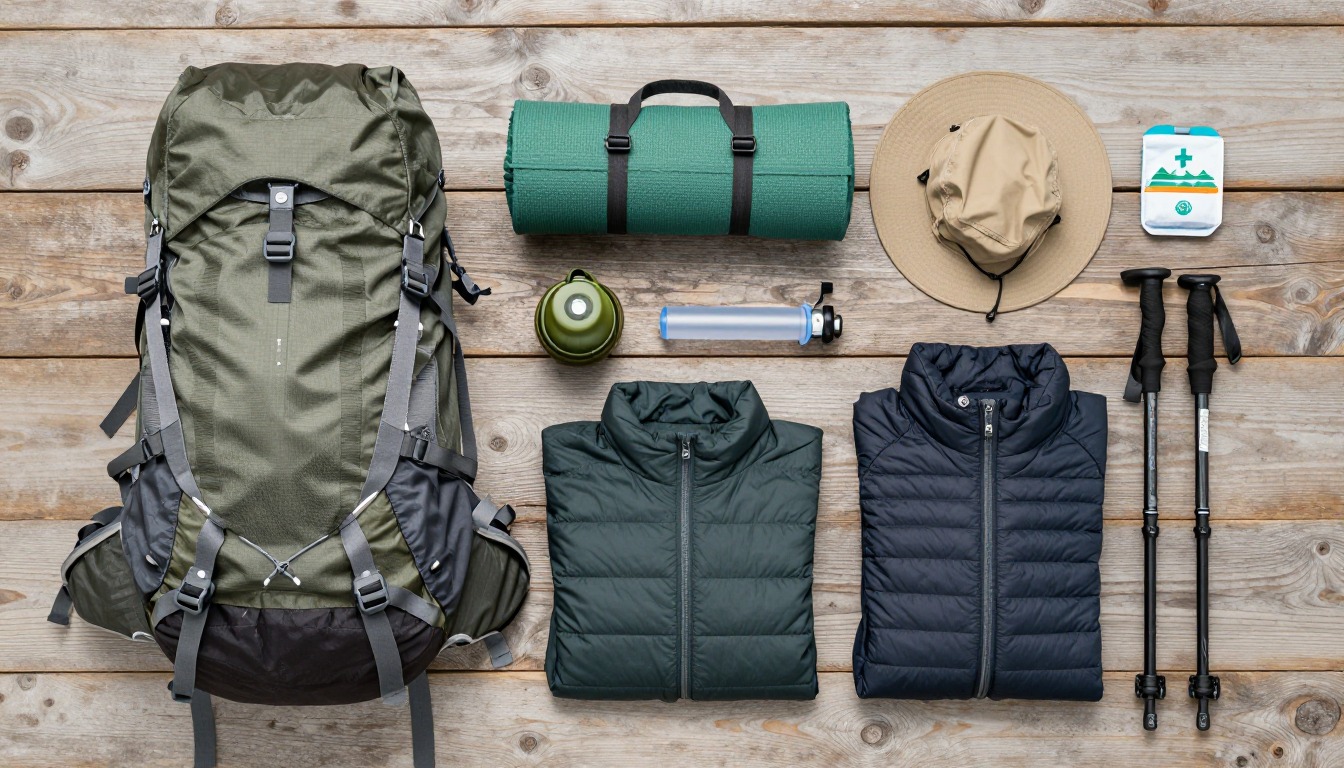
Full curated kits built for exactly this kind of hike.
Trail conditions, permits and access rules change without notice — always confirm current information on the official source above before you go. Some facts on this page are still pending owner verification and are marked accordingly. Product links and the accommodation map are affiliate links: we may earn a commission at no extra cost to you; product prices and availability are shown on Amazon, and accommodation prices on the booking site. See our affiliate disclosure.