
The John Muir Trail setup
The John Muir Trail runs roughly 211 miles through California's High Sierra, from Yosemite Valley or Tuolumne Meadows to the summit of Mount Whitney, crossing ten named passes above 10,000 feet. This setup is built around what actually shapes a JMT trip: sustained high altitude, a mandatory bear canister, long stretches between resupply, intense alpine sun, cold nights, and fast-building afternoon thunderstorms.

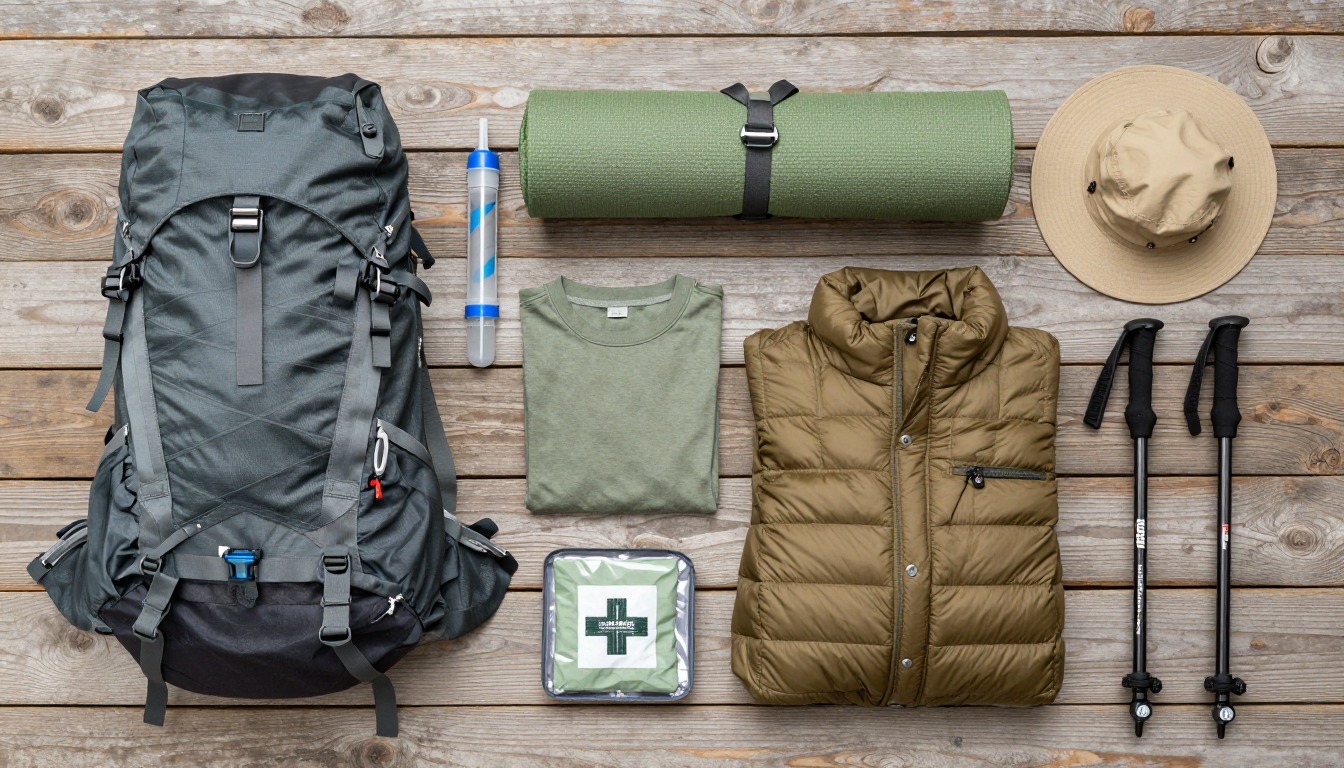
The JMT kit is built around three things that don't change trip to trip: most days sit above 8,000 feet, an approved bear canister is required for virtually the whole route, and resupply points are rarer than on almost any other trail — Red's Meadow, Vermilion Valley Resort and Muir Trail Ranch are the only realistic stops. We size the canister and food plan to that first, then build pack, shelter, sleep and layers around thin air, strong sun, cold nights and the afternoon thunderstorms routine over an exposed pass.
Hikers who've already done a multi-day trip and are ready for sustained high-altitude walking — day after day above 10,000 feet, several major passes, and a week or more between resupplies. Haven't acclimatized above 8,000–10,000 feet before? Build extra days into your itinerary rather than relying on gear to compensate. Planning a shorter High Sierra loop with easy road access? A standard multi-day setup will suit you better.
- Start from a multi-day kit and size the pack and bear canister to your longest stretch between resupplies.
- Confirm your permit and canister requirement for every park you'll pass through — Yosemite, Ansel Adams, Kings Canyon and Sequoia all enforce food storage rules.
- Build layering for a swing from intense midday sun to a well-below-freezing night at 10,000+ feet, in the same 24 hours.
- Plan your pace to clear exposed passes before early afternoon, when Sierra thunderstorms build fastest, and budget acclimatization days into week one.
About this setup
The John Muir Trail is one of the most iconic trails in the country for a reason: roughly 211 miles from Yosemite Valley — or Tuolumne Meadows, where most modern thru-hikers now start — to the summit of Mount Whitney, crossing ten named passes above 10,000 feet, with the trail spending most of its length above 8,000 feet. That profile is the single biggest factor in how you pack: thinner air, harder sun, colder nights, and afternoon weather that builds fast over exposed terrain all follow from it.
Food storage isn't optional here. Every land manager along the route — Yosemite, Ansel Adams Wilderness, Kings Canyon and Sequoia National Parks — requires an approved bear canister, and rangers do check. Because a canister has a fixed volume, it becomes the real limit on how many days you can carry between resupplies, which is why most JMT hikers plan around Red's Meadow, Vermilion Valley Resort or Muir Trail Ranch. Build your food plan around the canister's capacity first, and let your itinerary follow from that.
Sierra summers bring a predictable pattern: clear mornings, building cumulus by late morning, and thunderstorms with real lightning risk on exposed passes by mid-afternoon. Experienced JMT hikers cross the big passes early and are back below treeline before the weather turns. Early-season hikers also face genuine creek and river fords from snowmelt — conditions change week to week, so check current trail reports first. None of this replaces acclimatization: give your body time to adjust, watch for headache, nausea or fatigue, and treat worsening symptoms as a reason to descend, not push on.
The pack
Ten to fourteen days of food between resupplies, plus a bear canister that doesn't compress, means most JMT hikers carry more volume than a typical weekend trip.
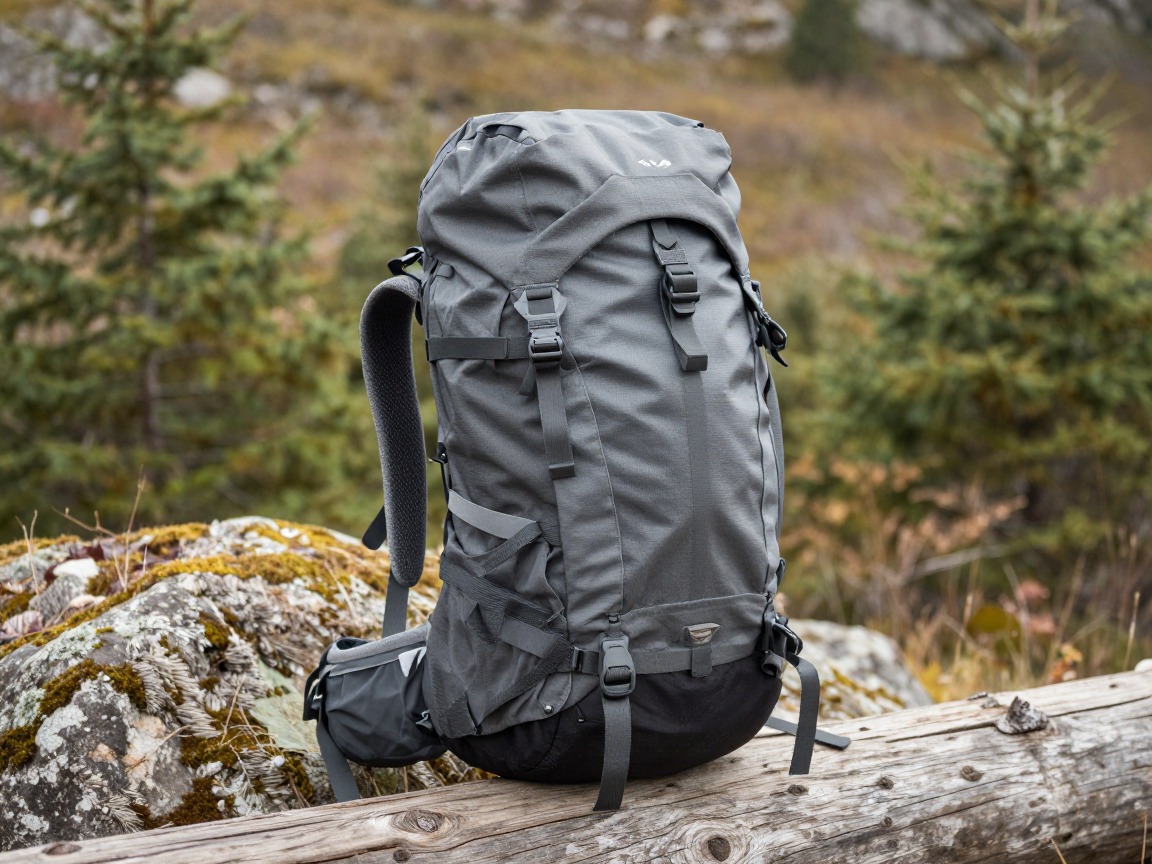
JMT thru-hike pack (55–65L+)
Sized to carry a full bear canister of food plus your complete overnight system between resupply points — the biggest volume demand most hikers will ever pack for.
What to look for: A real, load-bearing hip belt for the heaviest days right after a resupply, 55–65+ liters with room to fit a canister's fixed cylindrical shape, and a frame rated for the weight you'll carry out of Red's Meadow or Muir Trail Ranch with a full food bag.
 WoneNice 50L Check price
  Teton 55L Scout Internal Frame Backpack for Hiking Check price
 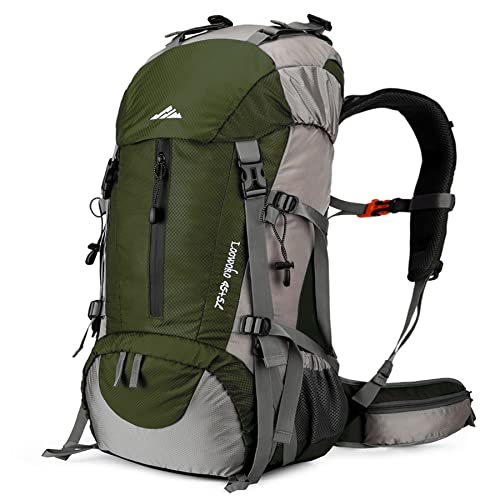 Loowoko 50L Hiking Backpack with Rain Cover for Both Men & Women Check price
 - Pack rain cover or liner
- Compression straps for a shrinking food load between resupplies
Shelter
Storms build fast over an exposed pass, and your tent is where you wait one out or spend a cold night at altitude.
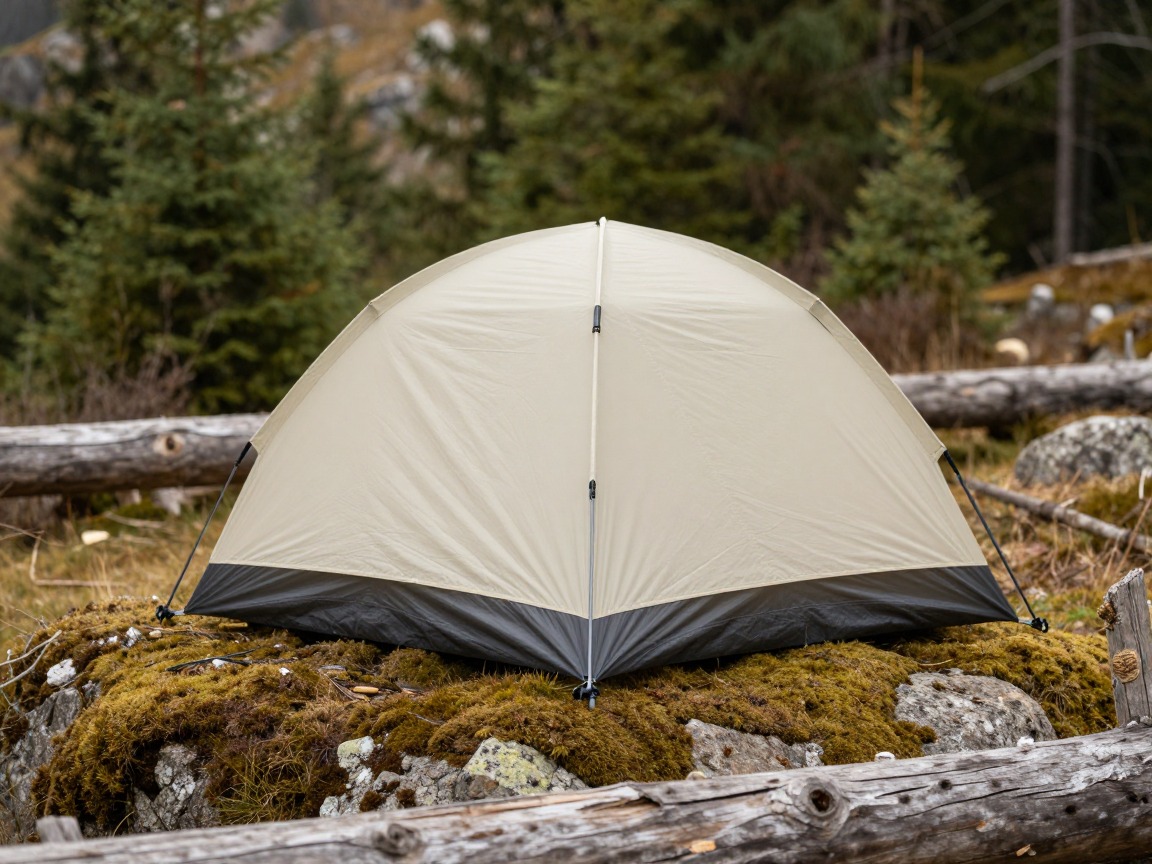
Backpacking tent
Your shelter from wind-driven rain and the occasional early- or late-season snow squall, pitched at elevations where storms can move in with little warning.
What to look for: A freestanding or semi-freestanding design that pitches fast and holds up in wind, a full-coverage fly, and real ventilation to fight condensation on cold high-altitude nights.
 Night Cat 2-Persons Backpacking Tent: Waterproof Lightweight Camping Check price
  BISINNA 2/4 Person Camping Tent Lightweight Waterproof Backpacking T Check price
  Forceatt Tent for 2 Person is Waterproof and Windproof Check price
 - Stakes & guylines rated for wind
- Groundsheet / footprint
- A little repair tape for poles or fabric
Sleep system
Nights at 9,000–11,000 feet run cold even at the height of summer — plan for a low well below what the daytime high suggests.
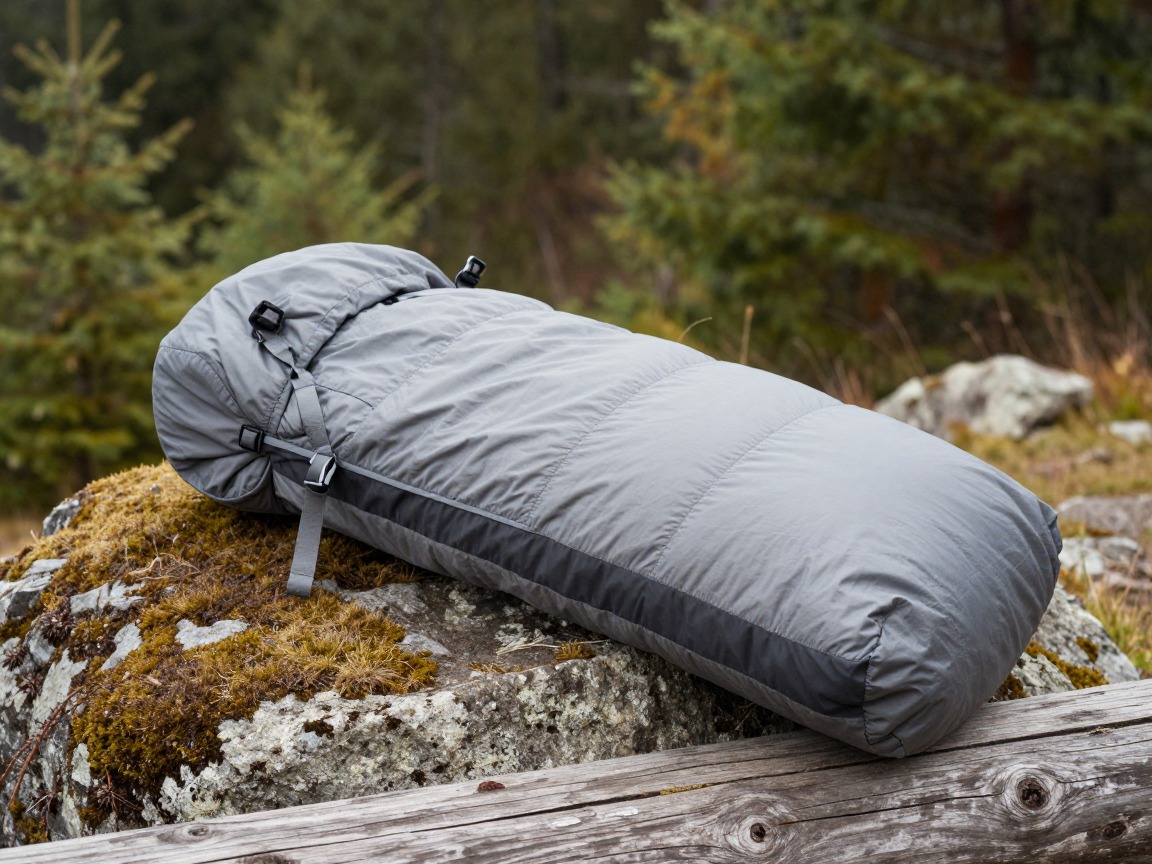
Sleeping bag
Keeps you warm through nights that regularly drop below freezing at altitude, even on trips planned for peak summer.
What to look for: A comfort rating well below the coldest night at your highest camps, not the trailhead forecast, in a fill that compresses small enough to share pack space with a bear canister.
 MalloMe Sleeping Bags for Adults Cold Weather & Warm - Backpacking C Check price
 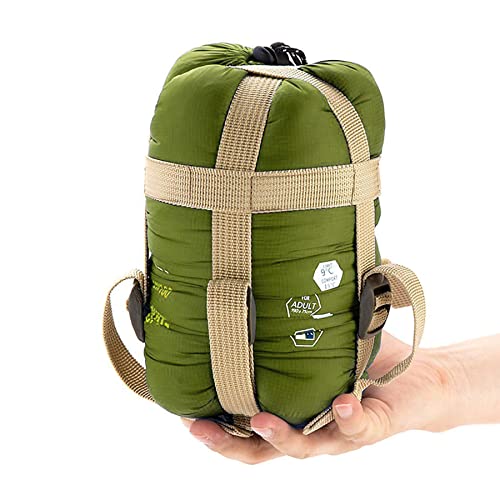 ECOOPRO Portable Check price
  Teton Trailhead Check price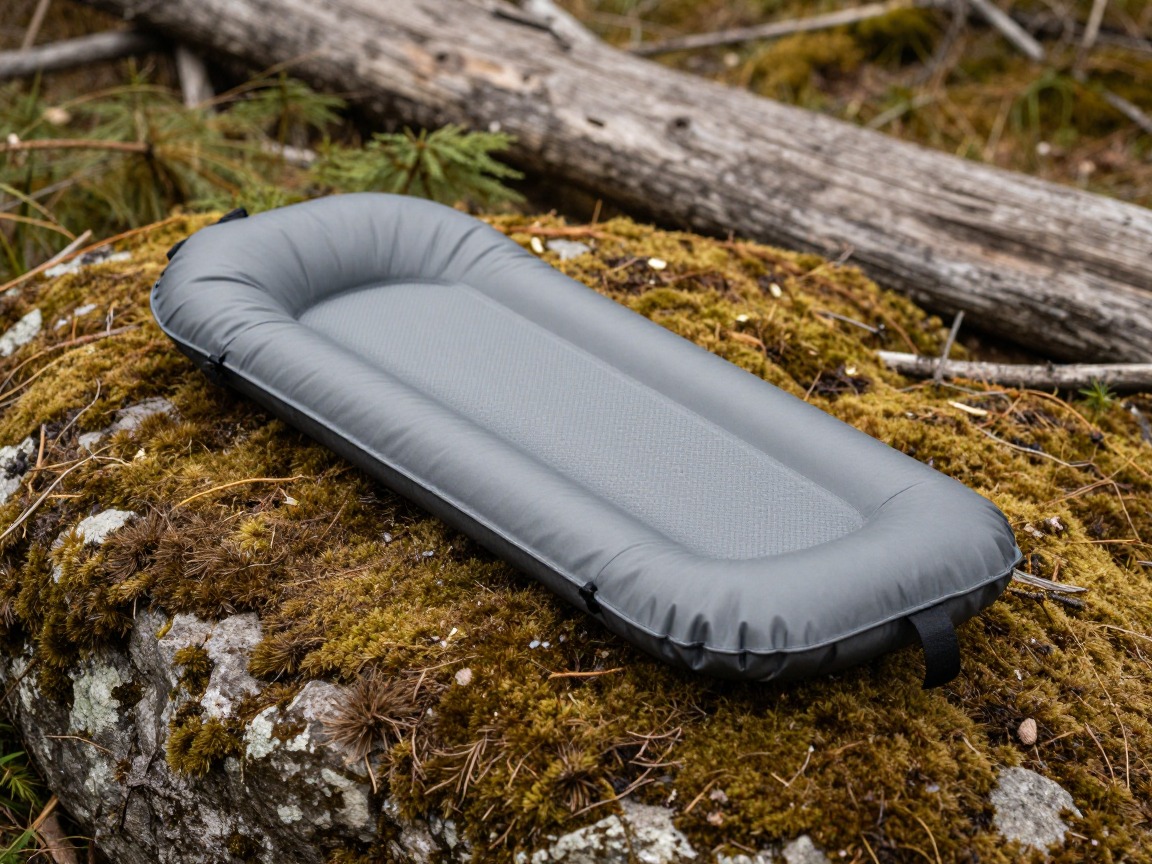
Sleeping pad
Insulates you from cold ground at altitude, where the ground pulls more heat from you than at lower, warmer campsites.
What to look for: An R-value suited to the season — higher than you'd pack lower down — and a packed size that leaves room for your canister and food.
 FUN PAC Camping Sleeping Pad Check price
  Gear Doctors® Ether 17.5oz Ultralight Camping Sleeping Pad Check price
  Oramoose 4in Ultralight Camping Sleeping Pad with Pillow and Foot Pu Check price
 - Inflatable or stuff-sack pillow
Food, water & the bear canister
This is what sets the JMT apart from most other trails: an approved bear canister is mandatory for the entire route, and it's the real limit on how far you can go before resupplying.
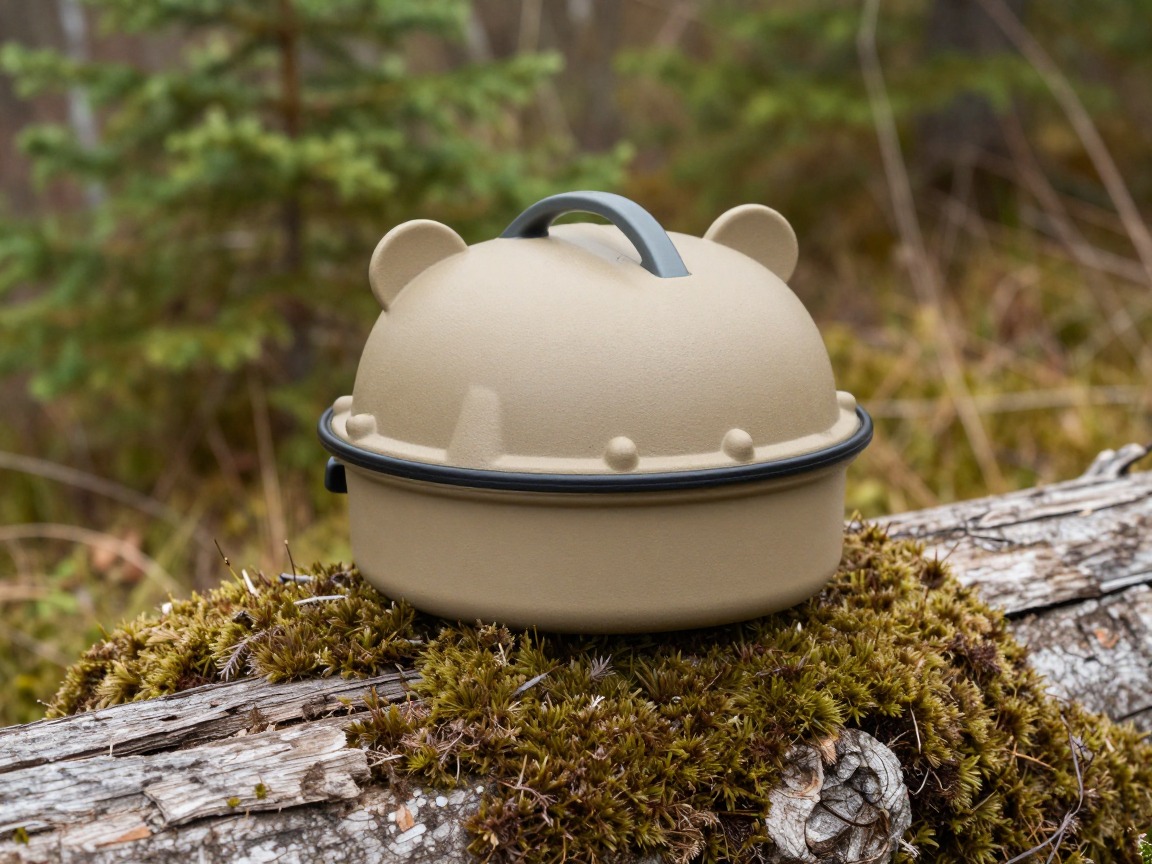
Bear canister (mandatory)
Required by every land agency along the JMT — Yosemite, Ansel Adams Wilderness, Kings Canyon and Sequoia National Parks all enforce it, and rangers do check.
What to look for: An agency-approved canister (check the current approved list for every park you'll pass through), sized to genuinely hold food for your longest stretch between resupplies — the canister's real capacity should drive your resupply plan, not the other way around.
 BearVault BV450 Jaunt Portable Bear Canister for Backpacking - Mediu Check price
  BearVault BV425 Sprint Portable Bear Can - Small Check price
  Bear Canister for Backpacking Check price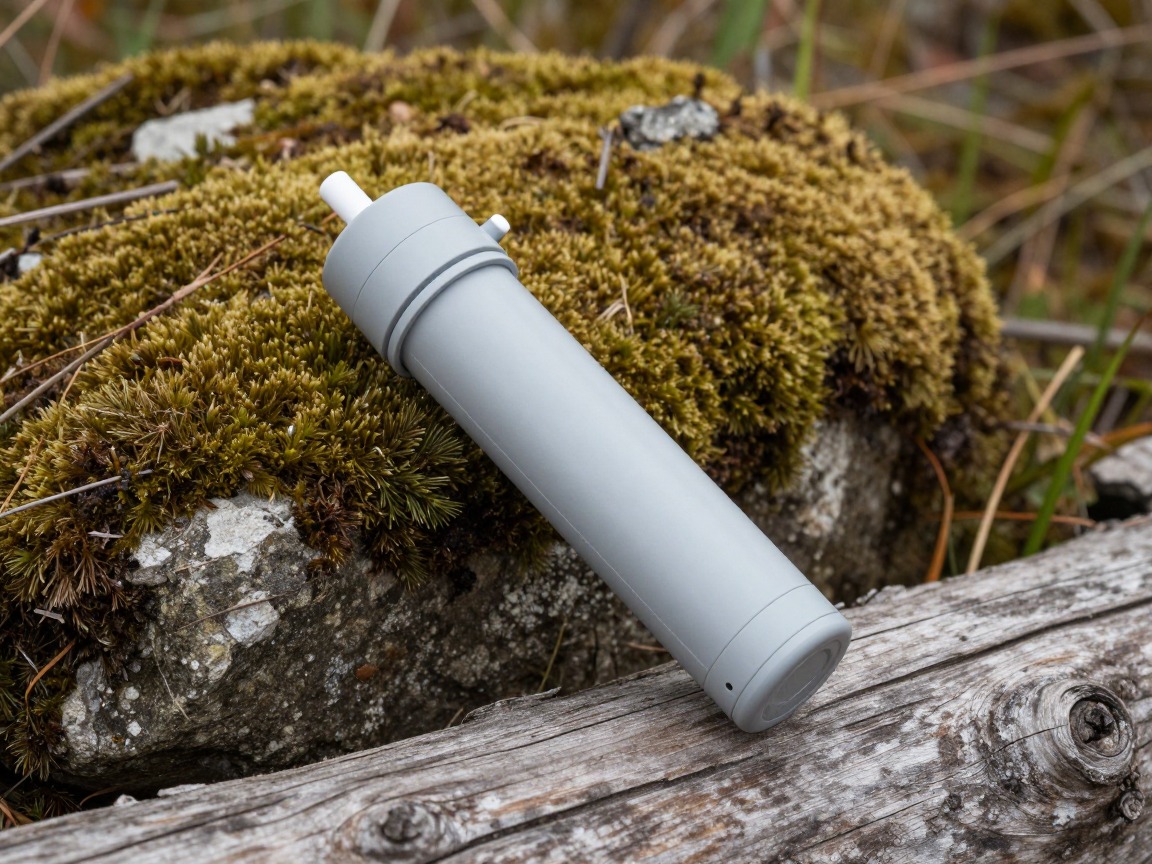
Water filter
Treats the frequent streams, tarns and lakes along the route so you rarely need to carry more than what gets you to the next reliable source.
What to look for: Fast flow and easy field cleaning, plus a filter you know the freeze limits of — a night below freezing at altitude can crack one left in an outside pack pocket.
 Sawyer Squeeze Water Filtration System Check price
  Sawyer Products SP128 Mini Water Filtration System Check price
  LifeStraw Personal Water Filter for Hiking Check price
 - Backpacking stove & pot — at altitude, water boils cooler, so meals take a little longer to rehydrate
- Fuel canister(s) for the full stretch to your next resupply, plus a margin
- Food planned to your canister's actual volume, not an estimate
- Your JMT wilderness permit and any required entry-trailhead permit
- A resupply plan for Red's Meadow, Vermilion Valley Resort or Muir Trail Ranch, confirmed ahead where booking is required
- Spork & lighter
Clothing & sun protection
Few trails put a layering system through more in one day: intense sun and hard climbing effort at midday, then a cold wind or an afternoon squall on the same pass an hour later.

Base layer
Worn most days of the trip, wicking sweat on the climbs to altitude while resisting odor over a week or more between resupply laundry.
What to look for: Merino or a merino blend for odor control over many wears, in a lightweight top you're not afraid to sweat through daily and pack out.
 100% Merino Wool Base Layer Men Set - Thermal Underwear for Men Long Check price
  Merino.tech Merino Wool Base Layer Women Set - Heavyweight Check price
  100% Merino Wool Base Layer Men Set - Thermal Long Underwear with Ba Check price
Insulated jacket
Your warmth at camp and on cold passes, once the sun drops behind a ridge or a storm rolls through.
What to look for: The most warmth for its weight and pack size — down for the drier stretches, synthetic if you expect sustained wet weather from thunderstorms.
 Outdoor Ventures Women's Packable Lightweight Puffer Jacket with Hoo Check price
  Amazon Essentials Women's Lightweight Long-Sleeve Water-Resistant Pa Check price
  Outdoor Ventures Women's Packable Lightweight Puffer Jacket with Hoo Check price
Rain shell
Blocks the wind and rain that arrive with most Sierra afternoon storms, and doubles as a wind layer at camp.
What to look for: Genuinely waterproof, not just water-resistant, with a hood that covers a warm hat and pit zips to vent on the climb.
 UIQUR Mens Rain Jacket Raincoat Waterproof Windbreaker Black L Check price
  COOFANDY Men's Waterproof Hiking Travel Shell Breathable Rain Jacket Check price
  Columbia Womens Arcadia II Waterproof Rain Jacket Check price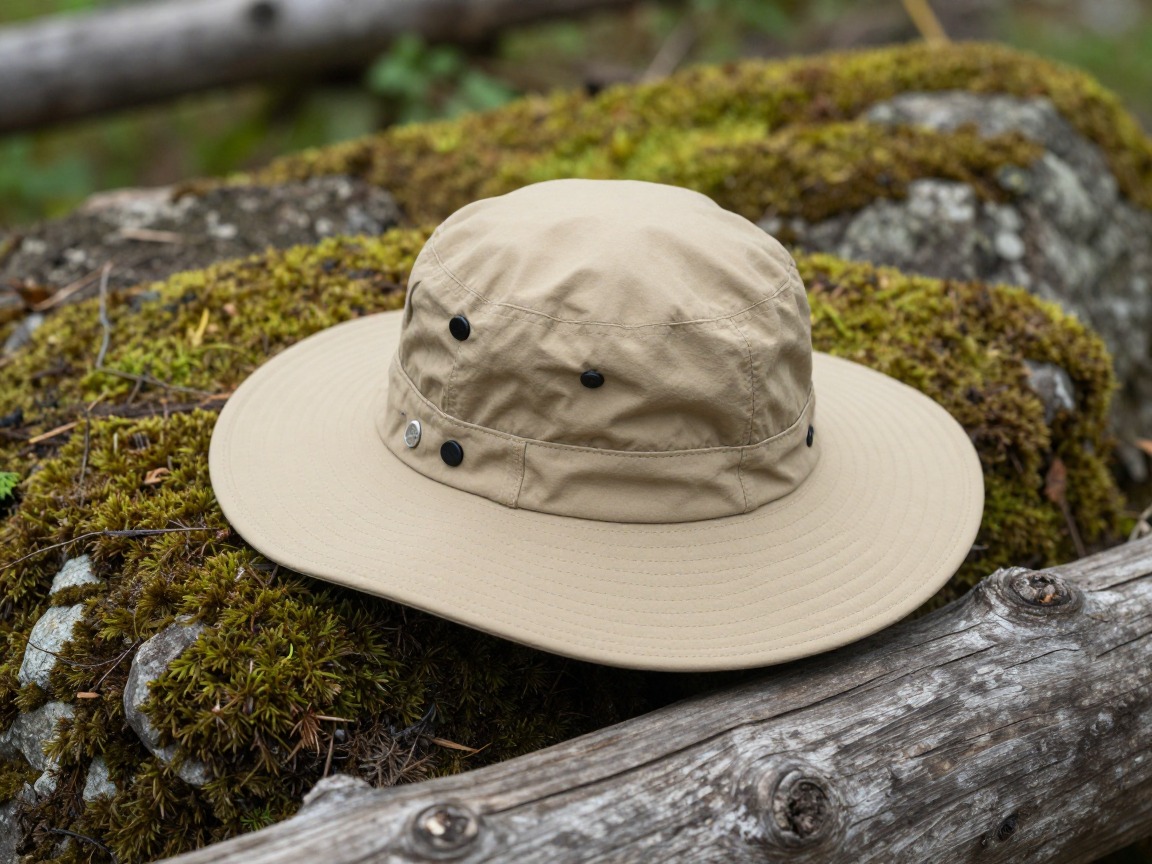
Sun hat & eye protection
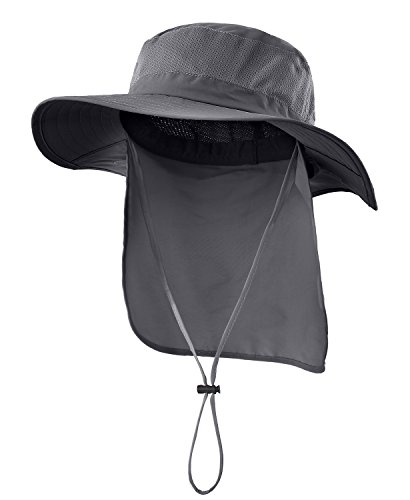
Thin alpine air filters out less UV, and pale granite and lingering snow reflect even more of it back at you.
What to look for: A brimmed hat that shades your face and neck, sunglasses rated for strong high-altitude glare, and a high-SPF sunscreen reapplied through the day.
 FURTALK Womens Sun Hat with Ponytail Hole Beach Hiking Summer Wide B Check price
  Home Prefer Outdoor UPF50+ Mesh Sun Hat Wide Brim Fishing Hat with N Check price
  FURTALK Sun Hats for Men Fishing Hat UPF Protection Wide Brim Bucket Check price
 - Spare hiking socks — wool or a wool blend, rotated to keep feet dry
- Warm hat & gloves for cold mornings on the passes
- Camp clothes kept separate and dry
- Buff or bandana for trail dust and sun
Passes, altitude & safety
The biggest hazard on the JMT isn't the distance — it's climbing into thin air faster than your body adjusts, and getting caught on an exposed pass when the afternoon weather turns.

Trekking poles
Steadies you on loose scree and switchbacks over ten major passes, and earns its keep again at every creek and river ford.
What to look for: Adjustable, packable poles with comfortable grips — genuinely useful on descents as much as climbs, especially with a heavy pack right after a resupply.
 Trekology Trek-Z Cork Grip Collapsible Lightweight Hiking Trekking P Check price
  Cascade Mountain Tech Trekking Poles Check price
  covacure Hiking Poles Check price
Headlamp
Lights pre-dawn starts for hikers timing pass crossings to beat the afternoon thunderstorm window, plus ordinary camp chores after dark.
What to look for: Bright enough for an early alpine start, a red mode that's easy on a shared campsite, and battery life or spares for stretches with no charging.
 LHKNL Headlamp Flashlight Check price
  Lepro LED Headlamp Rechargeable IPX4 Waterproof Headlight 5 Modes - Check price
  Energizer LED Headlamp PRO Check price
First-aid kit
Built for a trip that's genuinely remote for days at a stretch, plus your own regular medication and anything discussed with your doctor beforehand.
What to look for: Blister care, basic wound supplies and your own reliable medications, sized up a little because help may be a full day's walk away.
 Mini First Aid Kit - 150 Piece Small Waterproof EVA Hard Shell Case Check price
  Adventure Medical Kits Ultralight/Watertight Medical Kit .5 Check price
  211 PCS Waterproof First Aid Kit Check price
 - Map + compass or GPS (offline) covering the full route
- Satellite messenger or PLB — much of the JMT has no cell coverage
- Traction (microspikes) for early-season snow on the higher passes
- Whistle
- Sunscreen & lip balm
- Toilet kit — trowel, TP, waste bags (Leave No Trace)
- Known symptoms of altitude illness, and a firm rule to descend if they worsen
How to adapt this setup
The full historic route adds real mileage and elevation gain before you even reach Tuolumne Meadows — budget extra acclimatization days at the start.
Most modern permits start here, trimming the trip closer to 200 miles and skipping the Yosemite Valley climb — the same canister and resupply logic still applies.
Expect harder creek and river fords, lingering snow on the higher passes, and a real case for traction and trekking poles you're confident using at a ford.
Skipping a stop means longer stretches on one canister load — check that the extra food actually fits before you commit to the plan.
Finishing over Whitney's summit, rather than exiting at Whitney Portal alone, adds a long day at the trip's highest, most exposed point — save it for a clear-weather morning.
Common mistakes to avoid
- Choosing a bear canister on size alone without checking it's approved for every park you'll pass through.
- Treating a resupply stop's hours as flexible — Red's Meadow, VVR and Muir Trail Ranch all have limited windows.
- Crossing an exposed pass in the afternoon instead of the morning, right into the daily thunderstorm window.
- Underestimating early-season fords because a trip report is a year or more out of date.
- Packing for the daytime high instead of the overnight low at 10,000+ feet.
- Skipping acclimatization days to hold a fixed itinerary, then pushing through worsening symptoms instead of descending.
Make it yours
Frequently asked questions
Do I really need a bear canister for the entire John Muir Trail?
Yes — Yosemite, Ansel Adams Wilderness, Kings Canyon and Sequoia National Parks all require an approved canister for the whole route, and rangers do check. Confirm your canister is on each park's current approved list, and size your food plan to what it actually holds rather than guessing.
Where can I resupply on the John Muir Trail?
The main options are Red's Meadow, Vermilion Valley Resort and Muir Trail Ranch, with a possible detour toward Independence or Bishop via Kearsarge Pass near the southern end. Each has its own hours, season and booking requirements, so confirm details well before you rely on one.
How cold does it get at night on the JMT in summer?
Camps above 9,000–10,000 feet regularly drop below freezing overnight, even in July and August when daytime temperatures feel warm. Pack a bag rated well below what the daytime forecast suggests, not to it.
What time of day should I cross the high passes?
Aim to be over exposed passes by late morning to early afternoon. Sierra thunderstorms build predictably through the afternoon in summer, and lightning risk on an exposed ridge or pass is a real hazard worth planning your daily start time around.
Do I need prior altitude experience before attempting the JMT?
It helps you recognize your own response to altitude, but it isn't strictly required. Build acclimatization days into the start of your itinerary regardless, learn the symptoms of altitude illness, and commit to descending if they worsen rather than pushing through.
Illustrative images show the type of gear, not specific products. Recommendations link to similar items on Amazon; we only ever link real listings and never show fabricated prices or ratings. General planning guidance, not a substitute for your own judgment or professional backcountry-safety instruction.