
The Yosemite backpacking setup
Yosemite's backcountry runs from oak woodland near the trailheads up onto granite benches above 8,000 feet, and nearly all of it is prime black bear habitat with a strict food-storage rule to match. This setup is built around what actually shapes a Yosemite trip: a mandatory bear canister, a wilderness permit that's genuinely hard to get, granite high country that swings from strong alpine sun to cold nights, and Sierra thunderstorms that build fast most summer afternoons.

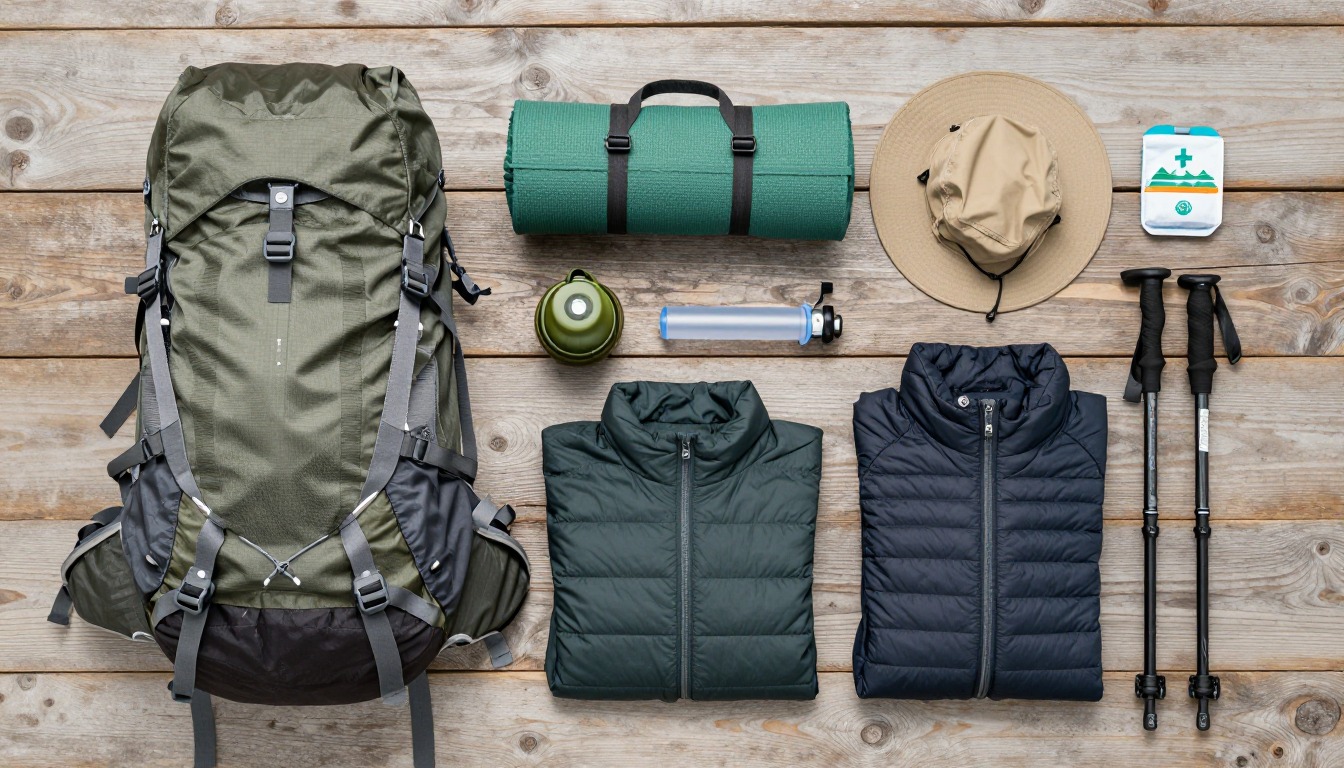
Three things shape almost every Yosemite backpacking trip regardless of route: an approved bear canister is required through virtually the entire wilderness, a wilderness permit is hard to get and non-negotiable once you have it, and the terrain itself — granite benches and passes well above the valley floor — turns an ordinary Sierra summer into something you plan around. We size the canister and food plan first, lock in the permit and trailhead before buying anything else, then build the pack, shelter, sleep system and layers around strong high-altitude sun, cold nights, fast afternoon thunderstorms, and the creek and river crossings that come with snowmelt season.
Hikers with a secured Yosemite wilderness permit for a weekend or multi-day loop, comfortable with sustained elevation gain onto granite terrain and carrying a rigid canister for the whole trip. It suits a first overnight as well as a seasoned one, provided the permit and food storage are sorted properly in advance. If you're hoping to wing it without a permit, or picturing a mellow, gear-light lakeside camp, this isn't that trip — Yosemite's rules and its terrain both ask more of you than a casual overnight elsewhere might.
- Apply for your wilderness permit as early as the reservation window allows, or plan around a walk-up permit, and let your confirmed trailhead and dates set the rest of your itinerary.
- Size your bear canister to the food you'll actually carry between trailhead and exit — it's mandatory for the whole trip, not a recommendation.
- Build your sleep system for the coldest night at your highest camp, not the valley-floor forecast, since Yosemite's high country regularly runs far colder after dark.
- Plan your daily pace to clear exposed granite passes and any river fords in the morning, before Sierra thunderstorms build and before afternoon snowmelt raises water levels.
About this setup
Roughly 95% of Yosemite National Park is designated wilderness that sits well beyond the valley most visitors see — oak woodland and pine forest near the trailheads climbing to granite benches around Tuolumne Meadows and passes reaching well above 10,000 feet in the high country. That range in elevation is the single biggest thing that shapes a backpacking kit here: the higher and further from the valley floor you camp, the colder the nights, the stronger the sun, and the more exposed you are when a storm builds.
Getting onto that terrain takes a permit. Yosemite issues a limited number of wilderness permits per trailhead per day, split between an advance reservation system and a smaller batch of walk-up permits released closer to your trip. Popular trailheads fill during peak summer, so the permit — not the gear list — is usually the first real planning step. The canister rule is just as firm: Yosemite's black bears are notoriously good at defeating a counterbalance food hang, which is why an approved canister is required through nearly the whole wilderness rather than just near the valley's food-storage lockers.
Weather and water follow a seasonal pattern worth planning around. Summer afternoons regularly build into thunderstorms over the high country, so experienced Yosemite hikers cross exposed granite domes and passes in the morning and are back below the ridgeline by early afternoon. Creek and river crossings run their highest and coldest in late spring and early summer, when Sierra snowpack is melting fastest — flows are consistently lower at dawn than in the afternoon, and current conditions are worth checking with rangers before you commit to a route. None of this replaces good judgment in the moment: if a crossing looks too fast or deep, or a storm is building over your intended pass, waiting or turning back is the right call, not a failure of planning.
The pack
A weekend or multi-day Yosemite loop means carrying a rigid bear canister alongside your usual overnight gear, so most hikers land in the same 45–55L range as any other multi-day trip.
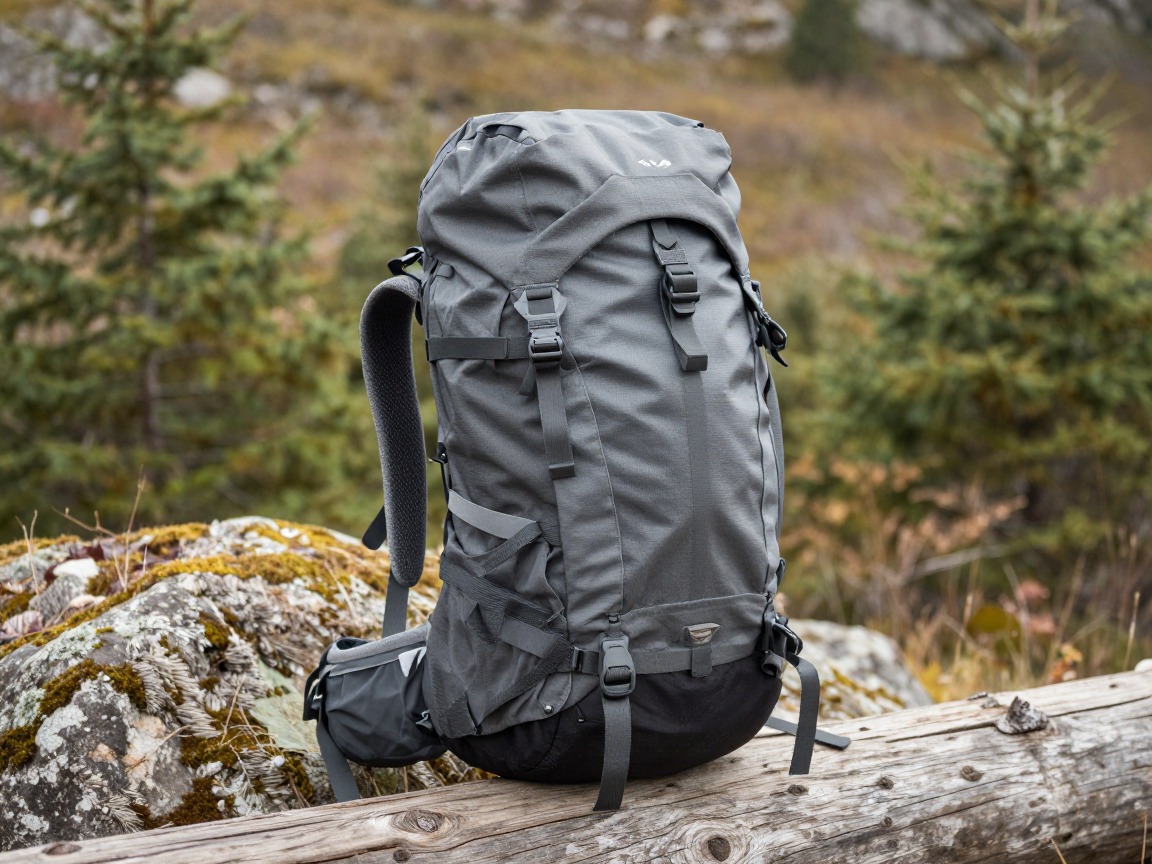
Yosemite backpacking pack (45–55L)
Carries your full overnight system plus a bear canister that doesn't compress or pack flat, on trails that climb from valley trailheads onto granite benches.
What to look for: A real hip belt that carries the weight, a main compartment wide enough to fit a cylindrical canister upright, and 45–55L for a weekend — size up only if your trip runs longer or your canister is bigger.
 WoneNice 50L Check price
  Teton 55L Scout Internal Frame Backpack for Hiking Check price
 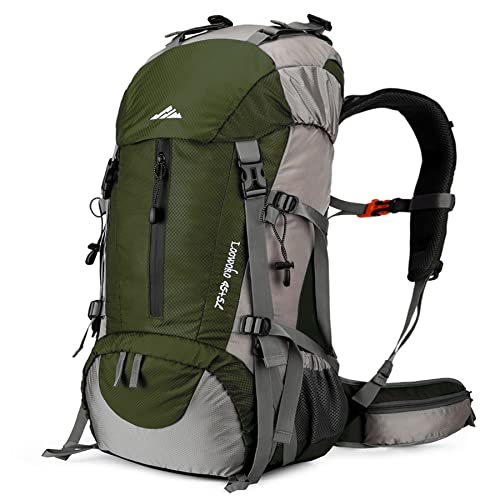 Loowoko 50L Hiking Backpack with Rain Cover for Both Men & Women Check price
 - Pack rain cover or liner
- A copy of your wilderness permit, kept accessible for ranger checks
Shelter
Afternoon thunderstorms are a normal part of a Yosemite summer, so a shelter that pitches quickly and holds up in wind and rain matters more than shaving the last few ounces.
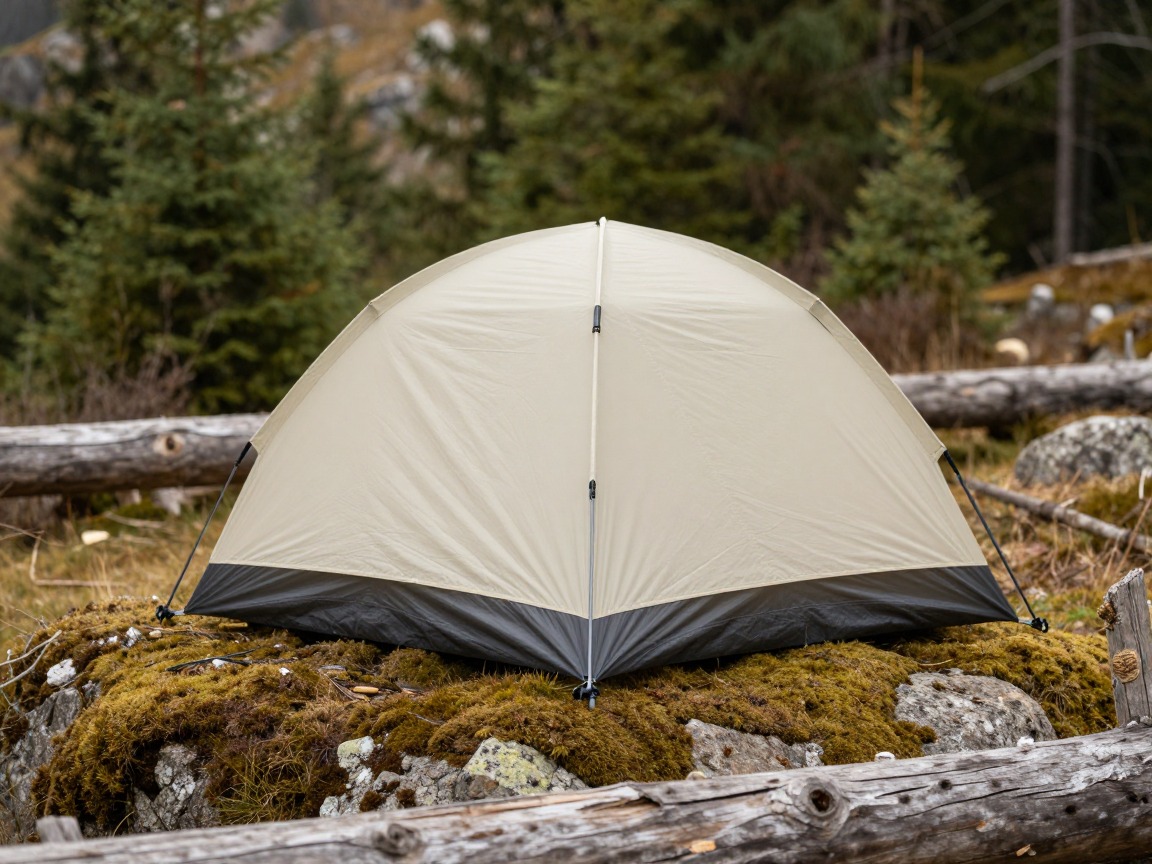
Backpacking tent
Shelters you from wind-driven rain when a Sierra thunderstorm rolls through, and from the occasional cold, exposed night at a high granite camp.
What to look for: A freestanding or semi-freestanding design that pitches fast on rock or thin soil, a full-coverage fly, and enough ventilation to manage condensation on cold nights.
 Night Cat 2-Persons Backpacking Tent: Waterproof Lightweight Camping Check price
  BISINNA 2/4 Person Camping Tent Lightweight Waterproof Backpacking T Check price
  Forceatt Tent for 2 Person is Waterproof and Windproof Check price
 - Stakes & guylines — granite camps often need rock anchors instead of soil stakes
- Groundsheet or footprint
Sleep system
Yosemite's high country nights run far colder than the valley floor suggests — plan your bag and pad around your highest camp, not the trailhead forecast.
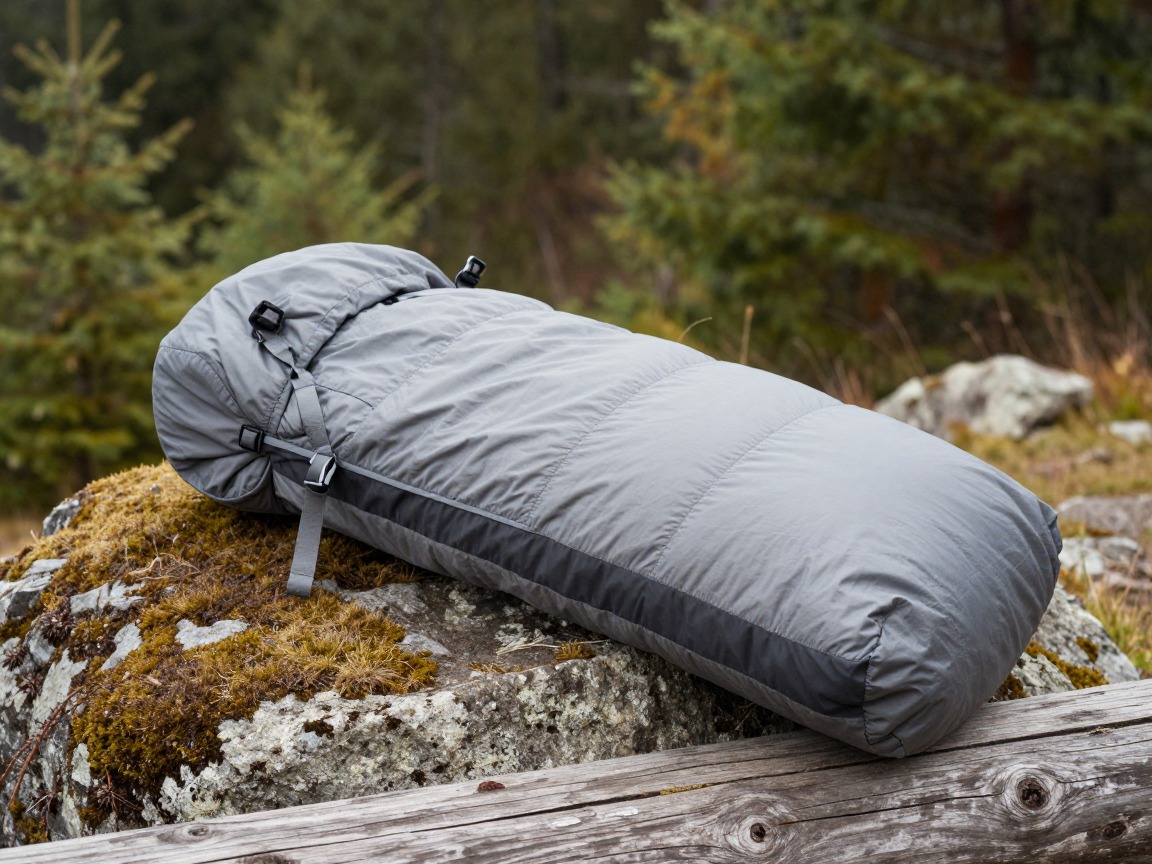
Sleeping bag
Keeps you warm through nights at elevation that can drop well below what a warm Yosemite Valley day promises.
What to look for: A comfort rating suited to your highest planned camp rather than the trailhead, in a fill that packs small enough to still leave room for the canister.
 MalloMe Sleeping Bags for Adults Cold Weather & Warm - Backpacking C Check price
 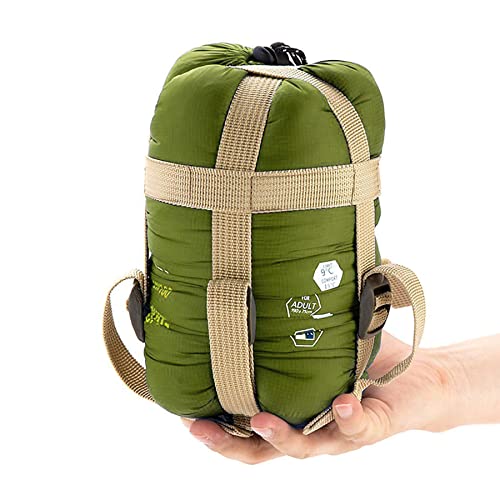 ECOOPRO Portable Check price
  Teton Trailhead Check price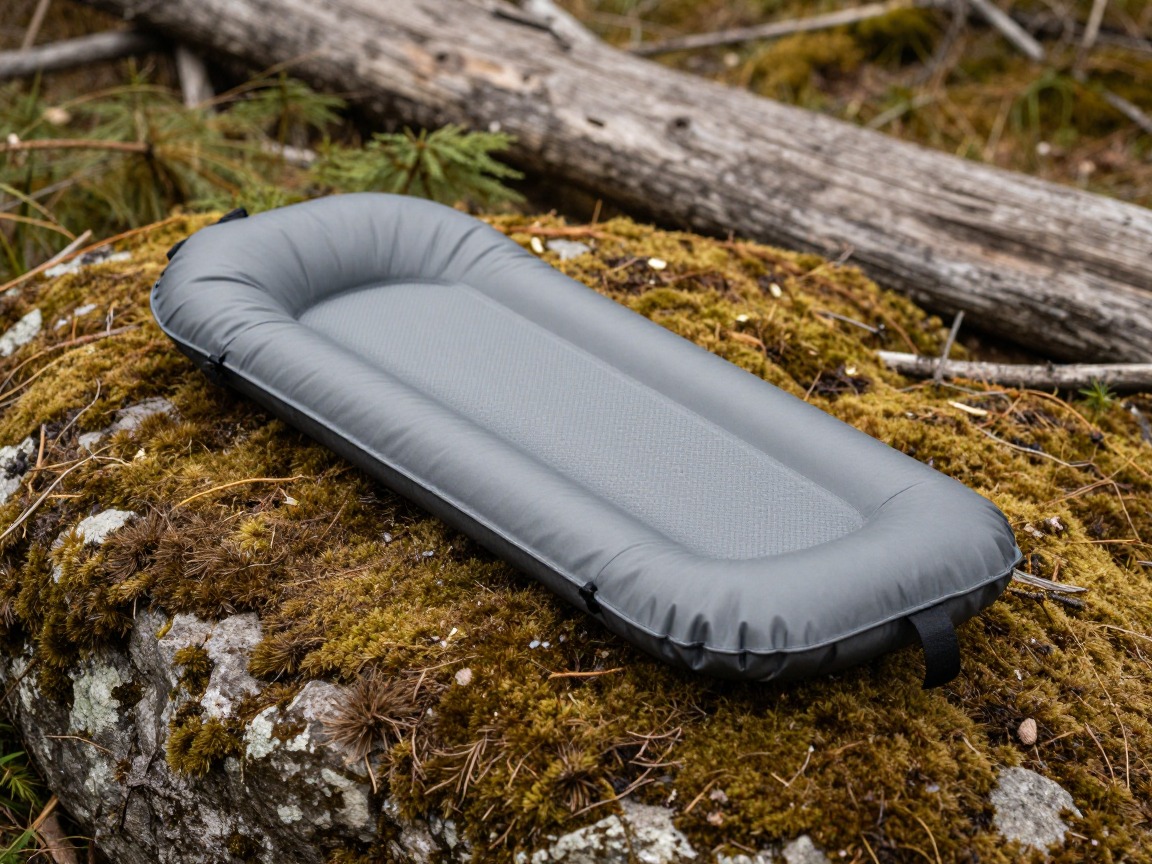
Sleeping pad
Insulates you from cold granite or thin high-country soil, which pulls heat from you faster than it looks like it would.
What to look for: An R-value matched to the season and elevation you're camping at, and a packed size that leaves room to spare for the canister.
 FUN PAC Camping Sleeping Pad Check price
  Gear Doctors® Ether 17.5oz Ultralight Camping Sleeping Pad Check price
  Oramoose 4in Ultralight Camping Sleeping Pad with Pillow and Foot Pu Check price
 - Inflatable or stuff-sack pillow
Food, water & the bear canister
This is the defining piece of a Yosemite trip: an approved bear canister is required through nearly the entire wilderness, and its size is the real limit on how much food — and how many days — you can carry.
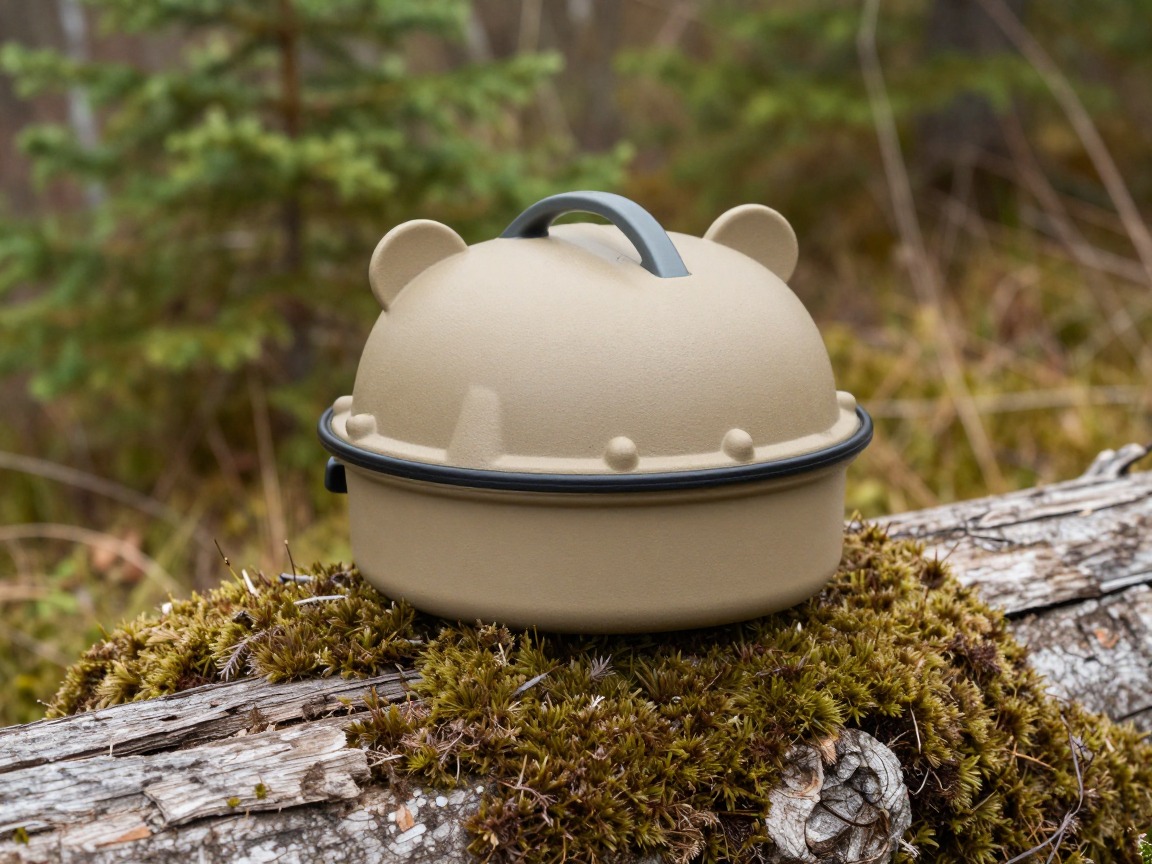
Bear canister (mandatory)
Required almost everywhere in Yosemite Wilderness, well beyond the food-locker areas near the valley floor — rangers do check permits and canisters at trailheads and in the backcountry.
What to look for: An agency-approved canister sized to genuinely hold all your food for the trip; a canister too small to fit everything defeats the point of carrying one.
 BearVault BV450 Jaunt Portable Bear Canister for Backpacking - Mediu Check price
  BearVault BV425 Sprint Portable Bear Can - Small Check price
  Bear Canister for Backpacking Check price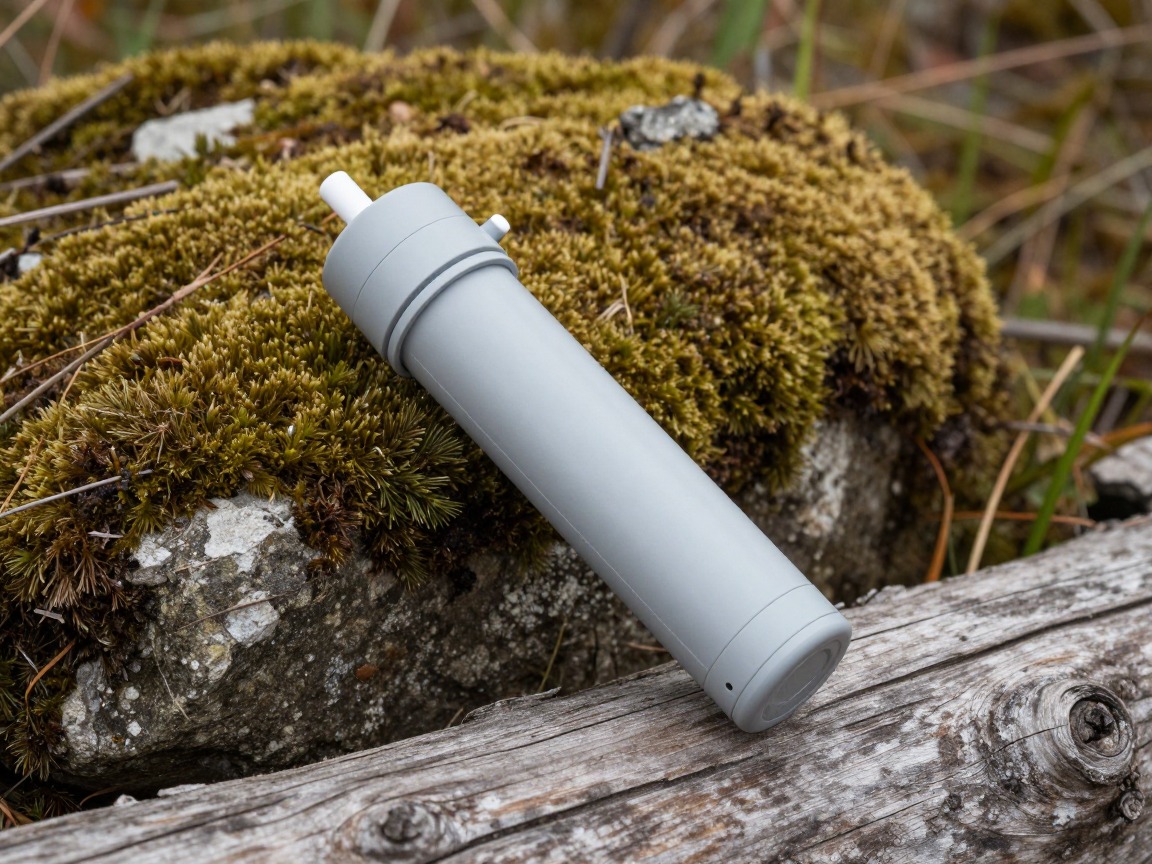
Water filter
Treats the frequent creeks, tarns and rivers along most Yosemite routes so you rarely need to carry more than what gets you to the next reliable source.
What to look for: Fast flow, easy field cleaning, and a design you know the freeze limits of for cold high-country nights.
 Sawyer Squeeze Water Filtration System Check price
  Sawyer Products SP128 Mini Water Filtration System Check price
  LifeStraw Personal Water Filter for Hiking Check price
 - Backpacking stove & pot
- Fuel canister sized to your trip length
- Spork & lighter
- Food planned to your canister's real capacity, not an estimate
- Camp food-storage discipline — canister sealed and set well away from your tent overnight
Clothing & sun protection
A single Yosemite day can run from strong reflected sun on open granite to a cold, wind-driven squall an hour later — pack layers for both, not an outfit for one.

Base layer
Wicks sweat on the climb up onto granite benches and resists odor if you're out for several days between trailheads.
What to look for: Merino or a merino blend for multi-day odor control, in a weight suited to a Yosemite summer.
 100% Merino Wool Base Layer Men Set - Thermal Underwear for Men Long Check price
  Merino.tech Merino Wool Base Layer Women Set - Heavyweight Check price
  100% Merino Wool Base Layer Men Set - Thermal Long Underwear with Ba Check price
Insulating layer
Your warmth once the sun drops behind a ridge or a storm moves through at a high camp.
What to look for: The most warmth for its packed size — down for drier stretches, synthetic if you expect a wetter trip.
 Outdoor Ventures Women's Packable Lightweight Puffer Jacket with Hoo Check price
  Amazon Essentials Women's Lightweight Long-Sleeve Water-Resistant Pa Check price
  Outdoor Ventures Women's Packable Lightweight Puffer Jacket with Hoo Check price
Rain shell
Blocks the wind and rain of a typical Sierra afternoon thunderstorm, and doubles as a wind layer at an exposed camp.
What to look for: Genuinely waterproof rather than just water-resistant, with a sealing hood and enough venting to use on a climb.
 UIQUR Mens Rain Jacket Raincoat Waterproof Windbreaker Black L Check price
  COOFANDY Men's Waterproof Hiking Travel Shell Breathable Rain Jacket Check price
  Columbia Womens Arcadia II Waterproof Rain Jacket Check price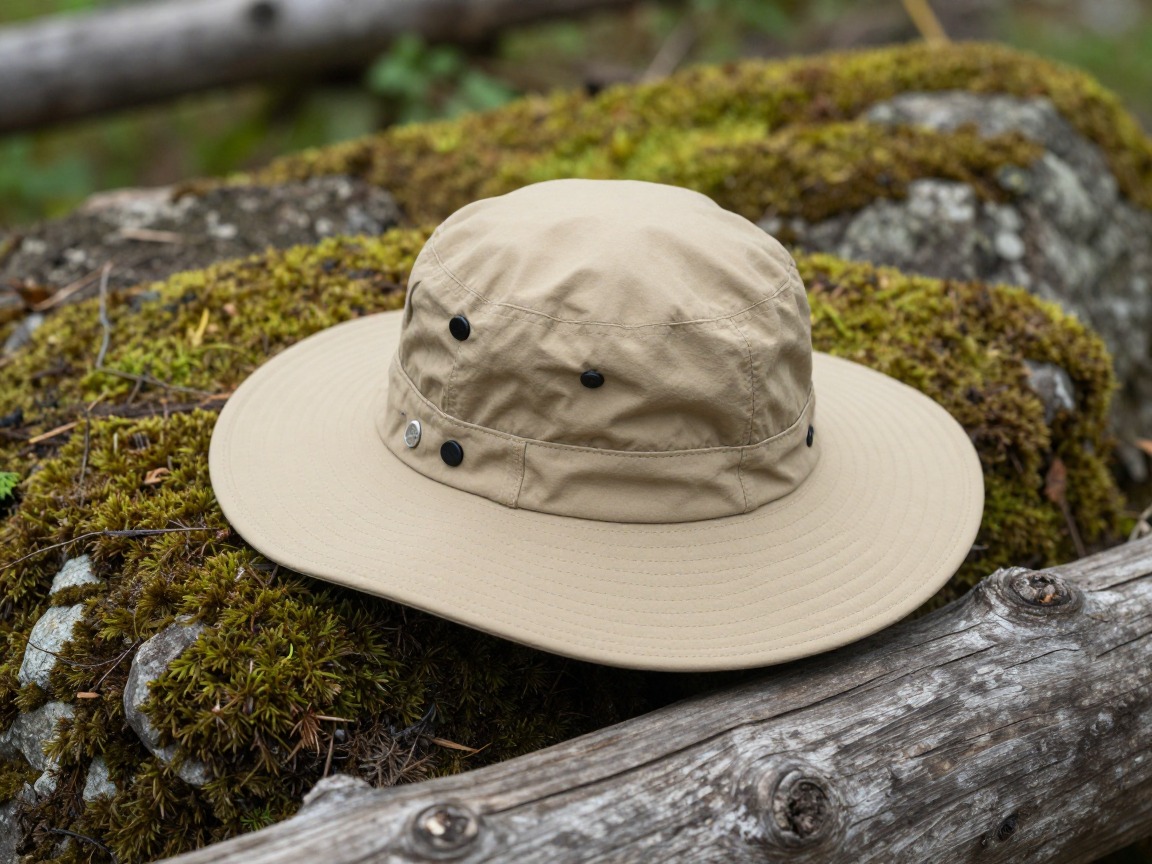
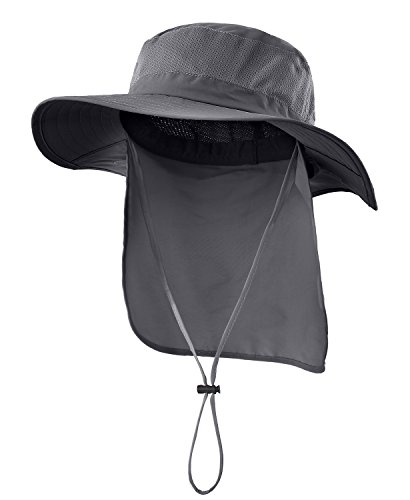
Sun hat & eye protection
Open granite reflects strong sun back at you well beyond what the air temperature alone suggests.
What to look for: A brimmed hat that shades your face and neck, sunglasses rated for bright glare, and sunscreen you reapply through the day.
 FURTALK Womens Sun Hat with Ponytail Hole Beach Hiking Summer Wide B Check price
  Home Prefer Outdoor UPF50+ Mesh Sun Hat Wide Brim Fishing Hat with N Check price
  FURTALK Sun Hats for Men Fishing Hat UPF Protection Wide Brim Bucket Check price
 - Spare hiking socks
- Warm hat & gloves for cold mornings at higher camps
- Camp clothes kept dry and separate
Granite, altitude & river safety
The real hazards on a Yosemite backcountry trip are getting caught on exposed granite when an afternoon storm builds, and misjudging a creek or river crossing swollen with snowmelt.

Trekking poles
Steadies you on smooth granite slabs and loose talus, and earns its keep again at every creek or river ford.
What to look for: Adjustable, packable poles with a comfortable grip — genuinely useful for balance on wet rock as much as on a climb.
 Trekology Trek-Z Cork Grip Collapsible Lightweight Hiking Trekking P Check price
  Cascade Mountain Tech Trekking Poles Check price
  covacure Hiking Poles Check price
Headlamp
Lights an early alpine start for hikers timing a pass or dome crossing to beat the afternoon storm window, plus ordinary camp chores after dark.
What to look for: Bright enough for a pre-dawn start, a red mode for a shared camp, and battery life or spares for the length of your trip.
 LHKNL Headlamp Flashlight Check price
  Lepro LED Headlamp Rechargeable IPX4 Waterproof Headlight 5 Modes - Check price
  Energizer LED Headlamp PRO Check price
First-aid kit
Built for a trip that can be genuinely remote for a day or more, plus your own regular medication.
What to look for: Blister care, basic wound supplies, and your own reliable medications, sized to how far you'll be from a trailhead.
 Mini First Aid Kit - 150 Piece Small Waterproof EVA Hard Shell Case Check price
  Adventure Medical Kits Ultralight/Watertight Medical Kit .5 Check price
  211 PCS Waterproof First Aid Kit Check price
 - Map + compass or GPS (offline) covering your full route
- Satellite messenger or PLB for the more remote high-country routes
- Whistle
- Sunscreen & lip balm
- Toilet kit — trowel, TP, waste bags (Leave No Trace)
- A plan to check current ranger conditions for fords and lingering snow before you go
How to adapt this setup
Climbing the Half Dome cables requires its own separate permit on top of your wilderness permit, plus an early start and a firm rule to turn back if a storm is building anywhere near the summit.
A longer approach at higher elevation means colder nights and more exposed granite — budget a warmer sleep system and earlier daily starts than a shorter, lower route.
Peak snowmelt brings the biggest river crossings of the year and lingering snow on higher trails; cross fords in the cool morning and check current ranger conditions before you go.
Fewer afternoon thunderstorms but noticeably colder nights and a real chance of an early cold snap — confirm your planned trailhead and permit are still open this late.
Milder nights and less elevation gain, but the bear canister requirement and the permit system apply exactly the same as on a longer high-country route.
Common mistakes to avoid
- Assuming a walk-up permit will be available with no backup plan during peak summer — popular trailheads book out well in advance.
- Treating the bear canister as optional or trying a counterbalance food hang instead — Yosemite's bears are notorious for defeating hangs, and rangers do check.
- Fording a creek or river in the afternoon instead of the morning, right when snowmelt has pushed the flow to its highest point of the day.
- Packing for Yosemite Valley's warm floor temperatures and getting caught cold at a high-country camp thousands of feet higher.
- Getting caught on an exposed granite dome or pass after early afternoon, just as Sierra thunderstorms typically build.
- Sizing the canister to what's convenient to carry rather than to the food actually needed for the length of the trip.
Make it yours
Frequently asked questions
Do I need a bear canister for backpacking in Yosemite?
Yes — an approved canister is required through almost the entire Yosemite Wilderness, not just in areas with food-storage lockers. Rangers do check, and a counterbalance food hang isn't an accepted substitute; Yosemite's bears are especially skilled at defeating them.
How do I get a wilderness permit for Yosemite?
Permits are quota-limited by trailhead and mostly issued through an advance reservation system, with a smaller number of walk-up permits available closer to your trip. Popular trailheads in peak summer fill fast, so apply as early as the reservation window opens.
Do I need a separate permit to hike Half Dome?
Yes — the Half Dome cables require their own permit on top of your wilderness permit, allocated through a separate process. Check current requirements before building a summit day into your route.
How cold does it get at night backpacking in Yosemite's high country?
Camps around Tuolumne Meadows and higher routinely drop well below what the valley floor forecast suggests, even in summer. Pack a sleeping bag rated for your highest planned camp, not the trailhead temperature.
When are river crossings most dangerous in Yosemite's backcountry?
Roughly May into June, when snowmelt runoff peaks and afternoon flows can run much higher and faster than the same crossing at dawn. Cross early in the day when levels are lowest, and turn back rather than force a crossing that looks too fast or deep.
Illustrative images show the type of gear, not specific products. Recommendations link to similar items on Amazon; we only ever link real listings and never show fabricated prices or ratings. General planning guidance, not a substitute for your own judgment or professional backcountry-safety instruction.