
Affiliate disclosure: this page contains affiliate links. Purchases made through them may earn us a commission at no extra cost to you. See our affiliate disclosure.
In plain English
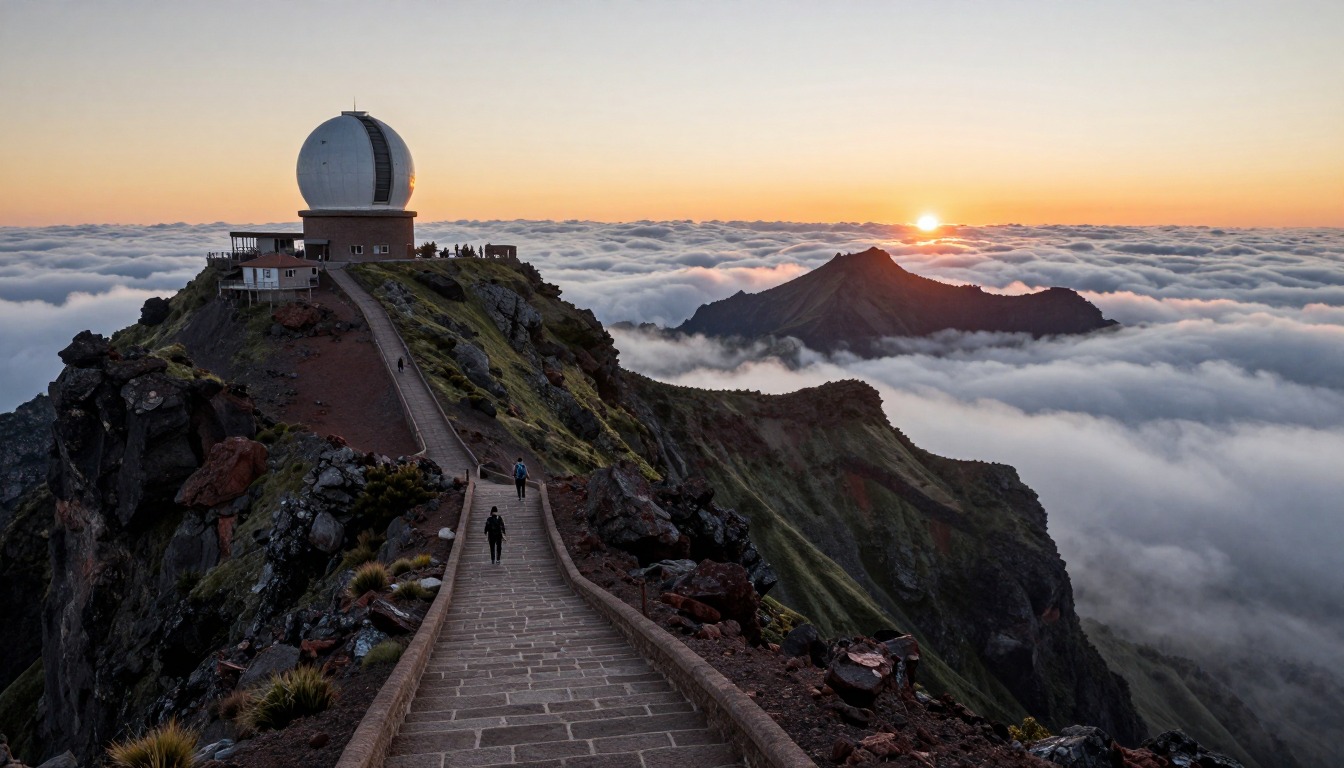
This is not a wilderness footpath. It is a built stone staircase along a high ridge, with chains and railings where the drop is worst and a few tunnels cut straight through the rock. You go down a long flight, along a ledge, and up another long flight, again and again.
So the trip is hard on the legs and on your head for heights, but it is not about finding your way. What matters is timing and safe footing. You start in the dark to reach the ridge at sunrise, so you need a headlamp, and you need a plan to get picked up at the far end.
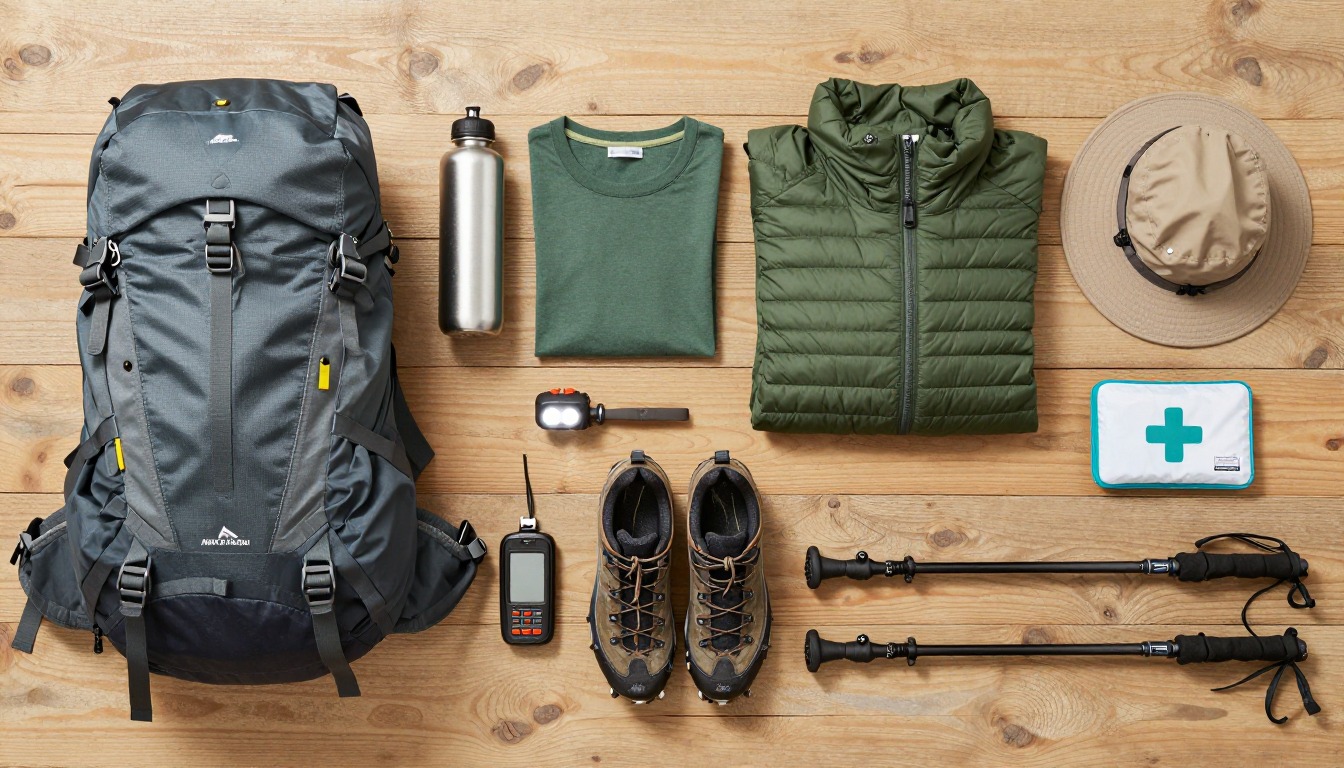
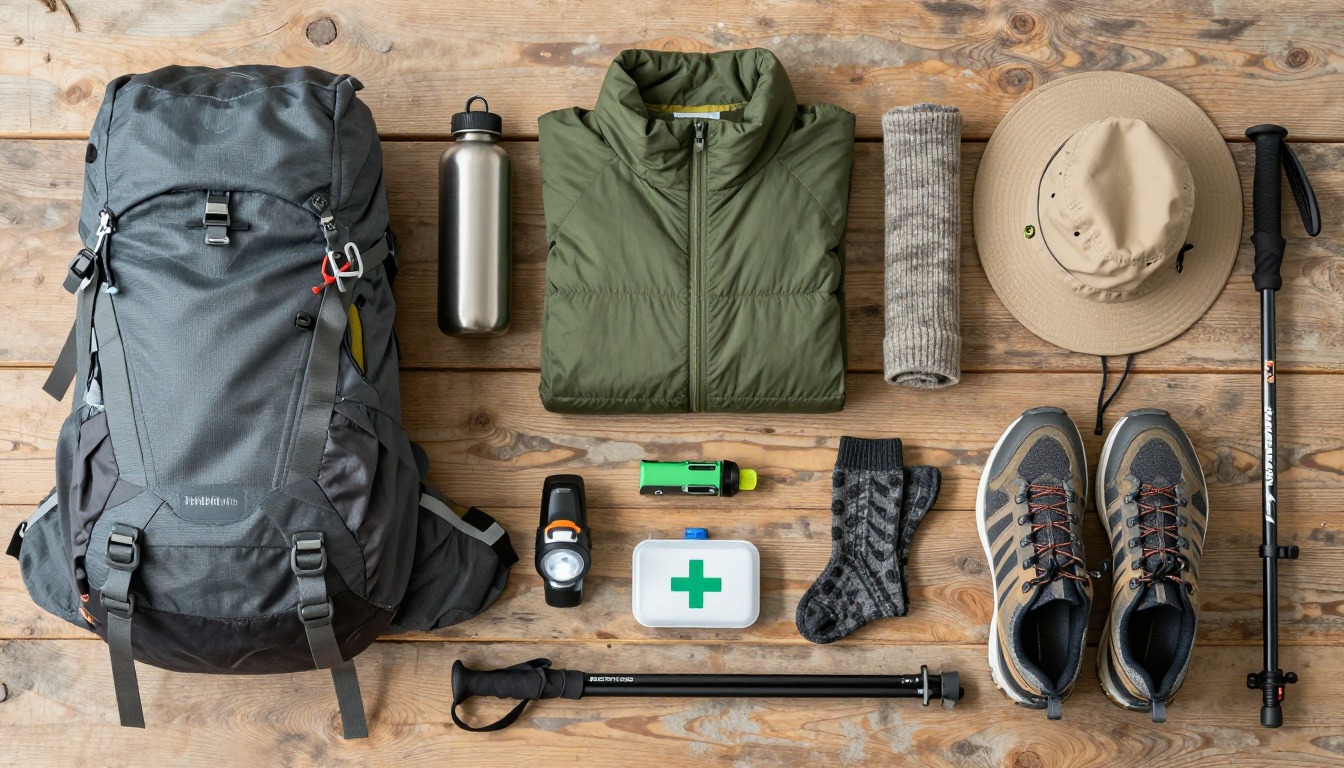
Bring a light pack with water, food, a warm layer and a rain jacket, because the ridge is often cloudy and windy. Keep your hands free for the chains, so a pack that sits snug on your back is better than one that swings.
What the hike is like
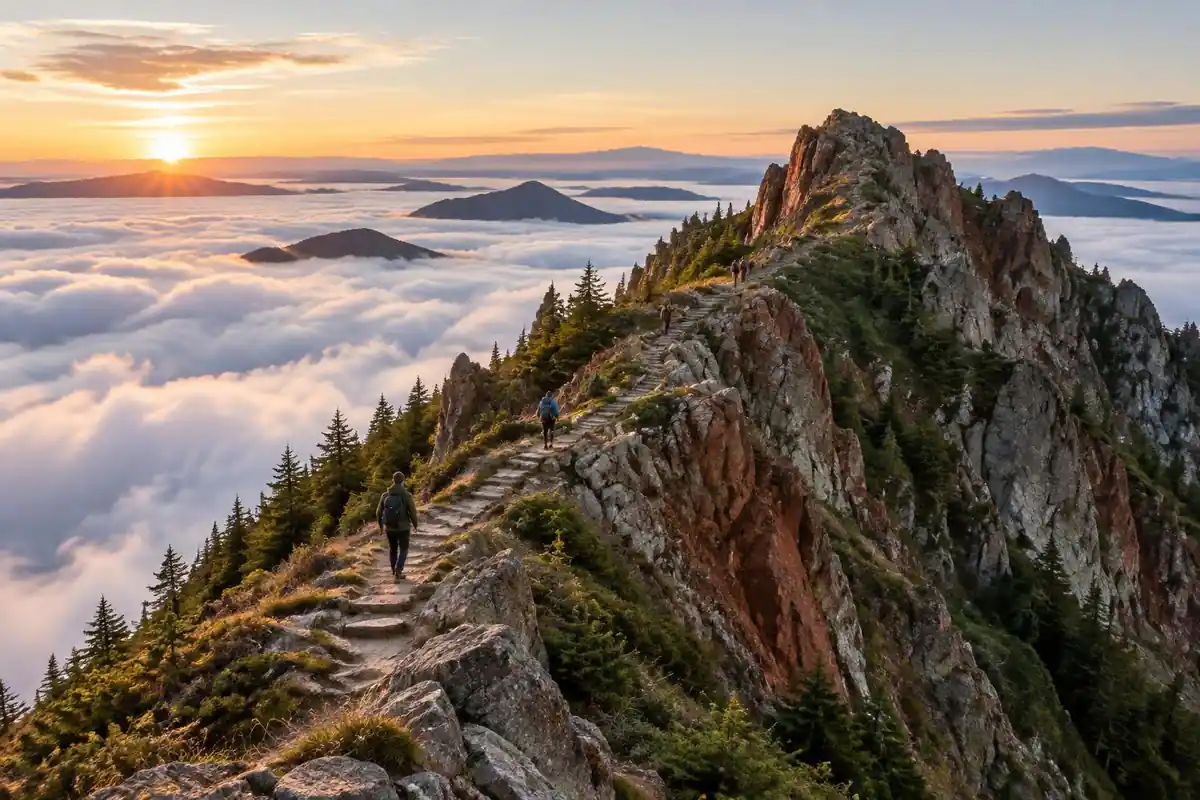
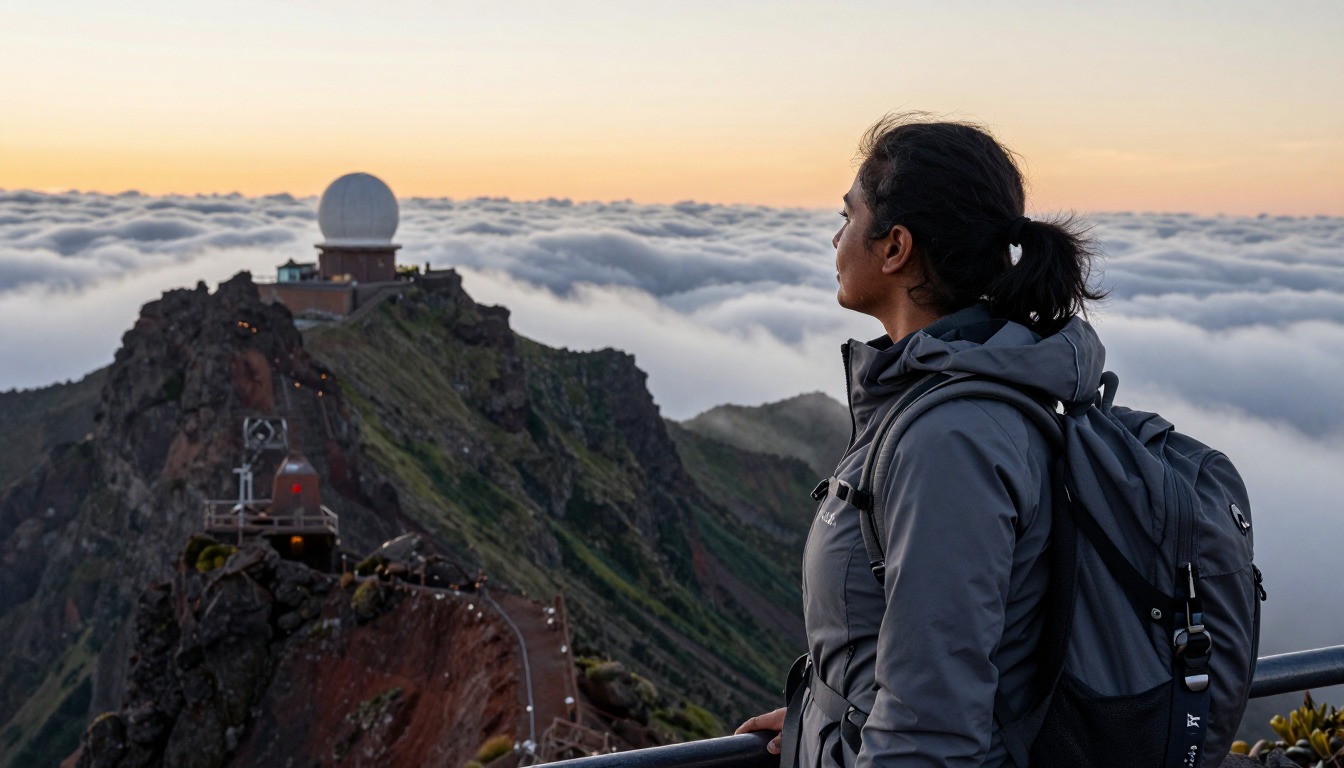
Almost none of the PR1 is natural footpath. It is a built route — cut, paved and bolted into the ridge linking Madeira's two highest peaks — and stone steps dominate the walking. The pattern sets in early: a long staircase down off one shoulder, a traverse on a ledge not much wider than your boots, then a staircase back up the next rise. Chains and railings guard the worst of the exposure, though the drops on either side are the kind you feel in your legs. Hand-bored tunnels carry the path straight through rock too steep to cross. Near the far end the bare volcanic rock gives way to windblown heath and gnarled tree heather.
How to plan the itinerary
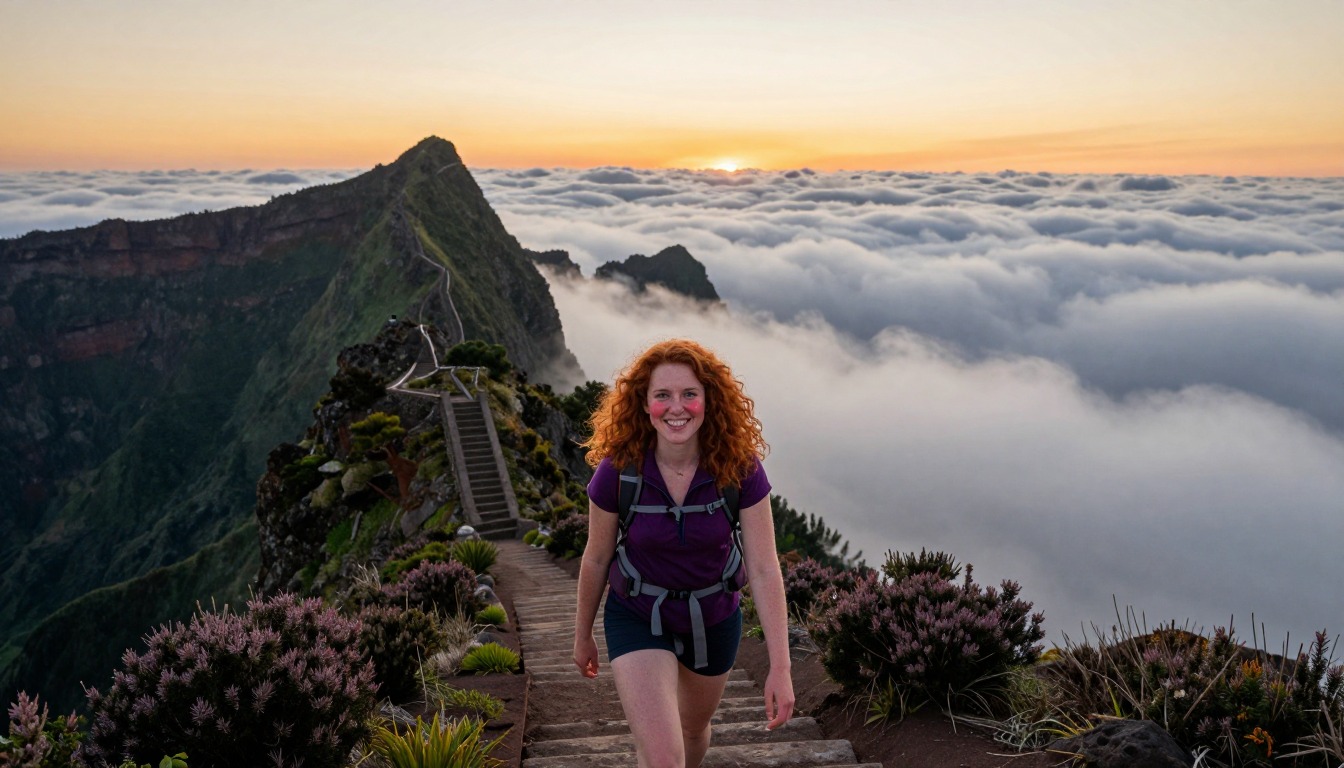
It is a single-day route, so the planning is mostly about the two ends. The cleanest version is a one-way traverse: arrange a driver to leave you at the Pico do Arieiro trailhead and collect you from the road on the far side, sparing you the climb back over everything you came down. Without that, hikers walk out and back, which is a far bigger day than it looks on paper. A gentler option exists too: start from the far-side trailhead and walk up to Pico Ruivo alone, skipping the ridge. Whichever you choose, people generally set out in the dark to be on the ridge at first light, before cloud builds.
Plan this trip in 5 steps
-
Pick the right pack
Match a pack to your trip, fit and priorities.
-
Book a place to stay
Campgrounds, huts and lodges near Madeira — Pico do Arieiro to Pico Ruivo.
-
Plan food & water
Calories, food weight and water for your days on trail.
Trail-specific tips
Pace for your knees rather than your lungs — the repeated descending, not the climbing, empties legs by the second half. Carry a proper headlamp instead of relying on a phone, so both hands stay free for railings in the longer tunnel. Check official trail status on the morning you walk, not the week before. Layer for the ridge, not the coast: it is regularly cold, wet and windy up there while Funchal is in shirtsleeves. General preparation advice lives at /trail-smarts/.
Permits & rules
No permit is needed, but the PR1 ridge between Pico do Arieiro and Pico Ruivo is exposed, with stairs, tunnels (bring a headlamp) and steep drops, and it closes in bad weather. The high ridge is far colder and cloudier than the coast — start early for clear views above the clouds.
Gear suited to this hike
Matched to the terrain and conditions here. Real products — check current price on Amazon.


Steps, tunnels and starting in the dark
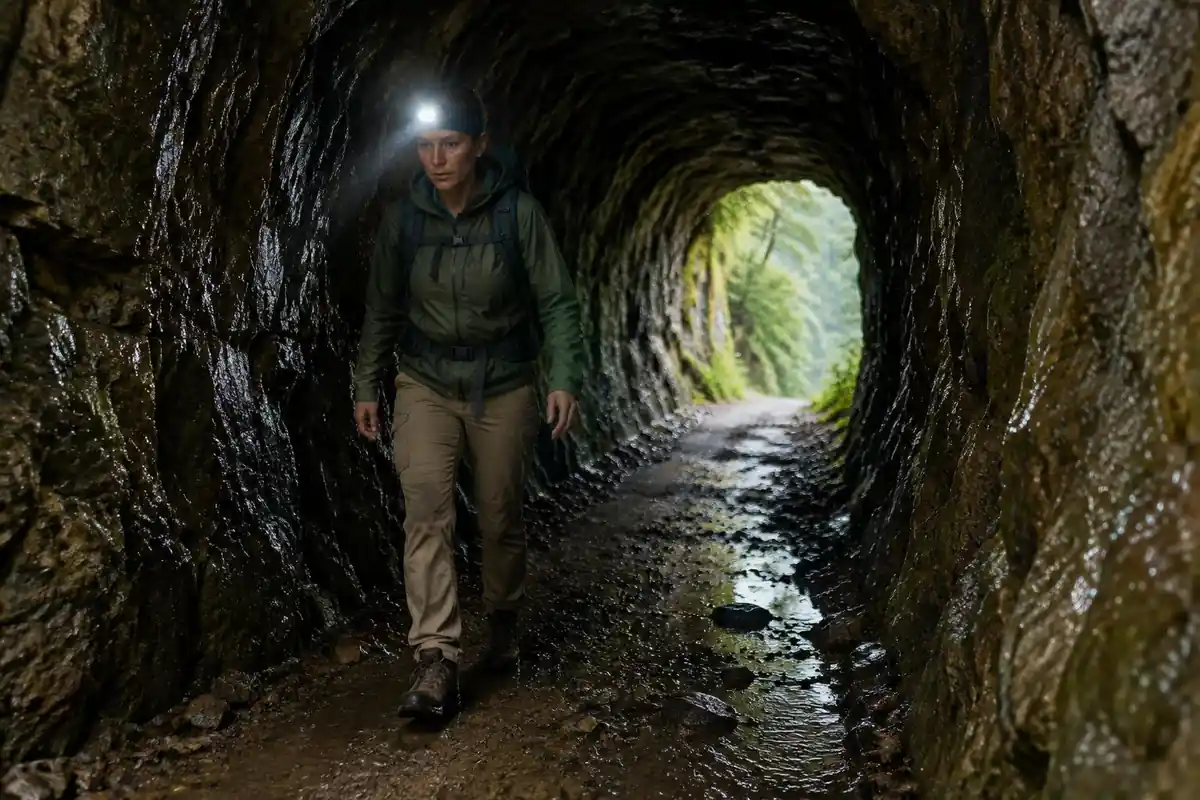
The page describes tunnels, staircases and ledges, all of which are easier to use with a headlamp than a phone light. NPS lists headlamps as the recommended light source because they are hands-free.1 In tunnels and on chained ledges your hands are busy, so a headlamp and a spare set of batteries make more sense than a handheld light.
Starting in the dark also shapes the rest of the day. NPS advises telling someone where you are going and setting a turnaround time and sticking to it.2 A dawn start with a driver waiting at the far end is a very structured day, so check pickup times the night before, and confirm trail status with local authorities and your driver, since engineered trails can be closed after weather.
Knees, poles and the chain sections
Stone stairs are a repeated eccentric load on the quads and knees. Hiking poles on a 25-degree downhill ramp lowered knee compressive and shear forces by 12 to 25 percent in one study,3 and another found they reduced lower-limb joint moments downhill across no pack, day-pack and heavier loads.4 On a ridge with chains, though, you may need both hands for the chain, so choose poles you can stow quickly, or skip them.
The page notes that the drops on either side are the kind you feel in your legs. If you are uneasy with height, the practical answer is to take your time, keep three points of contact where the path is very narrow, and avoid the ridge if wind is strong.
Ridge weather, hydration and the one-way transfer
Cloud builds on high ridges and lightning safety advice applies: the Weather Service says mountain thunderstorms often build in the early afternoon and advises avoiding ridge tops.5 Starting early finishes you before the afternoon build-up and gives clear views.
The route runs up and down repeatedly, so effort is higher than the distance suggests. Energy cost of walking with a pack rises with load weight, body mass, speed and grade,6 so keep the pack light. NPS advises planning uphill sections to take at least double the downhill time,2 which is a useful reminder that the climbs back up each staircase will be slow. If you use a one-way transfer, agree the pickup point and time in advance, and carry a spare layer in case of a wait.
Common questions
What is the hardest part — the climbing or the exposure?
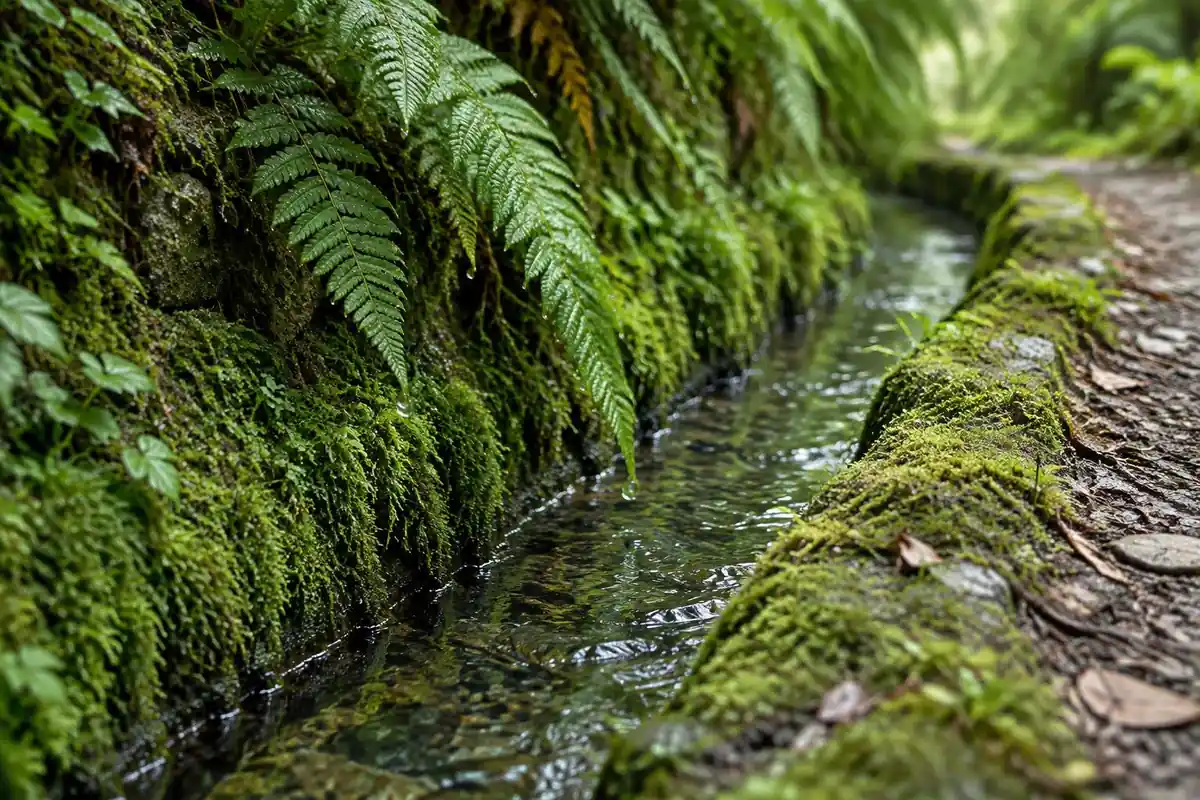
For most walkers it is neither: it is the volume of steps. The exposed stretches are railed and pass quickly, and no single climb is enormous. What wears people down is descending and re-ascending staircase after staircase, which punishes knees and quads long before it troubles your breathing.
How dark are the tunnels — is a phone light enough?
Several are short enough to see the far opening throughout. At least one is not, and inside it you move over wet, uneven rock in genuine darkness. A headlamp handles that comfortably and leaves both hands free; juggling a phone on that footing is the wrong trade.
Why does this trail close so often?
The path is carved into steep volcanic rock on a high, weather-hammered ridge, so rockfall and storm damage regularly take sections out of service for repairs. Closures can affect one variant of the route and not another. Check the official status the morning you go rather than trusting older trip reports.
Do I have to walk the whole ridge to stand on Pico Ruivo?
No. Pico Ruivo can be reached on its own from a road-accessible trailhead on the other side of the massif, by a much shorter and far less exposed path. That is the usual choice for anyone wanting Madeira's highest point without the staircases, tunnels and drops of the full traverse.
Complete gearsets for this trip
Full curated kits built for exactly this kind of hike.
Trail conditions, permits and access rules change without notice — always confirm current information on the official source above before you go. Some facts on this page are still pending owner verification and are marked accordingly. Product links and the accommodation map are affiliate links: we may earn a commission at no extra cost to you; product prices and availability are shown on Amazon, and accommodation prices on the booking site. See our affiliate disclosure.