Affiliate disclosure: this page contains affiliate links. Purchases made through them may earn us a commission at no extra cost to you. See our affiliate disclosure.
In plain English
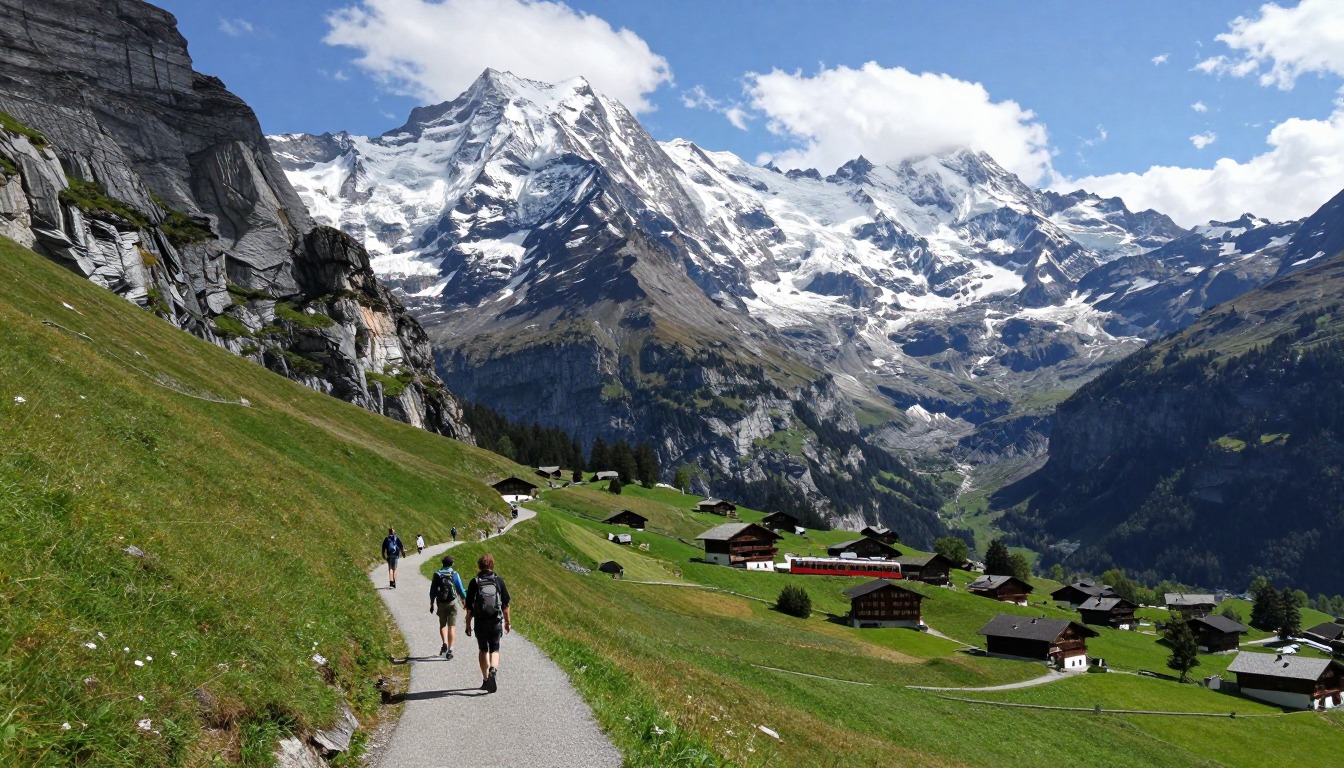
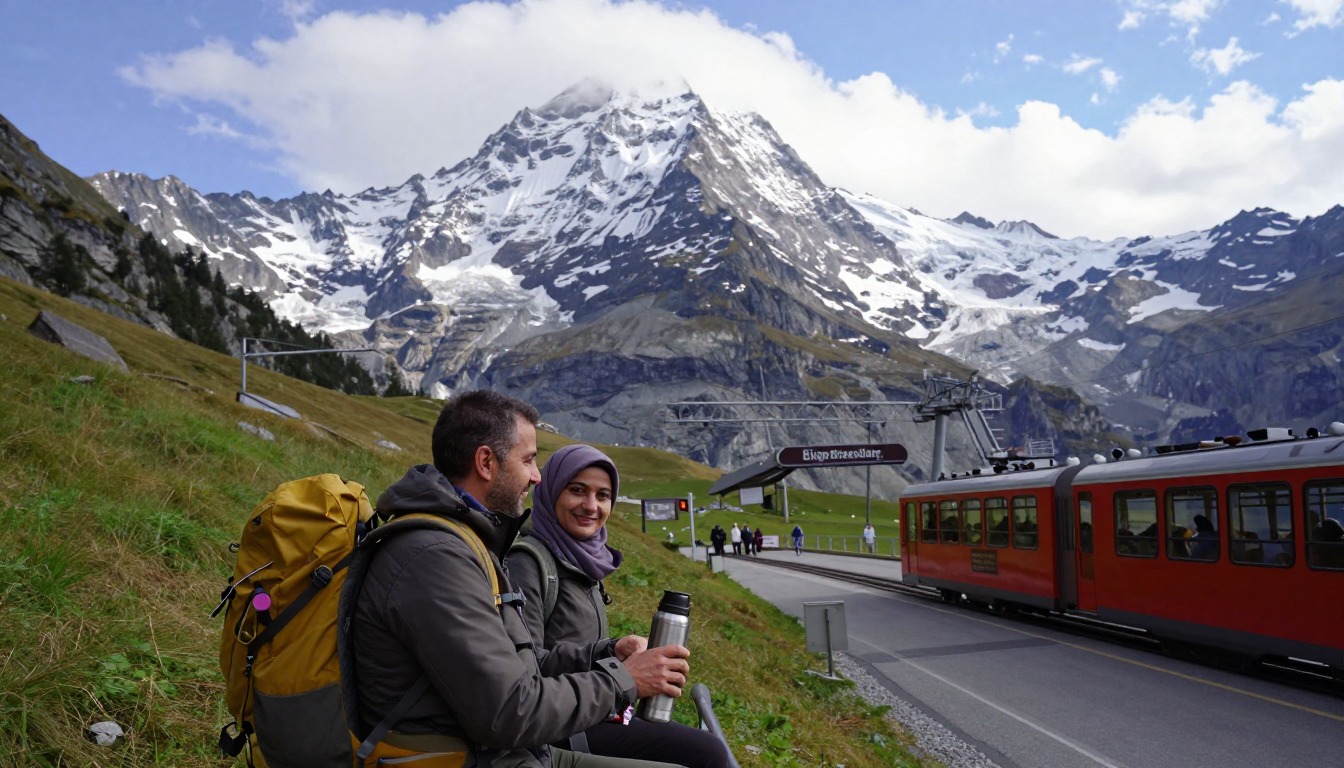
The Eiger Trail runs along the bottom of the Eiger's huge north face, above the Swiss village of Grindelwald. Most people ride a mountain train up and walk down, so the hike is a few hours of mostly downhill walking with a giant rock wall towering beside you.
It is a real mountain path, not a sidewalk. It is stony and uneven, and in places the ground drops away steeply next to the trail. Good shoes with grippy soles matter more than anything else you wear.
Before you go, check the local tourism site. It shows whether hiking trails are open and whether the mountain railways are running, plus weather and webcams.1 The trains are your way up and your way home, so plan around the last one down.
What the hike is like
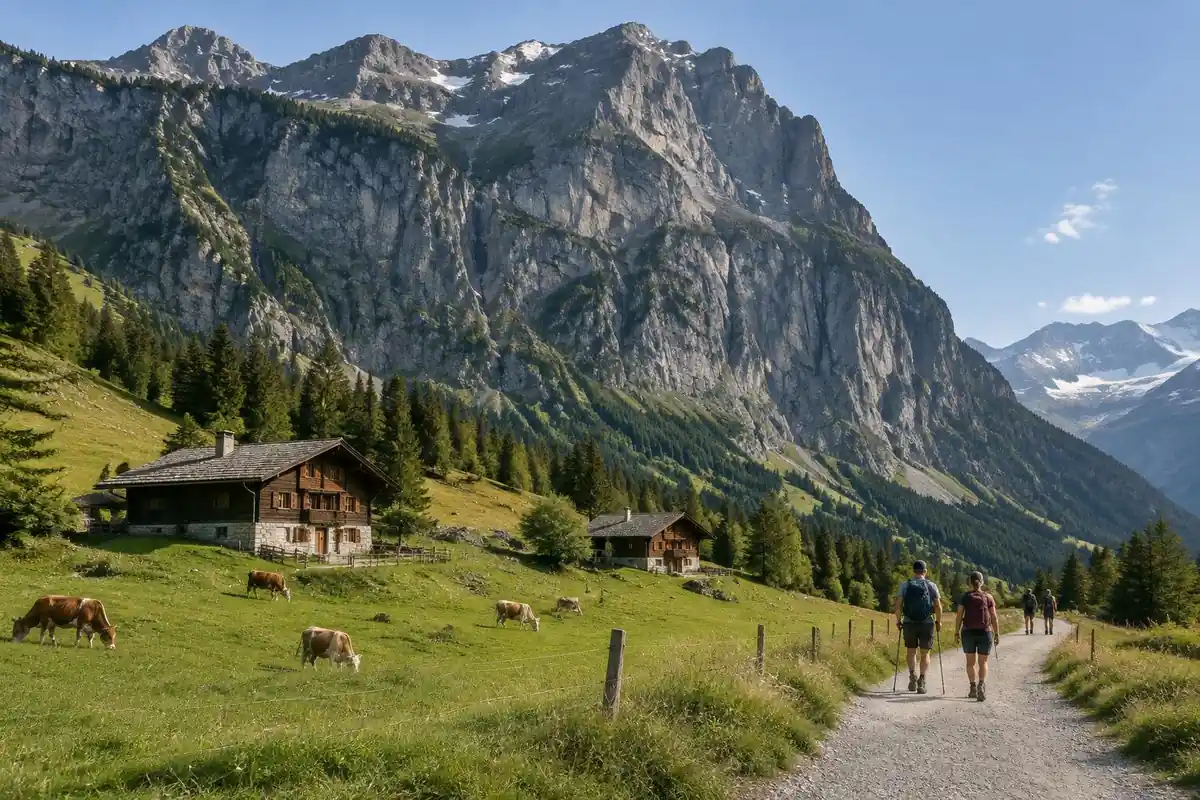
The Eiger Trail is a traverse rather than a climb — it runs along the base of the north face, so instead of gaining height steadily you're contouring beneath a wall that stays overhead the whole way. The path is a classic Swiss mountain trail: a stony, well-built track, waymarked white-red-white, wide enough to walk comfortably but with sections cut across scree slopes where the ground falls away steeply beside you. Underfoot it alternates between compacted gravel, rough rock steps, and grassy alpine pasture crossed by small streams and the occasional herd of cattle. Because most hikers ride the railway up and walk down, the character shifts as you go: bare, cold, rockfall-scarred ground high under the face, softening into meadows and the first scattered chalets as the valley opens below.
How to plan the itinerary
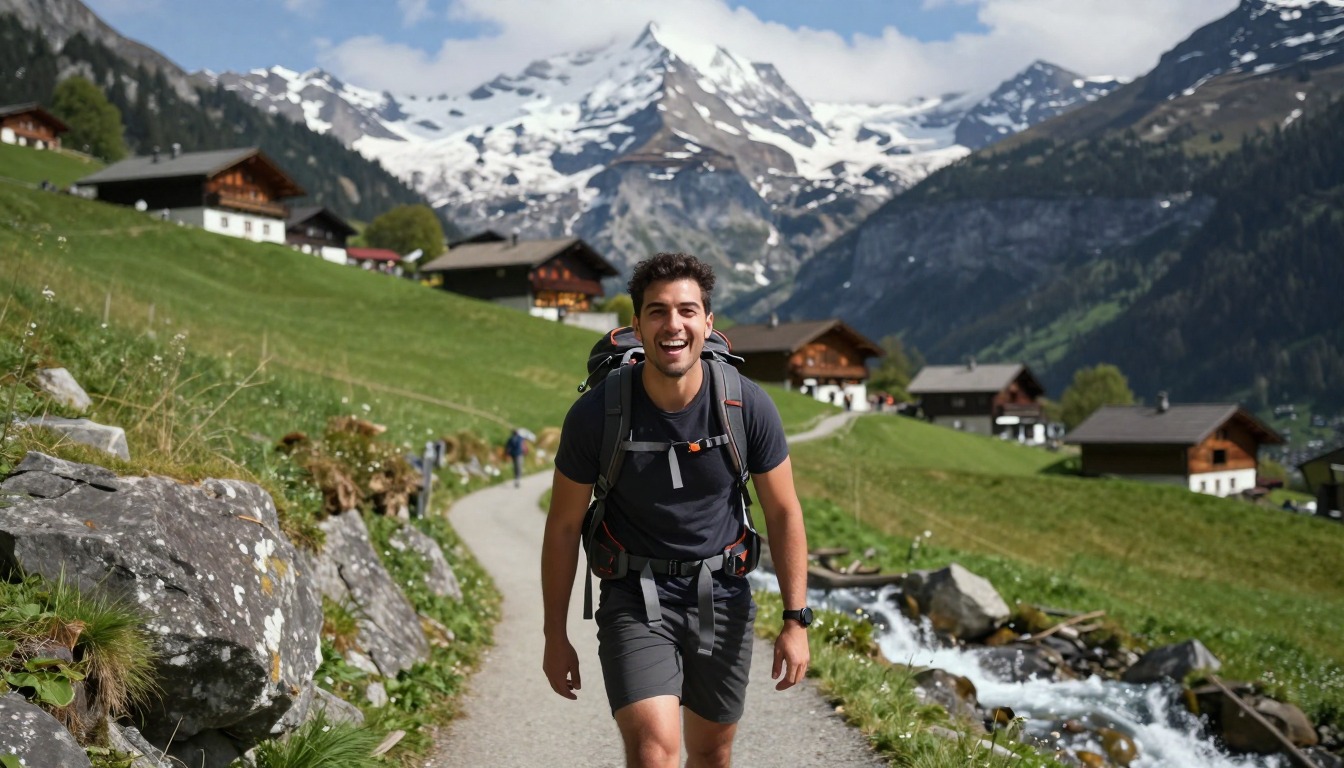
This is a half-day outing rather than an expedition, and the usual pattern is to take the mountain railway to the higher station, walk the trail downhill to the lower one, and ride back into the valley from there — which puts the most dramatic ground at the start, while you're fresh, and turns the whole day into something you can build around train departures. Walking it in the uphill direction is entirely possible and makes for a tougher, quieter day. Many visitors pair it with another lift ride or a second short walk in the same region, since the rail network makes it easy to add on. Whatever you plan, work backwards from the last service down and leave yourself more margin than the timetable suggests.
Plan this trip in 5 steps
-
Pick the right pack
Match a pack to your trip, fit and priorities.
-
Plan food & water
Calories, food weight and water for your days on trail.
Trail-specific tips
Build the day around the timetable, not the other way round — missing the last service turns a pleasant walk into a long descent. The face keeps the upper trail in shadow for much of the morning and it's noticeably colder there than in the village, so carry a layer even in high summer. Loose stone on the scree traverses means keeping an eye uphill and not lingering directly beneath steep ground. Descending on gravel is hard on knees; poles help more than most people expect. See /trail-smarts/ for mountain weather judgment.
Permits & rules
No permit is required. The trail runs directly under the Eiger’s north face; weather turns fast in the high Alps, so carry layers and check the mountain forecast.
Gear suited to this hike
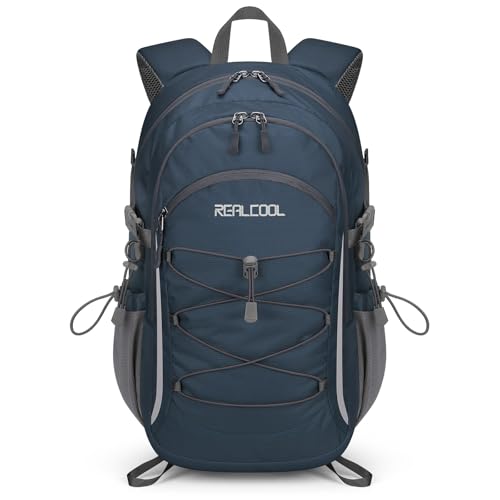
Matched to the terrain and conditions here. Real products — check current price on Amazon.


Trail status, trains and timing
Grindelwald's tourism site publishes a hiking trail status page, the operating status of the mountain railways, and weather and webcam feeds.1 Those three checks answer the questions that decide the day: is the trail open, is the train you need running, and can you see the face at all. The official home page does not list route distances or difficulty, so treat the figures on this page as planning estimates.
Mountain thunderstorms often build in the early afternoon, and NWS advises hiking early and being off exposed ground by noon.3 Because the route is a set of open slopes beneath a big wall with little shelter, an early train is the simplest safety step.
Why the downhill is the hard part
The page gives roughly 770 to 800 m of descent against very little climbing. Downhill feels easy on the lungs but is harder on knees and quads. In a lab study, hiking poles on a steep downhill ramp reduced knee compressive and shear forces by 12 to 25%, because hikers pushed on the poles and leaned their upper body forward.2 A separate study found the benefit held with no pack, a light day pack and a heavy expedition load.5
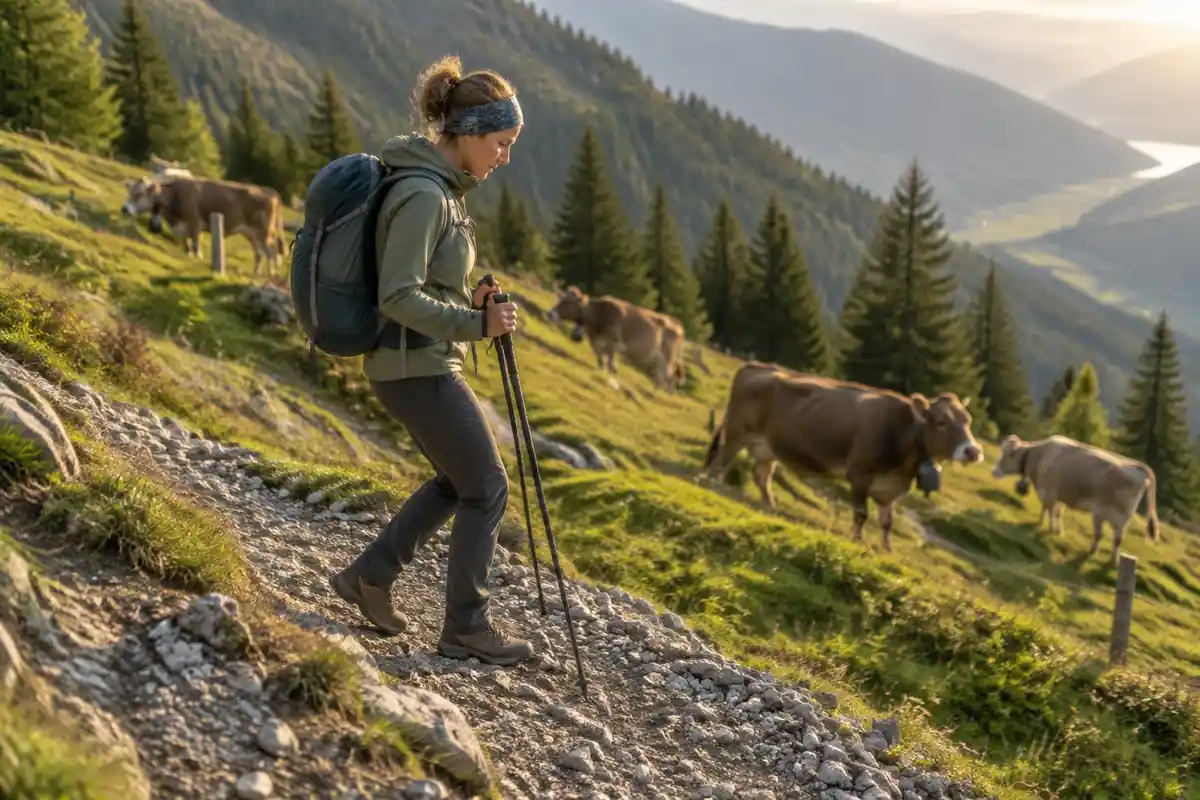
Speed on descents is also less predictable than people expect. University of Utah researchers analyzing GPS data from nearly 30,000 people found people move fastest on a slightly downhill slope, not a steep one.6 On loose gravel and rock steps, your pace will drop, so leave margin before the last train.
For the pack, that means a small daypack with a hip belt and a place to stow poles on flat or scrambly bits. Keep it snug so it does not shift as you step down.
Sun, cold and what to carry
UV intensity rises about 6% per kilometer of elevation, and overcast skies still transmit about 31% of it.4 The upper trail sits high in the Alps, so sunscreen, sunglasses and a hat are worth carrying even on a grey morning. The face also keeps the upper section shaded and cold, so a light insulating layer and wind shell belong in the pack.
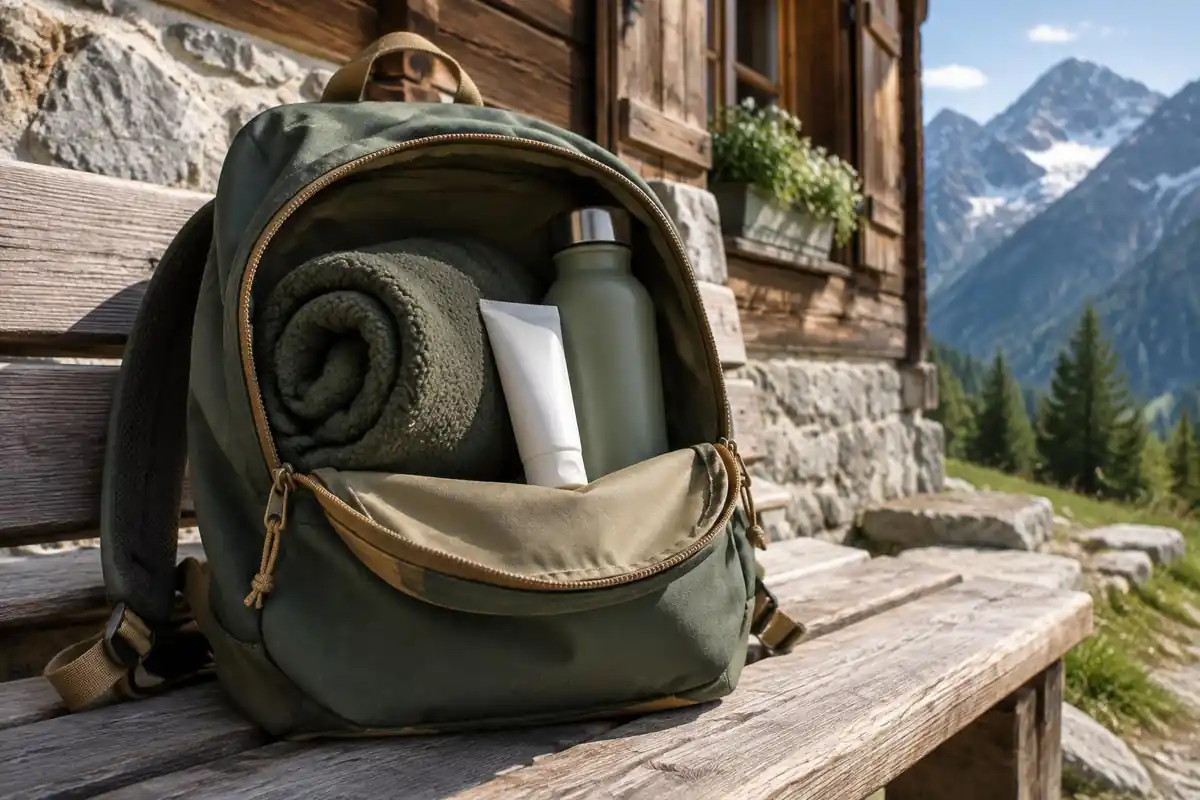
CDC recommends broad-spectrum sunscreen of SPF 30 or higher, reapplied every 2 to 4 hours.7 Add water, a snack, a basic first-aid kit and a charged phone, and a 15 to 20 liter daypack covers this half-day walk comfortably.
Common questions
How difficult is the Eiger Trail?
It's a walking route with no scrambling, but it isn't a stroll — the path is stony, uneven in places, and crosses slopes where the ground drops away beside the trail. Reasonably fit walkers with sure footing manage it comfortably. The main demands are the continuous downhill in one direction and the sustained climb in the other.
Should I walk it downhill or uphill?
Downhill is the popular choice: you ride up, walk beneath the face, and finish lower in the valley, which is easier on the lungs and lines up neatly with the lifts. Uphill is harder work but tends to be quieter and gives you the face growing ahead of you rather than behind. Knees, not fitness, usually decide it.
Do I need hiking boots?
Proper hiking shoes or light boots with good grip are the sensible minimum. Sneakers struggle on loose gravel and wet rock steps, which is where most slips happen. Ankle support is helpful but not essential on this terrain — the priority is a sole that holds on stone, and something you can descend in for a sustained stretch.
What happens if the weather turns?
Conditions here can change quickly, and the trail is exposed with no shelter along most of it. Cloud can also simply erase the view you came for. The practical advantage of this route is the rail network: retreating to a station and riding down is usually straightforward, so turning back early costs you very little.
Complete gearsets for this trip
Full curated kits built for exactly this kind of hike.
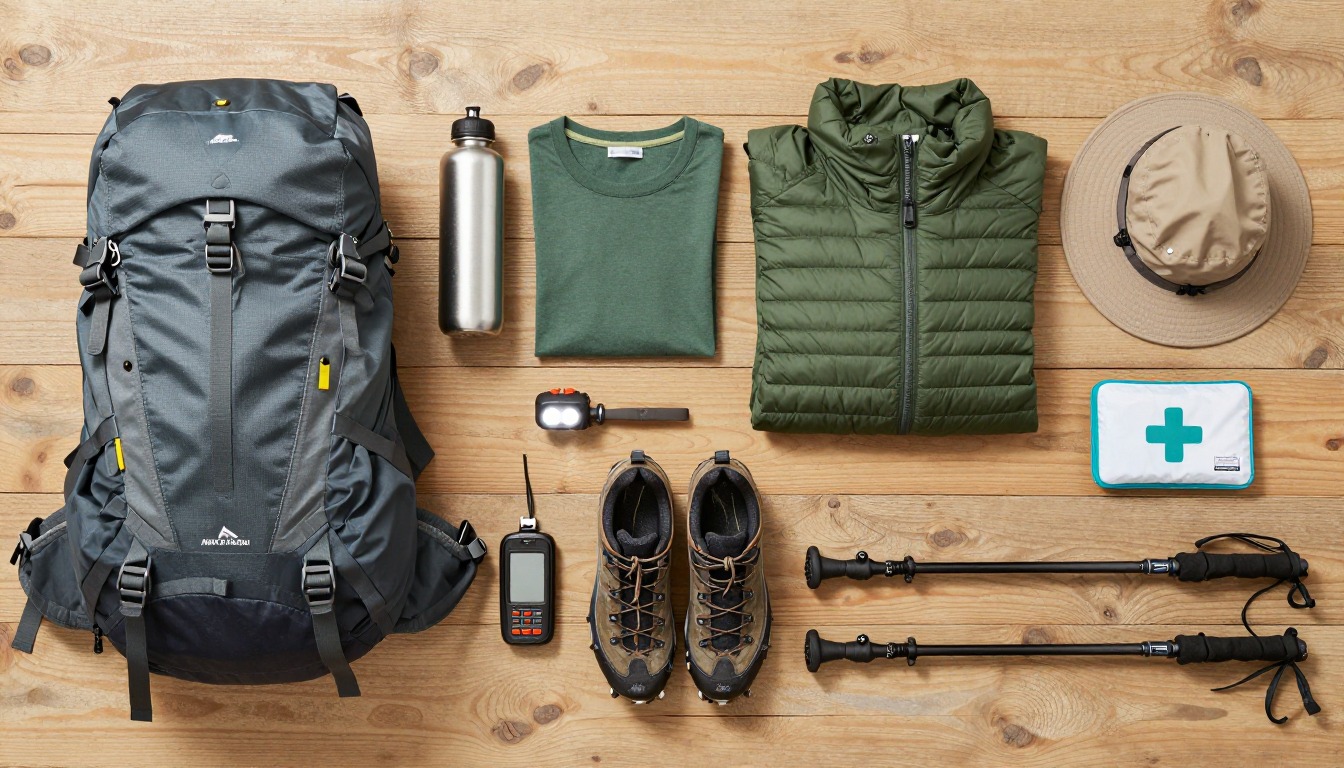
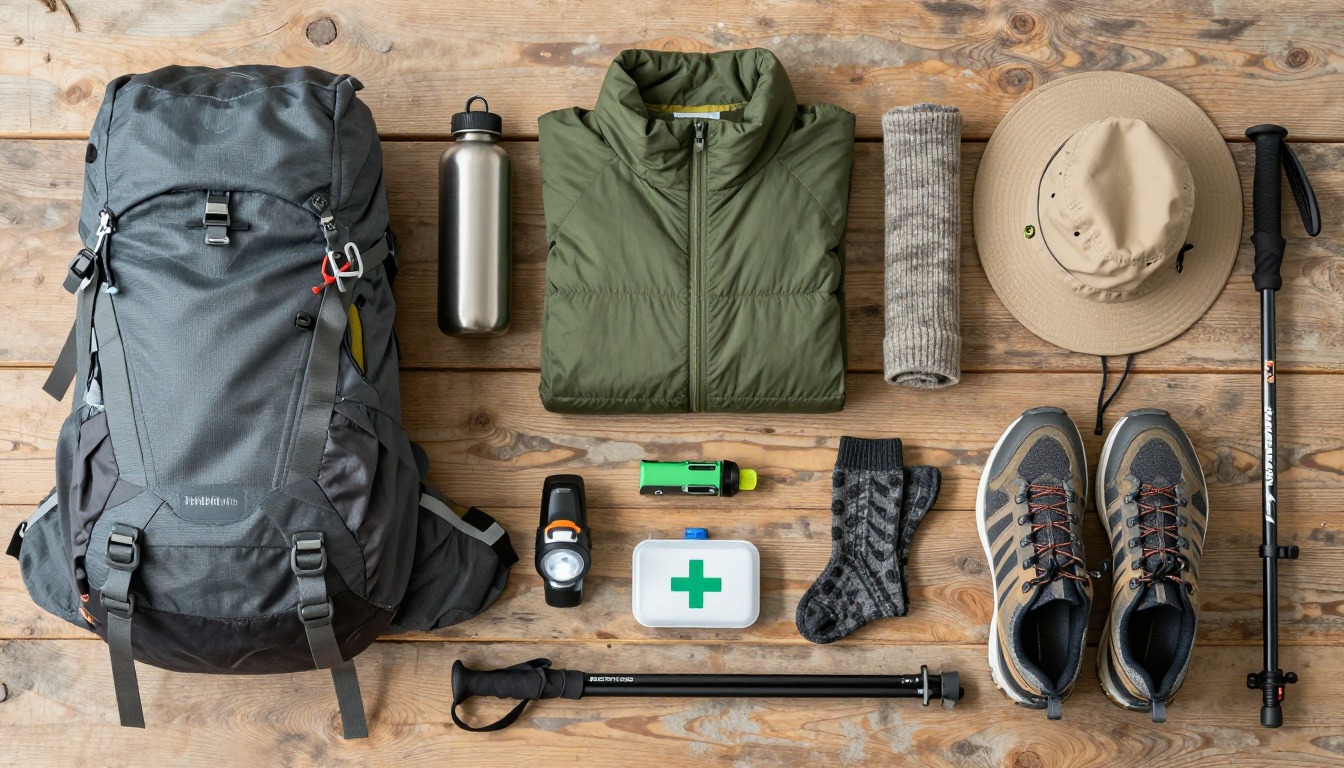
Trail conditions, permits and access rules change without notice — always confirm current information on the official source above before you go. Some facts on this page are still pending owner verification and are marked accordingly. Product links and the accommodation map are affiliate links: we may earn a commission at no extra cost to you; product prices and availability are shown on Amazon, and accommodation prices on the booking site. See our affiliate disclosure.