How to read a topographic (topo) map
A topo map is a picture of terrain shape, not just a picture of trails. Once you can read contour lines, scale and symbols, you can look at a sheet of paper and know where the climbing starts, where the water is, and how long the day is really going to take.

In plain English
A topo map is a flat drawing of a bumpy world. It uses thin wavy lines, called contour lines, to show hills and valleys. Each line connects spots that are the same height above sea level.
Picture a stack of pancakes of shrinking size, one on top of another, seen from above. The outline of each pancake is a contour line. Where the outlines crowd close together, the ground is steep. Where they spread apart, it is gentle.
Once you can read those lines, a map stops being a tangle and starts showing you the shape of the day ahead: where you will climb, where you can rest, and where the trail drops toward water. It works without a battery or a signal.
The short answer
A topographic map shows terrain shape with contour lines — each line joining points of equal elevation. Read their spacing to judge steepness, closed loops as summits or basins, and the scale bar to convert map distance into real miles. Add the symbols for trails and water, and you can picture ground you have never walked.
What a topo map is, and why hikers use one
An ordinary road map answers "how do I get from A to B." A topographic map answers a harder and more useful question: what does the ground actually do between A and B? It does this by adding a third dimension — elevation — onto a flat sheet, using contour lines that connect every point at the same height above sea level.
That single addition changes what you can plan. Two trails on a park brochure might both read "3.2 miles." On a topo map one of them climbs steadily along a valley floor while the other gains 1,800 feet up a headwall in the last mile. Same distance, completely different day. The map also shows you the shape of things you cannot yet see: which side of the ridge holds the snow, whether that stream crossing sits in a gorge or on a flat bench, and whether the "shortcut" on the map is a walkable saddle or a cliff.
Hikers lean on topos for four jobs in particular: judging how hard a route will be before committing to it, finding water and campable ground, staying oriented when a trail is faint or snow-covered, and — the one that matters most — working out where you are when you are no longer certain. None of that depends on signal, battery or a subscription, which is why a paper topo belongs in the navigation slot of the Ten Essentials.
Reading contour lines: spacing, loops and shapes
Contour lines are the whole skill. Every line traces a constant elevation, so if you walked along one exactly you would neither climb nor descend. The vertical gap between neighboring lines is the contour interval, printed in the map margin — check it first, every time, because it varies from sheet to sheet. Every fifth line is usually drawn heavier and labeled with its elevation; those are index contours, and they let you read height at a glance.
From there, three rules cover most of what you need.
- Spacing is steepness. Lines crowded together mean the ground rises fast; lines spread far apart mean gentle terrain. Where lines touch or merge, you are looking at a cliff.
- Closed loops are high points or holes. Concentric rings with nothing else going on mark a summit or knoll, the innermost ring being the highest. If those rings carry short tick marks pointing inward, it is a depression going down instead.
- The shape of the bend tells you gully or ridge. Contours crossing a drainage form a V that points upstream, toward higher ground. Contours crossing a ridge form a rounded U or nose pointing downhill. Once you see that, the terrain almost draws itself.
Work a quick example in your head. Say the contour interval is 40 feet. Your trail crosses five contour lines in what the scale bar tells you is a quarter mile: that is 200 feet of gain over about 1,320 feet of travel, roughly a 15 percent grade — noticeable, sweaty, but steady walking. Farther along, the trail crosses five more lines but takes a full mile to do it: the same 200 feet of gain spread over 5,280 feet, under 4 percent, a grade you would barely register. The distance on the map looks longer for the second stretch, yet it is the easier one. That is the trade the contour lines are quietly showing you.
Run the same reading over a whole route and you get its profile before you leave the house: where the climbing is concentrated, whether the descent is knee-punishing or gradual, and which stretches you can move fast on. That is also how you spot terrain worth avoiding — a mile of contours packed tight against a stream usually means a gorge, not a pleasant riverside stroll.
Scale: turning inches into miles and hours
Scale is the ratio between map distance and ground distance, and it is printed as a fraction plus a graphic scale bar. A 1:24,000 map — the standard 7.5-minute quadrangle size in the US — means one inch on paper equals 24,000 inches on the ground, about 2,000 feet, so a mile is roughly 2.6 inches. A 1:62,500 sheet works out close to one inch per mile, and 1:100,000 puts a kilometer in each centimeter. Larger denominator, less detail, more ground per page.
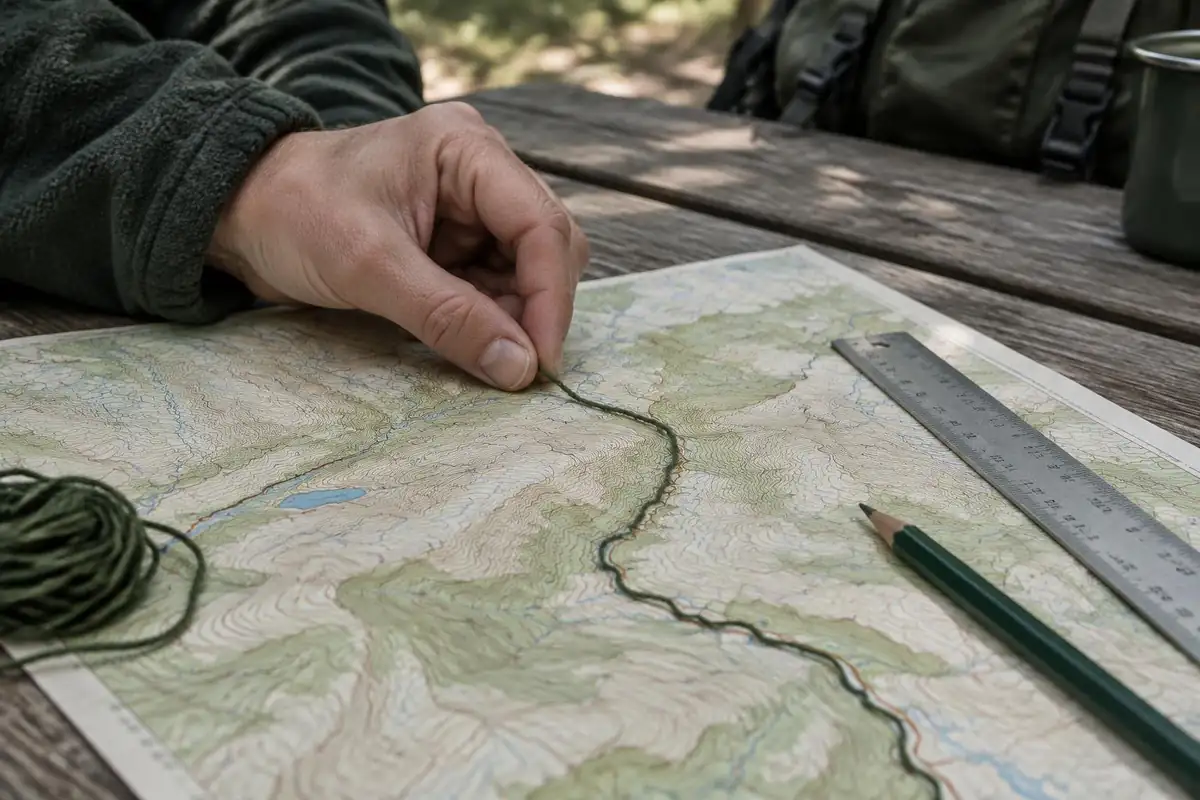
The easiest way to measure a winding trail is not a ruler. Lay a piece of cord, a bootlace or the edge of a folded paper strip along the route, marking each bend as you go, then straighten it against the scale bar. Counting in thumb-widths works too once you know what your thumb is worth on that scale.
Remember that map distance is flat distance. On steep ground you walk farther than the map says, and you walk it much more slowly. To convert miles into hours, most hikers use a version of the old rule of thumb: about 3 miles per hour on level ground, plus an extra hour for every 2,000 feet of ascent. Then add honest padding for your pack weight, the state of the footing, altitude, and the fact that people stop to eat and look at things.
Build a turnaround time from your estimate, not from optimism. Work out when you need to start back to reach the trailhead in daylight, then stick to it whatever the summit is doing — one of the core hiking dos and don'ts.
Common symbols and what the colors mean
Symbol sets vary a little between publishers, but the color logic is close to universal and you can learn it in a minute. Every map prints a legend — read it, especially on an unfamiliar series — but these conventions will carry you a long way.
- Brown is landform: contour lines, spot elevations and cuts or banks. If it is brown, it is about the shape of the earth.
- Blue is water. Solid lines are perennial streams; dashed or dotted blue lines are intermittent ones that may be bone dry by late summer. Small circles or tufted symbols mark springs and marsh; solid blue shapes are lakes and ponds.
- Green is vegetation — forest or scrub cover. White is open ground: meadow, rock, scree or country above treeline. The green-to-white boundary is often the most visible feature on the ground, which makes it a great navigational handrail.
- Black is built by people: buildings (small solid squares), boundaries, some roads, and labels.
- Red generally marks major roads and, on US quadrangles, the survey grid.
For trails specifically, look at line style rather than color. A single dashed line is the usual convention for a trail or unimproved path, a heavier dashed or double line for a jeep track or unpaved road, and a solid line for a maintained road. Campsites are commonly shown with a tent or triangle pictogram, and established recreation sites often carry a small picnic-table or shelter icon. Boundaries — park, national forest, wilderness area, private land — appear as distinctive dash-and-dot line patterns, usually with the name printed alongside; they matter because permits, camping rules and fire restrictions change the instant you cross one.
Two more marks worth knowing: an X with a number, or "BM" with a number, is a surveyed spot elevation or benchmark, useful for confirming a summit height; and an arrow or note in the margin showing magnetic declination, the angle between true north and magnetic north for that area. You will need that number the moment a compass comes out.
Putting the map together with a compass
A topo map on its own tells you what the ground does. Paired with a compass it tells you where you are on that ground. The mechanics of taking and following a bearing — boxing the needle, adjusting for declination, walking a line — are their own skill, and we cover them step by step in how to navigate with a map and compass. Here the point is narrower: how map-reading and compass work feed each other.
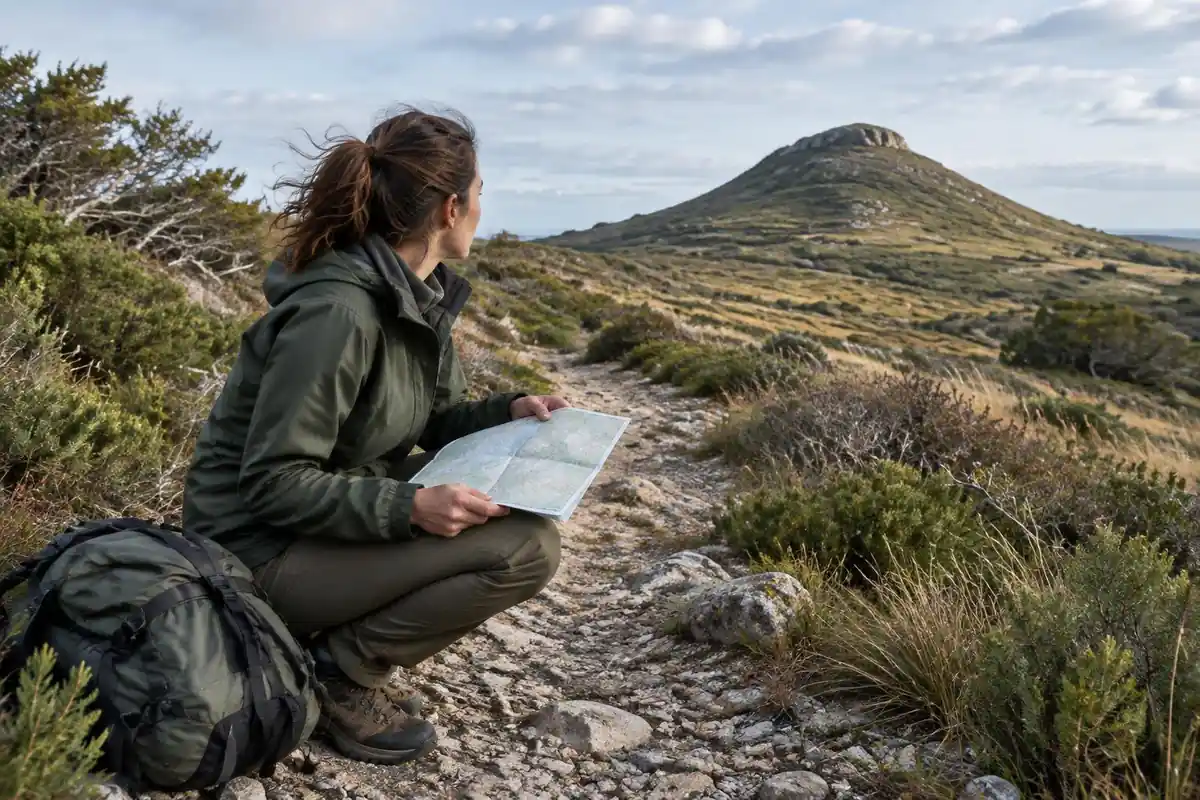
Start by orienting the map — rotating it until its north lines match magnetic north, corrected by the declination printed in the margin. Now every feature on the paper points the same way as its real counterpart, and reading becomes a matter of matching shapes rather than doing mental geometry. That ridge on your left is the ridge on the left of the sheet.
From there, most real navigation is terrain association: continuously comparing the shapes around you to the contours in your hand. You use linear features as handrails — a stream, a treeline edge, a ridge crest — and pick out a catching feature beyond your target, something unmistakable like a river or a road, so you know immediately if you have gone too far. A compass bearing is what you reach for when the terrain goes featureless, visibility collapses, or you need to cross open ground to a specific point. The reading skill comes first; the bearing is the tool you add when reading alone is not enough.
Digital tools fit alongside this rather than replacing it. An app that shows your position on a contour layer is an excellent way to check a reading and to learn faster, and it is worth understanding what those tools do and do not do well — see our guide to GPS and navigation apps for hikers. The paper map, though, is the one that still works with a dead battery and wet hands, and reading it well is the skill everything else sits on.
Practice where the stakes are low. Take a topo onto a trail you already know, predict each climb and junction before you reach it, and check yourself. Navigation is a perishable skill best learned somewhere you cannot get badly lost.
Reading the lines efficiently
The USGS defines topographic maps by their contour lines, which connect points of equal elevation, usually relative to mean sea level, and show the height and shape of mountains and the steepness of slopes.1 The fastest way to read elevation is to start from an index contour. On US Topo maps, these are the bold lines drawn at every fifth contour and labeled with an elevation.2 Find the nearest bold line, then count thin lines up or down from it.
Always confirm the interval first. The USGS notes that contour intervals vary with terrain and map scale.3 A mountain sheet and a flat coastal sheet may use very different spacing, so five lines can mean very different amounts of climbing on two maps.
Turning contours into time
The page's rule of thumb has a name and a history. Naismith's rule, from 1892, allows one hour per three horizontal miles plus one hour per 2,000 feet of ascent.4 A 2019 peer-reviewed paper describes it the same way and confirms that slope is a critical factor in hiking travel rates.5
Real-world data shows how much slope matters. A University of Utah study of GPS tracks from nearly 30,000 people found a slow walk on a flat mile takes about 33 minutes, but on a 30-degree slope about 97 minutes. People moved fastest on a slightly downhill slope.4 That is why tightly packed contours cost far more time than the map distance suggests.
Rating a route before you go
Shenandoah National Park turns distance and climb into a single difficulty number: the square root of elevation gain in feet, multiplied by 2, multiplied by distance in miles. Under 50 counts as easiest, 50 to 100 moderate, 100 to 150 moderately strenuous, 150 to 200 strenuous, and above 200 very strenuous.6 The park's worked example, a 10-mile hike gaining 2,200 feet, scores about 209.8, very strenuous.6
You can pull both inputs straight off a topo map. Measure the distance against the scale bar, then total the climbing by counting contours on each uphill stretch. Doing it before a trip is a good way to practice map reading, and it gives you an honest sense of whether a route suits your group.
Frequently asked questions
What does the contour interval mean on a topo map?
The contour interval is the vertical distance between neighboring contour lines, and it is printed in the map margin — commonly 20, 40 or 50 feet on US hiking sheets. Multiply it by the number of lines a route crosses to get total elevation change. Skip that check and identical-looking terrain on two different maps can mean wildly different climbs.
How do you tell a peak from a depression on a topo map?
Both appear as closed concentric loops. A peak carries no extra marking, and the innermost ring is the highest ground. A depression — a sinkhole, crater or dry basin — is drawn with short tick marks, called hachures, pointing inward down the slope. Spot elevations printed nearby usually settle any remaining doubt.
What scale topographic map is best for hiking?
For travel on foot, 1:24,000 is the most useful scale: roughly 2.6 inches to the mile, detailed enough to show individual stream bends and small trail junctions. Smaller scales such as 1:62,500 or 1:100,000 fit more ground on a sheet and suit route overviews or long approaches, but they hide the fine terrain detail.
Can I just use a phone app instead of a paper topo map?
Apps are genuinely useful and most hikers carry one, but they share a single failure point: the battery. Cold weather, a cracked screen or a flat phone ends your navigation and your flashlight at the same moment. Carry a paper topo and compass as the backup that cannot run out of charge — and know how to read them.
How do you estimate how long a hike will take from a topo map?
A long-standing rule of thumb allows about 3 miles per hour on level ground plus roughly an extra hour for every 2,000 feet of climb, then adds time for breaks, rough footing, a heavy pack and altitude. Treat the result as a floor rather than a promise, and set your turnaround time from it.