How to navigate with a map and compass
A phone can fail; a map and compass cannot run out of battery. These are the core skills — orienting the map, adjusting for declination, walking a bearing and triangulating a position — that let you stay found when the trail is faint, the fog rolls in, or the screen goes dark.

In plain English
A compass needle points to magnetic north, which is a spot near the top of the world that slowly wanders. Maps are drawn to true north, the actual North Pole. The small angle between the two is called declination.
Imagine two friends giving you directions from slightly different starting points. Both are right, but you have to adjust for the difference or you end up off course. Declination is that adjustment, and you only need to set it once before your trip.
With the map turned to match the ground and your compass set for declination, you can pick a direction, walk to a landmark, and repeat. It sounds technical, but a few practice sessions in a local park make it feel natural, and it works when a phone does not.
The short answer
Lay the map flat and turn it until its north lines match your compass needle, adjusted for declination — the terrain around you will now line up with the paper. To travel, set a bearing from the map with your compass, then walk that bearing, aiming at visible landmarks along the way and checking your progress against the ground.
Orienting the map to the ground
Orienting simply means rotating the map until north on the paper points at north in the real world. Once it is oriented, a ridge that sits to your left on the ground sits to the left on the map, and route-finding stops being an exercise in mental rotation.
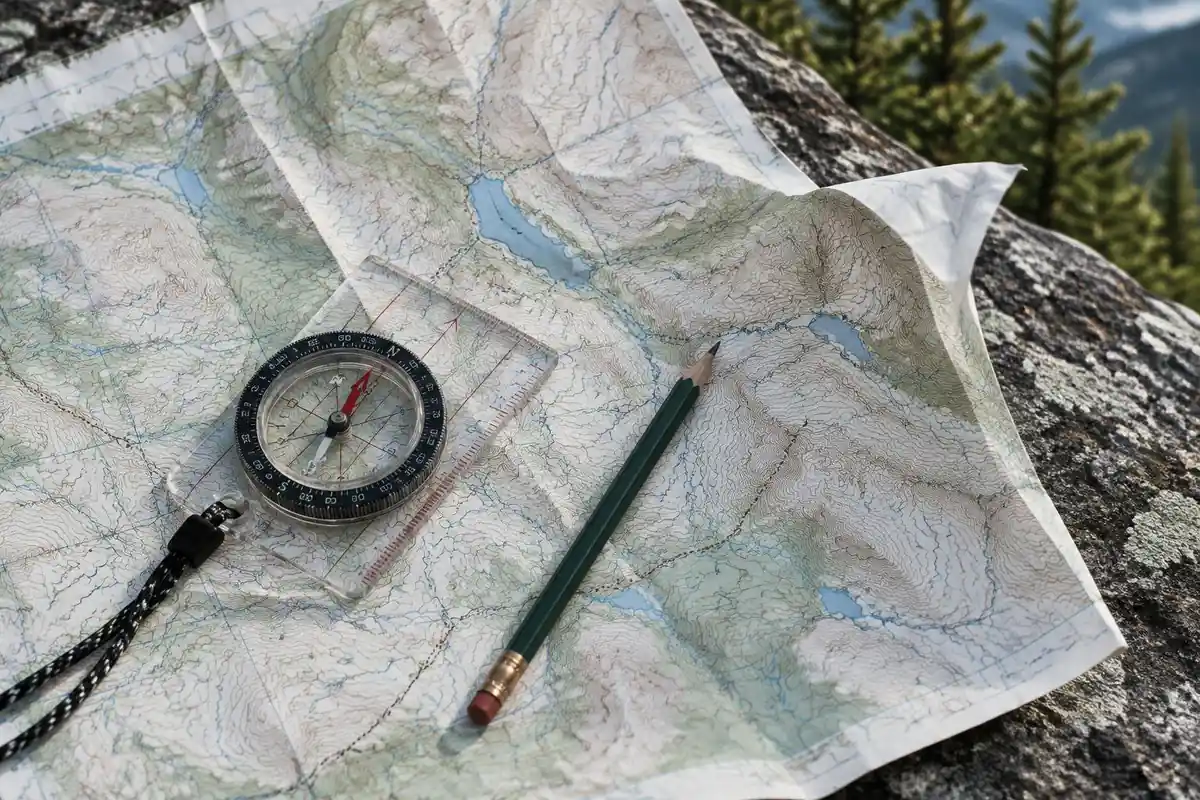
- Lay the map flat. A pack lid or a rock works. Keep it clear of your phone, trekking-pole tips, car hoods and anything else with steel or magnets — metal pulls the needle off.
- Set the compass on the map. Lay its straight edge along one of the map's north–south grid lines, direction-of-travel arrow pointing to the top of the map.
- Turn map and compass together. Rotate the whole assembly until the red end of the needle settles inside the orienting arrow.
- Check it against the terrain. Look up and confirm the big features — a lake, a summit, a valley — sit where the map says they should.
Orient again at every junction and any time the ground surprises you — that one habit catches a wrong turn in the first hundred yards instead of the first mile.
Declination: true north vs magnetic north
Your map is drawn to true north. Your compass needle points at magnetic north, which sits somewhere else and drifts over time. The angle between them is declination, and across the continental US it ranges from well over ten degrees east in the Pacific Northwest to roughly fifteen degrees west in northern Maine.
That gap compounds with distance. A ten-degree error over a mile of cross-country travel puts you the better part of a thousand feet off your intended line — easily the difference between hitting a saddle and hitting a cliff band.
- Best option: a compass with an adjustable declination screw. Set it once for your area and every bearing is corrected automatically.
- Otherwise: do the arithmetic. Map bearing to compass bearing, subtract east declination and add west — "east is least, west is best."
- Check the figure: most topo maps print a declination diagram, but on an older map it is out of date. Look up the current value from NOAA's magnetic field calculator before the trip.
Set declination at home, not at the trailhead. It is a two-minute job at a table and a much harder one with cold hands in wind. Pencil the value you used onto the map margin so you can check it later.
What the map is telling you: contours and scale
A bearing is only as good as your reading of the map it came from, and two things do most of the work.
Contour lines join points of equal elevation at a fixed interval given in the map key (commonly 40 feet on USGS quads). Crowded lines mean steep ground; widely spaced lines mean gentle terrain. Concentric rings climb to a high point, and where contours cross a drainage they form a V pointing upstream — a quick way to tell a gully from a ridge.
Scale tells you how far apart things really are. On a 1:24,000 map, one inch covers 2,000 feet of ground. Use the scale bar and your compass baseplate ruler to measure a leg before you walk it, so "just over the next rise" gets a number attached to it.
Both reward a deeper dive than there is room for here — our guide to reading a topo map works through contours and symbols in detail.
Taking and following a bearing
A bearing is a direction in degrees: you take one from the map, then follow it on the ground. It is the single most useful compass skill there is, and worth practicing in a park before you need it in fog.
- Draw the line. Lay the compass edge on the map so it connects where you are to where you want to go, with the direction-of-travel arrow pointing toward the destination.
- Rotate the bezel. Turn the housing until its orienting lines run parallel to the map's north–south lines and the orienting arrow points to map north. Ignore the needle at this stage.
- Read the bearing. The number at the index line is your bearing. If your compass has no declination adjustment, correct it now.
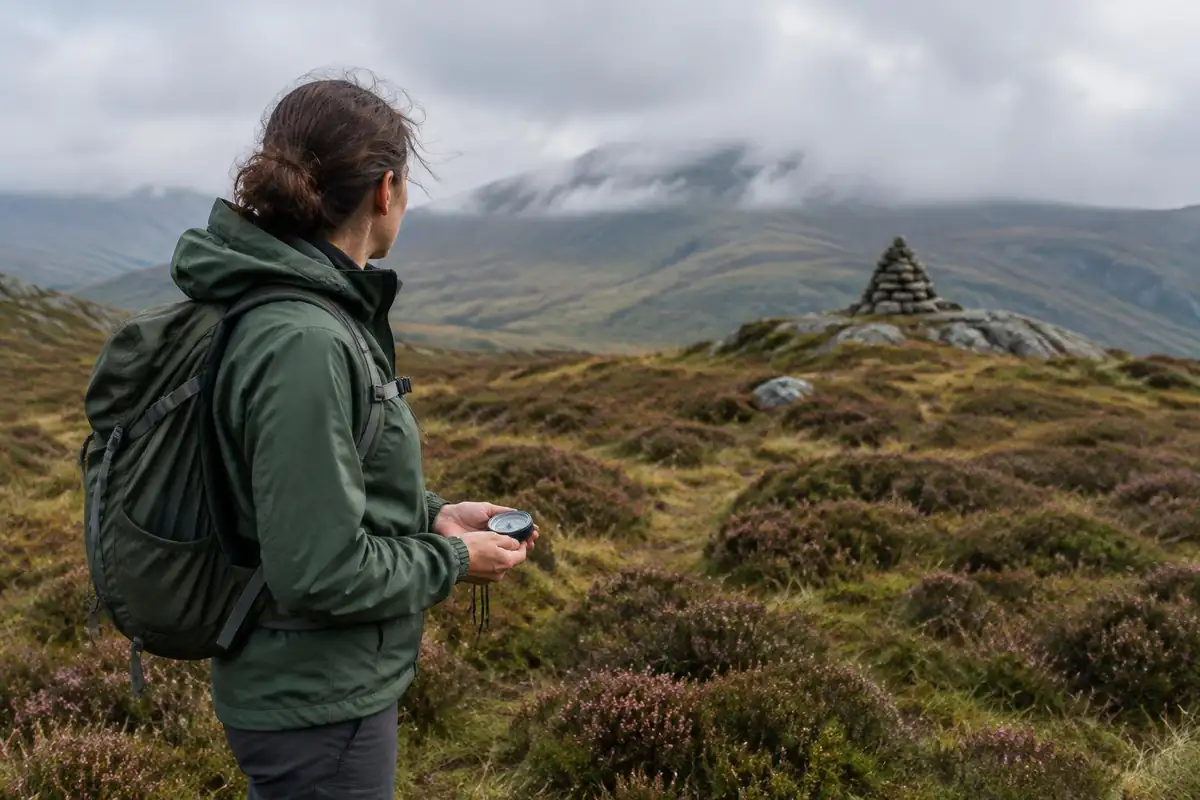
- Box the needle. Lift the compass off the map, hold it flat at waist height, and turn your whole body until the red needle sits inside the orienting arrow. The direction-of-travel arrow now points where you want to go.
- Walk to a landmark, not the needle. Pick a distinct object on that line — a boulder, a lone tree, a notch on the skyline — walk to it, then sight the next. Staring at the compass while walking is how people drift in circles.
When an obstacle blocks the line, do not guess your way around it: walk a right angle for a counted number of paces, resume your original bearing until you are past, then walk the same count back on the opposite right angle. You land back on your line.
Triangulation: working out where you are
Triangulation uses two or three known landmarks to fix your position. You need features you can both see and identify on the map — a named summit, a tower, the end of a lake.
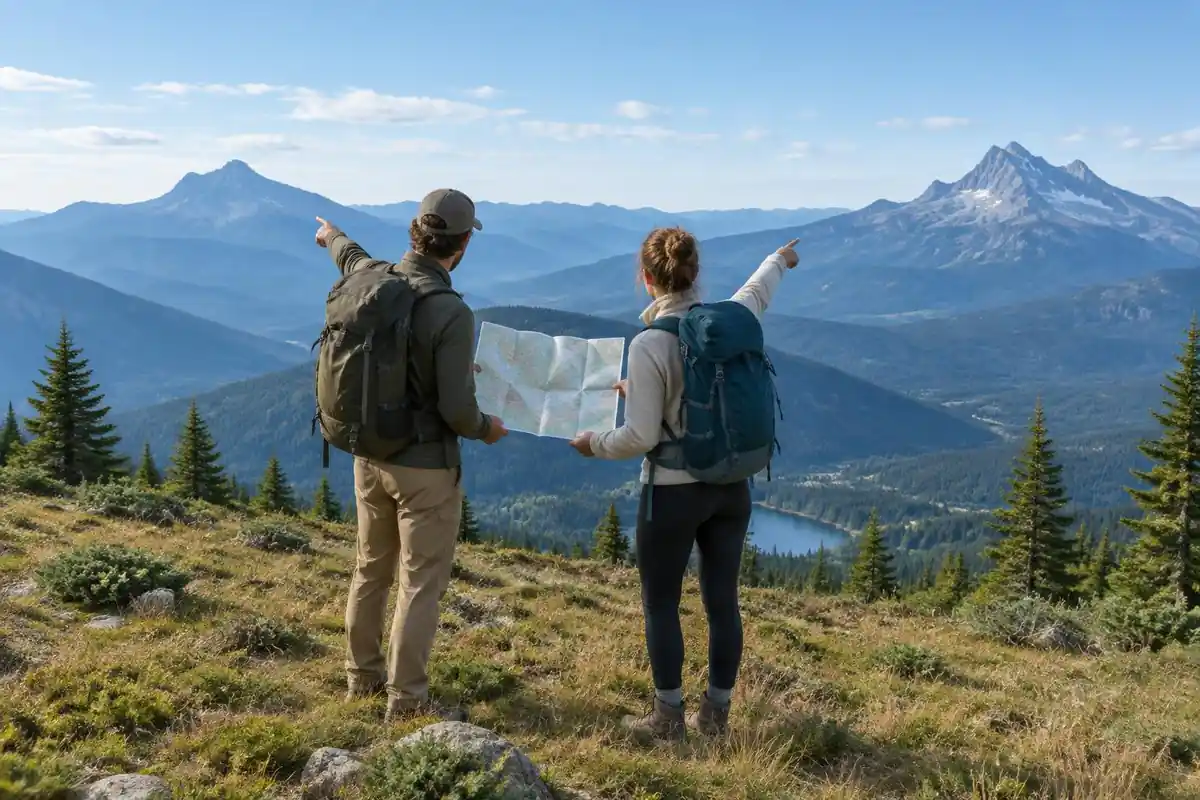
- Take a bearing to landmark one. Point the direction-of-travel arrow at the feature, turn the bezel until the needle is boxed, and read the degrees.
- Plot it backward on the map. Lay the compass edge on that landmark and pivot the whole compass — bezel untouched — until the orienting lines run parallel to the map's north lines. Draw a line back from the landmark toward you.
- Repeat with a second landmark. Pick one roughly 60 to 90 degrees away from the first, so the lines cross cleanly instead of at a shallow, ambiguous angle.
- Read the crossing point. Where the lines intersect is approximately where you are standing. A third landmark gives you a small triangle instead of a point — your position is inside it.
Expect a rough fix, not a pinpoint — sighting errors widen the triangle. Check the result against the terrain: if the map says flat bench and you are on a steep slope, a landmark was misidentified.
Where a phone GPS app fits in
A GPS app on a phone is genuinely useful: it shows your position instantly, records a track you can retrace, and removes most of the guesswork from a confusing junction. Carry one — as a supplement to the map and compass, not a replacement.
The failure modes are mundane, and they cluster exactly when you need the device most. Cold drains a battery fast and can shut a phone down at what it reports as 40 percent. Screens crack, phones get dropped in creeks, and a wet touchscreen is unusable. Offline maps that never finished downloading show a blank gray grid in the field.
The practical setup is a phone in airplane mode with offline maps pre-downloaded, a power bank in the pack, and paper that works regardless. Apps, offline downloads and battery tactics are covered in the GPS and navigation apps guide; both belong on your packing checklist, because one device is not redundancy.
Navigation dos and don'ts
Most navigation errors come from skipping a small step or pressing on after the map stopped matching the ground.
Do
- Practice at home — orient a map in a park before you need it in fog.
- Orient the map every time you take it out, and at every junction.
- Set declination before the trip and note the value on the map.
- Carry the map somewhere dry and reachable, not buried in the pack.
- Stop and reassess the moment the terrain stops matching the map.
Don't
- Take a bearing next to a car, a phone, or trekking poles laid across the map.
- Walk while staring at the needle instead of sighting a landmark ahead.
- Rely on one battery-powered device with no paper backup.
- Keep walking to "see if it makes sense" once you are unsure.
- Follow a bearing blindly off a cliff edge — the compass does not read terrain.
This is general trail-craft, not emergency or survival training. For real competence, take a hands-on navigation or wilderness course with a qualified instructor; if you are lost, injured or out of options, call 911 or your local emergency number as soon as you can. The rest of the habits that keep hikes uneventful are in our hiking dos and don'ts.
Getting the declination math right
NOAA defines magnetic declination as the angle between magnetic north and true north. By convention, east declination is positive and west is negative, and true bearing equals magnetic bearing plus declination.1 That one formula resolves the classic confusion. With 10 degrees east declination, a compass reading of 50 degrees is a true bearing of 60. With 10 degrees west, the same reading is a true bearing of 40.
Where people slip is the direction of conversion. Going from map to ground, you run the formula backward: magnetic bearing equals true bearing minus declination. A compass with an adjustable declination setting does this for you permanently, which is why the page recommends setting it at home.
Why an old map can mislead you
The USGS explains that declination varies with location and over time.2 On USGS topographic maps, the MN arrow marks the direction a compass pointed when that map was published, and the agency warns that declination values on old maps may no longer be accurate.3 A secondhand map from a few decades ago can carry a declination that is off by a degree or more, which grows into a real miss over a long leg.
The fix is quick. NOAA's online calculator returns declination for any latitude, longitude and date, and it defaults to today.4 Look up your area before the trip and pencil the current value on the map margin. USGS maps also show a third arrow, GN, for grid north, which follows the map's plane grid system rather than either pole.3 For hiking-scale navigation, true north and magnetic north are the two that matter.
Measuring distance and knowing when to stop
A bearing tells you direction; scale tells you how far. On 1:24,000 USGS maps, one inch equals 2,000 feet,5 so a two-inch leg on the map is roughly three-quarters of a mile on the ground, before any climbing is added.
Navigation also includes knowing when to stop navigating. If you are truly lost, the Park Service advises staying put unless there is an immediate threat to life, since moving makes you harder to find, and using a whistle rather than your voice to signal.6 A compass helps you avoid getting lost. It is not a reason to keep walking once the map and ground no longer agree.
Frequently asked questions
Do I need a compass if I have GPS?
Yes. A phone is excellent right up until the battery dies, the screen cracks, the cold shuts it down, or the offline map you assumed was saved never finished downloading. A map and compass need no power and no signal, weigh a couple of ounces, and work as the backup that gets you home.
How do I read the contour lines on a topo map?
Each contour line joins points of equal elevation, and the map key tells you the interval between them. Lines packed tightly together mean steep ground; widely spaced lines mean gentle terrain. Concentric rings climb toward a summit, and the V shapes in a drainage point upstream, toward higher ground.
What is declination and do I really have to adjust for it?
Declination is the angle between true north (what your map is drawn to) and magnetic north (what the needle points at). It varies by location and drifts over time. On a short, well-marked trail a few degrees rarely matters; over a mile of off-trail travel it can put you hundreds of yards off course.
What kind of compass do I need for hiking?
A baseplate compass with a rotating bezel, a clear plate with straight edges and a ruler, and a declination adjustment covers everything on this page. Mirrored sighting compasses add precision for long bearings. The things to avoid are keychain button compasses and compasses built into other gear, which are hard to take an accurate bearing with.
What should I do if I think I am lost?
Stop before you make it worse. Sit down, drink, and look at the map and the terrain to see whether you can identify where you are. If you cannot, staying put in a safe, visible spot is usually better than wandering. In a genuine emergency, call 911 or your local emergency number as soon as you have signal.