Affiliate disclosure: this page contains affiliate links. Purchases made through them may earn us a commission at no extra cost to you. See our affiliate disclosure.
In plain English
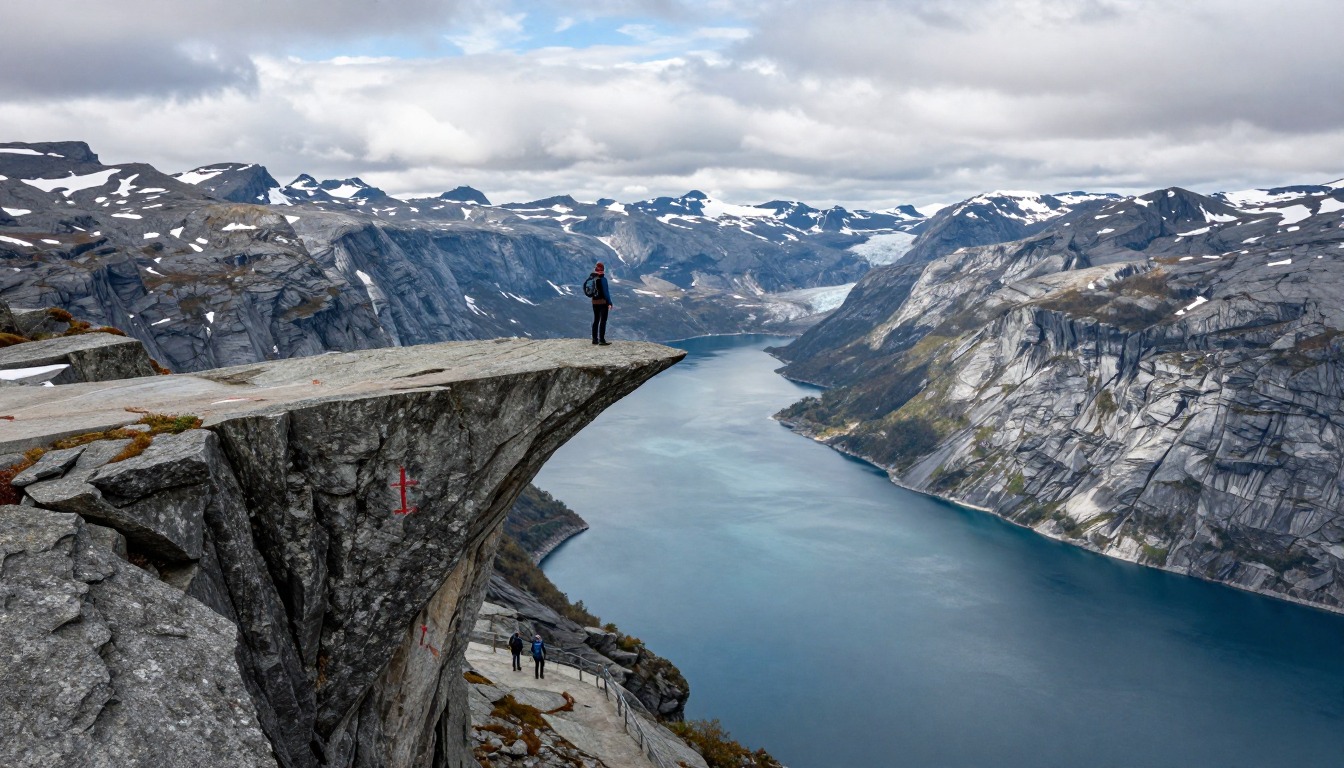
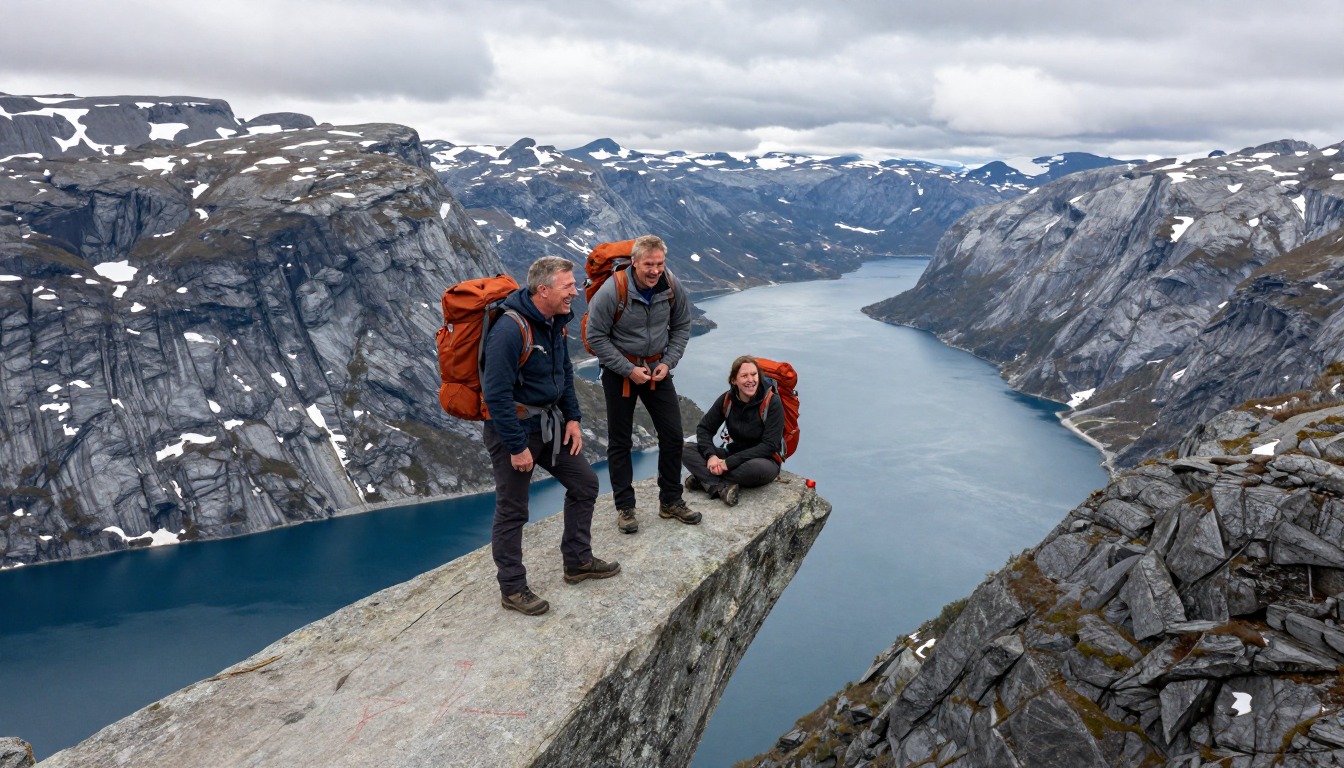
Trolltunga, the Troll's Tongue, is a thin slab of rock that sticks out over a lake, high up on a mountain plateau in western Norway. Getting there is a very long walk. First you climb steeply out of the valley, then you walk for hours across rolling rock, bog and streams, and then you walk all the way back.
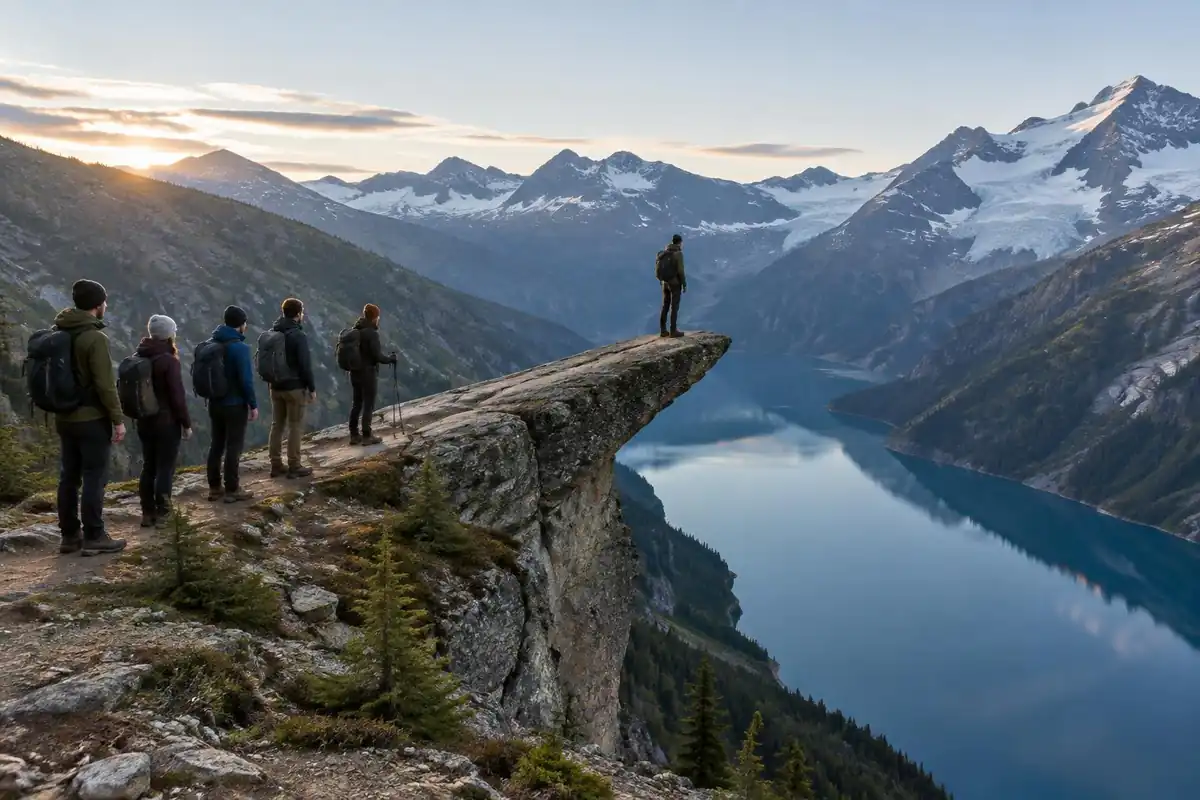
Many people do it in one long day. Others carry a tent and sleep up on the plateau, which splits the walk in two, like breaking a long drive with a night in a motel.
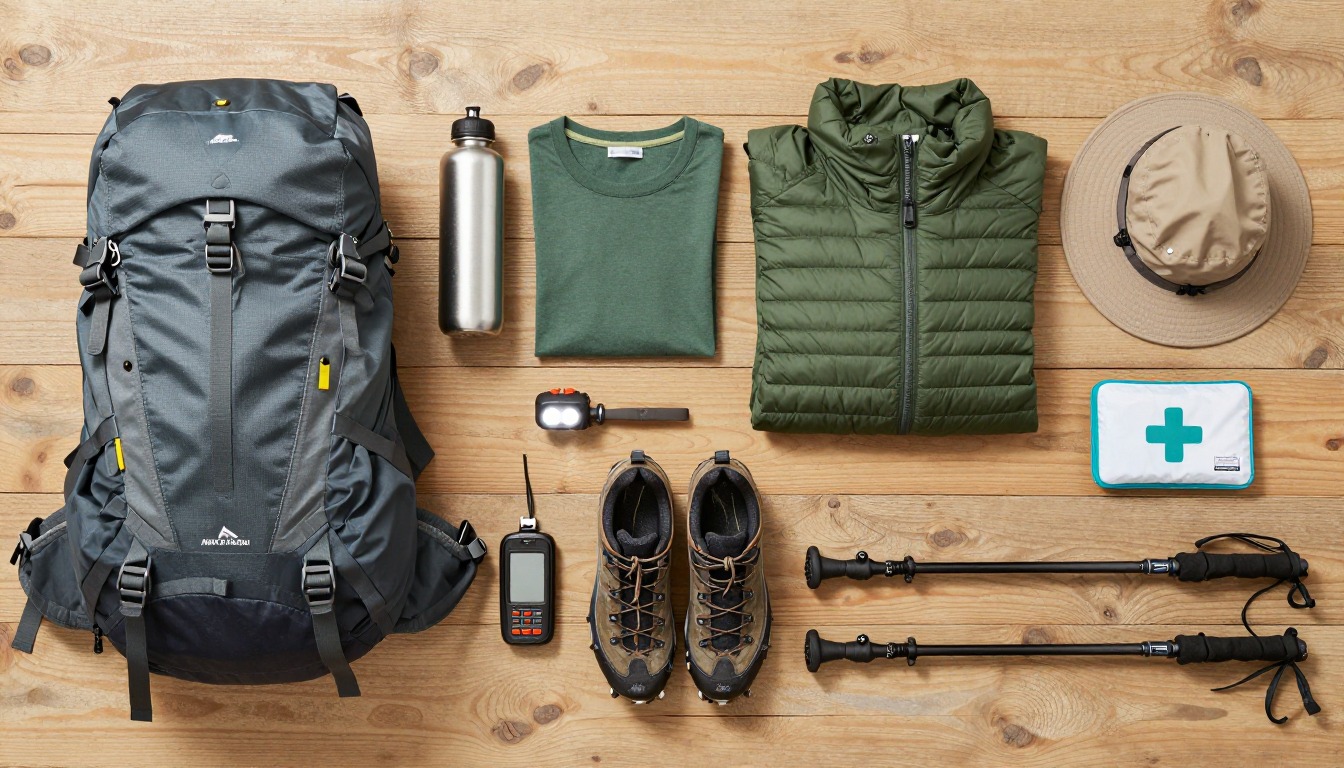
The main skill is watching the clock. Pick a time to turn around before you start, and stick to it even if you're close. Carry warm clothes, a rain jacket, lots of food and water, and a light, because there is no shelter up there if the weather changes.
What the hike is like
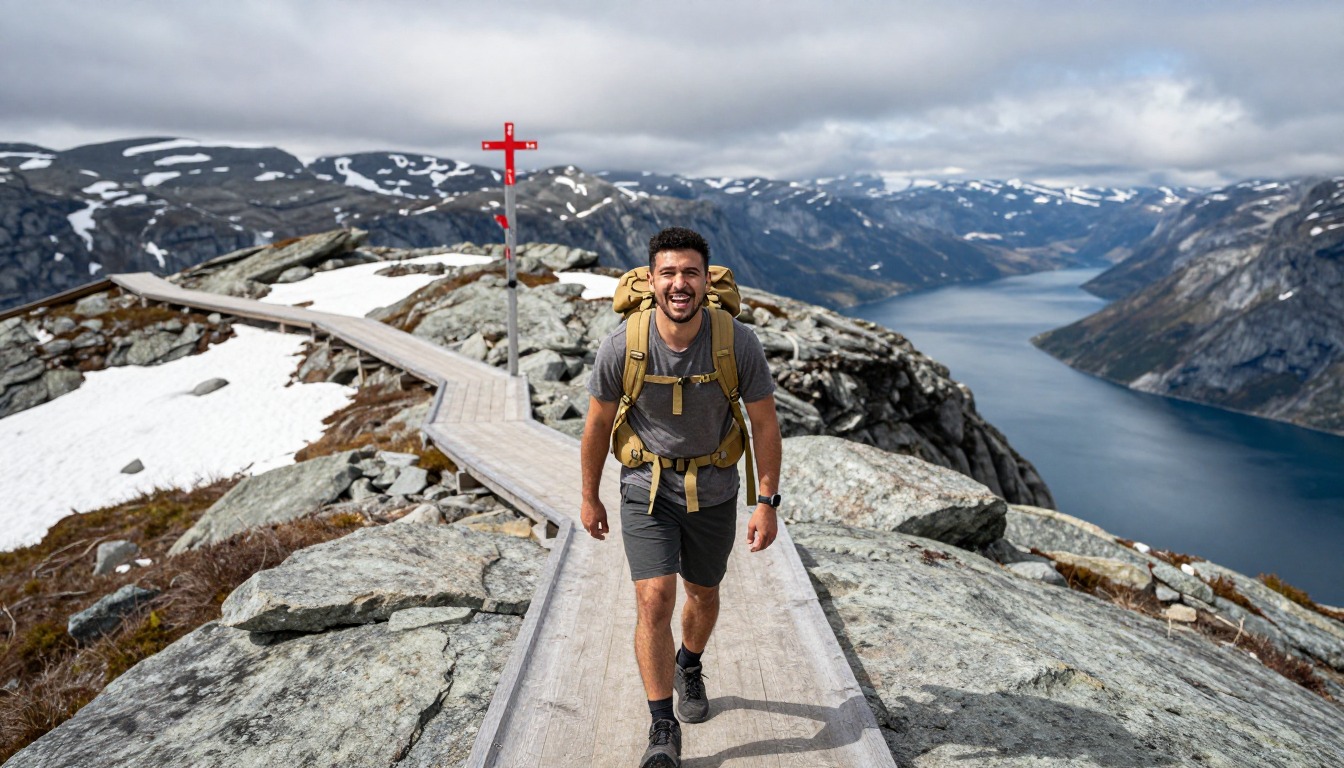
The hike begins with a brutally direct climb out of the valley — steep, relentless and mostly on rough steps and rock, with no gentle warm-up at all. Starting from the higher trailhead at Mågelitopp skips the worst of that opening wall; starting lower at Skjeggedal means you earn every step of it. Above the climb the route levels into the real work of the day: long stretches of rolling plateau where you cross bare rock slabs, boggy hollows, patches of snow that linger well into summer, and shallow streams, following cairns and painted markers rather than a worn tread. The ground rises and falls constantly, producing a run of false horizons that wear people down more than the initial ascent does. The ledge itself sits below the main plateau line, reached by a short drop off the route.
How to plan the itinerary
There are two common shapes to this trip. The first is a single long push: sleep in Odda, Tyssedal or near the trailhead, start very early, and commit to a full day on foot with a firm turnaround time in mind. The second, which a lot of hikers now prefer, is to split it — carrying camping gear onto the plateau for a night out, which breaks the distance in half and puts you at the ledge early in the morning before the day walkers arrive. Using the road transport up to the higher trailhead removes the steepest opening climb and is worth considering in either version. Whatever the plan, the return leg is not a formality: it covers the same rolling plateau in reverse, on tired legs, and needs to be budgeted for properly.
Plan this trip in 5 steps
-
Pick the right pack
Match a pack to your trip, fit and priorities.
-
Plan food & water
Calories, food weight and water for your days on trail.
-
Estimate your time
Pre-filled with this trail’s distance and climb — adjust for your pace.
Trail-specific tips
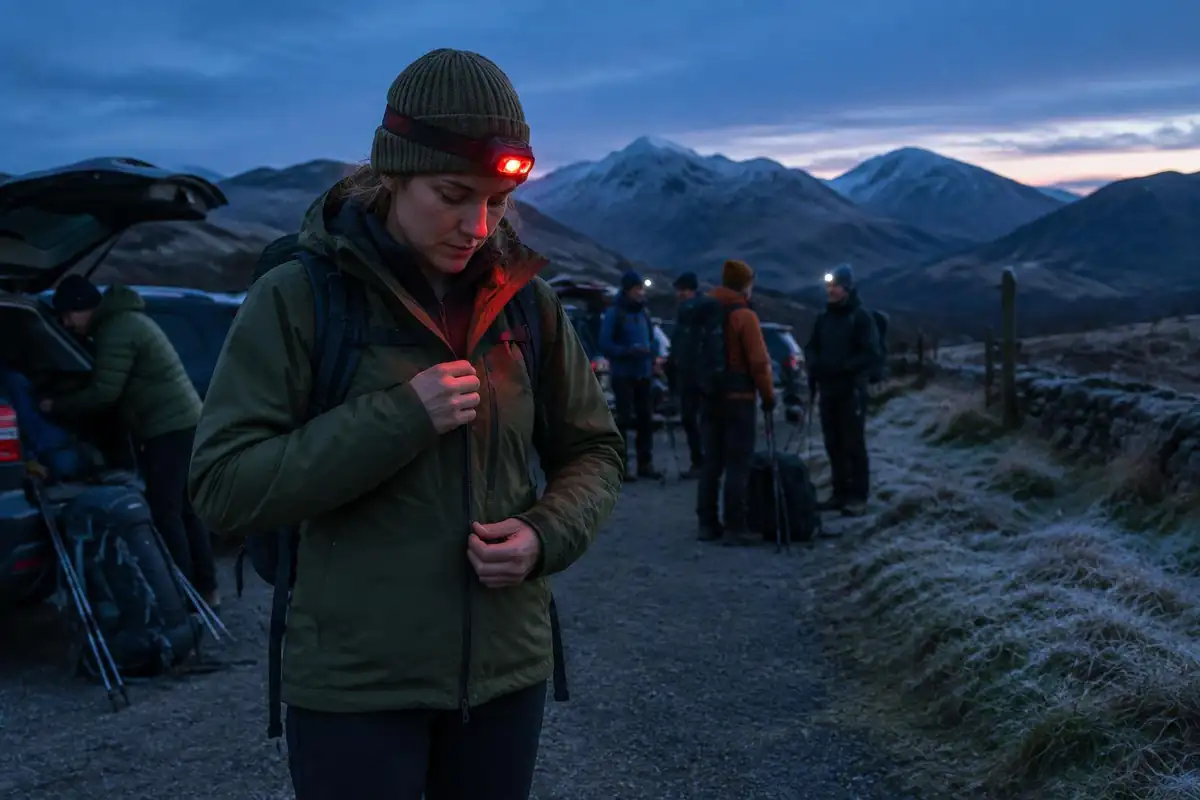
The classic mistake here is treating the first big climb as the hard part. It isn't — the rolling plateau beyond it is where people run out of daylight, and the walk back covers all of that ground again. Set a turnaround time before you start and keep it even if the ledge is close. Expect wet feet from bog and stream crossings, and pack warm layers regardless of the forecast, because there is no shelter once you're up there. There is usually a queue at the ledge in high season. General weather and navigation habits are covered on /trail-smarts/.
Permits & rules
No permit is needed, but this is a very long, exposed mountain day — start early, carry full layers and food, and turn back if weather closes in. Outside mid-summer conditions are much harder and a guide is often advised.
Gear suited to this hike
Matched to the terrain and conditions here. Real products — check current price on Amazon.


Doing the math on a very long day
From the main Skjeggedal trailhead this page gives about 27 km (16.8 miles) with roughly 800 m (2,625 ft) of climb. Naismith's classic rule of one hour per three miles plus one hour per 2,000 feet1 gives about 6.9 hours of moving time. Mountaineering Scotland's slower variant of 4 km/h plus one minute per 10 m of ascent6 gives about 8.1 hours. Rest stops, the queue at the ledge and tired-leg pace on the return explain why real days on this route often run longer than either estimate.
Two cautions follow. First, Naismith assumes steady ground; a peer-reviewed study built on crowdsourced fitness-tracker data found slope is a critical factor in hiking travel rate,7 and bog, snow patches and stream crossings slow you further. Second, the US National Park Service advises setting and sticking to a turnaround time.2 Working back from sunset, which NOAA's solar calculator gives for any location and date,8 is a practical way to set it.
Wet, cold and exposed: what the plateau does to your kit
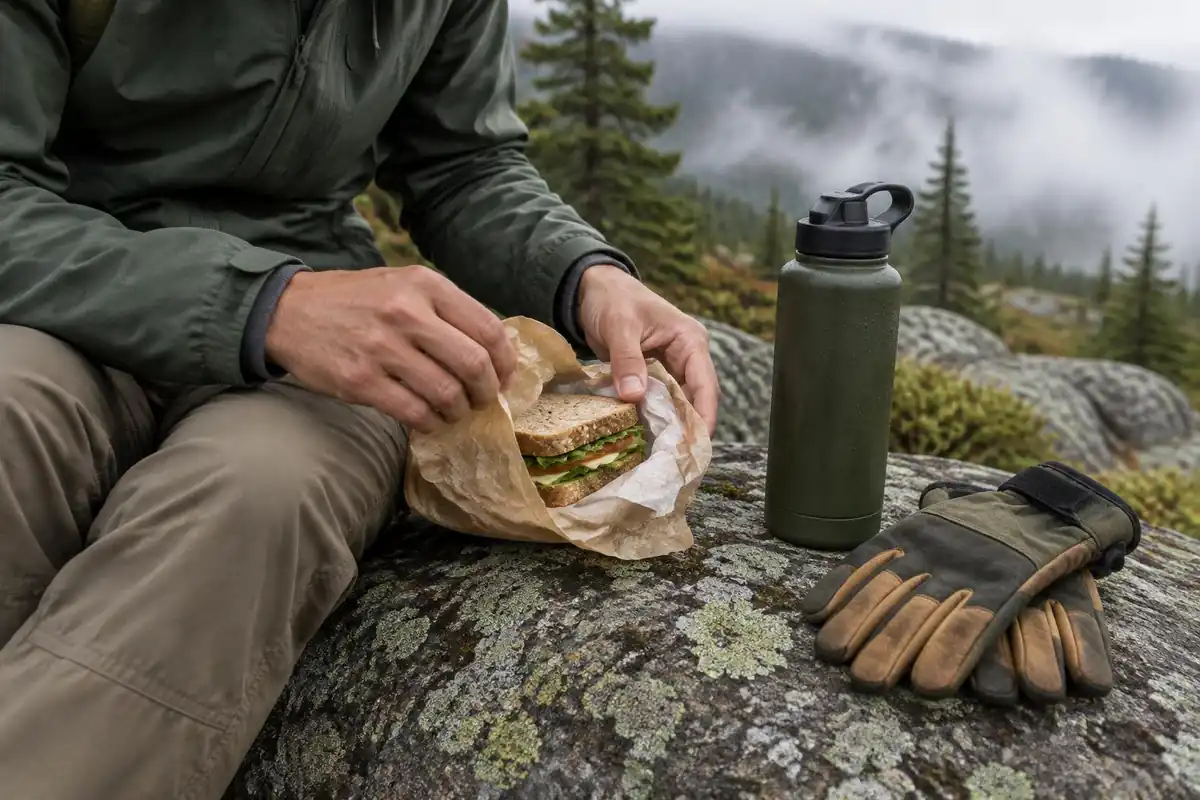
Visit Norway lists Trolltunga among Norway's best hikes and says National Hiking Trail status is intended to make these routes last.3 Trail work improves the path, but the plateau stays exposed. Wet feet are close to certain; NIOSH notes wet feet lose heat about 25 times faster than dry feet.9 CDC adds that hypothermia can develop above 40°F when a person gets chilled by rain or sweat, and that the person affected may not realize it.10 A layering system helps: a base layer that wicks sweat, an insulating middle layer and an outer layer that blocks wind and rain.11
Stream water on the plateau looks clean but can still carry germs; CDC advises treating water from even clear mountain streams.12
The overnight option: pack size and camp rules of thumb
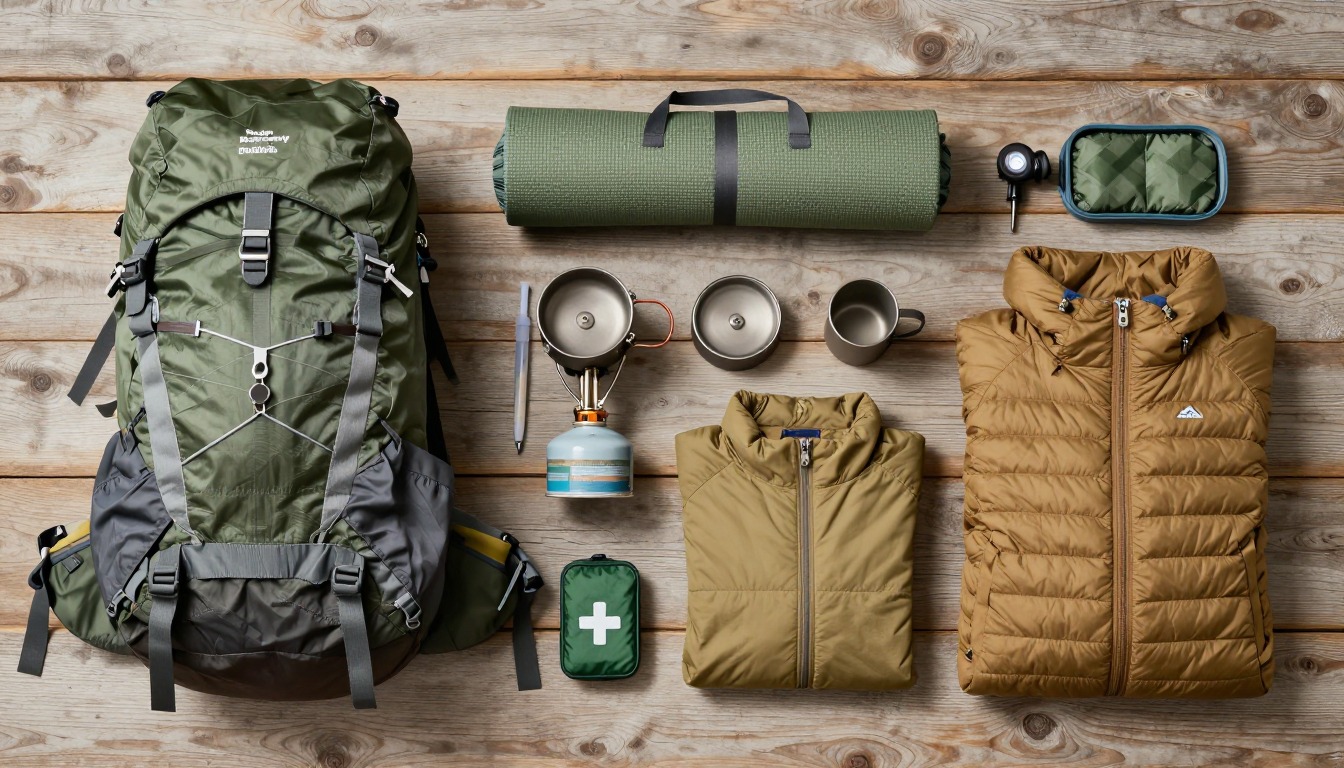
Splitting the hike with a night out changes the pack. The Washington Trails Association suggests 25–30 L for a full day and 45–50 L for a standard one- or two-night trip.5 Pack the heavy items, such as food, stove and water, about two-thirds of the way up the main compartment and close to your back, with the sleeping bag at the bottom.13
The most serious camp mistake is cooking inside a closed tent. CDC's report on camping deaths found that stoves used inside tents caused fatal carbon monoxide poisoning, and that opening flaps or windows does not prevent dangerous build-up.4 Cook outside and away from the tent door. Leave No Trace guidance, as published by the US National Park Service, is to camp at least 200 feet from lakes and streams and to pack out toilet paper;14 follow any designated camping areas the route has.
Common questions
Can Trolltunga really be done in a single day?
Yes, and most hikers do, but it is a long, strenuous day that demands an early start and steady pace throughout. Fitness matters less than pacing and time management — the ground is rolling rather than steep once you are up on the plateau. Anyone slow on rough terrain should seriously consider splitting the trip with an overnight instead.
Is the higher trailhead worth using?
For most people, yes. Starting from Mågelitopp removes the steepest opening climb, which saves both time and a lot of leg strength for the rolling plateau that follows. Access arrangements and transport up the mountain road are seasonal and change, so confirm what is running before you plan your morning around it.
Do I need to camp, and is camping allowed?
Camping is not required, but it is a common way to break the trip and reach the ledge early. Norway's access tradition allows responsible wild camping in the mountains, and designated areas exist along the route. If you camp, come equipped for genuinely cold, wet, windy nights on exposed ground with no shelter and no resupply.
How dangerous is the ledge itself?
There are no barriers, no railings and a very long drop, so it is treated with respect by anyone sensible. The rock is exposed to wind and becomes slippery when wet. Plenty of hikers reach it, take in the view from safe ground, and never step onto the ledge at all — which is a perfectly good outcome for the day.
Complete gearsets for this trip
Full curated kits built for exactly this kind of hike.
Trail conditions, permits and access rules change without notice — always confirm current information on the official source above before you go. Some facts on this page are still pending owner verification and are marked accordingly. Product links and the accommodation map are affiliate links: we may earn a commission at no extra cost to you; product prices and availability are shown on Amazon, and accommodation prices on the booking site. See our affiliate disclosure.