Budget hiking & backpacking: gear up for less
Hiking has a reputation for being an expensive hobby, and most of that reputation comes from gear catalogs rather than the trail. Here is where your money actually matters, where it does not, and how to build a working kit without buying everything new at once.

In plain English
Hiking gear can look expensive, but you do not need to buy it all at once. Think of it like setting up a first kitchen. You buy a good knife and a decent pan, then borrow or make do with the rest until you know how you really cook.
For hiking, the good knife and pan are your shoes and your rain jacket. Shoes that rub will ruin a walk no matter how cheap they were. A jacket that lets rain in can turn a chilly day into a dangerous one.
The big, pricey items, like a backpack, a tent and a sleeping bag, are the ones you can borrow from a friend or rent from an outdoor store or club. After a few trips you will know what you actually like, so when you finally buy, you buy once and buy right.
The short answer
You do not need expensive gear to start hiking. Put your money into footwear that fits and a rain shell that actually works, borrow or rent the big-ticket items for your first trip, buy the rest used or off-season, and upgrade only the pieces that genuinely bother you on the trail.
What to spend on first
A budget kit is not a kit where everything is cheap. It is a kit where the few items that decide whether you are comfortable and safe get the money, and everything else gets whatever works. Two categories earn that spending almost every time: footwear and rain protection.
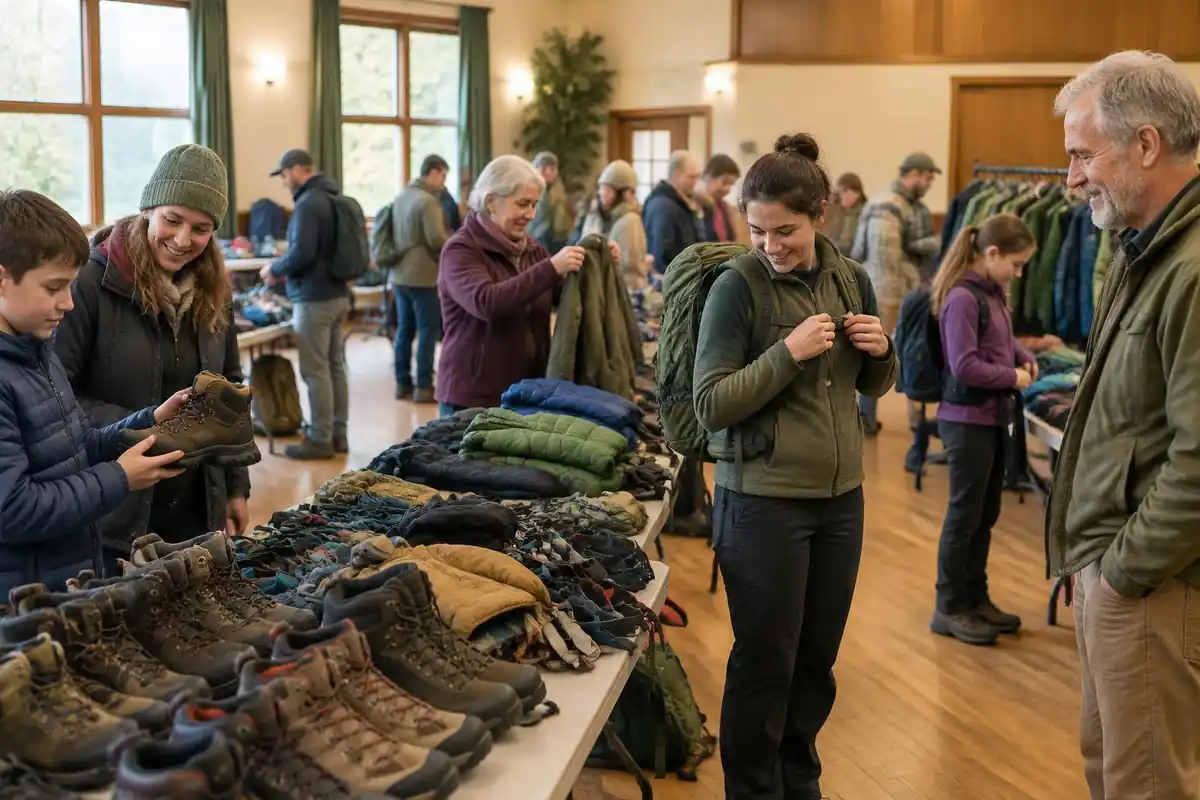
Footwear comes first because nothing ends a hike faster than shoes that rub, pinch or slip. Fit is the whole story here, and fit is not something a discount can fix — a shoe that is the wrong shape for your foot stays the wrong shape no matter what you paid. This is the one purchase worth making in person, trying several shapes, and walking around properly before committing. Whether the money goes to a trail runner or a boot matters far less than whether your heel stays put and your toes have room on a descent.
Rain protection is second because being wet and cold is where an uncomfortable day turns into an unsafe one. Very cheap rain jackets tend to wet through or trap so much sweat that you end up damp anyway, which defeats the point. A shell does not need to be a flagship model, but it should genuinely keep weather out, have a hood that stays on in wind, and pack down small enough that you actually carry it. Pair it with one warm layer — fleece is the classic budget answer, and it works.
After those, a pack that fits your torso is the next thing worth real attention, since a bag that sits wrong will ache regardless of price. Our budget and value packs hub covers the models that get fit and durability right without a premium price, and it is the natural companion to this page.
Spend here first
- Footwear that genuinely fits your foot shape.
- A rain shell that keeps weather out and breathes.
- One reliable warm layer — fleece is fine.
- A pack sized to your torso, not your height.
- Socks that are not cotton, in a couple of pairs.
This can wait
- Trekking poles — useful, but not day one.
- A dedicated hiking wardrobe of branded clothing.
- Titanium cookware and ultralight cook systems.
- A GPS watch, satellite messenger or camp furniture.
- Stuff sacks and organizers you can improvise.
What can wait (and what you can improvise)
A surprising share of a "complete" gear list is convenience rather than necessity, and a lot of it already exists in your house. A heavy-duty trash bag is a perfectly good pack liner. Reused drink bottles carry water as well as a branded one does, and they are lighter than most. Freezer bags organize small items. An old towel cut down makes a camp towel. A phone handles the camera, the compass and the offline map, provided you carry a battery pack and a paper backup.
Food is the other place beginners quietly overspend, because the freeze-dried aisle is expensive and it is easy to assume that is what backpackers eat. It is not, or at least not always. Our guide to budget backpacking meals is the money-saving companion to this page, and it covers the grocery-store staples that deliver the same calories for far less.
Before you buy anything, build the list properly with our packing checklist, then go through it and mark each item as buy, borrow, improvise or skip. Most people find that the buy column is shorter than they expected.
Borrow or rent before you buy
For a first overnight trip, borrowing and renting are the highest-value moves available, and they are underused. The three most expensive items in a backpacking kit — the pack, the sleeping system and the shelter — are also the three you are least equipped to choose well before you have slept outside a few times. Buying them first means guessing, and guessing with the most money on the table.
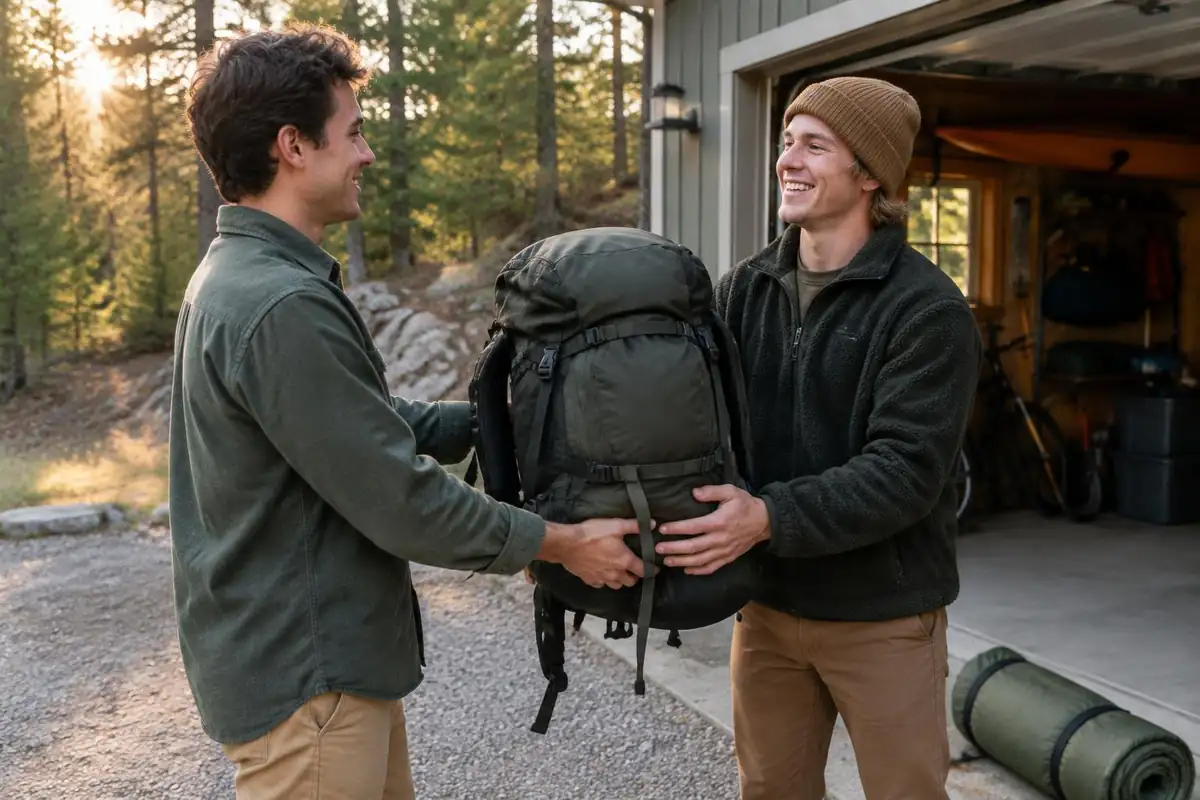
Outdoor retailers, university outdoor programs, local hiking clubs and gear libraries commonly rent those exact items by the weekend, and the cost of a rental is a fraction of a purchase. Friends who already backpack are often glad to lend, and they will usually show you how to use the thing properly, which is worth as much as the loan.
The real payoff is information. After two or three trips you will know whether you run cold at night, whether you want a roomier shelter or a lighter one, and how much volume you actually fill. That knowledge turns your eventual purchase from a guess into a decision, and it is the single most effective way to avoid buying an expensive item twice.
Rent the sleep system, not the shoes. Anything that has to fit your body — footwear especially — is worth owning and breaking in. Anything that simply has to work for a weekend is worth borrowing first.
Buying used and off-season
Outdoor gear holds up unusually well secondhand, which makes the used market genuinely useful rather than a last resort. Gear swaps, consignment racks, club sales, community marketplaces and the used sections some outdoor retailers now run all turn over serious equipment, often from people who bought once, used it twice and moved on.
Buy used with confidence on items you can inspect by eye: packs, trekking poles, stoves, cookware, hard-shell jackets, and most hardware. Check zippers, buckles, seams and hipbelt padding on a pack; check that a stove lights and the fuel connection is clean; check a shell for delamination on the inside face. Be more cautious where condition is hidden rather than visible — an old sleeping bag or an insulated jacket can look perfect and have lost most of its loft, and anything life-supporting is not the place to save.
Off-season buying is the other lever, and it requires nothing but patience. Prices soften predictably: winter layers discount as spring arrives, warm-weather gear as summer ends, and any model discounts once its replacement lands, usually with nothing changed but the colorway and a detail or two. Shopping roughly a season behind the calendar is the simplest way to pay less for the same object.
- Inspect before paying where you can — zippers and buckles are the usual failure points.
- Check the size honestly. A bargain pack in the wrong torso length is not a bargain.
- Look up the model so you know what it originally was before deciding what it is worth now.
- Ask about warranty transfer — some makers repair regardless of who bought it.
- Factor in cleaning and repair time, which used gear often needs.
Let one item do several jobs
The cheapest gear is the gear you never buy, and the fastest way to shorten a list is to make individual items earn their place twice. This is the same instinct that drives ultralight backpacking, and it happens to save money as well as weight — one of the few places where the cheap answer and the light answer agree.
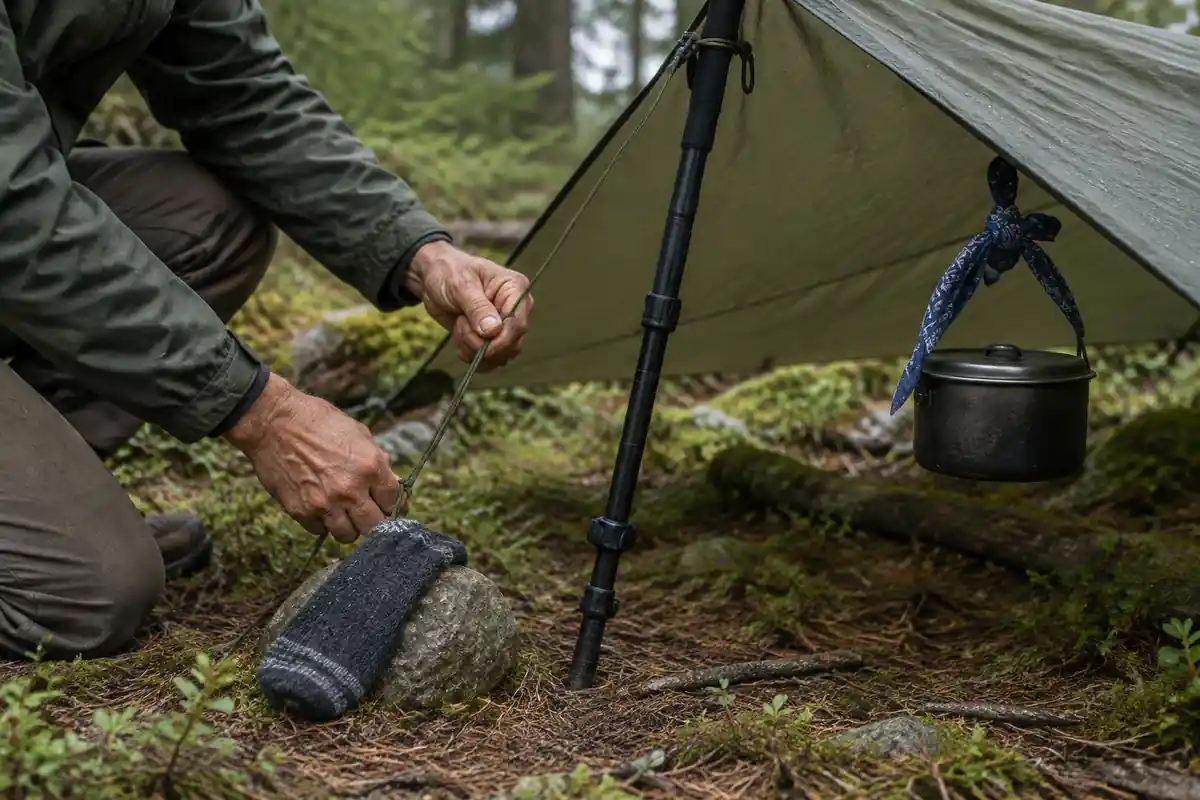
- A bandana or neck gaiter. Sun shade, sweat rag, pot holder, water pre-filter, first-aid tie and dish towel in a piece of fabric that weighs almost nothing.
- A single pot. Cook in it, eat from it, drink from it, and store your stove and fuel inside it. A separate bowl, mug and plate is three items doing one item's work.
- Your rain shell as a windbreaker. A waterproof layer already blocks wind, so a dedicated wind shirt is a luxury rather than a gap.
- A puffy or fleece as a pillow. Stuffed into a dry bag or its own hood, the layer you are not wearing overnight is a pillow you did not buy.
- Trekking poles that pitch a shelter. If you go this route later, poles that double as tent supports remove an entire category of gear.
The habit to build is the question itself: before any purchase, ask what else already in the pack could do this job acceptably. Often something can, and the honest trade is a little convenience for money not spent.
Start cheap, then upgrade what actually bothers you
The most reliable budget strategy is also the least glamorous. Start with the cheapest kit that is safe, go hiking, and pay close attention to what annoys you. Then replace that one thing. Repeat.
This works because gear frustration is specific and personal, and it is very difficult to predict from a product page. One hiker discovers that their pack is fine but their sleeping pad is too cold. Another finds the pad perfect and the shoulder straps unbearable after eight miles. A third is happy with everything and simply wants less total weight. None of those people would have chosen the same upgrade, and none of them could have known which they were before going out.
Buying cheap first is therefore not a compromise you settle for — it is how you find out what to buy properly. The money you did not spend on a premium version of something that turned out to be fine is the money that pays for the upgrade you actually need. It also means that when you do buy an expensive item, you are buying it with a clear reason, which is the only situation in which expensive gear is worth it.
One caution: upgrade because something is genuinely failing you, not because the shiny version exists. "My current one is annoying" is a good reason. "There is a lighter one" is only a good reason if weight is the thing you noticed on the trail. Keep a running note of what bothered you on each hike and let that list, rather than a sale, decide what you replace next.
Budget kit does not mean unsafe kit. Rain protection, a warm layer, navigation, light and enough water are not optional at any price point — economize on comfort and convenience, never on the items that keep a bad day from becoming an emergency.
Why fit is the one thing a discount cannot fix
Footwear sits at the top of the spending list because the failure is physical, not cosmetic. Orthopaedic surgeons advise shopping for shoes toward the end of the day, because feet can swell by up to 8% over a day, measuring while standing, and sizing for the larger foot, since one foot is often bigger.1 They also suggest trying shoes on with the same kind of sock you will hike in.2 A used or clearance shoe can pass all of those checks, but a shoe that fails them is not a bargain at any price.
Rain protection earns its spot for a similar reason. The National Park Service calls cotton a poor cold-weather choice because it absorbs water and stays wet a long time.3 Polyester fleece, by contrast, dries quickly and stays warm when damp, which is why an inexpensive fleece is a sound budget insulating layer.4
The big three, and why renting them first pays off
The Appalachian Trail Conservancy calls the pack, shelter and sleeping bag the big three, because they are usually the heaviest pieces of gear.5 They are also where a wrong guess costs the most, which is exactly why they are the best items to borrow or rent while you learn what you need.
Some public land managers help here too. Glacier Bay National Park loans bear-resistant canisters free to registered backcountry users,6 and Sequoia and Kings Canyon visitors can rent canisters at most visitor centers.7 Check what the park you are visiting offers before buying a canister you may use twice a year.
Do not skimp on the sleeping pad in cold weather, though. Sleeping on the ground chills you through conductive heat loss, which is why an insulated pad matters as much as the bag.8
Reading a warranty before you buy secondhand
Warranty terms matter more on used gear than new, and they differ sharply by brand. Gregory's guarantee covers defects in workmanship and materials for as long as you own the product, and it excludes abuse, improper care and normal wear. Gregory also notes that foam padding permanently compresses with use, so a tired hip belt on a used pack is wear, not a defect.9 Deuter offers a two-year warranty from purchase plus a lifetime repair service for incidental damage where repair is possible.10
The practical takeaway: when a used pack is priced low because of a torn seam or a cracked buckle, ask the maker whether it will repair it and on what terms. A repairable pack from a brand with a repair service can be a better buy than a pristine one with no support behind it.
Frequently asked questions
Do I need expensive gear to start hiking?
No. The honest answer is that footwear which fits and a rain layer that keeps you dry matter far more than brand or price. Plenty of people hike comfortably for years on borrowed, secondhand and plainly basic gear. Expensive equipment mostly buys weight savings and durability, which are useful later and rarely necessary on your first trails.
What should I buy first on a tight budget?
Buy footwear first, because badly fitting shoes end a hike faster than anything else, then a rain shell and one warm layer. After that, a pack that fits your torso. Everything else on a beginner list can usually be borrowed, improvised from what is already at home, or bought basic and replaced later.
Is it worth buying used backpacking gear?
Often, yes. Packs, trekking poles, stoves, cookware and hard-shell jackets hold up well secondhand and are easy to inspect for damage. Be more cautious with anything whose safety or insulation you cannot verify by eye, such as climbing equipment, old sleeping bags with collapsed loft, or helmets with unknown history.
When is the best time to buy hiking gear on sale?
Prices generally soften at the end of a season and when a maker refreshes a model. Winter layers tend to discount in late spring, warm-weather gear in late summer, and last year colorway of almost anything once the new one lands. Buying a season behind is the simplest way to pay less for the same item.
Can I hike in regular clothes?
Mostly yes, with one rule: avoid cotton. Synthetic athletic wear you already own works fine for shirts, leggings and shorts, and a fleece from any source insulates the same way an outdoor-branded one does. The clothing worth buying deliberately is the waterproof outer layer, because cheap rain gear tends to wet through.