
The Zion Narrows setup
The Zion Narrows is a hike where the trail is the river. From the moment you leave the paved Riverside Walk, you're wading upstream through the Virgin River with sandstone walls rising hundreds of feet on either side, and there's no dry alternate route around it. This setup is built for a full day of walking in moving water, keeping your gear dry, and making the one call that matters more than any item on this list: whether it's actually safe to be in the canyon today.

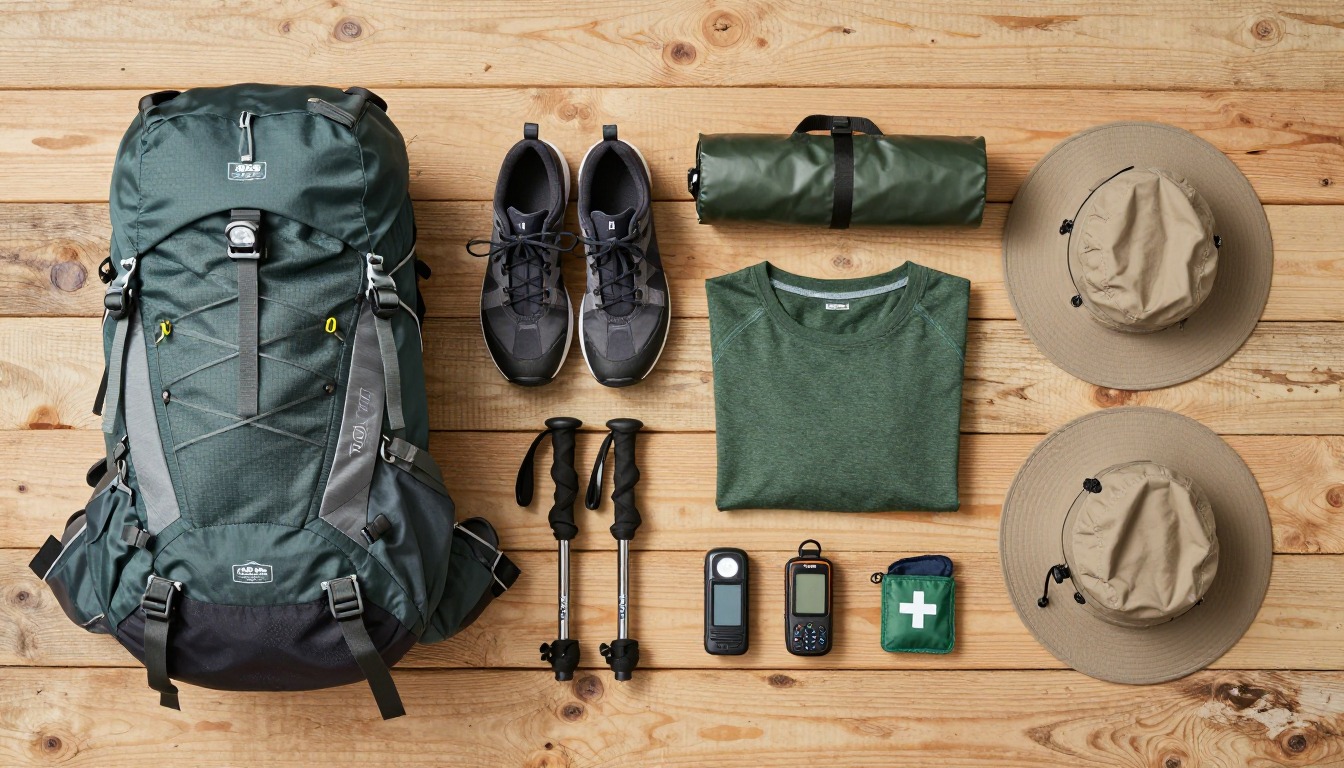
Almost everything in this kit exists because you spend the entire day partly submerged, on a riverbed you can't see through the current. Regular hiking boots turn into waterlogged anchors within the first mile, so footwear built for wading and traction on slick rock replaces them entirely. A wading staff adds a stable third point of contact where the river bottom drops away without warning. Everything else you're carrying — food, phone, layers — goes into a single dry bag rather than a pack that slowly wicks water into every pocket. None of that matters, though, if the watershed above the canyon is holding a storm you can't see from inside the walls, which is why checking the flash-flood risk comes before any of the gear.
This suits a day hike up the bottom of the Narrows — wading in from the Riverside Walk trailhead as far upstream as your day allows, then wading back out the same way. It assumes settled weather and a low flash-flood rating; it isn't written for an overnight top-down trip through the wilderness above, which needs a permit, technical canyoneering skills, and a different kit entirely. If you're not comfortable wading in current over uneven, unseen footing for hours at a time, or the day's flash-flood potential is anything other than the lowest rating, this is a hike to save for another day.
- Start from zero rather than adapting your normal daypack setup — nearly everything you wear and carry here is chosen because it's going in the water, not to keep you out of it.
- Build your footwear first: a canyoneering-style water shoe with a stiff, grippy sole, worn with a neoprene sock for warmth and to keep small rocks and sand out.
- Pack the one dry bag that holds everything you can't afford to lose or soak — food, phone, an extra layer, the first-aid kit — and treat it as the item you never set down on a rock ledge.
- Before you check anything else off this list, check the park's flash-flood potential rating for the day. If it's elevated, nothing else on this list matters — you're not going in.
About this setup
The Virgin River Narrows is one of the most photographed hikes in the American Southwest, and also one of the most misunderstood before people actually do it. There's no trail once you leave the paved Riverside Walk — you're in the river, wading against a moderate current over a bed of rounded cobbles and sand you mostly can't see, with the canyon walls narrowing overhead until sunlight only reaches the water for an hour or two around midday. Most day hikers wade up from the bottom as far as their legs and their turnaround time allow, then wade back out the same way; there's no loop, no shortcut, and no dry alternate path if conditions turn.
The gear culture around this hike borrows directly from canyoneering rather than standard backpacking. A stiff-soled, closed-toe water shoe replaces hiking boots entirely, because a boot that fills with water and sand becomes dead weight within the first mile. A wading staff or trekking pole used as one does a job a hiking pole never has to on dry trail: it tells you what's under the water before your foot does, in a current that can hide a foot-deep drop-off behind an ordinary-looking surface. And because you're wet from the thighs down for hours, cold becomes the quiet risk even on a warm day above the rim — water in the 50s or low 60s Fahrenheit pulls heat out of a body far faster than air at the same temperature, which is why neoprene socks and, in colder months, a full wetsuit or drysuit rental show up on nearly every experienced hiker's list.
None of that gear addresses the one hazard that has made the Narrows genuinely dangerous in past years: flash flooding. A storm doesn't need to sit directly over the canyon to fill it — rain falling anywhere across the wider watershed upstream can funnel into the slot and arrive as a sudden rise in the river, sometimes with little warning visible from inside the walls. Long stretches of the hike have sandstone walls too steep to climb, so there's often nowhere to go but back the way you came, and even that may not be fast enough. The park posts a daily flash-flood potential rating for exactly this reason, and the only reliable response to anything above the lowest rating is simply not entering the canyon that day. No gear on this list changes that calculation — it's a decision made before you ever step in the water, and one worth deferring to rangers on if there's any doubt at all.
The pack
A river hike calls for a pack you don't mind getting soaked and dunked, sized for a single long day rather than an overnight.
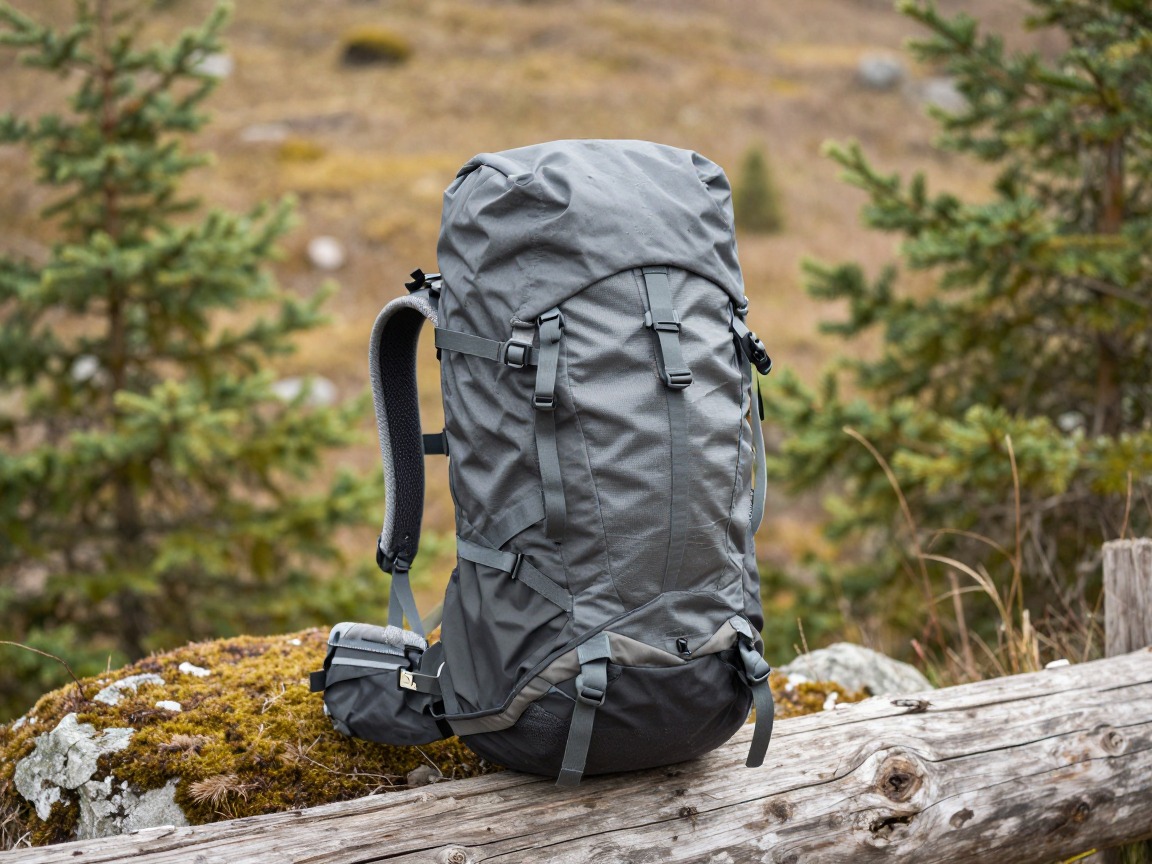
Daypack
Carries your dry bag, snacks, and layers for a full day of wading upstream and back out — small and light, since you're not sleeping out here.
What to look for: A simple, low-profile daypack in the 20–30 L range with minimal padding to soak up water, and straps you can cinch down so nothing shifts while you're bracing against current.
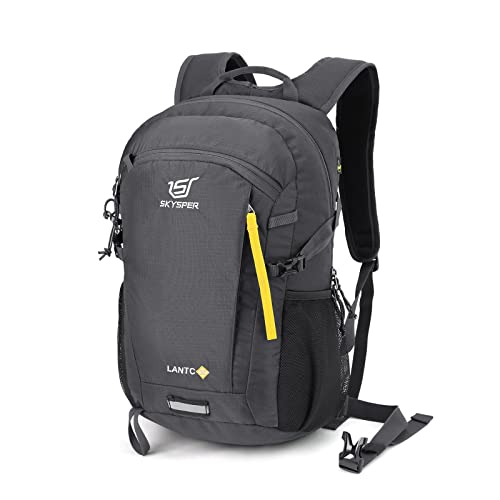 SKYSPER Small Hiking Backpack Check price
  Osprey Sportlite 20L Lightweight Hiking Backpack Check price
 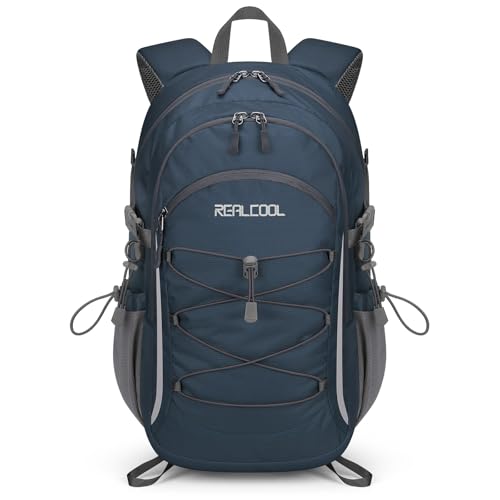 RealCool 20L Lightweight Hiking Backpack Check price
 - A pack you're fully prepared to have submerged to the waist at points — nothing irreplaceable anywhere but the dry bag.
Footwear for the river
You're wading for hours over a riverbed of slick rock, loose cobbles, and sand you can't see through the current, so footwear matters more here than on almost any other hike.
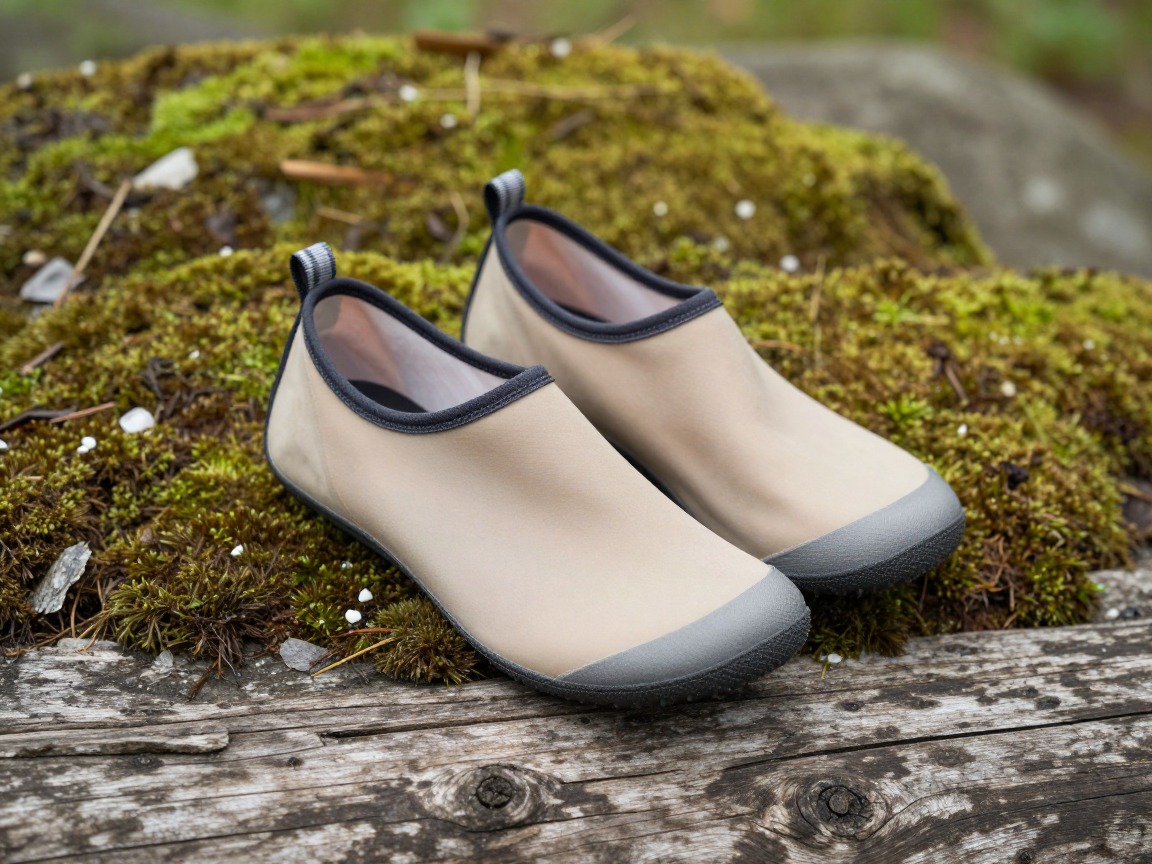
Canyoneering water shoes
Purpose-built for wading, with a stiff sole that protects your feet from unseen rocks and enough structure to stay put in current, unlike a sandal.
What to look for: A closed-toe design with a sticky rubber sole rated for wet rock, a snug fit that won't pull off in current, and drainage ports so they don't fill up and stay full.
 SEEKWAY Water Shoes for Women Adult Quick-Dry Aqua Sock Barefoot Men Check price
  Water Shoes Mens Women Barefoot Shoes Quick-Dry Aqua Outdoor Sports Check price
 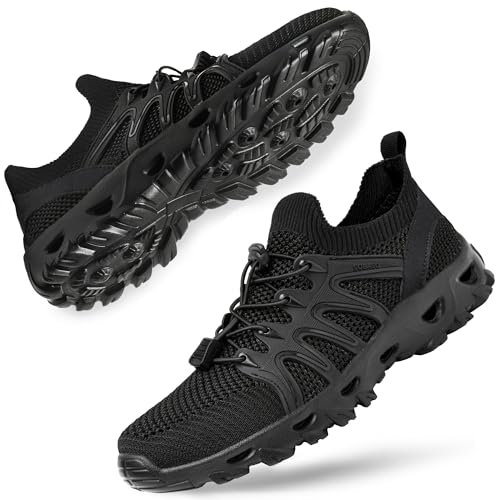 Alibress Water Shoes for Women Men Lightweight Men's Water Hiking Sh Check price
 - Neoprene socks worn inside the water shoes — thin for warm months, a thicker neoprene for cold water — for warmth and to keep sand and small rocks out.
- A second pair of dry shoes and socks left in the car for after the hike.
Wading staff & stability
Two legs aren't enough when the riverbed drops away without warning underfoot — a third point of contact is what actually keeps you upright.

Wading staff
Used as a wading staff rather than a hiking pole — planted upstream of you to feel out depth and footing before you commit your weight to the next step.
What to look for: A sturdy, adjustable pole with a locking mechanism that holds under real sideways load in current; a pole that collapses mid-stride is worse than none at all.
 Trekology Trek-Z Cork Grip Collapsible Lightweight Hiking Trekking P Check price
  Cascade Mountain Tech Trekking Poles Check price
  covacure Hiking Poles Check price
 Staying dry: the dry bag
One dry bag, packed before you leave the car, is what separates a great day in the Narrows from a ruined phone and a soggy lunch.
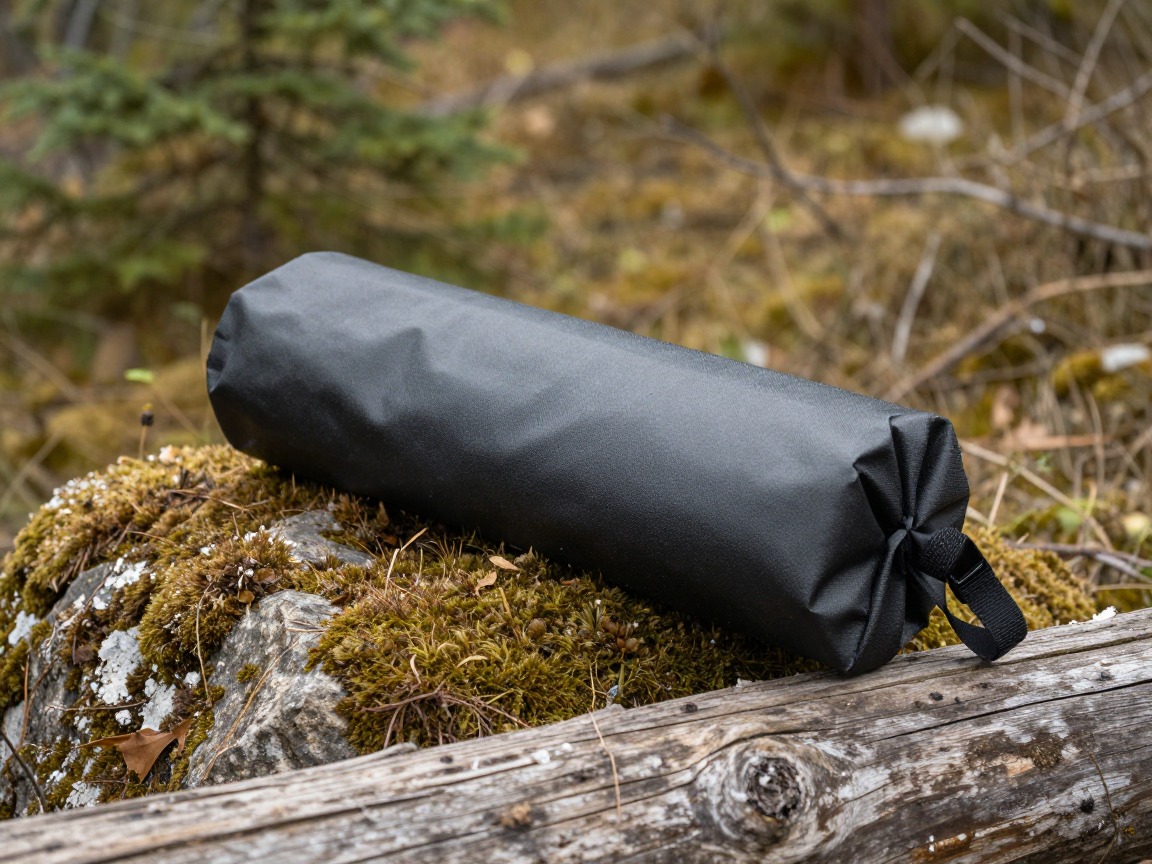
Dry bag
Holds everything you can't afford to get wet — phone, food, an extra layer, the first-aid kit — sealed as one unit rather than scattered through pack pockets.
What to look for: A genuinely waterproof roll-top bag sized for your gear with room to spare, and a strap or clip you can secure to your pack so a stumble doesn't mean watching it float downstream.
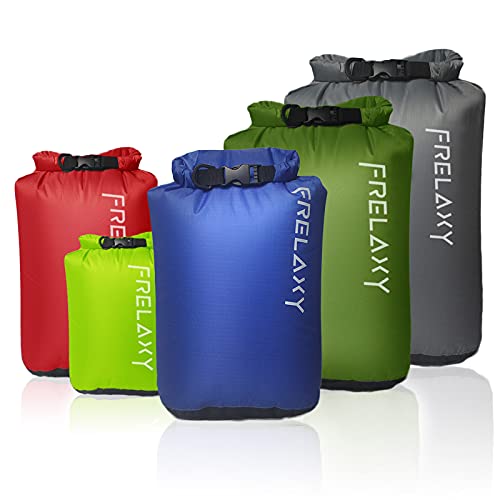 Frelaxy Dry Bag 5 Pack Check price
  ILZAR 6PCS Dry Bags Waterproof Check price
 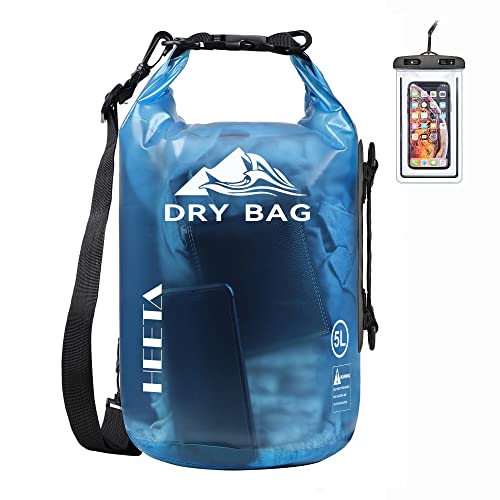 HEETA Dry Bag Waterproof Backpack with Phone Case Check price
 - A second small dry bag or waterproof phone case as backup, since your phone often doubles as your camera, map, and way to call for help in the canyon.
Layers & sun protection
The canyon walls block a lot of direct sun once you're inside the narrows, and the water runs cold even on a hot day, so what you wear is about managing cold as much as getting wet.

Quick-dry base layer
Worn knowing it's getting wet from the waist down all day; a synthetic layer keeps working and doesn't chill you the way soaked cotton does.
What to look for: A synthetic or wool-blend top and bottom, never cotton, in a weight suited to the season and the water temperature that day.
 100% Merino Wool Base Layer Men Set - Thermal Underwear for Men Long Check price
  Merino.tech Merino Wool Base Layer Women Set - Heavyweight Check price
  100% Merino Wool Base Layer Men Set - Thermal Long Underwear with Ba Check price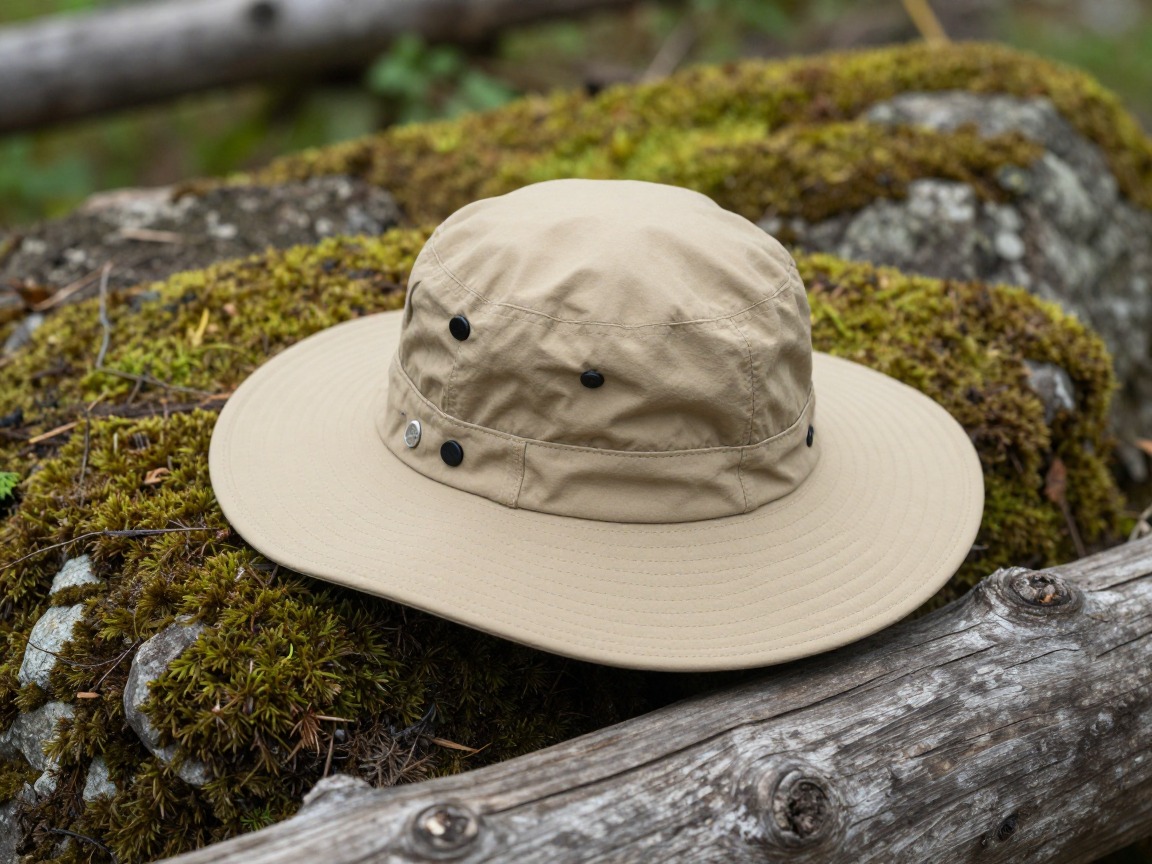
Sun hat
Worn for the exposed, paved approach along Riverside Walk before the canyon narrows enough to block direct sun for most of the hike.
What to look for: A hat that stays on wet or dry — a chin cord helps — and packs down small enough to stash in the dry bag once you're deep in shaded narrows.
 FURTALK Womens Sun Hat with Ponytail Hole Beach Hiking Summer Wide B Check price
 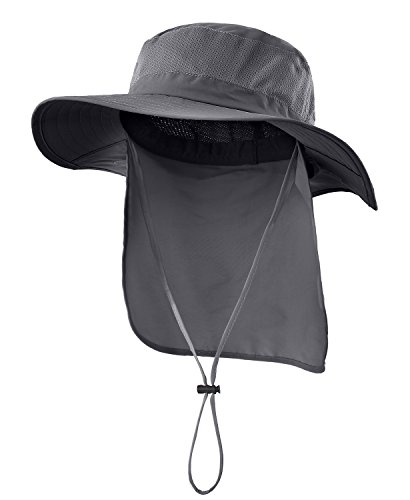 Home Prefer Outdoor UPF50+ Mesh Sun Hat Wide Brim Fishing Hat with N Check price
  FURTALK Sun Hats for Men Fishing Hat UPF Protection Wide Brim Bucket Check price
 - A neoprene wetsuit or drysuit, rented locally, for the colder months when water temperatures make hours of wading genuinely dangerous rather than just chilly.
- A warm layer kept dry in the dry bag for the walk back to the trailhead once you're done wading.
Navigation, safety & the flash-flood check
The biggest risk in the Narrows isn't the current at your ankles — it's a flash flood from a storm you may never see from inside the canyon walls, so this section starts before you leave the trailhead.
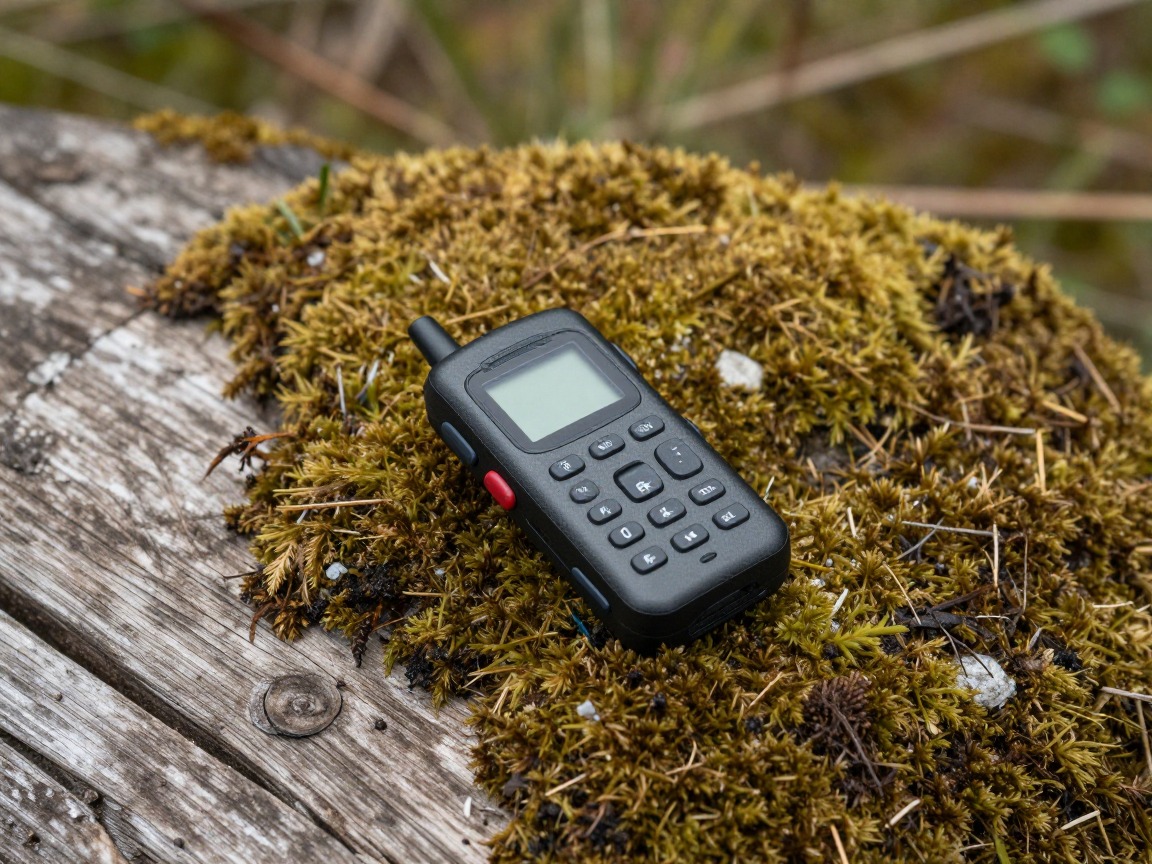
Satellite messenger
A useful backup once you're deep in the canyon, where sandstone walls block cell service and the only way out is the way you came in.
What to look for: A device with two-way messaging so you can send and receive updates, since a change in the forecast might reach you only through it.
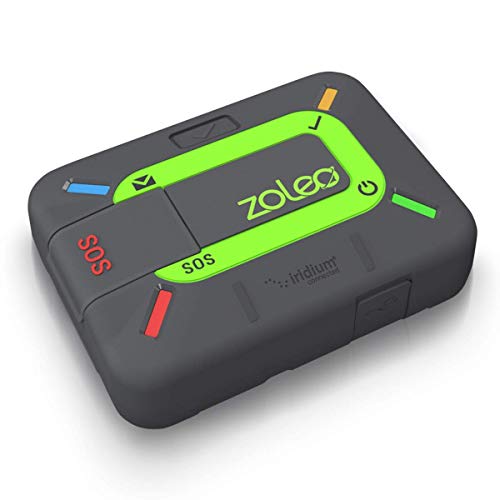 ZOLEO Satellite Communicator Check price
  Garmin inReach® Messenger Satellite Communicator Check price
  Garmin inReach® Mini 2 Check price
Headlamp
Covers you if wading takes longer than planned and you're still working your way back out as light fades.
What to look for: Reliable water resistance, since it's riding in a dry bag but may still get handled with wet hands at the end of the day.
 LHKNL Headlamp Flashlight Check price
  Lepro LED Headlamp Rechargeable IPX4 Waterproof Headlight 5 Modes - Check price
  Energizer LED Headlamp PRO Check price
First-aid kit
Covers the slips, cuts, and cold-related concerns that come with hours of wading over uneven, unseen footing.
What to look for: A kit weighted toward blister, cut, and scrape care, kept sealed in the dry bag so it's actually usable when you need it.
 Mini First Aid Kit - 150 Piece Small Waterproof EVA Hard Shell Case Check price
  Adventure Medical Kits Ultralight/Watertight Medical Kit .5 Check price
  211 PCS Waterproof First Aid Kit Check price
 - Check the park's posted flash-flood potential rating for the day before you leave the trailhead, and again at the wilderness desk or visitor center if you can.
- Watch the forecast for the entire watershed upstream, not just the sky over the canyon — a storm miles away and out of sight can send a rise through the Narrows with little visible warning.
- Treat thunderstorms forecast anywhere in the area that day as a reason to skip the hike or turn back early, even if the sky above you looks clear.
- Know that long stretches of the Narrows have few or no places to climb above a rising river, so the only reliable response to an elevated flash-flood rating is not being in the canyon that day.
- Watch the water itself for sudden clouding, floating debris, or a noticeable rise in level, and treat any of those as a signal to leave immediately.
- Defer to rangers at the trailhead or wilderness desk — if the hike is restricted or closed for the day, that decision stands.
How to adapt this setup
Outside the warmest summer weeks, rent a neoprene wetsuit or drysuit locally rather than relying on layers alone — hours of wading in cold water is a different level of risk than a warm-season hike, and hypothermia is the real concern, not just discomfort.
If you only plan to wade in a short distance and turn around, you can lighten the kit — a simple waterproof phone pouch can stand in for the full dry bag — though the flash-flood check still applies no matter how far in you go.
Match the day's turnaround point to the least confident wader in the group, size water shoes and neoprene socks for small feet specifically, and treat any elevated flash-flood rating as an automatic no.
Current and depth both increase with spring snowmelt upstream; if the river feels notably stronger than a normal wade, or the flash-flood rating is anything but the lowest, turn back regardless of how far you'd planned to go.
A stumble or a misjudged current is a bigger deal alone, with no one to help you back up or go for help. Lower your turnaround point, and lean harder on the satellite messenger and a return time you've shared with someone outside the canyon.
Common mistakes to avoid
- Wearing regular hiking boots instead of dedicated water shoes, then hiking for hours in boots that stay full of water and grit.
- Skipping the flash-flood potential check because the sky looks clear from the trailhead, when the storm that matters may be miles upstream and out of sight.
- Carrying a phone or food loose in a pack pocket instead of a sealed dry bag, then losing or soaking it at the first deep spot.
- Underestimating how cold the water feels after an hour of wading, and skipping neoprene socks or a wetsuit rental in the cooler months.
- Using a normal hiking pole instead of planting a sturdy staff ahead of each step, and stepping into a hidden drop-off as a result.
- Pushing further upstream than the day's turnaround time allows, then wading back out in fading light or a rising river.
Make it yours
Frequently asked questions
What shoes should I wear to hike the Zion Narrows?
A closed-toe, stiff-soled water shoe built for wading, worn with a neoprene sock, rather than hiking boots or bare sandals. Boots fill with water and grit within the first mile, and sandals can be pulled off by current or leave your feet exposed to unseen rocks underfoot.
How do I check flash-flood risk before hiking the Narrows?
Check the park's posted flash-flood potential rating for the day at the trailhead, visitor center, or wilderness desk before you go, and again once you're there if you can. Any rating above the lowest level, or thunderstorms forecast anywhere in the wider watershed, is a reason to turn around.
Do I need a wetsuit to hike the Narrows?
Not usually in the warmest summer months, but in spring, fall, or winter, hours of wading in cold water is enough to risk hypothermia without one. Many hikers rent a neoprene wetsuit or drysuit locally for exactly this reason once the water temperature drops.
Can you get caught by a flash flood in the Zion Narrows?
Yes — long sections have steep sandstone walls with few or no places to climb above a rising river, so a flash flood can turn genuinely dangerous with little visible warning. That's why checking the daily flash-flood rating and deferring to ranger guidance matters more than any single piece of gear on this list.
How do you keep your phone dry hiking the Narrows?
Pack it inside a sealed dry bag before you reach the water, not once you're already wading, and consider a smaller waterproof pouch inside the dry bag as a second layer. Your phone often doubles as your camera, map, and way to call for help, so it deserves real protection.
Illustrative images show the type of gear, not specific products. Recommendations link to similar items on Amazon; we only ever link real listings and never show fabricated prices or ratings. General planning guidance, not a substitute for your own judgment or professional backcountry-safety instruction.