
The women's backpacking setup
This is the same weekend backpacking system as any other overnight trip — a pack, shelter, sleep system, kitchen, clothing and safety layer — built around a body shape that a lot of unisex gear doesn't fit well. Get the fit right first, and the rest of the kit follows the same logic as any other 2–3 night trip.

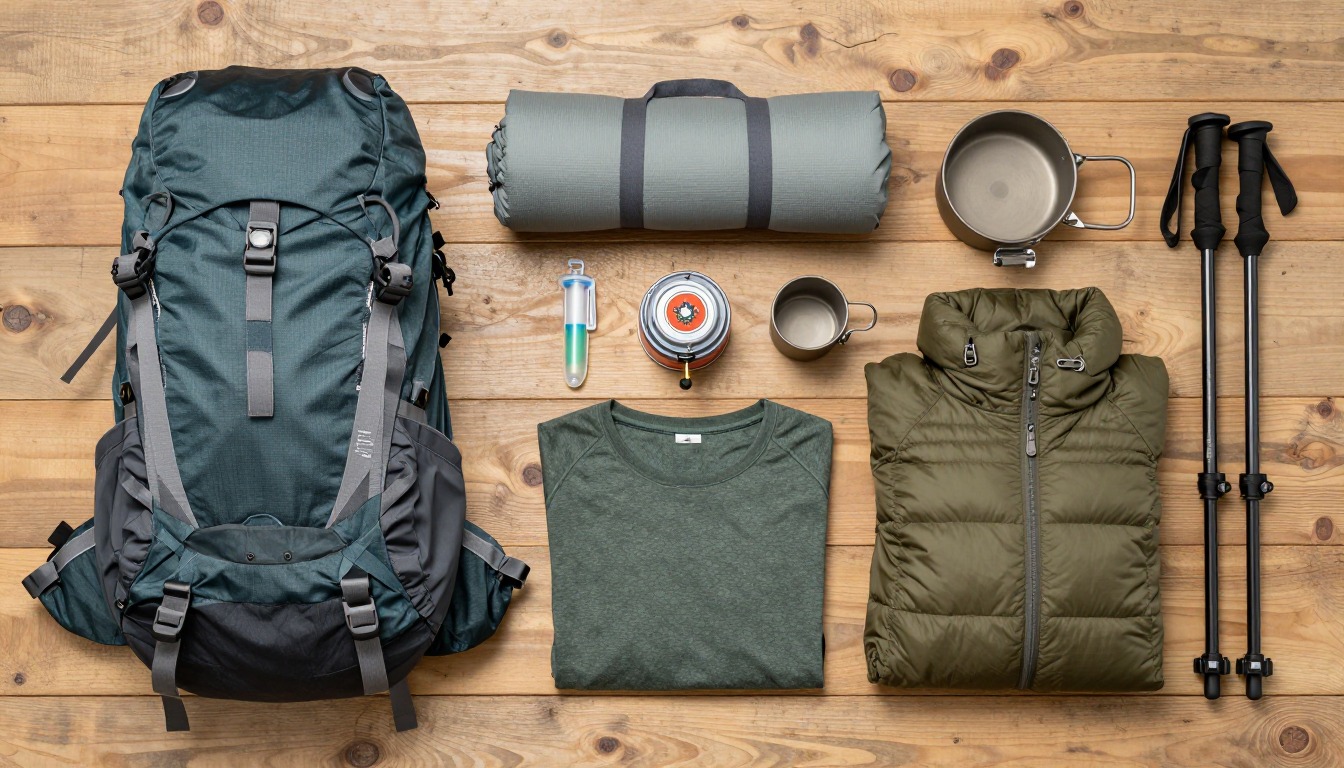
The gear philosophy is identical to a standard weekend setup: keep it simple, keep it proven, and watch your base weight. What changes is fit and a handful of category choices. A women's-specific pack frame usually has a shorter torso range, narrower-set shoulder straps and a hip belt angled for a different pelvis, and it carries weight far better when that geometry matches you. Sleeping bags and base layers follow the same logic — cut and insulation placed for a body that often runs colder at night and is shaped differently through the hips and chest. It's the same overnight system, just fitted properly.
This suits women (and anyone with a shorter torso, narrower shoulders, or a fuller hip-to-waist ratio) heading out for one to three nights on established trails in three-season conditions. If your proportions are closer to a standard unisex last, a men's or unisex pack or bag can fit just as well or better — fit the person, not the label. For winter, ultralight, or deep backcountry trips, treat this as the fit-first foundation and adjust from there.
- Measure your torso length and hip size before shopping — see the women's fit guide — rather than buying by height or a generic S/M/L.
- Fit the pack loaded and check the hip belt sits on your iliac crest, with load lifters pulling at roughly a 45-degree angle.
- Match the sleeping bag's comfort rating to the coldest night you expect, and lean warmer if you already know you sleep cold.
- Try layers on over a base layer with the pack loaded; a shell that fits standing in a store can still ride up once you're moving.
About this setup
"Women's-specific" gear gets a bad reputation when it's treated as a marketing palette swap — a men's pack in a different color. Done properly, it's a different frame: a shorter torso range, shoulder straps set closer together and angled to clear the chest, and a hip belt cut for a pelvis that's typically wider relative to the waist. None of that is about being smaller or less capable — it's about the load sitting where your body can actually carry it. The only way to know if it works for you is to measure your torso and hips and try the pack on loaded, which the women's fit guide walks through.
Sleep systems follow similar logic, grounded in something genuinely physiological: many women run colder overnight than men of a similar build, often due to circulation differences that show up most in the hands, feet and core. Women's-specific sleeping bags commonly respond by shifting more insulation to the footbox and torso, with a shorter, closer-fitting cut rather than just a relabeled shape. If you already know you sleep cold, lean toward the warmer end of a bag's rating regardless of which line it comes from.
The rest of the kit — shelter, kitchen, navigation and safety — doesn't change by fit at all, which is worth saying plainly: this isn't a lighter or simpler version of the standard weekend setup, it's the same system with the parts that touch your body actually built for your body. Measure first, fit everything loaded before you buy, and trim only what you never touched last time out.
The pack
Fit is the whole story here. A women's-specific frame usually means a shorter torso range and a hip belt shaped and angled for a different pelvis — but the only way to know is to measure and try it loaded.
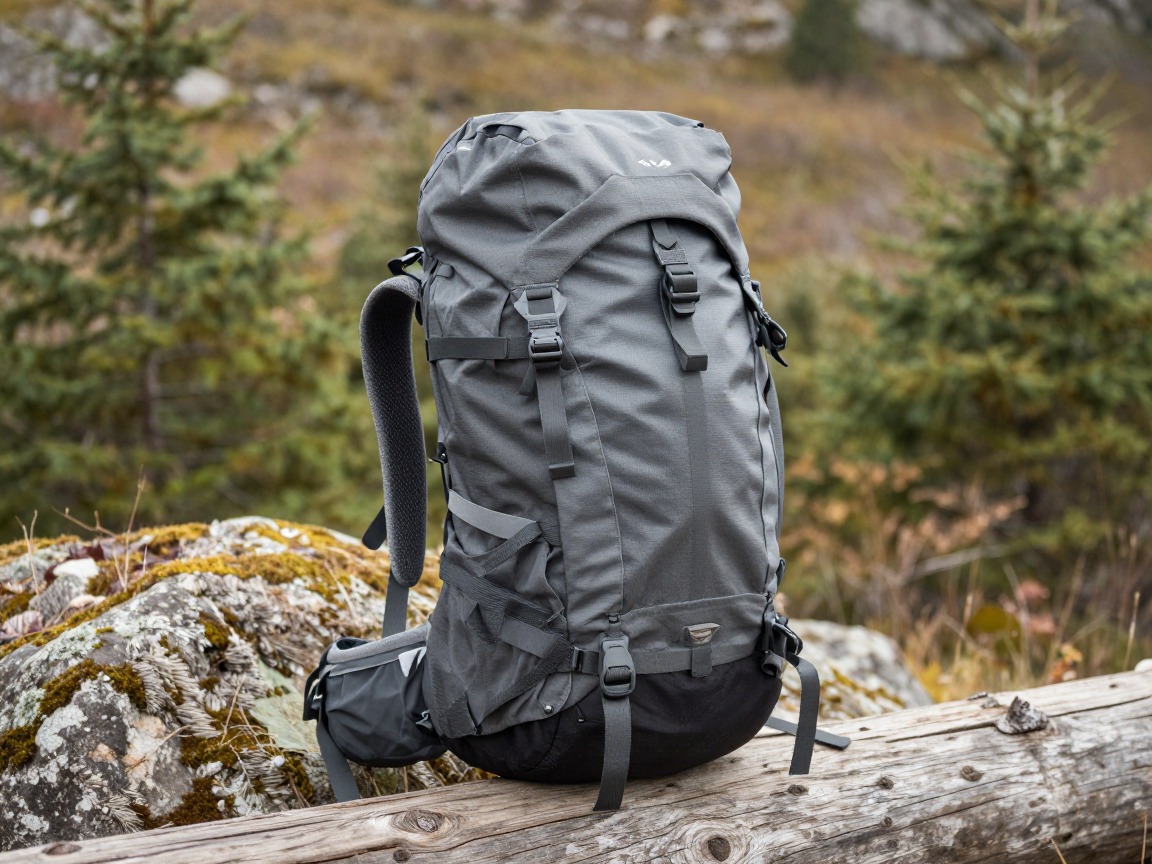
Overnight backpack (women's-specific fit)
The same 45–60 L overnight pack as any weekend kit, built on a frame with a shorter torso range, narrower-set shoulder straps and a hip belt contoured for a different pelvis shape.
What to look for: A torso range that matches your measured length (not your height), a hip belt that wraps and angles onto your hips without gapping at the sides, and shoulder straps that sit close without pressing on your chest. See the women's fit guide for how to measure torso and hips before you shop.
 WoneNice 50L Check price
  Teton 55L Scout Internal Frame Backpack for Hiking Check price
 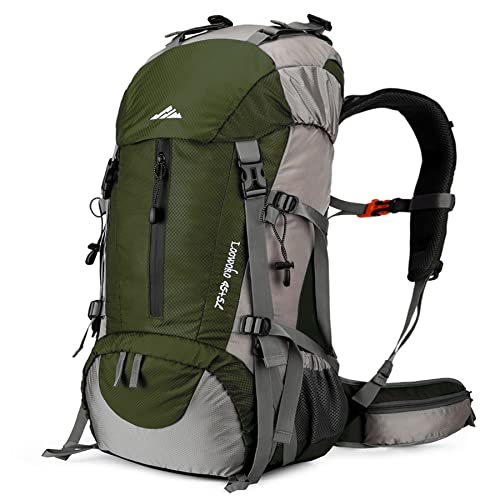 Loowoko 50L Hiking Backpack with Rain Cover for Both Men & Women Check price
 - A pack rain cover or liner
Shelter
Shelter doesn't change by fit — a lightweight 1–2 person tent is still the do-everything choice for a weekend out.
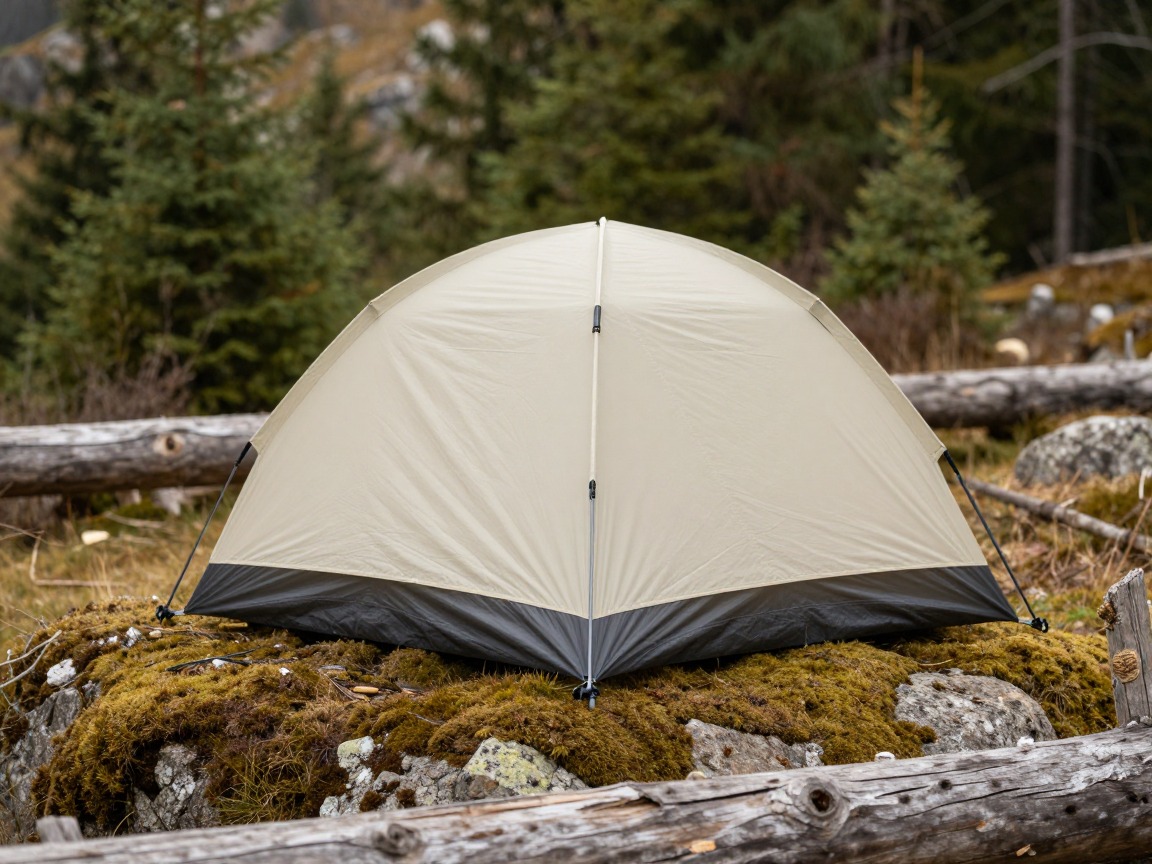
Backpacking tent
Your home on the trail — a freestanding two-person tent is forgiving to pitch and roomy enough for one person plus gear.
What to look for: A freestanding or semi-freestanding two-person tent, a full-coverage fly, real vents to fight condensation, and a packed weight around 2–4 lb. Easy pitching in fading light earns its keep on any trip.
 Night Cat 2-Persons Backpacking Tent: Waterproof Lightweight Camping Check price
  BISINNA 2/4 Person Camping Tent Lightweight Waterproof Backpacking T Check price
  Forceatt Tent for 2 Person is Waterproof and Windproof Check price
 - Stakes & guylines
- Groundsheet / footprint (optional)
Sleep system
This is where fit and physiology matter most. Many women sleep colder than the same-rated men's gear assumes, and a bag built around that runs warmer where it counts.
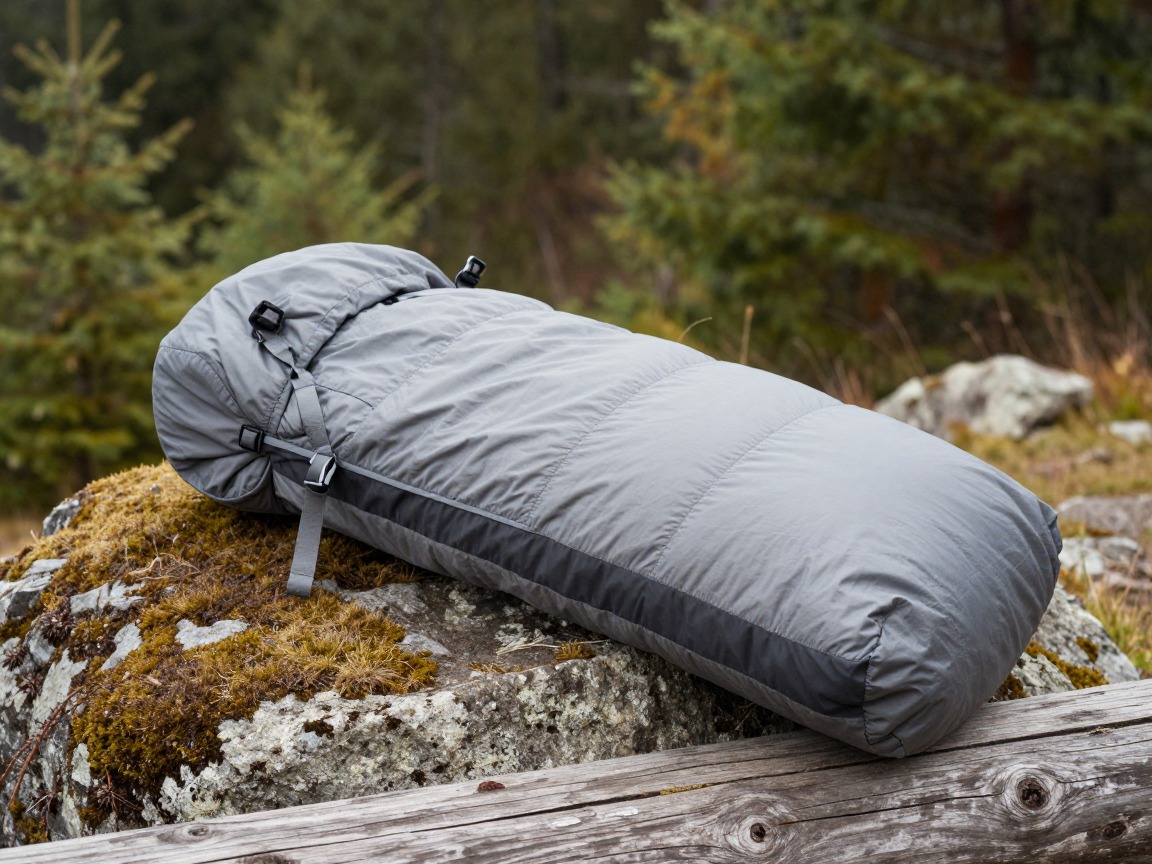
Sleeping bag (women's-specific)
Built shorter through the body, with extra insulation shifted to the footbox and torso — the areas many women feel the cold first overnight — plus a closer-fitting hood and draft collar.
What to look for: A comfort rating a little below your expected low, not the survival rating, and a length that matches your actual height rather than a generic 'regular.' Extra footbox insulation is worth more here than a few extra ounces saved elsewhere.
 MalloMe Sleeping Bags for Adults Cold Weather & Warm - Backpacking C Check price
 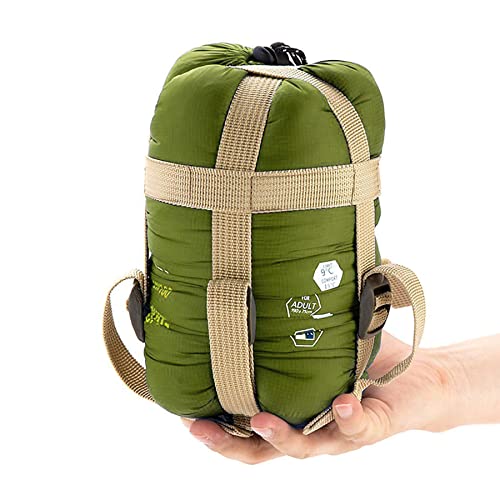 ECOOPRO Portable Check price
  Teton Trailhead Check price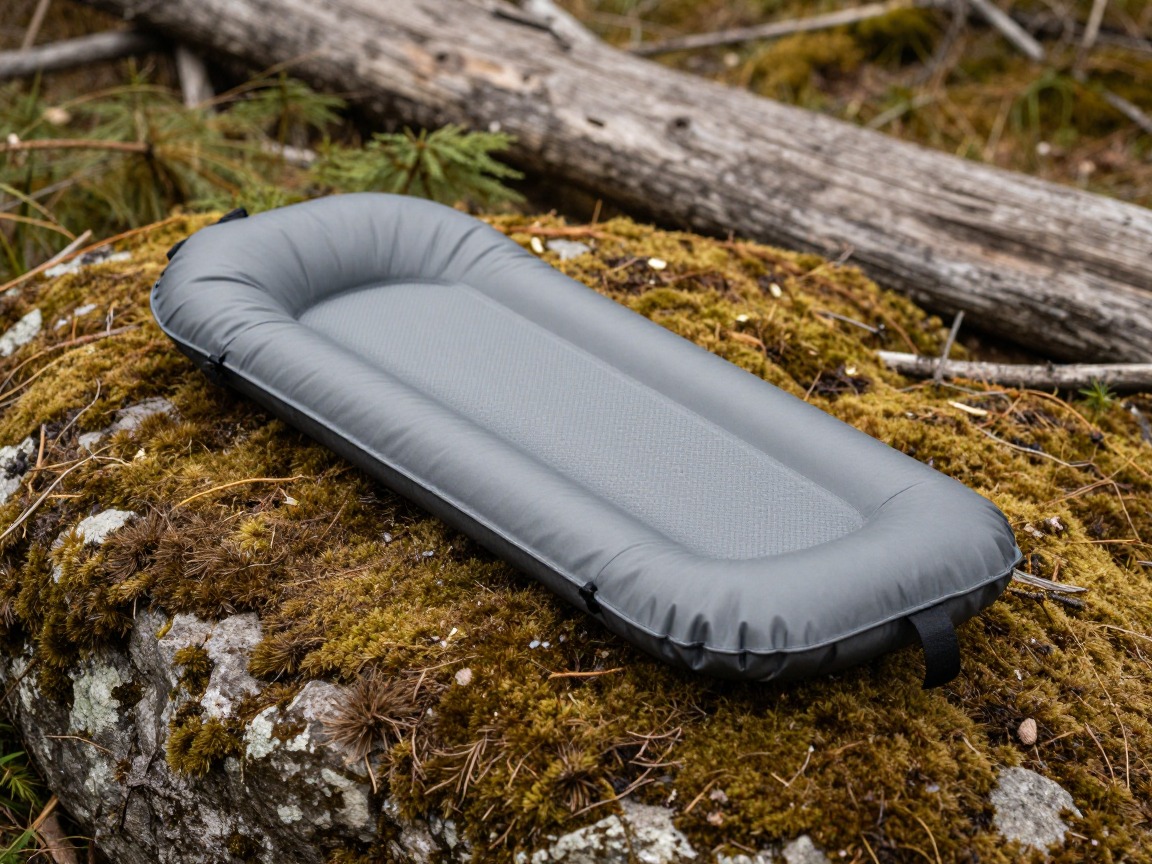
Sleeping pad
Insulates you from the cold coming up through the ground, which matters as much as the bag itself for staying warm through the night.
What to look for: Enough R-value for the season (roughly 3+ for three-season use), a length that matches your torso and legs so you're not sleeping half off the end of a 'regular,' and a packed size you're happy carrying.
 FUN PAC Camping Sleeping Pad Check price
  Gear Doctors® Ether 17.5oz Ultralight Camping Sleeping Pad Check price
  Oramoose 4in Ultralight Camping Sleeping Pad with Pillow and Foot Pu Check price
 - Inflatable or stuff-sack pillow
Kitchen & water
The kitchen system is identical to any weekend kit — a canister stove and one pot, plus a reliable way to treat water.
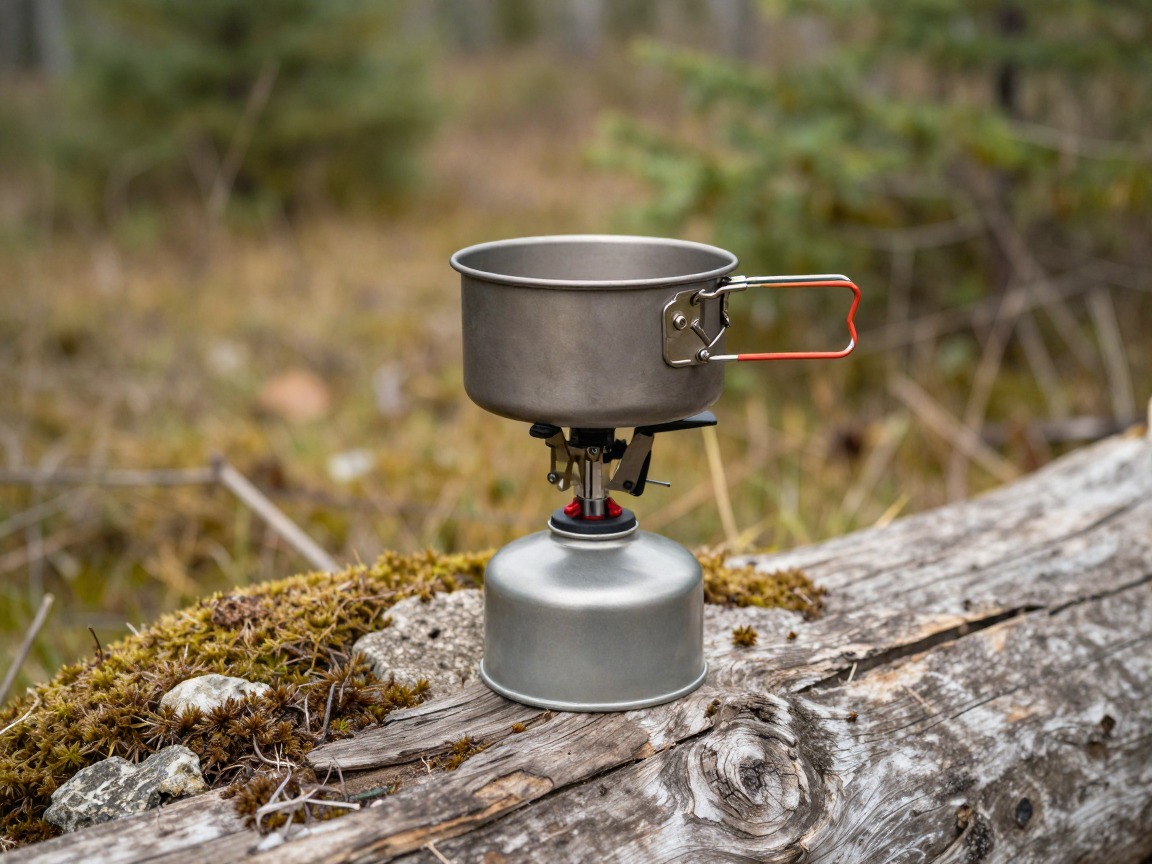
Backpacking stove
A compact canister stove that boils water in a couple of minutes for dinners and hot drinks — simple, light, and reliable.
What to look for: A stable canister stove with usable simmer control, or an integrated system if you mostly just boil water. Confirm it runs on a fuel canister size you can buy near the trailhead.
 AOTU Portable Camping Stoves Backpacking Stove with Piezo Ignition S Check price
  MSR PocketRocket 2 Ultralight Camping and Backpacking Stove Check price
  Fire-Maple Greenpeak 1 Camping Stove with Piezo Ignition Portable Ga Check price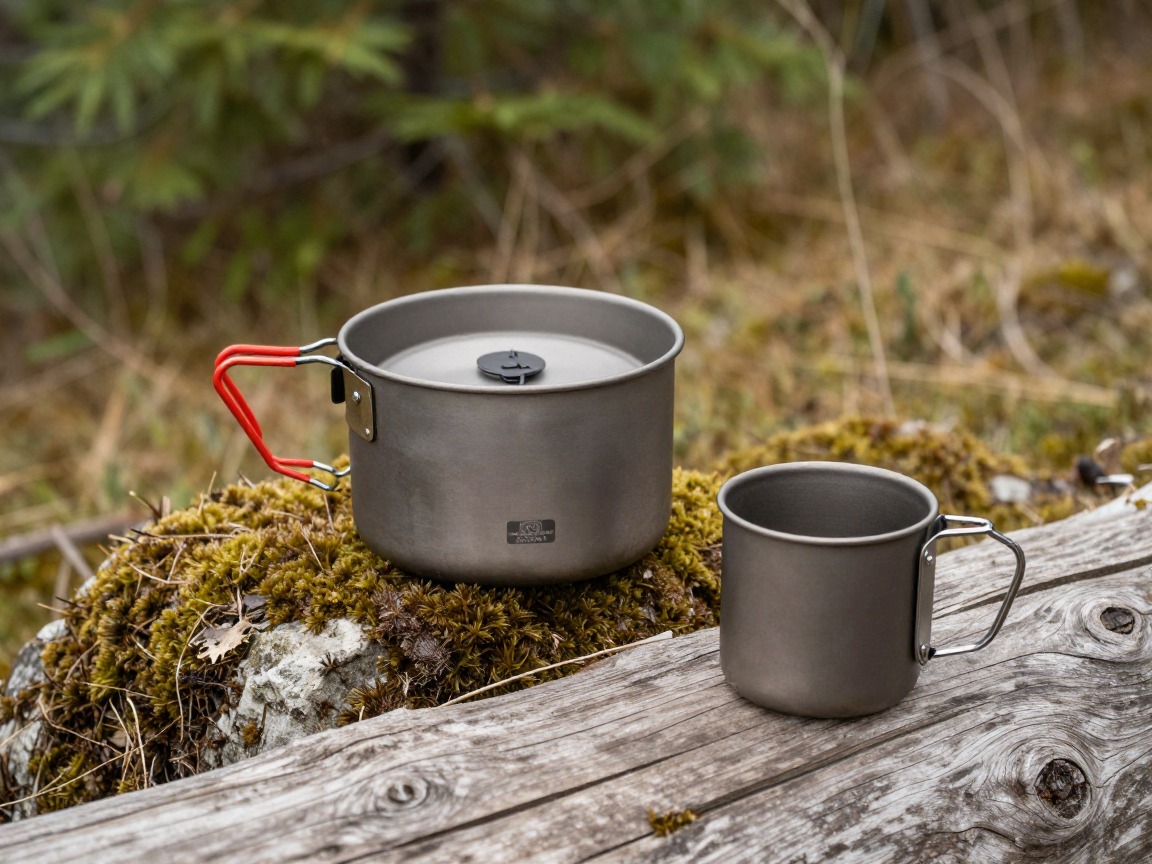
Pot & mug
One lightweight pot that doubles as your bowl; titanium or hard-anodized aluminum keeps the weight down.
What to look for: A pot sized to your meals (about 700–900 ml for one person), light metal construction, and a lid that doubles as a plate or lid-strainer. One pot is usually the entire kitchen for a weekend.
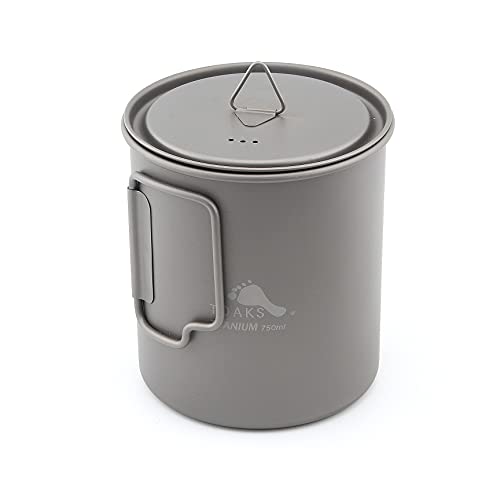 TOAKS Titanium 750ml Pot Check price
  TOAKS Titanium 750ml Pot with Bail Handle for Ultralight Camping Check price
  TOAKS Titanium 1100ml Pot with Pan Check price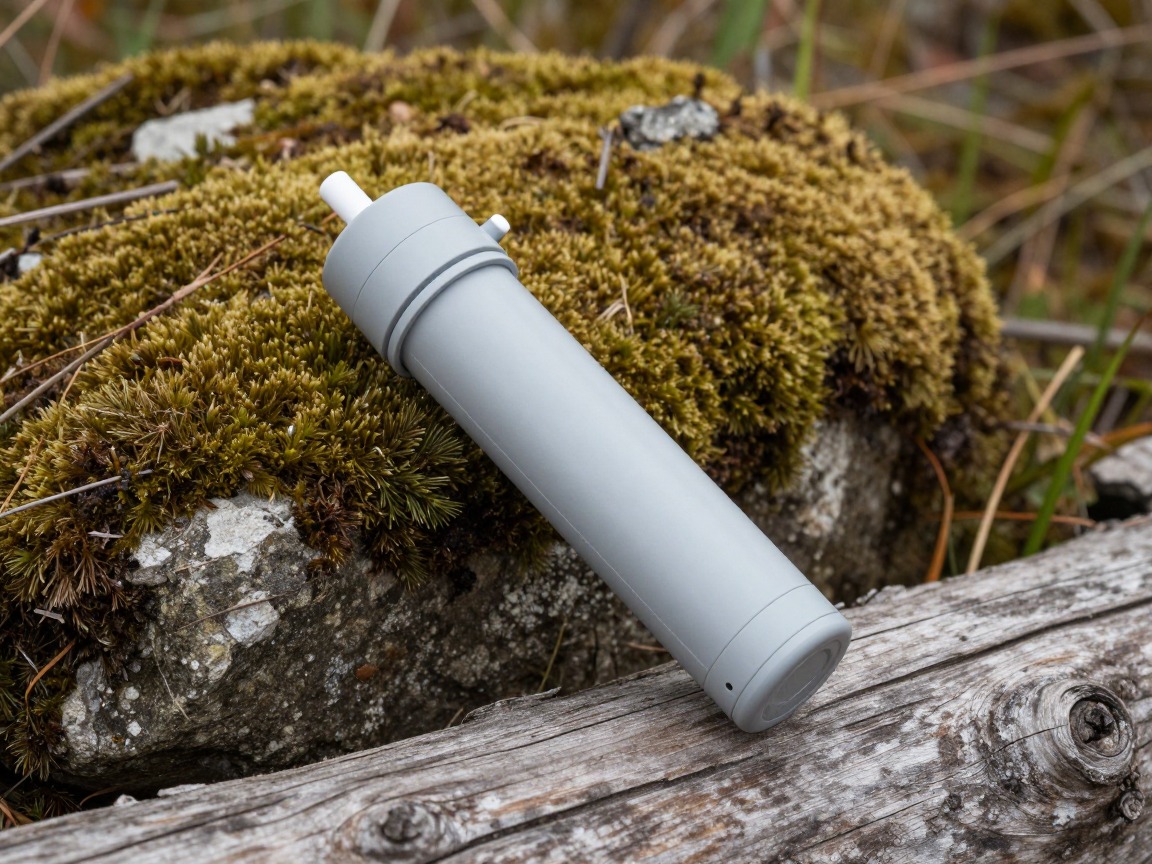
Water filter
Non-negotiable in the backcountry — treats stream and lake water so you can carry less and refill along the trail.
What to look for: Fast flow, easy field cleaning, and a design that resists clogging on murky water, plus freeze-awareness in the shoulder seasons. A squeeze or gravity filter covers most weekend trips.
 Sawyer Squeeze Water Filtration System Check price
  Sawyer Products SP128 Mini Water Filtration System Check price
  LifeStraw Personal Water Filter for Hiking Check price
 - Fuel canister
- Spork & lighter
- Meals + snacks for each day
- Food storage (canister/bag + hang line)
Clothing & layers
Pack a layering system, not outfits — but look for cuts with room through the hips and chest and a rise that doesn't gap at the waist when you bend or reach.

Base layer (women's cut)
Merino or synthetic against the skin, cut with room through the chest and hips so it doesn't bind under a loaded pack for days at a time.
What to look for: A merino blend for odor resistance, a close-but-not-tight fit through the torso, and shaping that won't pull across the chest under a hip belt and shoulder straps.
 100% Merino Wool Base Layer Men Set - Thermal Underwear for Men Long Check price
  Merino.tech Merino Wool Base Layer Women Set - Heavyweight Check price
  100% Merino Wool Base Layer Men Set - Thermal Long Underwear with Ba Check price
Insulating layer
A packable puffy or fleece for camp and cold mornings — the layer you reach for the moment you stop moving.
What to look for: A fit that layers cleanly over your base and under your shell, room through the hips if you'll sit in it at camp, and down for weight versus synthetic for damp conditions.
 Outdoor Ventures Women's Packable Lightweight Puffer Jacket with Hoo Check price
  Amazon Essentials Women's Lightweight Long-Sleeve Water-Resistant Pa Check price
  Outdoor Ventures Women's Packable Lightweight Puffer Jacket with Hoo Check price
Rain shell (women's fit)
Waterproof, breathable protection from rain and wind, cut with a higher rise and narrower shoulders so it doesn't ride up when you reach for a pole or pack strap.
What to look for: Genuinely waterproof, not just water-resistant, with a hood that seals over a hat and a hem long enough to cover your hips when you bend under a loaded pack.
 UIQUR Mens Rain Jacket Raincoat Waterproof Windbreaker Black L Check price
  COOFANDY Men's Waterproof Hiking Travel Shell Breathable Rain Jacket Check price
  Columbia Womens Arcadia II Waterproof Rain Jacket Check price
 - Spare hiking socks
- Camp/sleep clothes
- Warm hat & gloves (shoulder seasons)
- Sun hat & sunglasses
Navigation, light & safety
Redundancy matters more overnight, and a couple of small fit details — pole length and grip size — are worth getting right here too.

Trekking poles
Save your knees on descents and take weight off your legs on climbs, especially with an overnight pack loaded.
What to look for: An adjustable length that reaches a comfortable elbow angle at your height, often shorter than a men's or unisex default, and a grip diameter that suits a smaller hand without over-gripping.
 Trekology Trek-Z Cork Grip Collapsible Lightweight Hiking Trekking P Check price
  Cascade Mountain Tech Trekking Poles Check price
  covacure Hiking Poles Check price
Headlamp
Essential after dark for cooking, camp chores and night navigation; bring spare batteries or a charge.
What to look for: Bright, comfortable, with a red mode for camp and a headband that cinches down small enough not to slip.
 LHKNL Headlamp Flashlight Check price
  Lepro LED Headlamp Rechargeable IPX4 Waterproof Headlight 5 Modes - Check price
  Energizer LED Headlamp PRO Check price
First-aid kit
A slightly fuller kit than a day hike — blister care, your own meds and the basics, plus the knowledge to use them.
What to look for: Blister care, wound cleaning, your own reliable medications, and a small repair element. This is preparation, not treatment — real injuries still need trained care.
 Mini First Aid Kit - 150 Piece Small Waterproof EVA Hard Shell Case Check price
  Adventure Medical Kits Ultralight/Watertight Medical Kit .5 Check price
  211 PCS Waterproof First Aid Kit Check price
 - Map + compass or GPS (offline)
- Sunscreen & lip balm
- Whistle
- Phone + power bank
- Fire kit
- Toilet kit — trowel, TP, waste bags (Leave No Trace)
How to adapt this setup
Look at a pack's XS or short-torso option rather than assuming 'women's' alone solves it — torso range varies between brands, and a too-long frame rides the hip belt too low.
Prioritize a hip belt with a genuine angled cut and enough padding depth to wrap fully; an ill-fitting belt is the most common reason an otherwise good pack feels heavy.
Size up the sleeping bag's warmth rather than the pad alone — add a liner, pick the warmer-rated option in a line, or layer sleep clothes; cold hands and feet at night are common and worth planning around.
Mostly more consumables: extra food and the storage it needs, a bigger battery, and a harder look at base weight, since every fit choice still has to be carried further.
If your shoulders, torso and hips match a standard unisex last better, use it — fit the person, not the label.
Common mistakes to avoid
- Buying by color or the word 'women's' alone instead of measuring torso length and hip size first.
- Choosing a pack size off height or a generic S/M/L rather than an actual torso measurement.
- Leaving the hip belt loose or high because it was never adjusted to sit on the iliac crest.
- Picking a sleeping bag's rating for an 'average' sleeper when you already know you run cold at night.
- Trying on layers standing in a store instead of over a base layer with a loaded pack on.
- Assuming a men's or unisex piece can never fit better — plenty of proportions do just fine in either.
Make it yours
Frequently asked questions
Do I actually need women's-specific backpacking gear?
Not always — fit depends on your individual proportions, not gender alone. Women's-specific gear targets a shorter torso range, narrower shoulder spacing and a differently angled hip belt, which suits many but not all women. Try both and go with what actually fits loaded on your body.
What's different about a women's backpacking pack?
Typically a shorter torso range, shoulder straps set closer together and shaped to clear the chest, and a hip belt cut and angled for a different pelvis shape. The capacity and features are otherwise the same as a unisex pack of that size.
Are women's sleeping bags actually warmer?
Many are built with more insulation shifted to the footbox and torso, which is where many women feel cold first at night, along with a shorter, closer-fitting cut. If you sleep cold, choosing a warmer comfort rating matters more than which line the bag comes from.
How do I find my torso length for a backpack?
Measure from the bony bump at the base of your neck down to the point level with the top of your hip bones, ideally with help. That number, not your overall height, is what a pack's torso range is sized against — see the women's fit guide for the full method.
Can I use a men's or unisex pack instead?
Yes, if it fits better. Torso length, shoulder spacing and hip belt shape vary enough between individuals that a unisex or men's pack can suit some women better than a women's-specific one. Fit the pack to your body, not to the label on it.
Illustrative images show the type of gear, not specific products. Recommendations link to similar items on Amazon; we only ever link real listings and never show fabricated prices or ratings. General planning guidance, not a substitute for your own judgment or professional backcountry-safety instruction.