
The winter hut trip setup
A winter hut trip trades a heavy overnight load for a heated bunkroom at the end of the day — but getting there means snowshoeing or ski-touring across real winter terrain first. This setup covers the snow-travel gear, the layering system, and the lighter hut-night kit that sits between a summer overnight pack and a full winter camping load, plus the avalanche-terrain judgment that no packing list can substitute for.

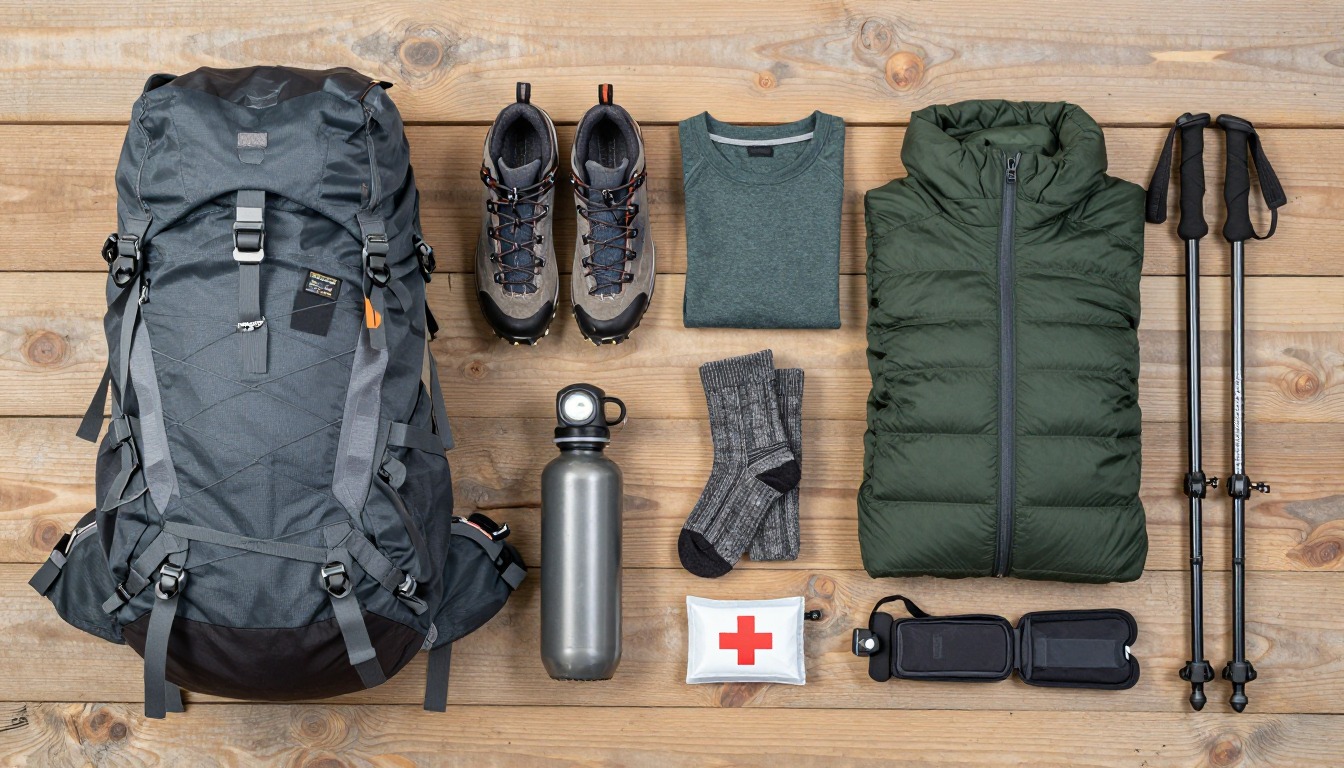
A backcountry hut changes what you carry at night but not what you need to survive getting there. Once you're inside, a stove or wood heater and a real roof mean you can travel with a liner instead of a full sleeping bag and skip the tent and cook system a winter camping trip demands — that's the weight this setup saves. What it can't save you from is the approach: deep or wind-packed snow that needs snowshoes or skis to move through, a full winter layering system for hours of exertion followed by standing around cold at the hut door, and daylight that runs out by mid-afternoon. None of that eases up just because a warm bunk is waiting at the end.
This setup suits hikers and skiers who are comfortable with genuine winter travel — reading snow conditions, managing layers on a multi-hour climb, and navigating when the trail itself disappears under snow — and who have confirmed a hut that's open, reachable, and heated. It is not a substitute for avalanche training: if any part of the approach crosses slopes steep enough to slide, this setup assumes your party already carries a beacon, shovel, and probe and knows how to use them, or that you've chosen a route that avoids avalanche terrain entirely. Backcountry winter camping without a hut is a heavier, different kit.
- Check the hut and the route before the gear: confirm the hut is open, heated, and reachable by your planned mode of travel, and check the avalanche forecast for anything the approach crosses.
- Build your snow-travel system first — snowshoes or skis for flotation, traction for icy or wind-scoured sections — since this decides your pace and your turnaround time more than anything else you pack.
- Layer for the climb, not just the cold: a wicking base, real insulation you can add at breaks, and a genuinely waterproof, windproof shell for wind-driven snow on any exposed stretch.
- Pack light for the hut itself — a liner instead of a sleeping bag, indoor layers instead of a full camp kit — but plan around short daylight with an early start and a firm turnaround.
About this setup
A backcountry hut trip in winter sits in an unusual middle ground: lighter than winter camping, but nothing like a summer overnight with a few extra layers thrown in. Huts — whether a warming hut, a staffed backcountry lodge, or a basic shelter with a wood stove — remove the need to carry a tent, a full sleeping bag, and a cook system, which is real weight and real risk off your back. What they don't remove is the winter travel required to reach one: snow deep enough to need snowshoes or skis, ice that needs traction, and weather that can close in on an exposed ridge just like it would on any winter route.
That travel is where most of the planning effort belongs, and where most of the risk actually lives. A route that looks like a modest afternoon on a summer map can take most of a short winter day once you're breaking trail through unbroken snow, and daylight that runs out by mid-afternoon punishes a late start or an underestimated pace. Layering matters as much on this kind of trip as on any winter outing — you're working hard on the climb and standing still and cold at the hut door within the same hour, and the system has to handle both.
The one thing a hut can't do is make avalanche terrain safe. If any part of your approach crosses slopes steep enough to slide, that's a separate skill set — formal avalanche training, a beacon, shovel, and probe carried by everyone in your group, and the judgment to read conditions and turn back. No packing list, and no warm bed waiting at the end of the day, changes that. Plenty of hut routes avoid avalanche terrain entirely; know which kind of route you're on before deciding what training and gear the day actually requires.
The pack
A 45–55 L pack covers full winter layering, safety gear, and hut items — more volume than a summer overnight trip, since winter clothing and safety gear take real space even without a tent or stove.
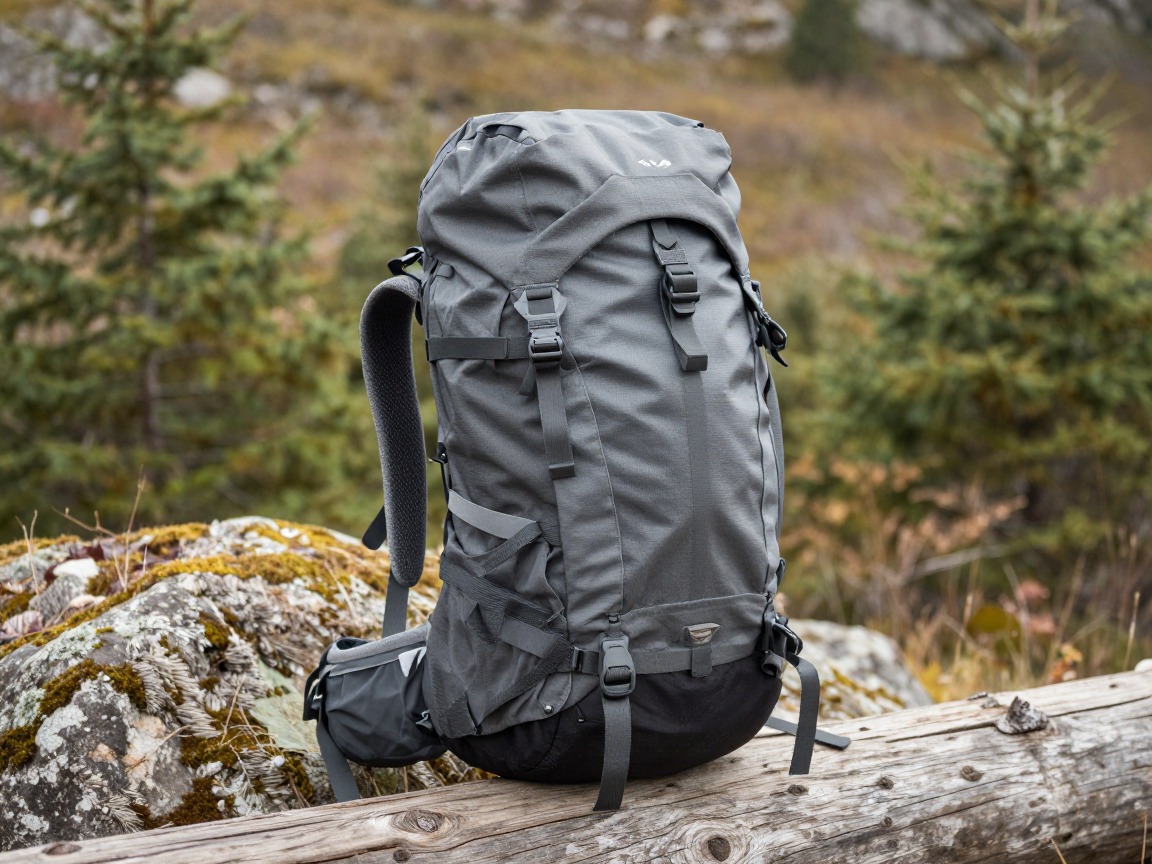
Winter overnight pack (45–55L)
Carries full winter layering, avalanche safety gear where the route needs it, and a hut liner and indoor layer — more bulk than a summer overnight pack even though the hut removes your shelter and cooking gear.
What to look for: External straps or a diagonal ski or snowshoe carry, a main compartment that works with gloves on, and enough volume for bulky insulation without needing to strap gear on top.
 WoneNice 50L Check price
  Teton 55L Scout Internal Frame Backpack for Hiking Check price
 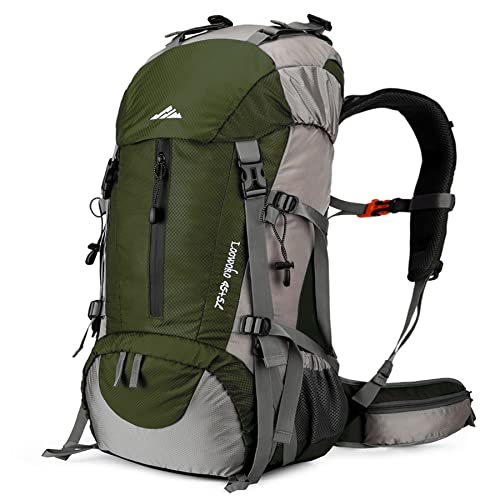 Loowoko 50L Hiking Backpack with Rain Cover for Both Men & Women Check price
 - A pack liner or dry bag — melting snow finds its way into every pack
- A small repair kit for pole baskets, snowshoe bindings, or ski bindings
Snow travel: flotation & traction
Getting to the hut is the hard part of this trip — match your flotation and traction to the snow you'll actually cross, not the snow you hope for.
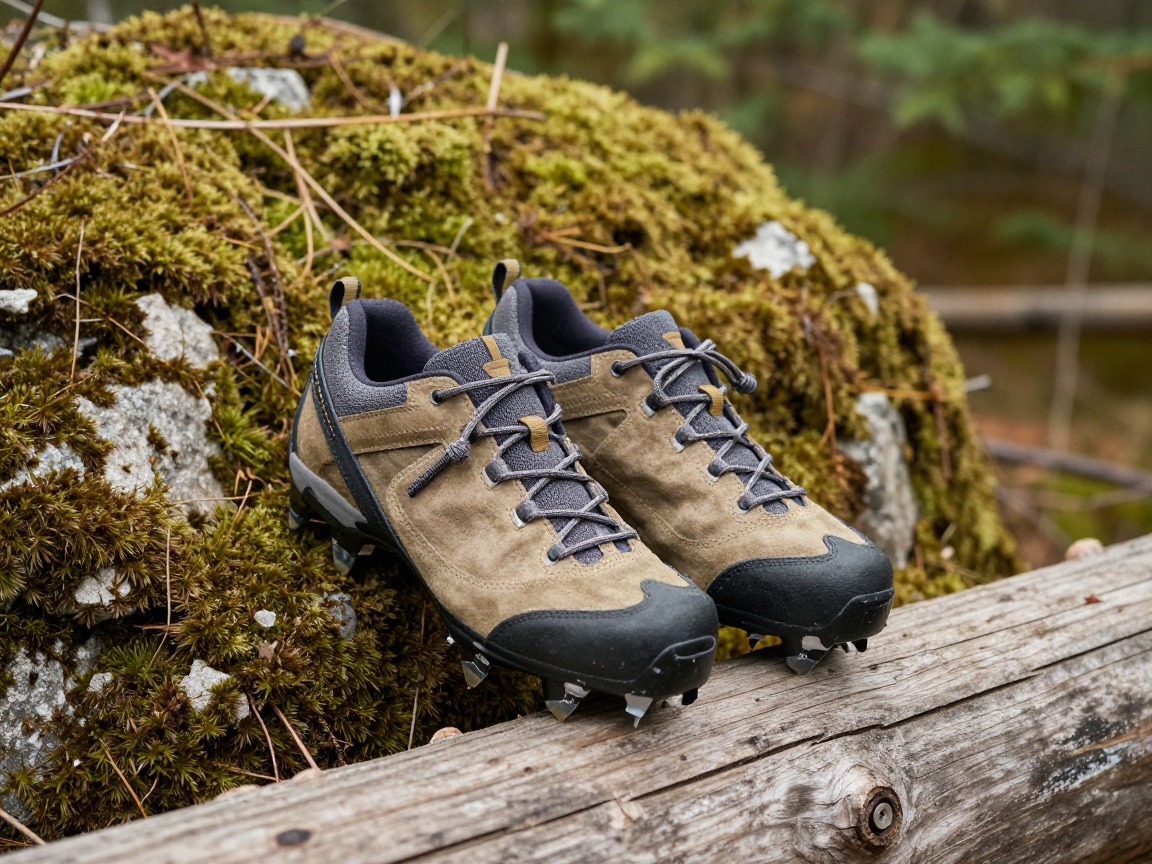
Traction (microspikes or crampons)
Grips icy, wind-packed, or refrozen sections of the approach where snowshoes or skis alone don't bite — common on shaded slopes and right around the hut itself.
What to look for: Microspikes for packed trail and icy patches; crampons, with the training to use them, for steep, firm snow. Carry whichever you're not wearing — conditions change more than the forecast admits.
 Kahtoola MICROspikes Footwear Traction for Winter Check price
 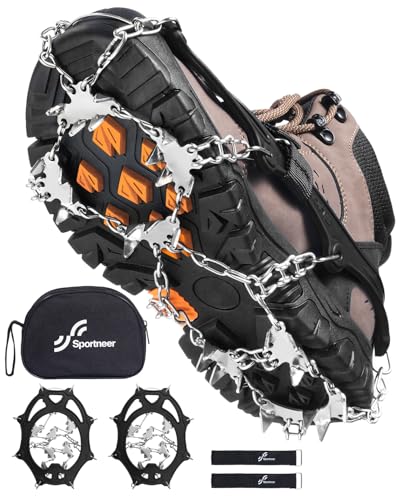 Sportneer Crampons: Ice Cleats for Shoes and Boots with 28 Spikes - Check price
  Kahtoola MICROspikes Footwear Traction for Winter Check price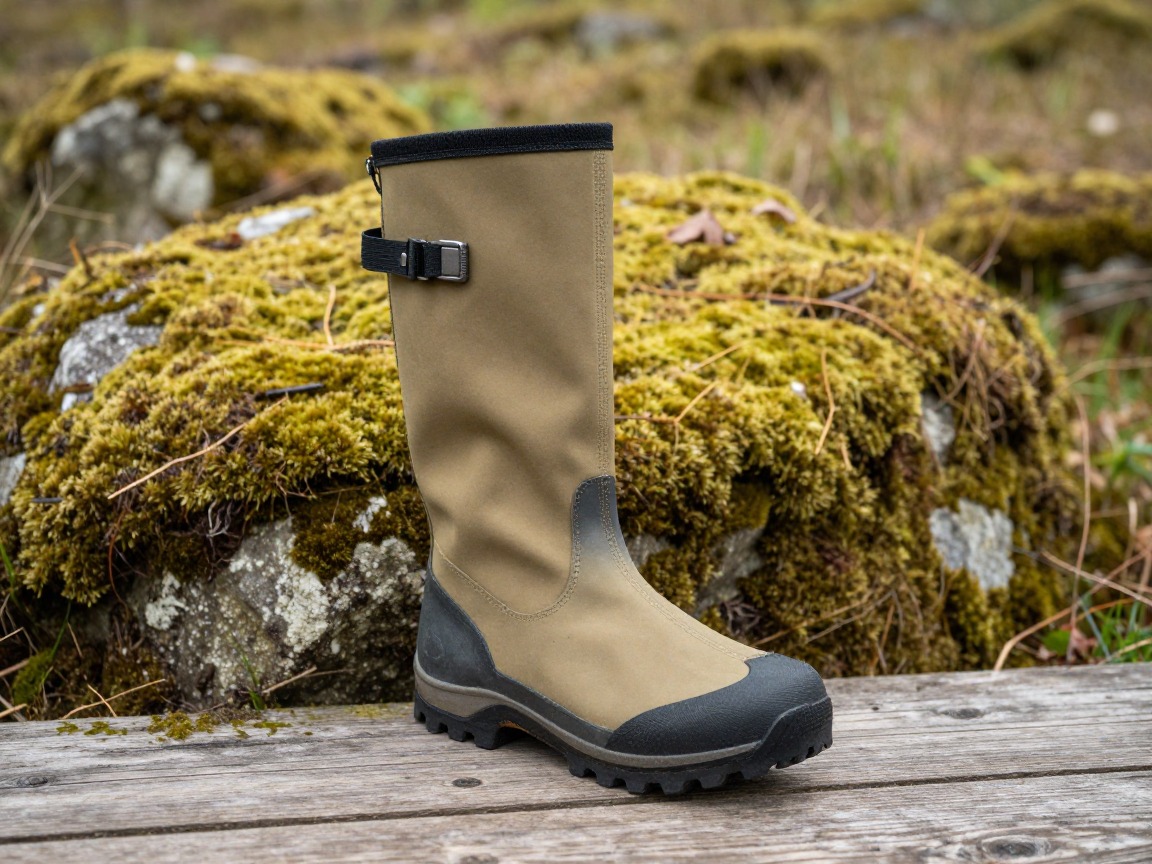
Gaiters
Keeps snow out of your boots on the approach, which matters more for staying warm than almost anything else you'll pack.
What to look for: Tall, waterproof, and rated for deep snow, with a durable instep strap that survives repeated postholing.
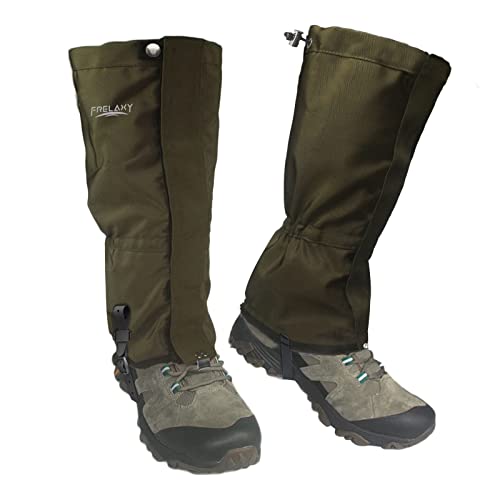 Frelaxy Leg Gaiters 100% Waterproof Hiking Gaiters Check price Frelaxy Ultra High-Performance Hunting Gaiters Check price
 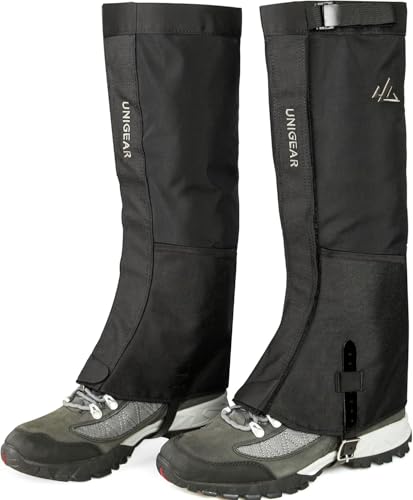 Unigear Leg Gaiters Check price
 - Snowshoes for deep or unbroken snow
- Skis and climbing skins if you're touring in rather than snowshoeing
- An ice axe and the training to use it on steep, firm approaches
Layering for the cold approach
Sustained climbing followed by standing around at a cold hut door demands a layering system you can actually manage, not just a warm jacket.

Winter base layer
Wicks sweat through a multi-hour climb and keeps insulating even if it gets damp — the layer working hardest on the approach.
What to look for: Midweight merino or a synthetic blend. Skip cotton entirely; wet cotton against skin in freezing temperatures is a genuine hypothermia risk.
 100% Merino Wool Base Layer Men Set - Thermal Underwear for Men Long Check price
  Merino.tech Merino Wool Base Layer Women Set - Heavyweight Check price
  100% Merino Wool Base Layer Men Set - Thermal Long Underwear with Ba Check price
Insulated jacket
Goes on the moment you stop moving — at a break, at the hut door while you sort boots and gear, or on an exposed ridge along the way.
What to look for: Enough loft for real winter cold, with synthetic fill if the trip has any chance of getting damp, or down if you can keep it dry and want the warmth-to-weight.
 Outdoor Ventures Women's Packable Lightweight Puffer Jacket with Hoo Check price
  Amazon Essentials Women's Lightweight Long-Sleeve Water-Resistant Pa Check price
  Outdoor Ventures Women's Packable Lightweight Puffer Jacket with Hoo Check price
Waterproof/windproof shell
Blocks wind-driven snow on any exposed stretch of the approach — wind, more than temperature, is what actually steals your heat.
What to look for: Genuinely waterproof with a hood that seals over a warm hat, not water-resistant fabric that wets out fast in blowing snow.
 UIQUR Mens Rain Jacket Raincoat Waterproof Windbreaker Black L Check price
  COOFANDY Men's Waterproof Hiking Travel Shell Breathable Rain Jacket Check price
  Columbia Womens Arcadia II Waterproof Rain Jacket Check price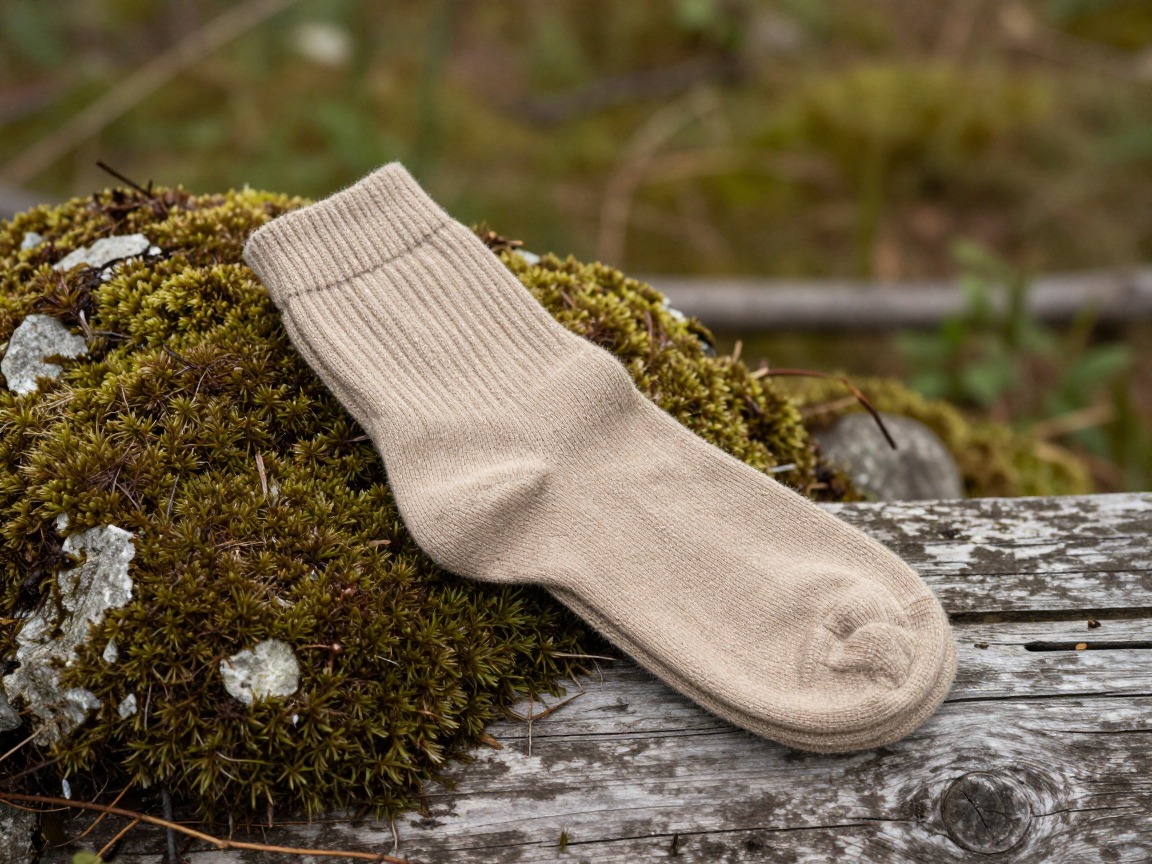
Warm socks (plus a dry spare)
Thick wool socks keep feet warm on the approach; a dry spare, kept warm inside your jacket, gets you comfortable again once you reach the hut.
What to look for: Wool or a wool blend, cushioned, with at least one dry spare pair kept somewhere it won't freeze.
 Alvada Merino Wool Hiking Socks Thermal Warm Crew Winter Boot Sock F Check price
  DANISH ENDURANCE Merino Wool Socks for Men & Women Check price
  innotree 3 Pack Men's Merino Wool Hiking Socks Check price
 - Warm hat and insulated gloves or mitts, plus a spare pair
- Buff or balaclava for wind and blowing snow
- Goggles or glacier glasses for wind and glare
- Warm indoor clothes to change into once you reach the hut
Water & food that won't freeze
Cold turns hydration and food into a logistics problem — bottles freeze, hoses freeze solid, and your body burns through calories faster than on a summer hike.
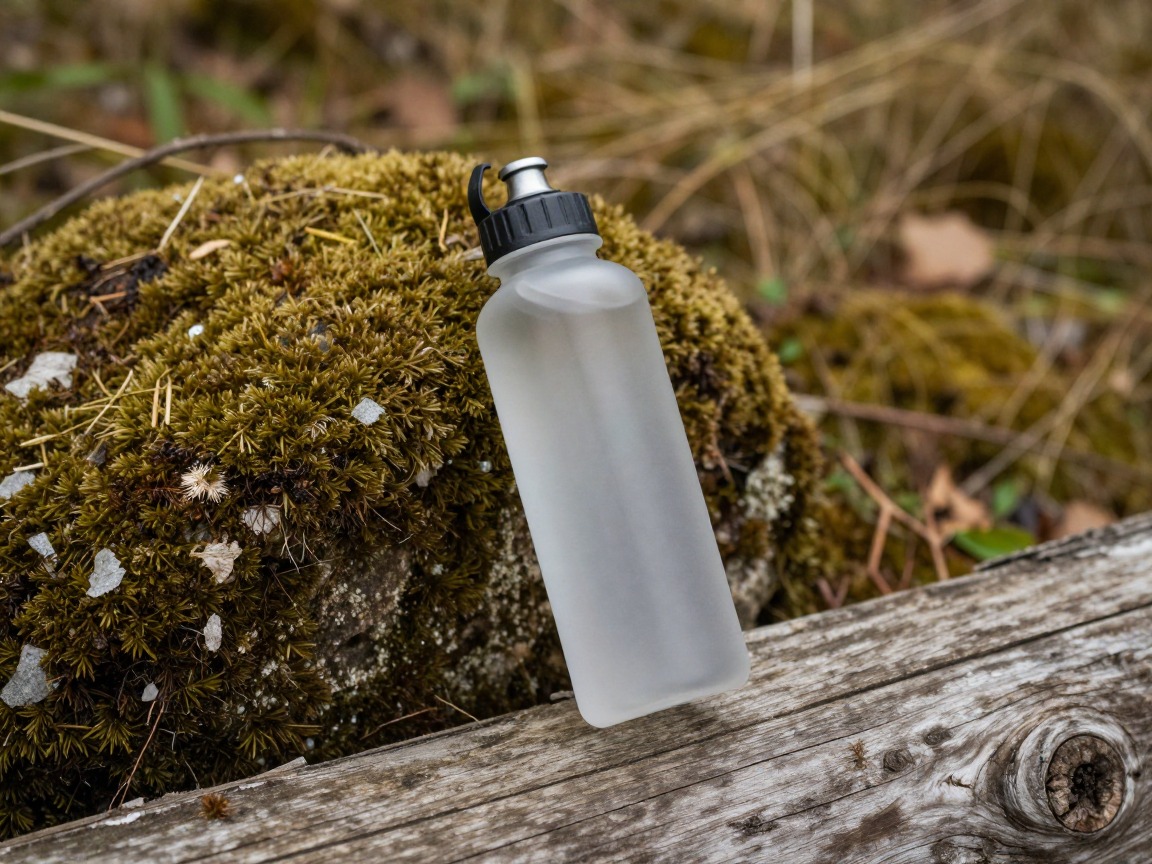
Insulated water bottle
Carried upside-down in an insulated sleeve, an insulated bottle resists freezing far longer than a hydration bladder's hose ever will.
What to look for: Wide-mouth and insulated, filled with warm water at the start. Carry two if the approach is long enough that refilling at the hut isn't guaranteed.
 Nalgene 32 oz Wide Mouth Water Bottle Check price
  Nalgene 32 oz Wide Mouth Water Bottle Check price
  Nalgene 32 oz Wide Mouth Water Bottle Check price
 - A thermos of something hot for the approach or the hut porch
- Extra calorie-dense food — cold, hard climbing burns more fuel than mild hiking
- Food that won't shatter or need thawing if it freezes solid in your pack
The hut night & short days
The hut supplies the bed and often the heat, but a lighter sleep setup and a plan for early dark still make or break the trip.

Headlamp
Lights an early start into short winter daylight and gets you around a shared hut room after dark without waking everyone else.
What to look for: Bright, with lithium batteries that hold up in the cold far better than alkalines, and a dim or red mode for a shared bunkroom.
 LHKNL Headlamp Flashlight Check price
  Lepro LED Headlamp Rechargeable IPX4 Waterproof Headlight 5 Modes - Check price
  Energizer LED Headlamp PRO Check price
 - A hut liner or lightweight sleeping bag liner instead of a full winter bag, once you've confirmed the hut is heated
- Earplugs for a shared bunkroom
- Hut slippers or lightweight indoor shoes if boots come off at the door
- Confirmation of the hut's heat source and exactly what bedding it does or doesn't supply
Safety & the avalanche-terrain reality
A warm hut waiting at the end doesn't change what the terrain between you and it can do — plan the safety layer with the same seriousness as any winter camping trip.

First-aid kit
Covers cold-weather issues and the basics for a long day out, plus the knowledge to recognize early hypothermia and frostbite in yourself and your group.
What to look for: A kit weighted toward cold-weather injuries, plus any personal medication and the training to actually use what's inside it.
 Mini First Aid Kit - 150 Piece Small Waterproof EVA Hard Shell Case Check price
  Adventure Medical Kits Ultralight/Watertight Medical Kit .5 Check price
  211 PCS Waterproof First Aid Kit Check price
Poles (trekking or ski)
Steadies you on uneven, snow-covered ground and takes real strain off your legs when you're breaking trail in snowshoes or descending at the end of the day.
What to look for: Adjustable poles fitted with snow baskets so they don't plunge through soft snow; ski poles do the job if you're touring in.
 Trekology Trek-Z Cork Grip Collapsible Lightweight Hiking Trekking P Check price
  Cascade Mountain Tech Trekking Poles Check price
  covacure Hiking Poles Check price
 - Formal avalanche training, plus a beacon, shovel, and probe and a trained partner for any route that crosses avalanche terrain — no packing list replaces this
- A current avalanche forecast for the exact terrain you'll cross, checked the morning you leave
- Map, compass, and a route plan that doesn't rely on a phone screen in the cold
- A firm turnaround time that accounts for short daylight
- Your route, hut reservation, and expected return left with someone before you go
How to adapt this setup
The most common approach for most hut trips — pack traction for icy sections and be ready to break trail in unbroken snow, which is far slower than a summer pace on the same route.
Swap snowshoes for skis and skins, add the training and gear that alpine touring itself demands, and expect a faster approach on the flats and a much faster, more technical descent.
Some backcountry huts are unheated or rely on a wood stove you light yourself — pack real insulation for the hut night too, and confirm firewood is actually supplied before counting on it.
This isn't a gear swap — it's a different trip that needs formal avalanche training, a beacon, shovel, and probe, and a partner who carries the same. Choose a lower-angle alternative if that training isn't in place yet.
Add insulation layers, protect every extremity, and plan on water and batteries freezing faster than usual — keep both closer to your body on the approach.
Common mistakes to avoid
- Packing a full winter camping kit out of habit when the hut already supplies shelter and warmth — a liner and lighter layers do the job instead.
- Underestimating the approach because 'it's just a hut trip' — the snow travel is often harder than a summer overnight on the same route.
- Skipping traction or snowshoes because the forecast looked mild, then finding icy or unbroken snow anyway.
- Treating avalanche terrain as an afterthought instead of a hard boundary that needs training and rescue gear before you go, not after.
- Letting a water bottle or hydration hose freeze solid with no backup plan for staying hydrated on a multi-hour climb.
- Finishing the approach after dark with no plan for short winter daylight, or no reliable light if you do.
Make it yours
Frequently asked questions
What's different about a winter hut trip versus winter camping?
The hut supplies a bed, a roof, and usually heat, so you can leave the tent, sleeping bag, and stove at home and carry a liner and lighter layers instead. What doesn't change is the winter travel itself — you still need snow-travel gear, full layering, and a plan for short daylight and any avalanche terrain on the approach.
Do I need snowshoes or skis for a winter hut trip?
It depends on the route and your own skills. Snowshoes are the more accessible option for most hikers; ski touring covers ground faster but demands its own training and gear. Either way, pack traction too, for icy or wind-packed sections that neither snowshoes nor skis grip well.
What do I sleep in if the hut is heated?
Most heated huts only need a liner or a lightweight sleeping bag liner rather than a full winter bag — confirm the hut's heat source and what bedding it supplies before you decide how light to go, since not every hut stays reliably warm all night.
Is a hut trip safer than winter camping?
It removes the risk of a cold night with no shelter, but the approach carries the same winter hazards as any backcountry travel, including avalanche terrain if your route crosses it. A hut at the end doesn't lower the bar for training or safety gear on the way there.
How do I know if my route crosses avalanche terrain?
Check a current avalanche forecast and route description for the specific slopes you'll cross, not just the general area — and if you're not confident answering that yourself, that's a sign to get formal avalanche training before you go, not to skip the question.
Illustrative images show the type of gear, not specific products. Recommendations link to similar items on Amazon; we only ever link real listings and never show fabricated prices or ratings. General planning guidance, not a substitute for your own judgment or professional backcountry-safety instruction.