
The winter day hike setup
Winter turns a familiar trail into a different animal — colder, shorter on daylight, and slick underfoot. This setup covers a safe winter day-hiking kit piece by piece: the traction and insulation you can't skip, how to manage warmth, and the backups that matter more when the margins shrink.

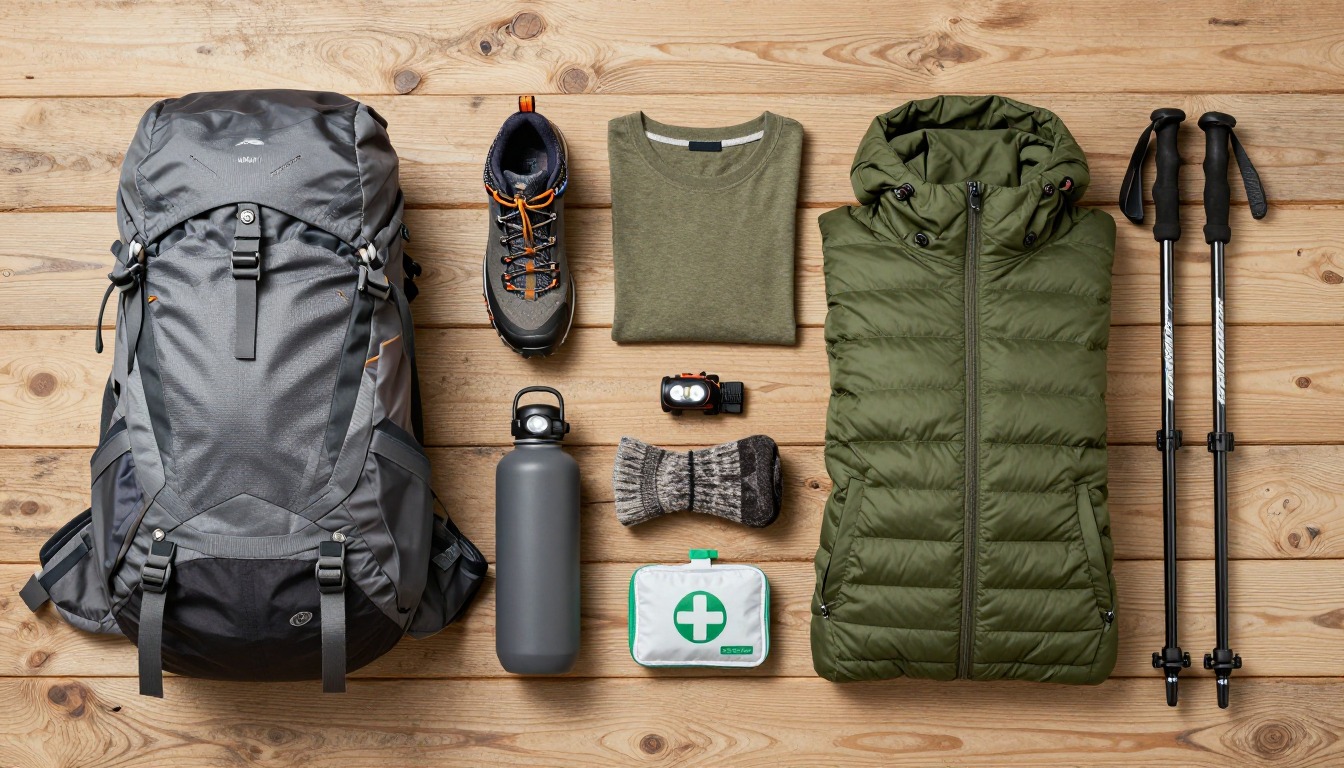
Cold and short days cut your margin for error, so a winter kit adds three things to a summer one: traction for snow and ice, real insulation you can layer actively, and redundancy — light, fire and shelter — because a small problem gets serious fast when it's below freezing and dark by five. Nothing here is optional in genuine winter conditions.
Hikers comfortable on summer trails who want to keep going through the cold, on marked, non-avalanche terrain. Avalanche terrain is a different sport that needs formal avalanche training, a beacon, shovel and probe, and a partner — well beyond this list.
- Layer so you can add and shed on the move — the goal is to never sweat through your base layer or stop and shiver.
- Match traction to conditions: microspikes for packed snow and ice, snowshoes if you'll posthole in deep snow.
- Plan around early darkness — start early, set a firm turnaround, and carry light as if you'll finish after dark.
- Pack more warmth, food and backups than a summer day; the cost of being wrong in winter is high.
About this setup
A trail you know in summer becomes a different place in winter: colder, quieter, shorter on daylight, and slick underfoot. That's exactly the appeal — snow-quiet forests and empty summits — but it also shrinks your margin for error. The cold is patient and unforgiving, darkness arrives by mid-afternoon, and a snow-covered trail hides both the path and the hazards.
So a winter day kit isn't a summer kit with a warmer jacket. It adds three categories that genuinely change your safety: traction so you can move without falling, a managed insulation system you add and shed before you sweat or shiver, and real redundancy — a bright light, a fire that lights cold, and an emergency shelter — because being stranded in winter is a different order of problem than in July. Everything here earns its weight when conditions turn.
One boundary matters more than any gear list: this setup is for marked, non-avalanche terrain. Travel in avalanche country is a separate skill set that requires formal avalanche education, a beacon, shovel and probe, and a partner trained to use them. No packing list substitutes for that training — if your route crosses avalanche terrain, get the education first.
The pack
A 25–35 L daypack gives room for the bulky layers, food and water a winter day needs without being oversized.
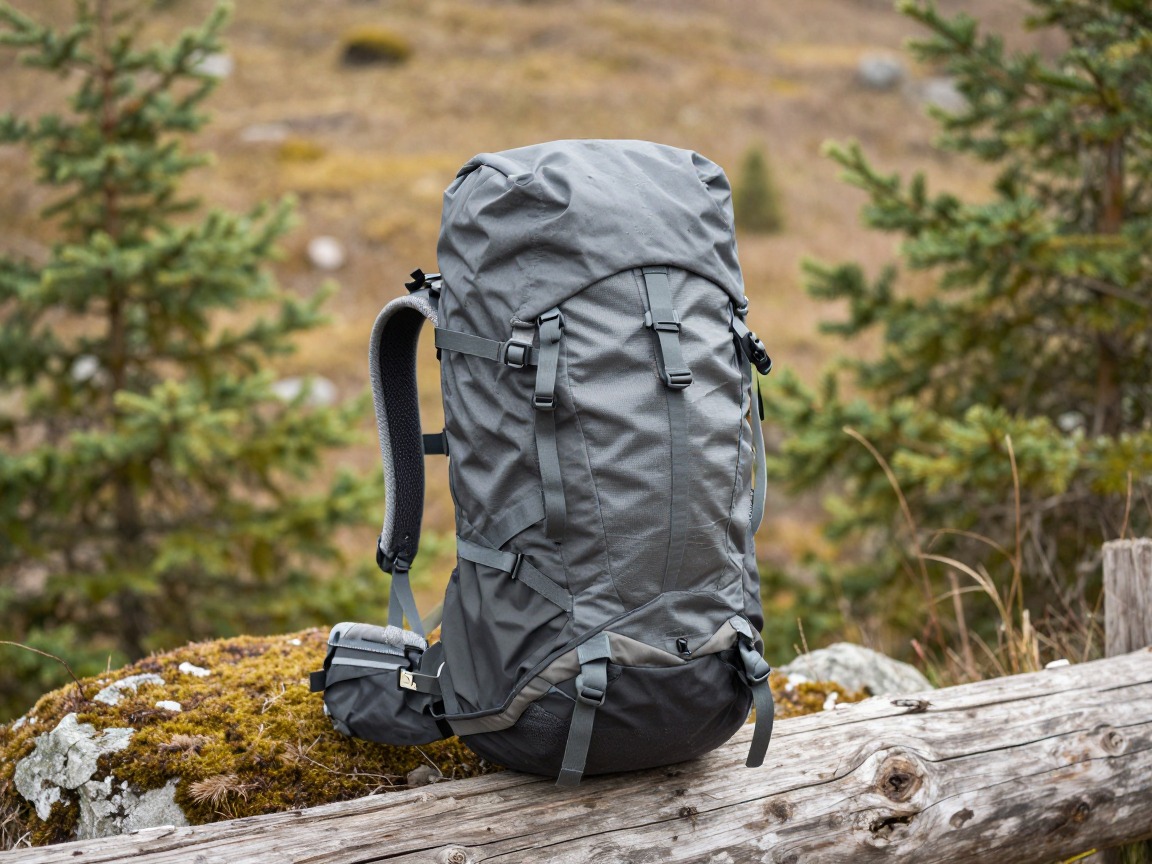
Winter daypack
A 25–35 L pack swallows shed insulation and the extra warmth and food winter demands; external loops help carry traction or an axe.
What to look for: A 25–35 L pack with room for bulky shed layers and external loops for traction or an axe. A simple, glove-friendly design beats fiddly zippers in the cold.
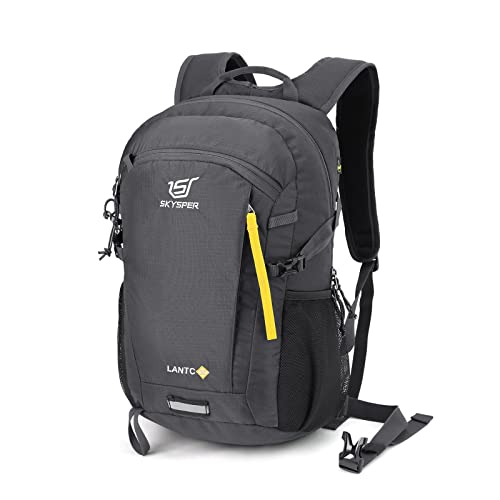 SKYSPER Small Hiking Backpack Check price
  Osprey Sportlite 20L Lightweight Hiking Backpack Check price
 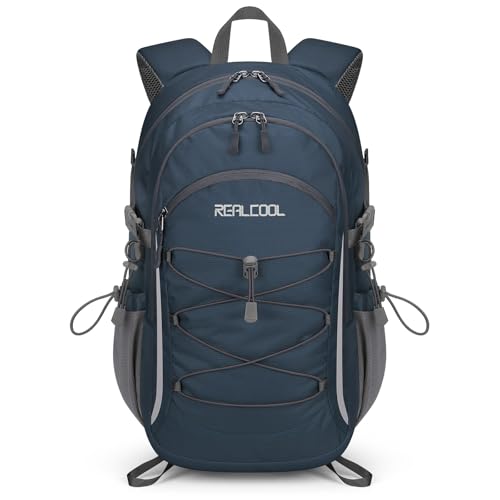 RealCool 20L Lightweight Hiking Backpack Check price
 - A pack liner or dry bag to keep insulation dry
Traction & flotation
The single biggest winter difference — grip. Match it to how much snow and ice you'll actually meet.
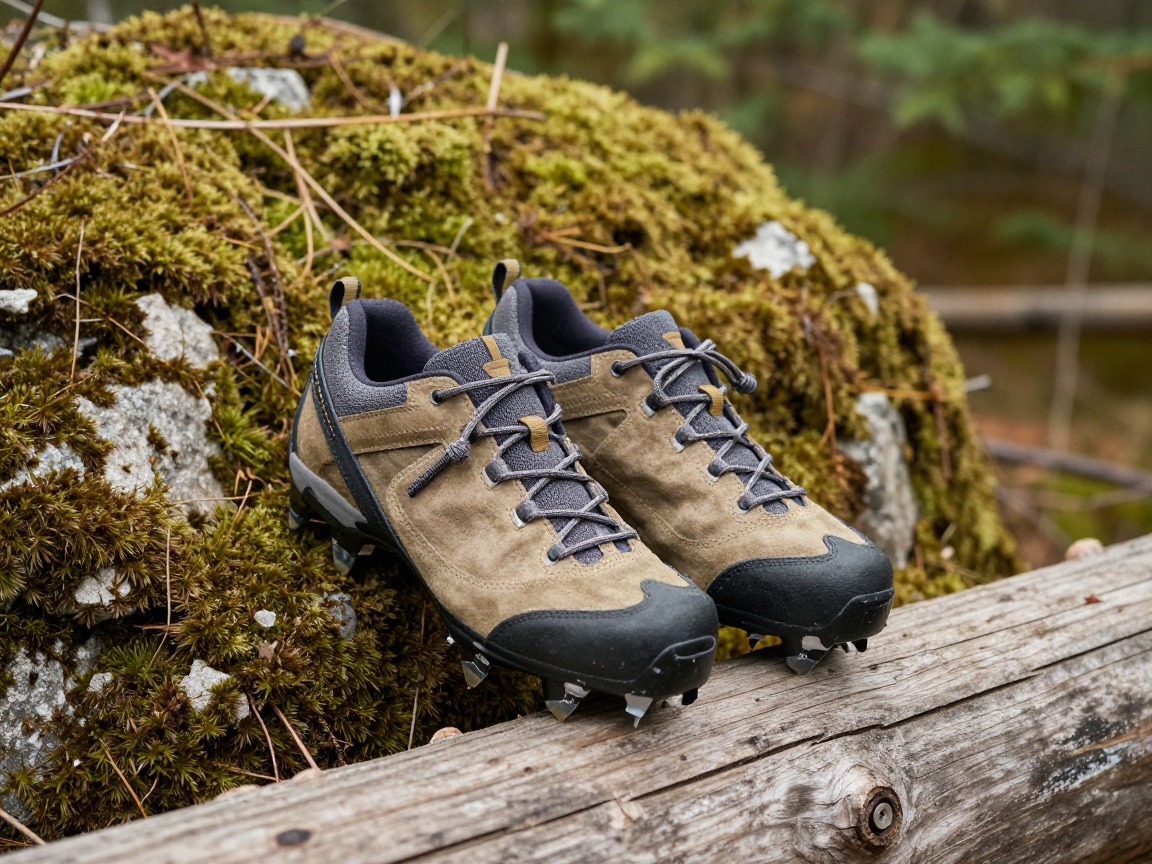
Microspikes
Slip-on spikes transform packed snow and ice from treacherous to walkable — the highest-value item on a winter trail.
What to look for: Match to conditions: microspikes for packed snow and ice on rolling trails, crampons (and an axe, and training) for steep firm snow. Check they fit your boots and pack small.
 Kahtoola MICROspikes Footwear Traction for Winter Check price
 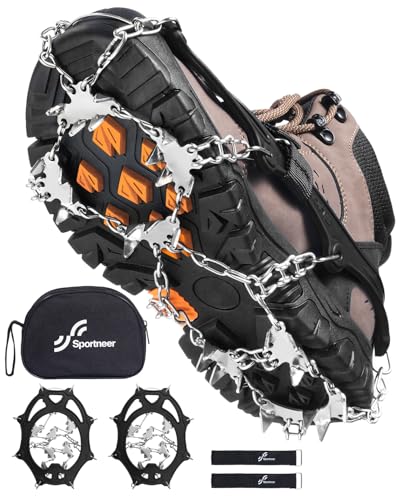 Sportneer Crampons: Ice Cleats for Shoes and Boots with 28 Spikes - Check price
  Kahtoola MICROspikes Footwear Traction for Winter Check price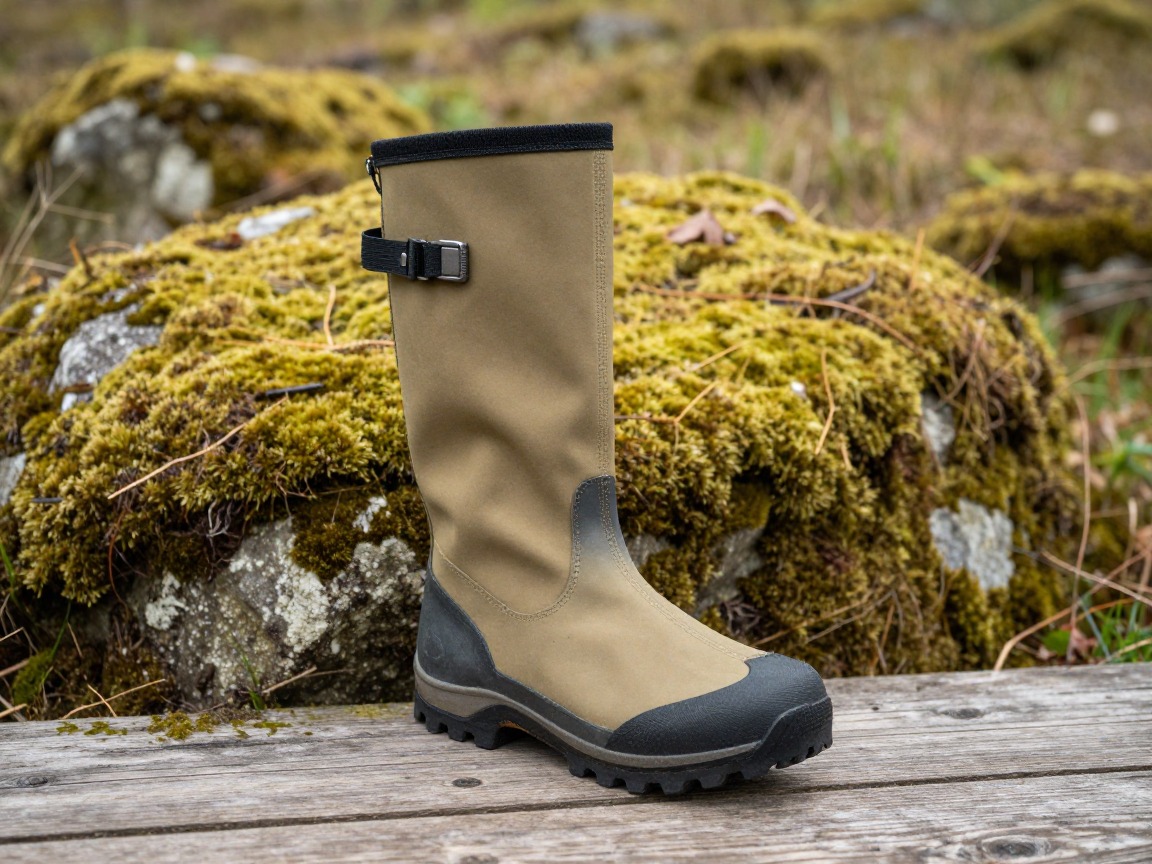
Gaiters
Waterproof gaiters keep snow out of your boots and your lower legs dry, which is half the battle for staying warm.
What to look for: Waterproof, tall enough to seal snow out over the boot cuff, with a durable instep strap. Keeping snow out of your boots is half of keeping your feet warm.
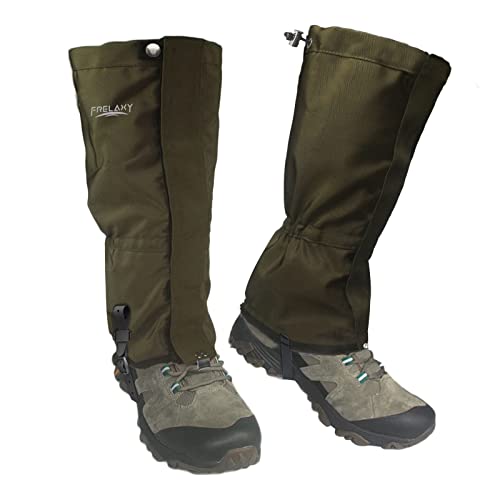 Frelaxy Leg Gaiters 100% Waterproof Hiking Gaiters Check price Frelaxy Ultra High-Performance Hunting Gaiters Check price
 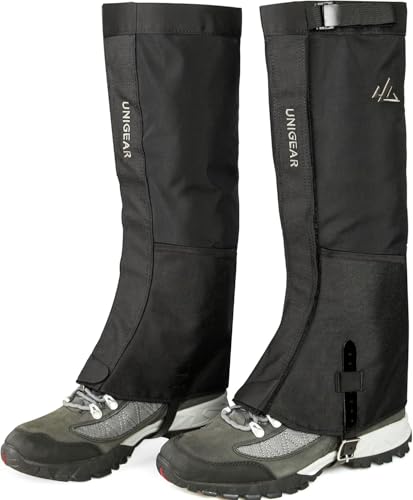 Unigear Leg Gaiters Check price
 - Snowshoes if the snow is deep or unbroken
- An ice axe + training for steep, firm snow
Clothing & layers
A managed layering system is your heating system. Base to wick, mid to insulate, shell to block wind and snow.

Warm base layer
A midweight merino or synthetic base wicks sweat and keeps working when damp — cotton here is genuinely dangerous in the cold.
What to look for: A midweight merino or synthetic that keeps insulating when damp with sweat. Cotton here is genuinely dangerous — it holds moisture against your skin and steals heat.
 100% Merino Wool Base Layer Men Set - Thermal Underwear for Men Long Check price
  Merino.tech Merino Wool Base Layer Women Set - Heavyweight Check price
  100% Merino Wool Base Layer Men Set - Thermal Long Underwear with Ba Check price
Insulated jacket
A warm puffy for breaks and the summit, when you cool down fast; carry more insulation than you think you'll need.
What to look for: Carry more than you think: an active layer for moving and a warm puffy for the moment you stop and cool fast. Synthetic tolerates the damp of a winter day better than down.
 Outdoor Ventures Women's Packable Lightweight Puffer Jacket with Hoo Check price
  Amazon Essentials Women's Lightweight Long-Sleeve Water-Resistant Pa Check price
  Outdoor Ventures Women's Packable Lightweight Puffer Jacket with Hoo Check price
Shell
A waterproof, windproof shell stops wind-driven snow and blocks the wind that steals your warmth on exposed ground.
What to look for: A waterproof, windproof shell — wind is the real heat-thief in winter. A hood that fits over a warm hat and seals against spindrift is worth a lot.
 UIQUR Mens Rain Jacket Raincoat Waterproof Windbreaker Black L Check price
  COOFANDY Men's Waterproof Hiking Travel Shell Breathable Rain Jacket Check price
  Columbia Womens Arcadia II Waterproof Rain Jacket Check price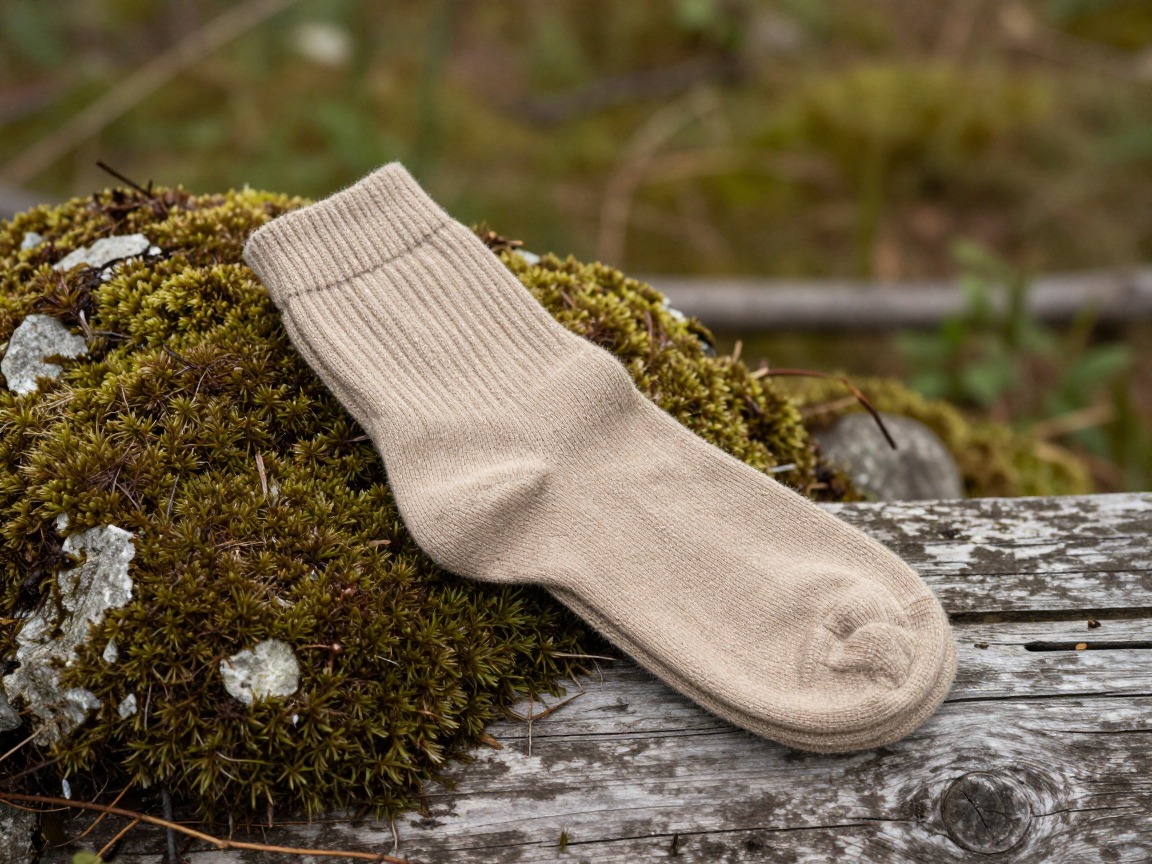
Warm socks
Thick wool socks (with a dry spare) keep feet warm; cold feet end more winter hikes than anything else.
What to look for: Thick wool socks plus a dry spare kept warm in your pack. Cold, wet feet end more winter hikes than anything else, so protect them first.
 Alvada Merino Wool Hiking Socks Thermal Warm Crew Winter Boot Sock F Check price
  DANISH ENDURANCE Merino Wool Socks for Men & Women Check price
  innotree 3 Pack Men's Merino Wool Hiking Socks Check price
 - Warm hat & insulated gloves (plus spares)
- Buff or balaclava
- Goggles or sunglasses for glare
Water, food & warmth
Cold saps energy and freezes gear. Keep water liquid, calories high and a little extra warmth on hand.
Insulated bottle
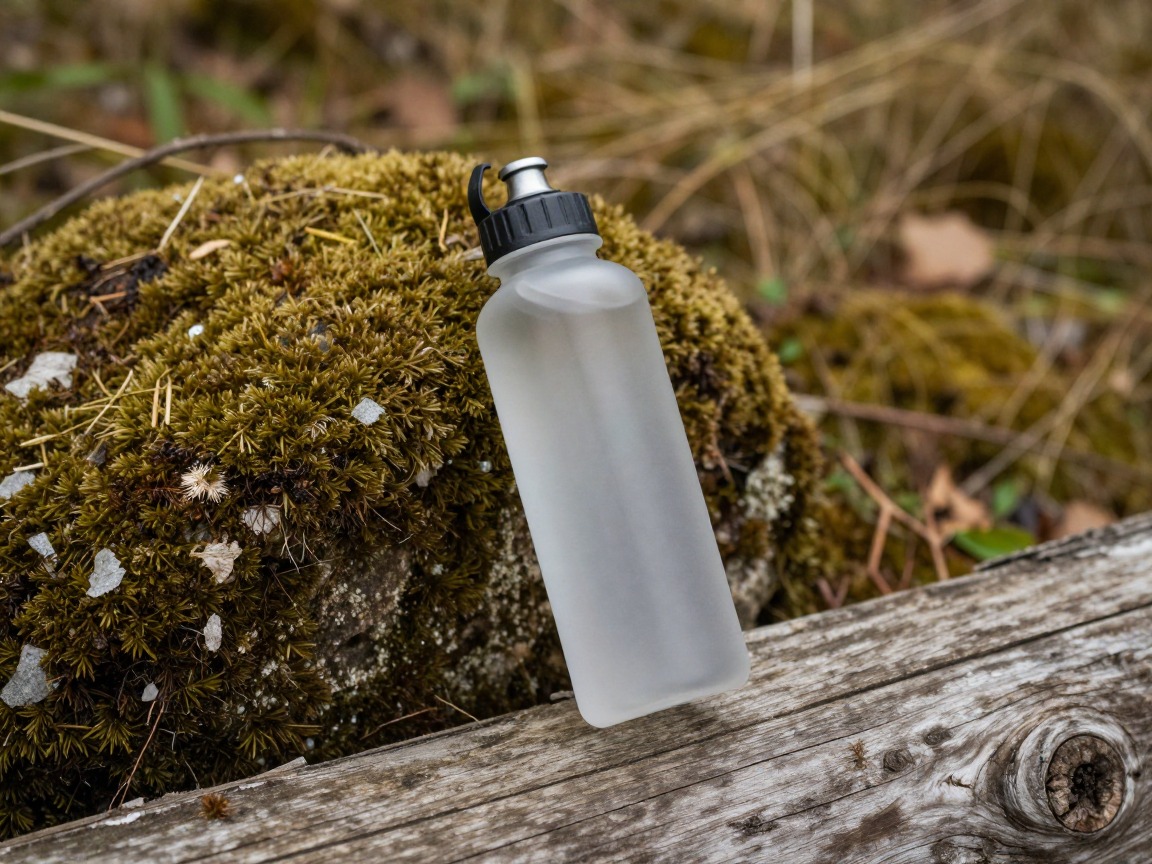
An insulated bottle (carried upside-down in an insulated sleeve) resists freezing — hydration hoses freeze solid, so bottles win in winter.
What to look for: An insulated bottle carried upside-down (ice forms at the top) in an insulated sleeve. Hydration hoses freeze solid in real cold, so bottles win in winter.
 Nalgene 32 oz Wide Mouth Water Bottle Check price
  Nalgene 32 oz Wide Mouth Water Bottle Check price
  Nalgene 32 oz Wide Mouth Water Bottle Check price
Headlamp
Winter dark comes early and fast; a bright headlamp with fresh or lithium batteries (which handle cold better) is essential, not optional.
What to look for: Bright, with a comfortable over-hat fit and lithium batteries, which hold up in the cold far better than alkalines. Winter dark comes early — never treat the light as optional.
 LHKNL Headlamp Flashlight Check price
  Lepro LED Headlamp Rechargeable IPX4 Waterproof Headlight 5 Modes - Check price
  Energizer LED Headlamp PRO Check price
 - Hot drink in a thermos
- Extra calorie-dense food
- Chemical hand & foot warmers
Safety & backups
Redundancy is the whole point in winter — the backups you hope never to use are what keep a bad moment from becoming a bad day.

First-aid kit
A kit that covers cold-weather issues, plus the knowledge to spot the early signs of hypothermia and frostbite in yourself and others.
What to look for: A kit that covers cold-weather issues, plus the knowledge to spot the early signs of hypothermia and frostbite in yourself and your group before they become emergencies.
 Mini First Aid Kit - 150 Piece Small Waterproof EVA Hard Shell Case Check price
  Adventure Medical Kits Ultralight/Watertight Medical Kit .5 Check price
  211 PCS Waterproof First Aid Kit Check price
Trekking poles
Poles with snow baskets add balance on slick, uneven snow and take load off your legs on the descent.
What to look for: Fit them with snow baskets so they don't plunge through, and use them for balance on slick, uneven snow and to save your legs on the descent.
 Trekology Trek-Z Cork Grip Collapsible Lightweight Hiking Trekking P Check price
  Cascade Mountain Tech Trekking Poles Check price
  covacure Hiking Poles Check price
 - Map + compass (screens and fingers fail in the cold)
- Whistle
- Fire kit that works cold
- Emergency shelter/bivy
- Power bank (kept warm)
- Leave a detailed plan and turnaround time with someone
How to adapt this setup
Microspikes and gaiters are the core add. Most maintained winter trails at moderate grade need traction, warm layers and light — not full mountaineering kit.
Add snowshoes for flotation so you're not postholing to your thighs, and expect to move far slower — plan a shorter route and an earlier turnaround.
This is where a day hike becomes mountaineering: crampons, an ice axe and the training to self-arrest, plus avalanche awareness. If that's your route, get the skills first.
Layer up the insulation, protect every extremity (hat, insulated gloves plus spares, buff or balaclava), add chemical warmers, and keep water and batteries from freezing against your body.
Common mistakes to avoid
- Wearing or packing cotton — wet cotton in the cold is a genuine hypothermia risk.
- No traction on an icy trail, turning a routine trail into a fall waiting to happen.
- Underestimating how early it gets dark and finishing, cold, in the black with no light.
- Letting yourself get sweaty on the climb, then chilling fast the moment you stop.
- A frozen hydration hose and no backup — carry insulated bottles in winter.
- Venturing into avalanche terrain without training, a beacon, shovel, probe and a partner.
Make it yours
Frequently asked questions
What do I need for a winter day hike?
A summer day kit plus three winter categories: traction (microspikes, or snowshoes in deep snow), a managed insulation system with a warm hat and gloves, and extra redundancy — a bright headlamp with lithium batteries, a fire kit that works cold, and an emergency shelter. Add insulated water bottles and more calorie-dense food.
Do I need microspikes or snowshoes?
It depends on the snow. Microspikes grip packed snow and ice on rolling, maintained trails — the most common winter need. Snowshoes are for deep, soft, unbroken snow where you'd otherwise sink. Many winter hikers carry spikes and add snowshoes when conditions call for them.
How do I keep water from freezing on a winter hike?
Use an insulated bottle, carry it upside-down (ice forms at the top first) inside an insulated sleeve, and fill with warm water at the start. Avoid hydration-bladder hoses, which freeze solid; if you use one, insulate the hose and blow water back into the bladder after each sip.
Is winter hiking safe for beginners?
On marked, low-avalanche-risk trails in fair weather, a prepared beginner can absolutely enjoy winter hiking — start short, go with others, and turn back early. The hard boundary is avalanche terrain, which requires formal training and rescue gear well beyond any packing list.
How cold is too cold to hike?
There's no single number — wind, wet and your own experience matter more than the thermometer. With the right layers, traction and backups, experienced hikers go out well below freezing; the honest answer is to build your skills and margins gradually and turn around when conditions exceed them.
Illustrative images show the type of gear, not specific products. Recommendations link to similar items on Amazon; we only ever link real listings and never show fabricated prices or ratings. General planning guidance, not a substitute for your own judgment or professional backcountry-safety instruction.