
The winter backpacking setup
Winter backpacking is where the day-hike kit and the weekend kit level up together: a shelter built for snow load, a sleep system rated well below freezing, and the fixes — vapor management, fuel that still works cold, extra calories — that keep a cold night from turning bad. This setup covers that system for marked, non-avalanche terrain.

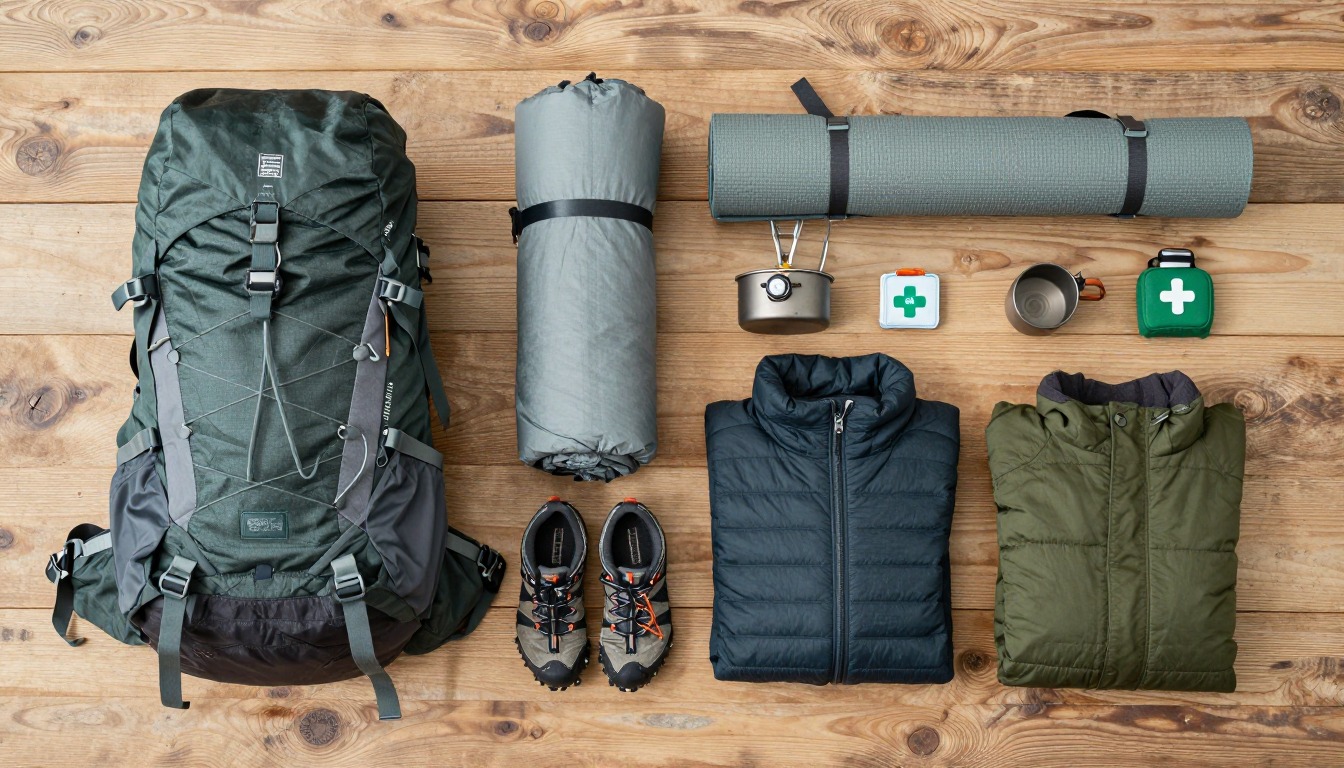
A winter overnight kit is two step-ups at once: from a winter day hike, because you now have to get through the night, not just the afternoon; and from a summer overnight, because everything gets heavier and colder. It adds a shelter built for snow load, a sleep system with real margin below what a summer bag manages, and fixes that keep water and stoves working as the temperature drops. Nothing here is optional once you're sleeping out in snow.
This setup suits backpackers solid on both a summer overnight and a winter day hike, ready to combine those skills on marked, non-avalanche terrain. It's not a substitute for avalanche education — crossing avalanche terrain needs formal training, a beacon, shovel and probe, and a trained partner, well beyond this list.
- Build the sleep system first, rated with real margin below the expected low — a cold night is the most common way a trip goes wrong.
- Size the pack to the bulk, not just the weight: a 4-season tent and doubled pads take real room, usually 65 L or more.
- Plan water and fuel as one system: extra fuel, an insulated bottle, and a backup for a filter that might freeze.
- Pack more calories, layers and redundancy than either trip alone — you're carrying both sets of risks at once.
About this setup
Winter backpacking is where two skill sets meet: what you've learned camping in three-season conditions, and what a winter day hike teaches about cold, traction and short daylight. Put them together well and you get a quieter, more demanding trip — some of the best nights a lot of backpackers will spend outside. Put them together carelessly and a good afternoon turns into a long, cold, sleepless night.
The gear differences aren't cosmetic. A three-season tent can struggle under real snow load, so a 4-season shelter stops being a luxury. A summer bag and a single three-season pad won't keep you warm on frozen ground, so the bag gets genuine margin and the pad's insulation often gets doubled. Water and fuel both fight you in the cold — canisters lose pressure, filters crack if frozen, and melting snow burns fuel you wouldn't otherwise need. Add vapor management, extra calories, and traction carried over a longer trip, and it's clear this setup borrows from both a summer overnight and a winter day hike, not just one with a few tweaks.
One boundary matters more than anything here: this setup is for marked, non-avalanche terrain. Crossing avalanche terrain is a different discipline, requiring formal avalanche training, a beacon, shovel and probe, and a partner trained to use all three. No packing list substitutes for that education — if your route has any avalanche exposure, get the training first.
The pack
Winter gear is bulky before it's heavy — a 4-season tent, a heavier bag and doubled pads all want room. Most people land at 65 L or more.
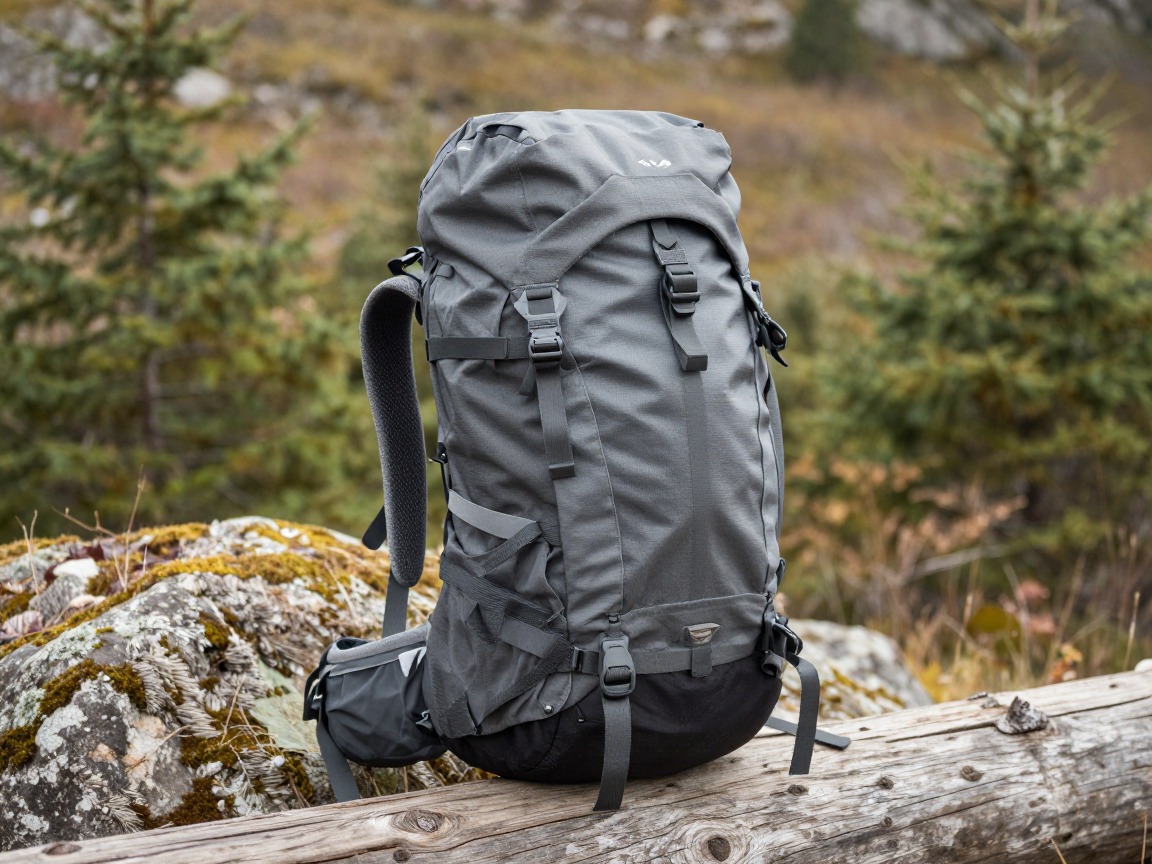
Winter expedition pack
A large-capacity pack swallows a 4-season tent, a bulkier bag and doubled sleeping pads, with room left for extra fuel and food.
What to look for: 65 L or more, external attachment points for snowshoes or a shovel, and a simple, glove-friendly buckle and zipper design — fiddly hardware is miserable with cold or gloved hands.
 WoneNice 50L Check price
  Teton 55L Scout Internal Frame Backpack for Hiking Check price
 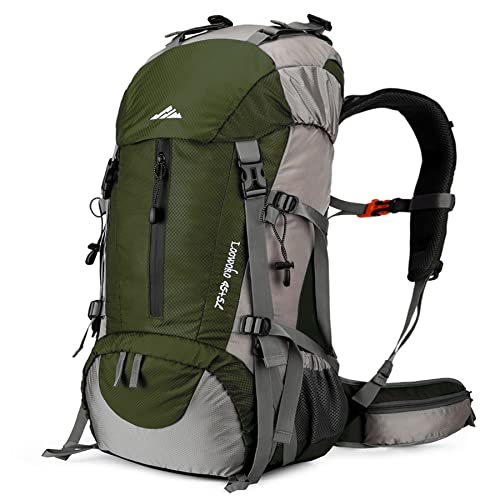 Loowoko 50L Hiking Backpack with Rain Cover for Both Men & Women Check price
 - A full pack liner or heavy-duty dry bag — snow melts inside a pack exactly like rain does
Shelter
A shelter built for real snow load isn't optional once you're sleeping out in winter — a three-season tent can fail under a heavy load or a hard gust.
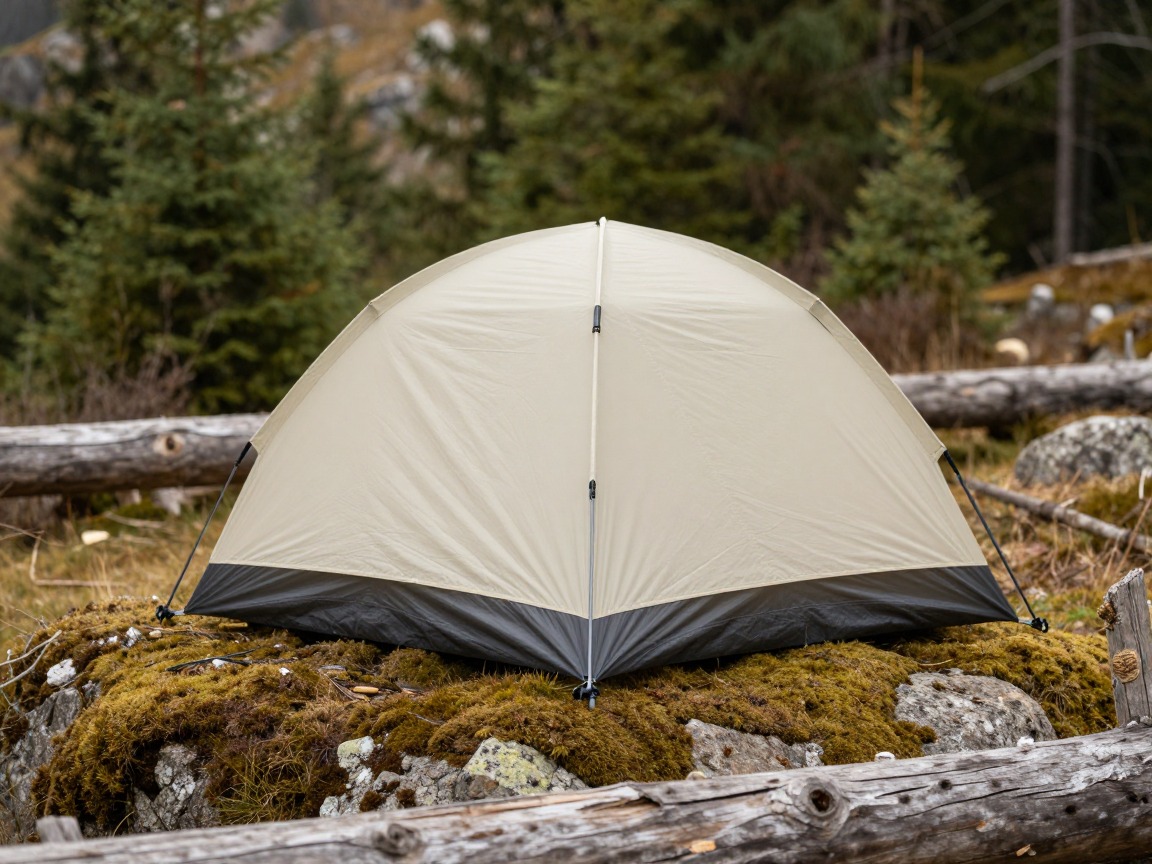
4-season tent
A mountaineering-style tent, with a stronger pole structure and a full-coverage fly, is built to shed snow load and hold up in wind that would flatten a three-season tent.
What to look for: A dedicated 4-season or convertible design with sturdy pole geometry, a fly that reaches the ground, and enough vents to manage the condensation a closed-up winter tent generates.
 Night Cat 2-Persons Backpacking Tent: Waterproof Lightweight Camping Check price
  BISINNA 2/4 Person Camping Tent Lightweight Waterproof Backpacking T Check price
  Forceatt Tent for 2 Person is Waterproof and Windproof Check price
 - Snow stakes or deadman anchors — skis, poles or buried stuff sacks work when normal stakes won't hold
- A small shovel or stake to level and firm your tent platform before you pitch
- Extra or heavier guylines for wind loading
Sleep system
This is where a winter night is won or lost. Rate the bag with real margin below the forecast low — the ground steals heat faster than the air does.
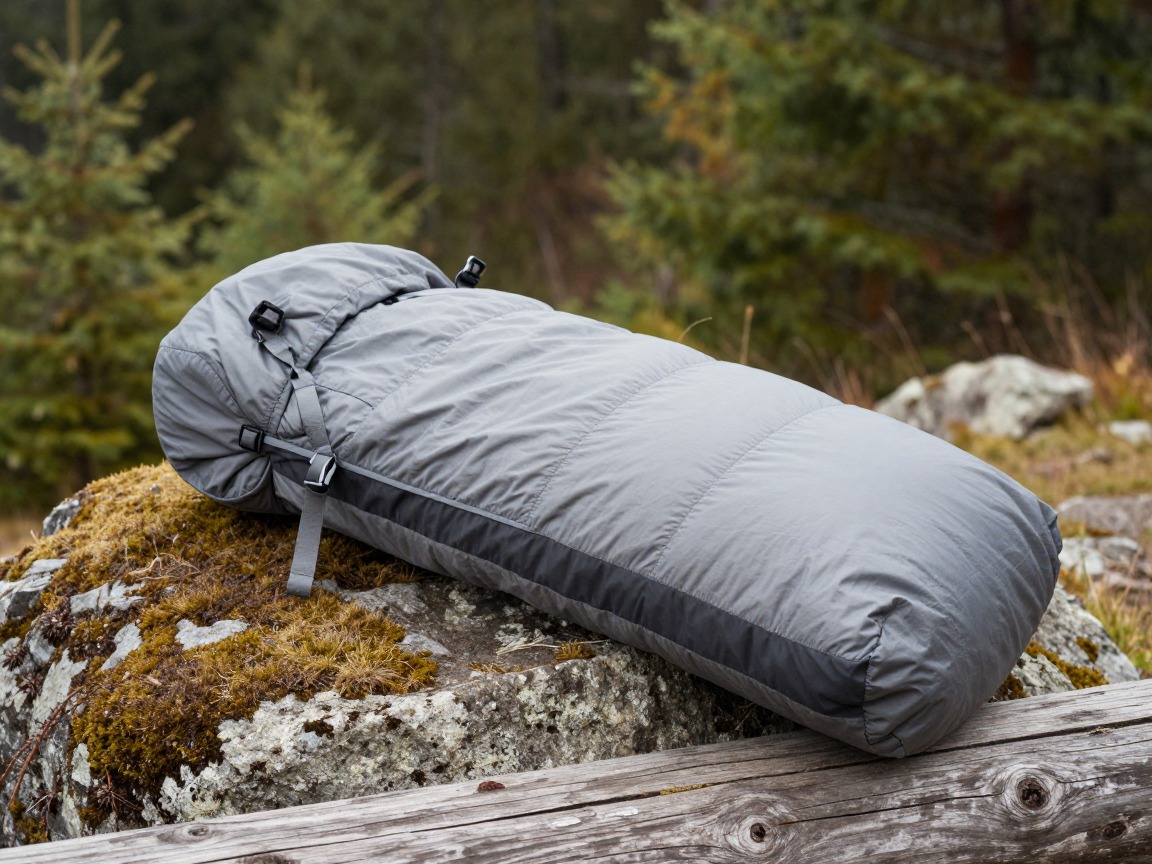
Winter sleeping bag
Rated with real margin below the night's expected low, with more loft and a fuller hood than a three-season bag needs.
What to look for: A comfort rating with genuine margin below your coldest expected night, not the survival rating. Down still packs warmest for the weight; synthetic tolerates a damp winter camp better.
 MalloMe Sleeping Bags for Adults Cold Weather & Warm - Backpacking C Check price
 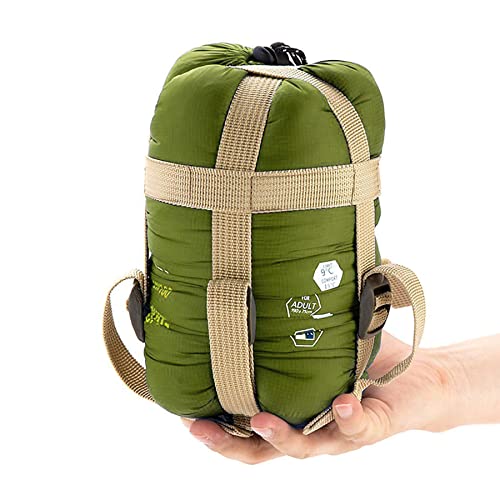 ECOOPRO Portable Check price
  Teton Trailhead Check price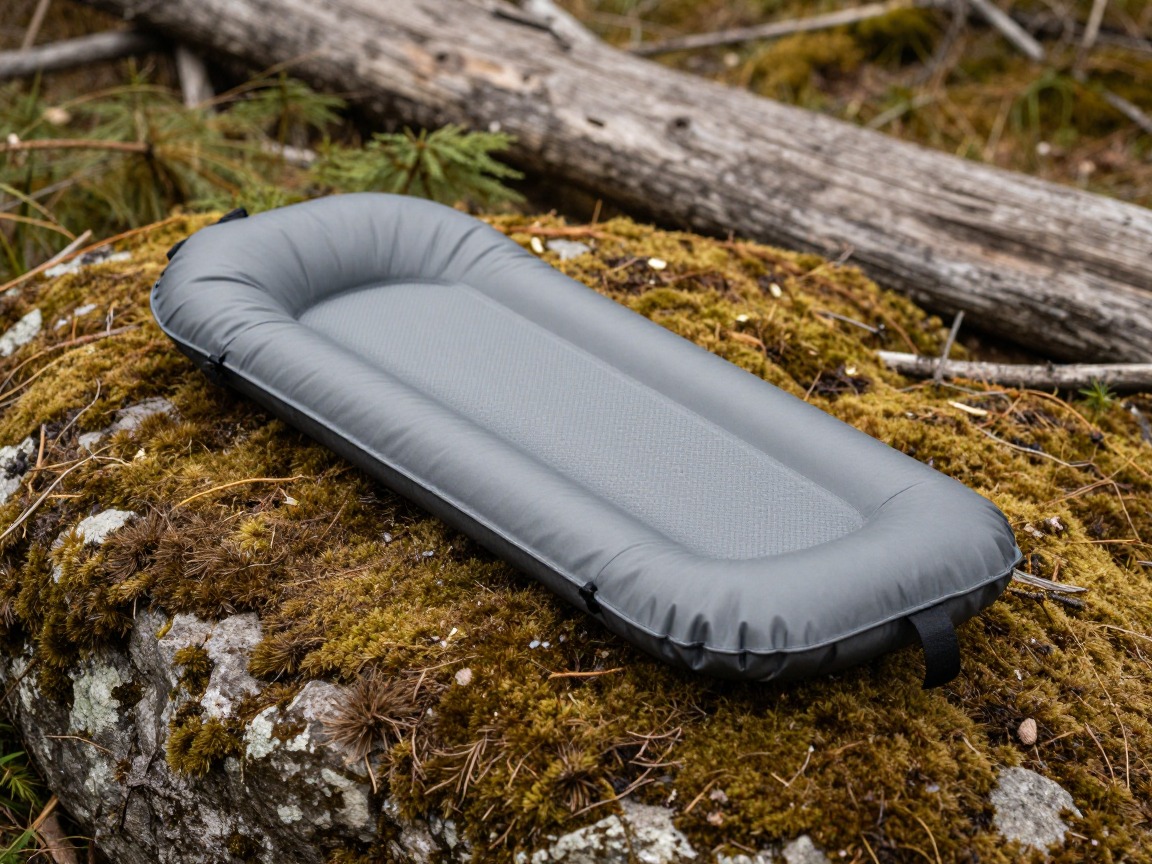
Winter sleeping pad
A high-R pad — often two, stacked — insulates you from snow and frozen ground, which pulls heat far faster than winter air does.
What to look for: Look for R-value well above a three-season pad; many winter backpackers stack a foam pad under an inflatable for combined insulation and a backup if it fails.
 FUN PAC Camping Sleeping Pad Check price
  Gear Doctors® Ether 17.5oz Ultralight Camping Sleeping Pad Check price
  Oramoose 4in Ultralight Camping Sleeping Pad with Pillow and Foot Pu Check price
 - A vapor barrier liner for multi-night cold trips, so body moisture doesn't slowly wet out your bag's insulation
- A pee bottle, clearly marked, so you're not leaving a warm bag at 2 a.m.
Kitchen & water
Cold changes the kitchen: fuel burns faster, canisters lose pressure, and a frozen filter is a broken filter. Plan around all three.
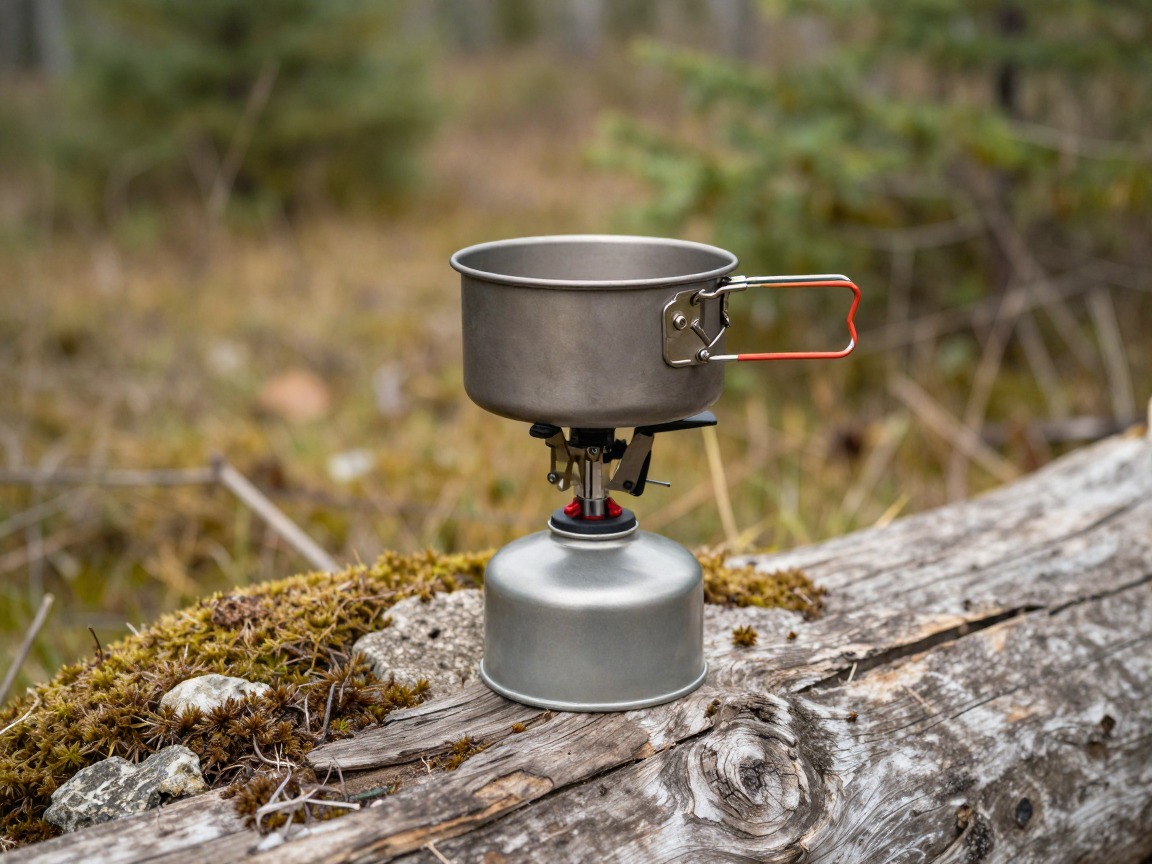
Winter-capable stove
A canister stove loses pressure and performance as it cools; keeping it warm — inside your jacket, or on an inverted-canister setup — keeps it running in real cold.
What to look for: A stove that performs on cold canisters, or a liquid-fuel stove, unaffected by canister temperature. Keep fuel warm and accessible, not buried in a frozen pack.
 AOTU Portable Camping Stoves Backpacking Stove with Piezo Ignition S Check price
  MSR PocketRocket 2 Ultralight Camping and Backpacking Stove Check price
  Fire-Maple Greenpeak 1 Camping Stove with Piezo Ignition Portable Ga Check price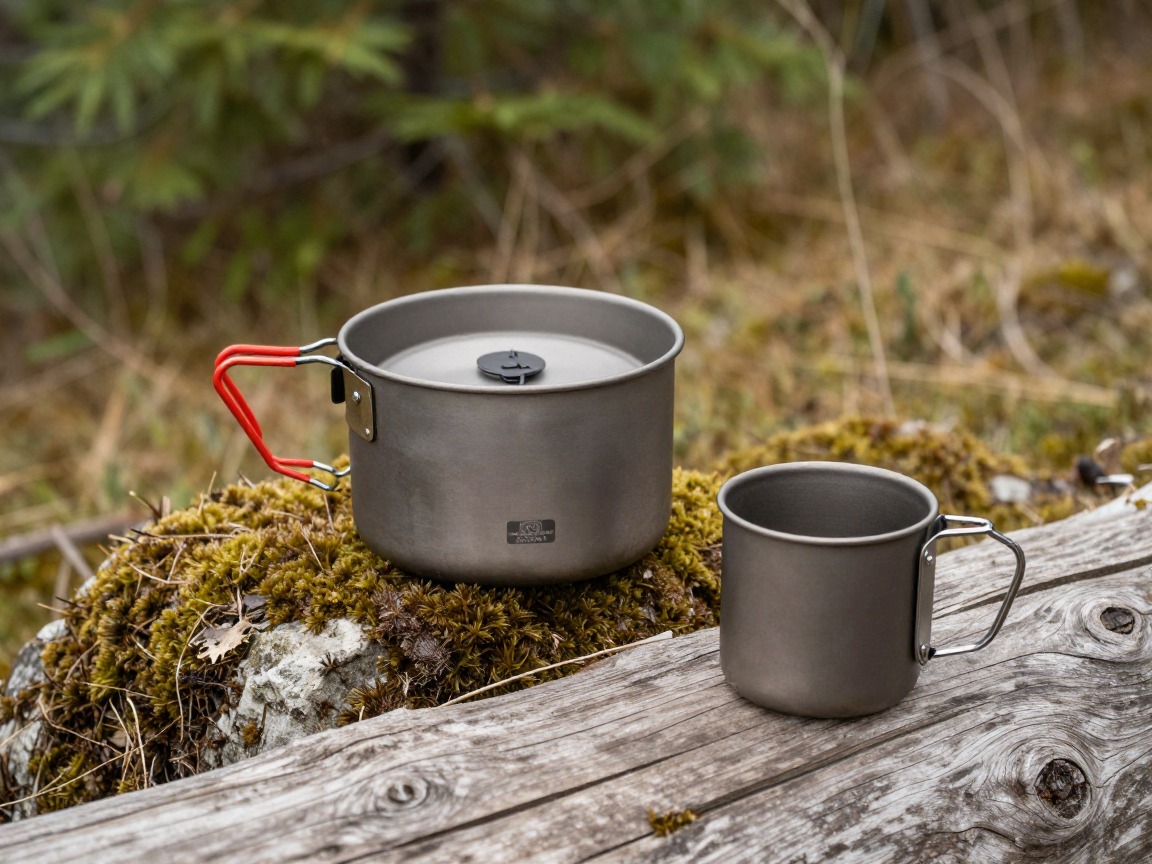
Pot for melting snow
Melting snow for water is slower and burns more fuel than heating water you've already got, so a slightly larger pot earns its keep.
What to look for: A pot a little larger than your three-season choice, a well-fitting lid to trap heat, and a light, durable metal like titanium or aluminum.
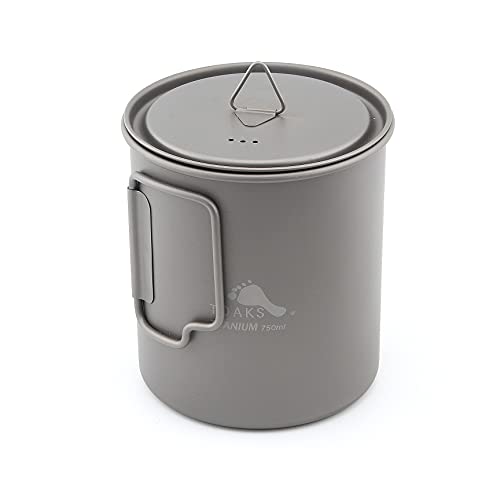 TOAKS Titanium 750ml Pot Check price
  TOAKS Titanium 750ml Pot with Bail Handle for Ultralight Camping Check price
  TOAKS Titanium 1100ml Pot with Pan Check price
 - Extra fuel — melting snow for all your water can burn noticeably more than boiling water you already have
- A plan to keep your water filter from freezing solid: sleep with it, or skip filtering and melt or boil snow instead
- An insulated bottle carried upside-down, plus a thermos for a hot drink
- Food storage appropriate to the area, and extra calorie-dense meals for the cold
Clothing & layers
The same layering logic as a winter day hike, now built for living in camp for hours at a time, not just moving through the cold.

Warm base layer
A midweight merino or synthetic base keeps wicking and insulating through a long, cold camp — cotton has no place here.
What to look for: Midweight-to-heavyweight merino or synthetic that insulates when damp, plus a dry backup kept just for sleeping in.
 100% Merino Wool Base Layer Men Set - Thermal Underwear for Men Long Check price
  Merino.tech Merino Wool Base Layer Women Set - Heavyweight Check price
  100% Merino Wool Base Layer Men Set - Thermal Long Underwear with Ba Check price
Insulated jacket
A serious puffy for camp, where you're stationary in the cold for hours rather than minutes — carry more warmth than a day hike calls for.
What to look for: More loft than a day-hike puffy; synthetic tolerates a multi-night camp's damp better than down, though dry-stored down still packs warmest.
 Outdoor Ventures Women's Packable Lightweight Puffer Jacket with Hoo Check price
  Amazon Essentials Women's Lightweight Long-Sleeve Water-Resistant Pa Check price
  Outdoor Ventures Women's Packable Lightweight Puffer Jacket with Hoo Check price
Shell
A waterproof, windproof shell blocks wind-driven snow while moving, and doubles as a wind layer around camp.
What to look for: Genuinely waterproof and windproof, with a hood sealing over a warm hat and room for a puffy underneath.
 UIQUR Mens Rain Jacket Raincoat Waterproof Windbreaker Black L Check price
  COOFANDY Men's Waterproof Hiking Travel Shell Breathable Rain Jacket Check price
  Columbia Womens Arcadia II Waterproof Rain Jacket Check price
 - Dry camp and sleep clothes, stored separately from what you hiked in and never worn on the trail
- Warm hat, insulated gloves or mittens, plus liner gloves and spares of everything
- Extra wool socks and insulated camp booties for warm feet once you stop moving
- Buff or balaclava, goggles or sunglasses for glare
Traction & flotation
The same grip and flotation a winter day hike needs, now carried over a longer, heavier, multi-day trip.
Microspikes or crampons
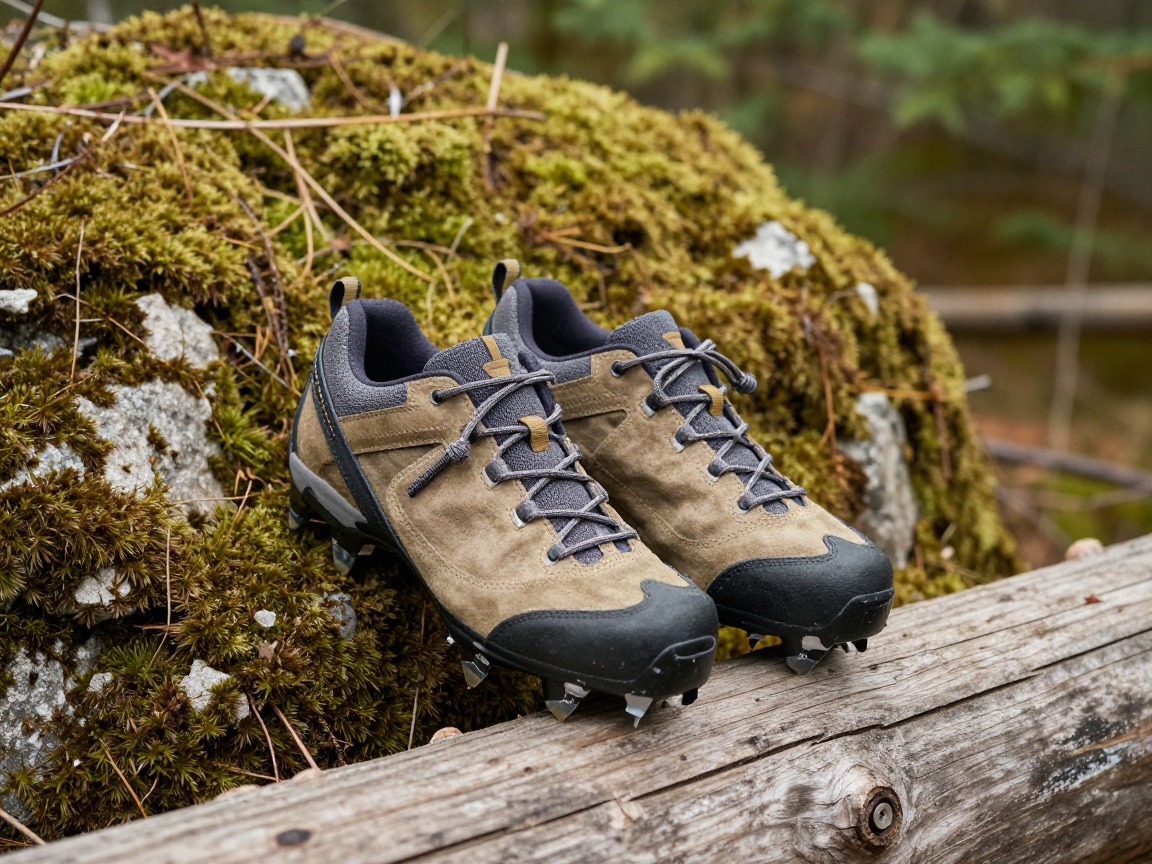
Traction matched to the terrain — microspikes for packed snow and ice, crampons (with training) for anything steep and firm.
What to look for: Microspikes for most maintained winter trails; crampons and an ice axe, plus training, for steep firm terrain. Check they fit your boots and pack small.
 Kahtoola MICROspikes Footwear Traction for Winter Check price
 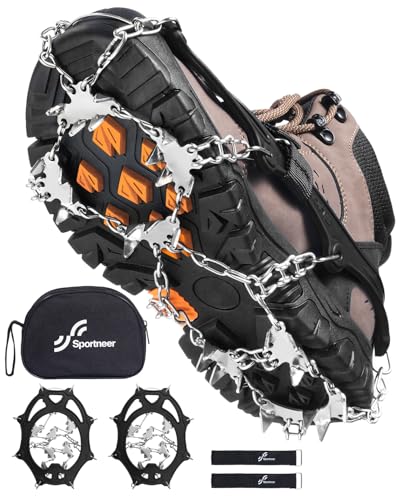 Sportneer Crampons: Ice Cleats for Shoes and Boots with 28 Spikes - Check price
  Kahtoola MICROspikes Footwear Traction for Winter Check price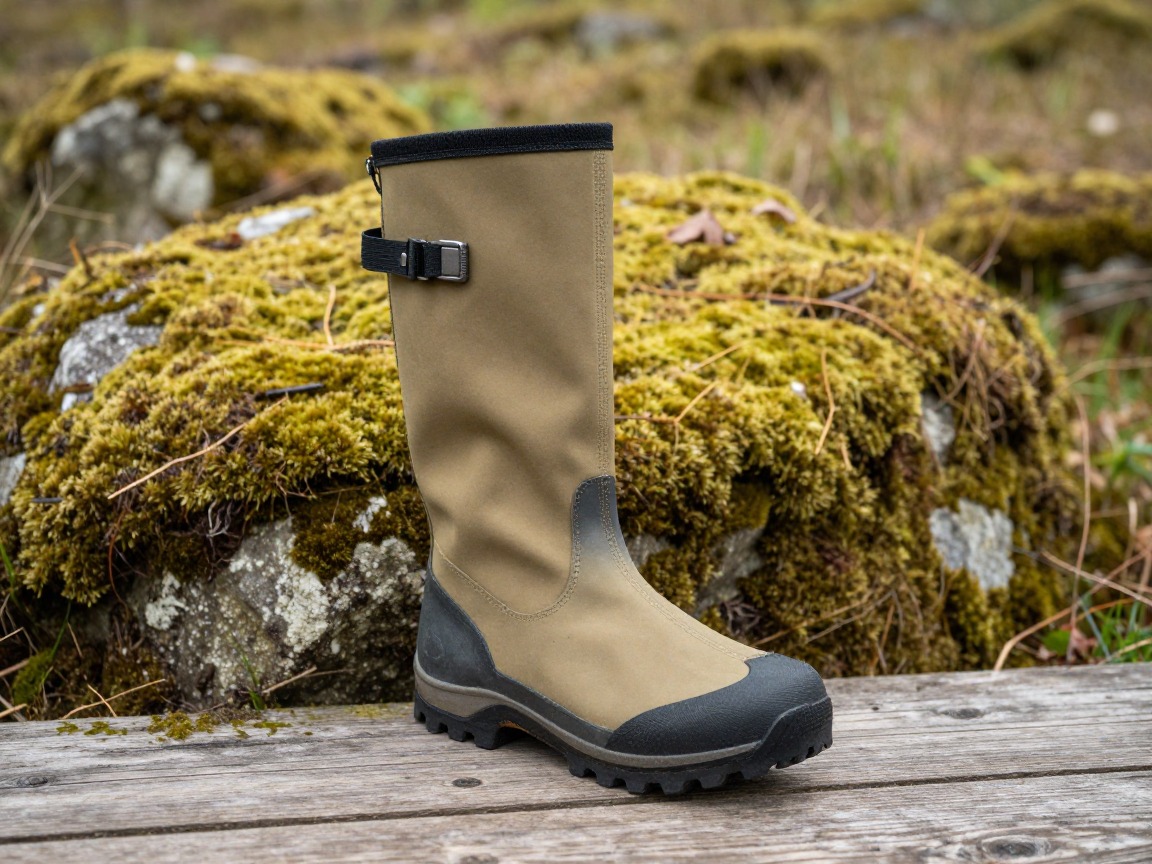
Gaiters
Tall waterproof gaiters keep snow out of your boots over a multi-day trip, which matters even more when you can't fully dry out each night.
What to look for: Waterproof, tall enough to seal over the boot cuff, with a durable instep strap built to survive repeated days in the snow.
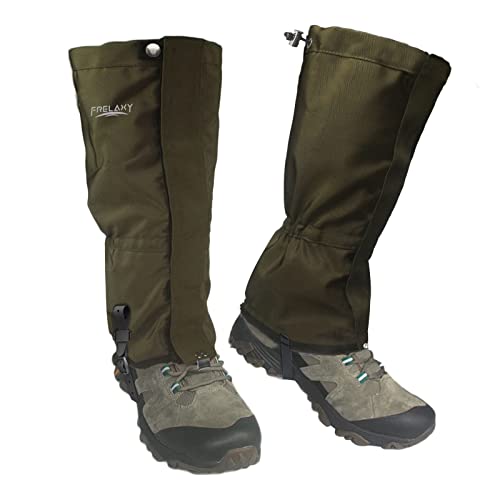 Frelaxy Leg Gaiters 100% Waterproof Hiking Gaiters Check price Frelaxy Ultra High-Performance Hunting Gaiters Check price
 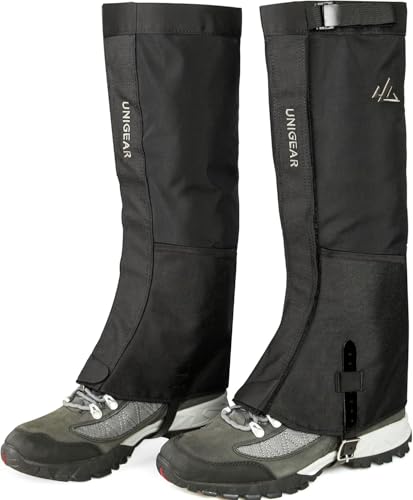 Unigear Leg Gaiters Check price
 - Snowshoes for deep or unbroken snow
- An ice axe and the training to use it, for steep or firm terrain
Navigation, light & safety
Redundancy matters even more overnight in winter — you're further from help, for longer, in conditions that punish small mistakes.

Headlamp
Winter dark comes early and camp chores in the dark are a nightly reality; carry a bright light and lithium batteries, which hold up far better in the cold.
What to look for: Bright, a comfortable over-hat fit, a red mode for camp, and lithium batteries or a way to keep a rechargeable one warm overnight.
 LHKNL Headlamp Flashlight Check price
  Lepro LED Headlamp Rechargeable IPX4 Waterproof Headlight 5 Modes - Check price
  Energizer LED Headlamp PRO Check price
First-aid kit
A kit that covers cold-weather issues over multiple days, plus the knowledge to recognize hypothermia and frostbite early.
What to look for: Scaled to a multi-night trip further from help, with cold-specific basics, your own reliable meds, and a way to keep supplies from freezing.
 Mini First Aid Kit - 150 Piece Small Waterproof EVA Hard Shell Case Check price
  Adventure Medical Kits Ultralight/Watertight Medical Kit .5 Check price
  211 PCS Waterproof First Aid Kit Check price
 - Map + compass — screens and fingers both fail in the cold
- A satellite messenger or personal locator beacon for overnight trips beyond cell coverage
- A fire kit that works cold and wet
- Extra batteries or a power bank kept warm inside your jacket or sleeping bag
- Avalanche beacon, shovel and probe — and the formal training to use them — if your route enters avalanche terrain
- A detailed itinerary and turnaround plan left with someone at home
How to adapt this setup
You can often get by with a three-season tent pitched carefully, a warmer bag boosted with a liner, and a single higher-R pad — save the full 4-season kit for genuine deep-winter conditions.
Push every number up: a warmer bag, doubled pads, more insulation and vapor barrier liners, plus more fuel and calories — and keep batteries and fuel warm against your body.
Vapor management stops being optional — damp insulation that never dries loses warmth night after night, so liners and dry camp clothes matter more the longer you're out.
This is where winter backpacking becomes mountaineering: crampons, an ice axe, and formal avalanche training with a beacon, shovel and probe. Get the education first — no gear list replaces it.
Trim the big three first: a lighter 4-season tent, a warm-for-weight down bag kept dry, and a lighter high-R pad — never trim the sleep system's warmth margin.
Common mistakes to avoid
- A sleeping bag rated for three-season nights, not the real low — the most common way a trip goes bad.
- A three-season tent asked to hold up under real snow load.
- A stove that won't fire because the canister got too cold — keep it warm, or bring one built for it.
- Letting sweat and breath moisture soak into your insulation instead of managing vapor.
- Underestimating the extra calories and fuel a cold multi-night trip burns.
- Venturing into avalanche terrain without formal training, a beacon, shovel, probe and a trained partner.
Make it yours
Frequently asked questions
What's different about winter backpacking versus a winter day hike?
You add everything an overnight requires on top of what a winter day hike already needs: a shelter and sleep system rated for real cold, a kitchen plan that keeps water and fuel working, and enough calories and redundancy to get through a long, cold night, not just a cold afternoon.
Do I need a 4-season tent for winter backpacking?
For genuine winter conditions, yes — a three-season tent's lighter poles and mesh-heavy body can struggle under real snow load or strong wind. In mild, sheltered conditions a well-pitched three-season tent can work, but a 4-season design gives real margin.
How much warmer should my winter sleeping bag and pad be?
Rate your bag with genuine margin below the coldest night you expect, and push your pad's R-value well above a three-season rating — often by stacking a foam pad under an inflatable. The ground pulls heat faster than winter air does, so the pad matters as much as the bag.
Why does my stove struggle in the cold?
Canister stoves lose pressure as the canister cools, which slows or stops the burn. Keeping the canister warm — inside your jacket between uses, or with an inverted-canister setup — usually fixes it; a liquid-fuel stove sidesteps the issue entirely.
Is winter backpacking safe for beginners?
It's a step up from both summer backpacking and winter day hiking, so it suits people already comfortable with both. On marked, non-avalanche terrain, a well-prepared beginner can manage a mild winter overnight with others; avalanche terrain requires formal training and rescue gear well beyond any packing list.
Illustrative images show the type of gear, not specific products. Recommendations link to similar items on Amazon; we only ever link real listings and never show fabricated prices or ratings. General planning guidance, not a substitute for your own judgment or professional backcountry-safety instruction.