
The wildlife-watching backpacking setup
A wildlife-watching backpacking trip trades miles for patience — you camp overnight so you're already in position for the two windows when animals actually move: first light and last light. This is a complete overnight setup for that trip, explained piece by piece: what each item does, why the kit is built this way, and how to make it your own.

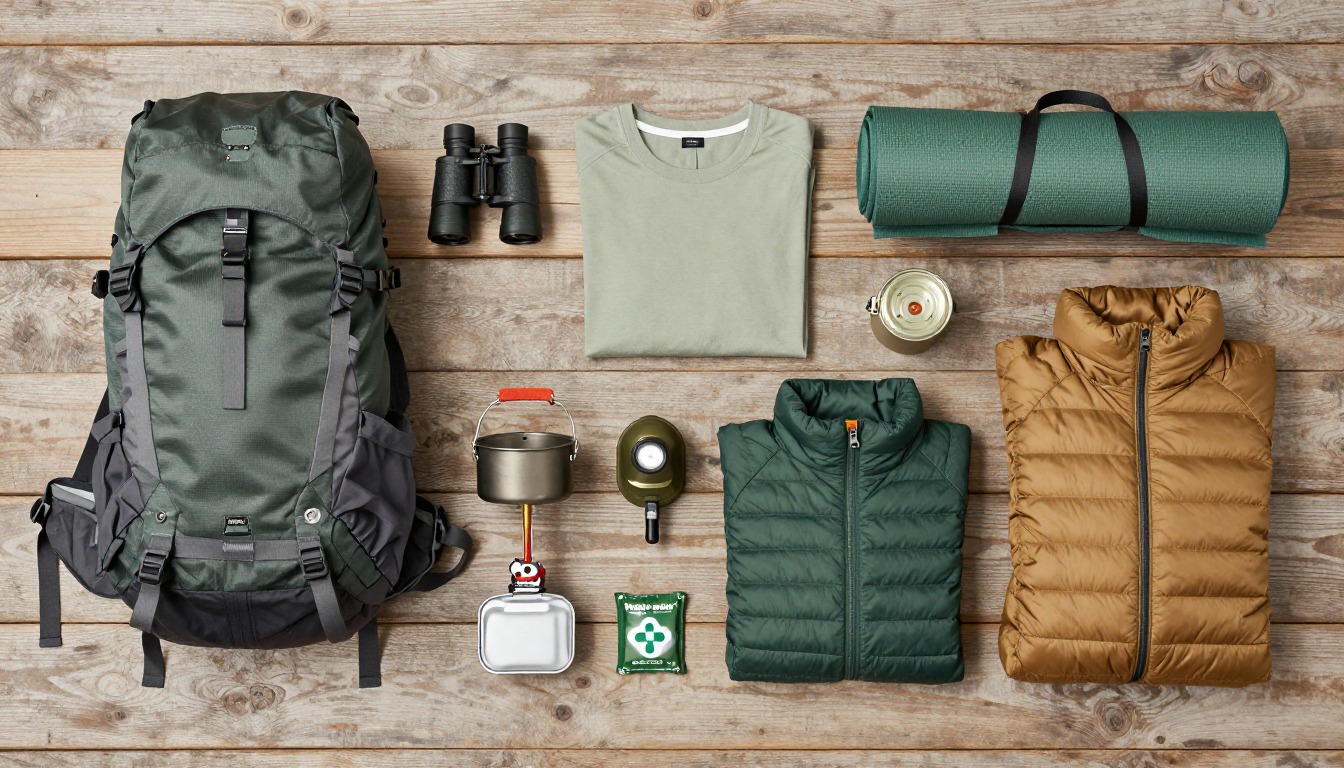
This kit is built around distance and discipline, not mileage. Wildlife is most active at dawn and dusk and moves off at the first sign of a loud, bright, or careless hiker, so the setup leans on optics that close the gap without you closing it yourself, and on clothing and habits that keep you quiet and unremarkable. Food and scent discipline matter more here too — camping overnight buys you both active windows instead of one, but only if animals never learn to associate your camp with an easy meal.
This setup suits backpackers heading out for one or two nights with wildlife watching as the main goal — a known elk meadow, a river corridor, alpine tundra, or backcountry known for bear or moose activity. It assumes established trails and a legal, designated campsite, not off-trail tracking. If your real goal is a close-range photo of one animal, or you're not ready for the food-storage discipline bear country requires, a shorter guided day trip is the better fit.
- Start with the overnight basics — a 45–60 L pack, a tent, and a sleeping bag and pad rated to the night's low — the same as any weekend trip.
- Add optics before anything wildlife-specific: binoculars are the one non-negotiable, with a spotting scope if you'll be glassing open country.
- Layer in muted, quiet clothing and the food-storage gear your destination requires, planned before you leave, not improvised at camp.
- Finish with a sit pad for patient waiting and a reliable headlamp for dawn starts, then add slow movement, a respectful distance, and a firm no-feeding rule.
About this setup
A wildlife-watching backpacking trip is really a weekend trip with one added purpose: being camped in the right place when animals are actually moving. Most wildlife activity clusters around dawn and dusk, when temperatures are cooler and predators and prey alike are more willing to be out in the open. Day-trippers only catch one of those windows before they have to head home; camping overnight puts you in position for both, without an early alarm and a long drive in the dark.
The gear that matters most reflects that goal. Binoculars do more work here than almost anything else in the pack — they let you watch from a distance that doesn't change an animal's behavior. Muted clothing and a slow, quiet pace matter for the same reason: get too close, too loud, or too bright, and the animal you came to see either bolts or starts associating people with food. Camping overnight also raises the stakes on scent discipline — in bear country especially, a canister or a correctly hung food bag is what keeps your camp safe and keeps animals wild.
None of this requires technical skill beyond ordinary backpacking. It takes patience, a genuine respect for distance, and letting the trip run on the animals' schedule instead of yours. Check land-manager guidance before you go — closures, seasonal restrictions, and required food-storage methods vary by park and forest, and that's the actual authority on a given area, not a general packing list.
The pack
For an overnight built around glassing and waiting more than covering ground, a standard 45–60 L weekend pack still does the job — just budget a little extra room for optics.
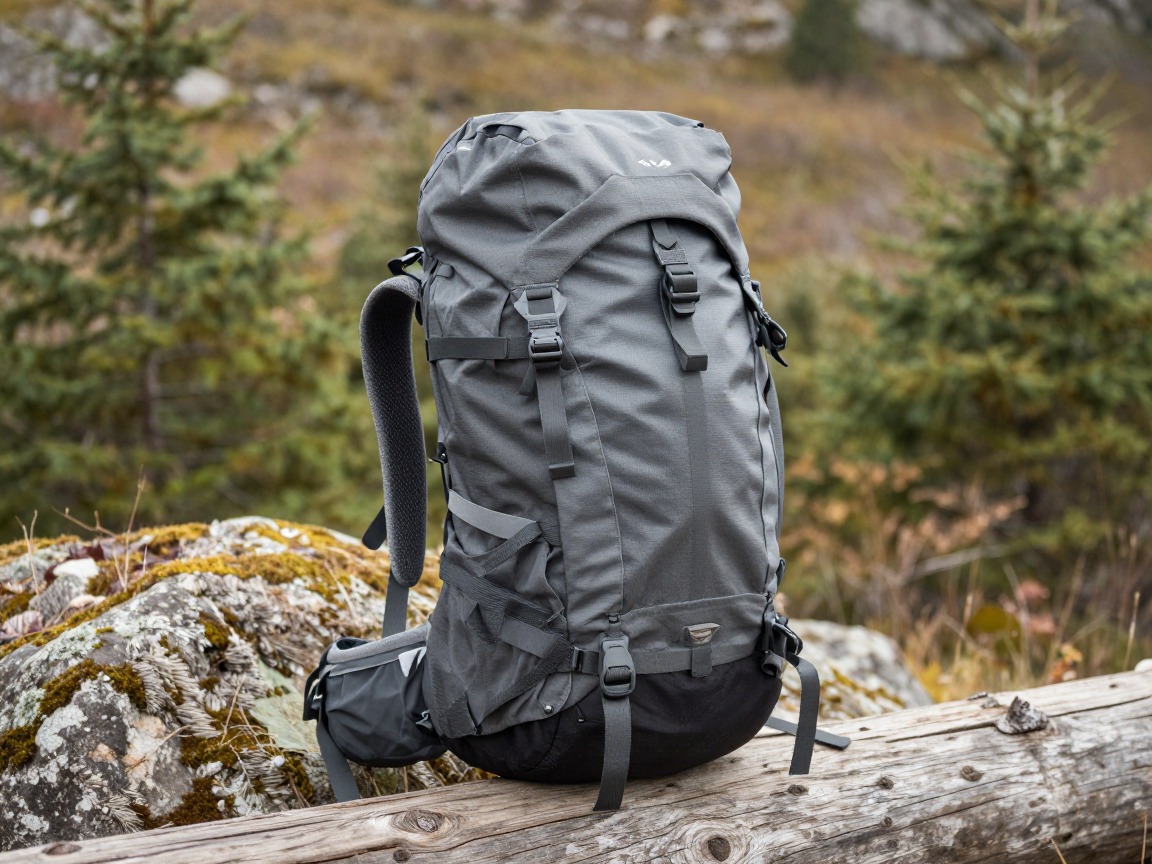
Overnight backpack
Carries the same weekend system as any overnight trip — shelter, sleep, food — plus binoculars and, if you bring one, a spotting scope.
What to look for: A real hip belt to carry the load on your hips, a torso length matched to you, and 45–60 L for a weekend. A quick-access pocket for binoculars matters more here than on a regular trip.
 WoneNice 50L Check price
  Teton 55L Scout Internal Frame Backpack for Hiking Check price
 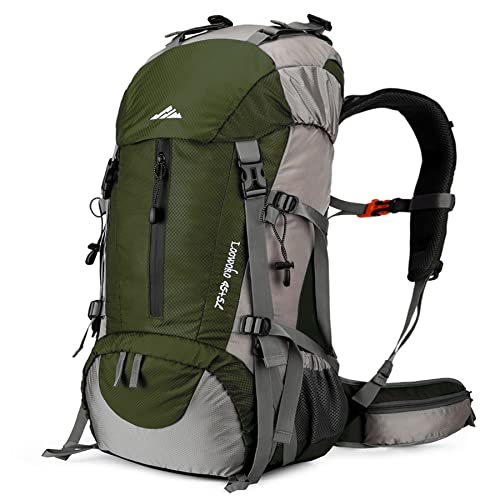 Loowoko 50L Hiking Backpack with Rain Cover for Both Men & Women Check price
 - A pack rain cover or liner
Optics & wildlife ID
Binoculars are the one piece of gear this trip is built around — everything else supports getting into position and staying there long enough to use them.
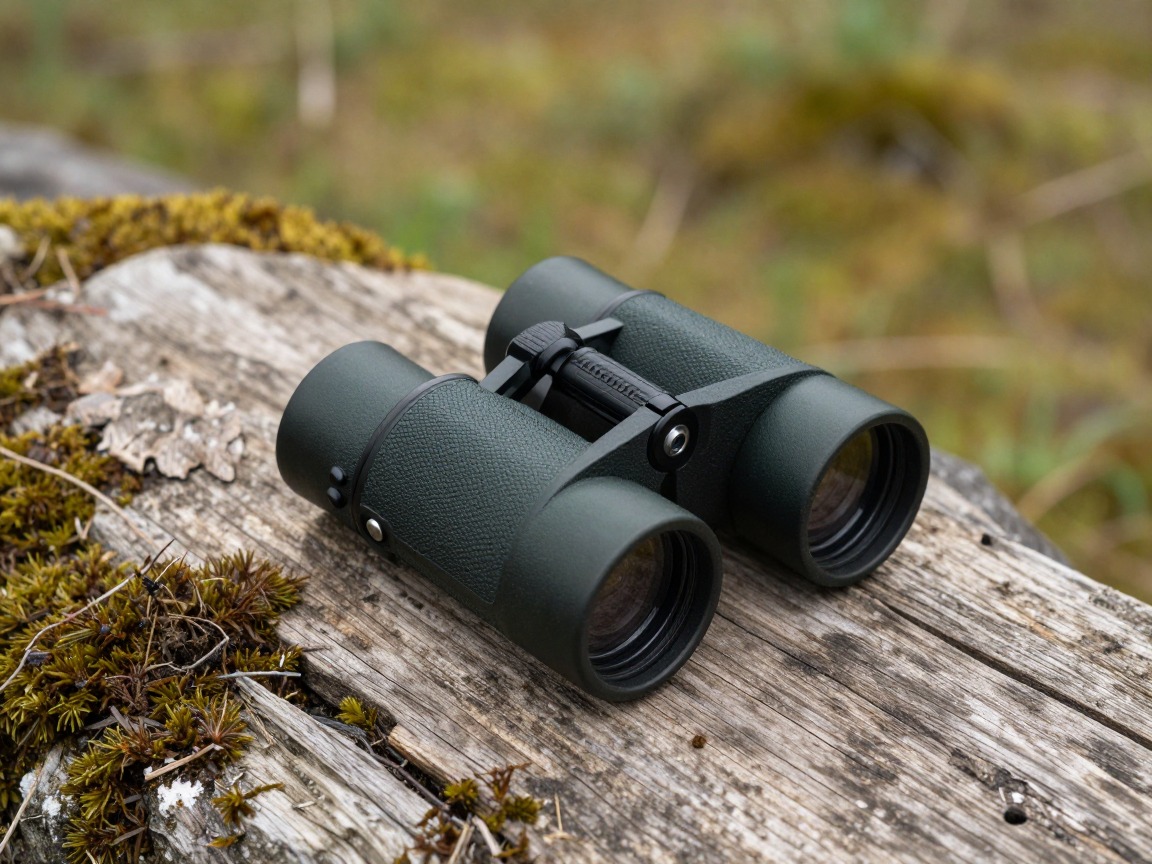
Binoculars
Lets you watch from a distance that doesn't change an animal's behavior — the difference between wildlife watching and disturbing wildlife.
What to look for: A magnification and objective size you can hold steady without a tripod (8x42 is a common all-around choice), comfortable eye relief if you wear glasses, and weather sealing for dew and rain.
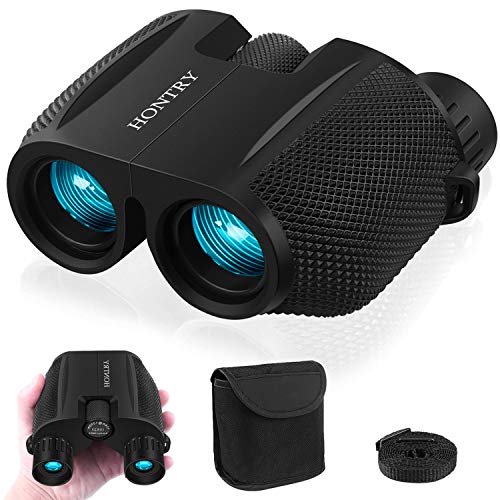 Hontry 10x25 Compact Binoculars for Adults and Kids Check price
  DRANBOL 12X25 Mini Pocket Binoculars for Adults Kids Check price
  12x32 Compact Binoculars for Adults High Powered Check price
 - A spotting scope and lightweight tripod, for open country where binoculars alone fall short
- A field guide or wildlife-ID app, with offline data downloaded before you lose cell coverage
- A small notebook or voice-memo app for sightings
- A camera with a zoom lens (optional) — never worth closing distance for a shot
Shelter & sleep
The shelter and sleep system barely changes from a standard weekend trip — you're still out overnight, just camped somewhere chosen for wildlife activity rather than scenery.
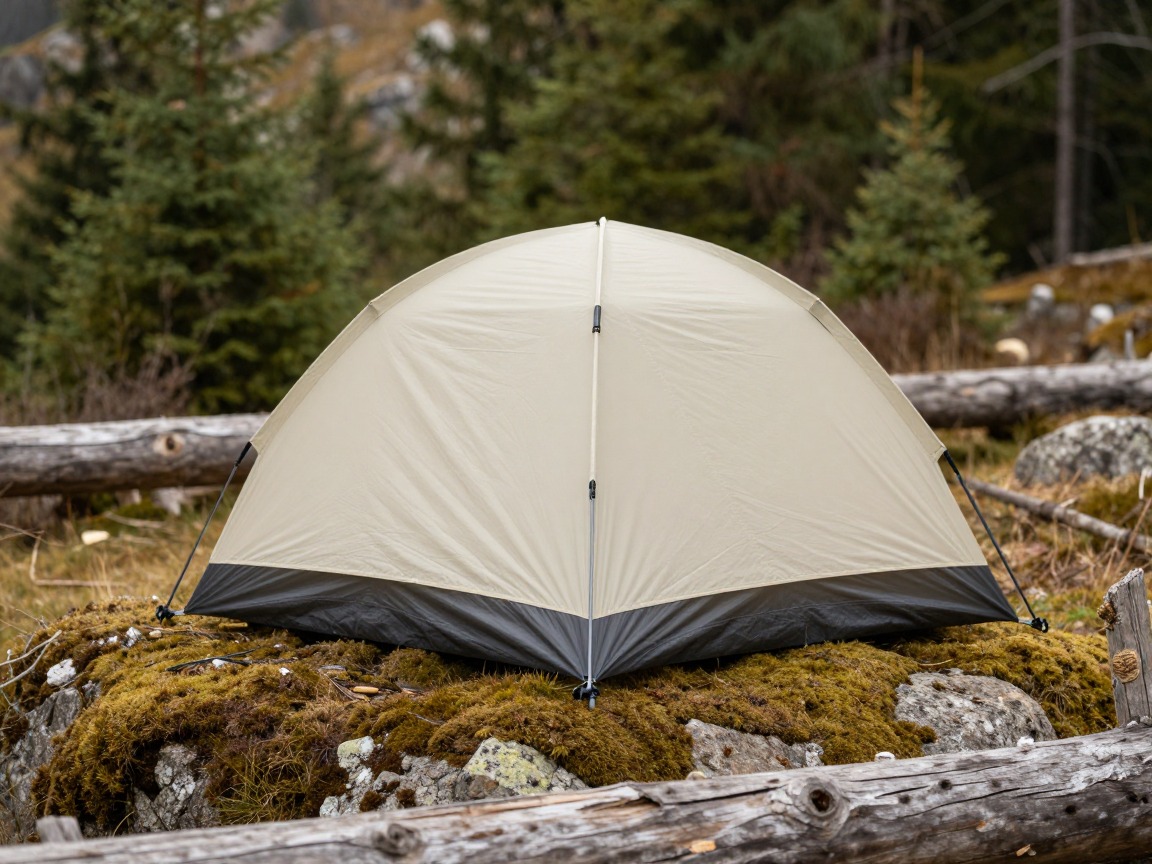
Backpacking tent
Your home base, pitched well back from game trails and water sources — for your safety and so you're not camped in an animal's route.
What to look for: A freestanding two-person tent that pitches easily in low light, a full-coverage fly, and a packed weight around 2–4 lb.
 Night Cat 2-Persons Backpacking Tent: Waterproof Lightweight Camping Check price
  BISINNA 2/4 Person Camping Tent Lightweight Waterproof Backpacking T Check price
  Forceatt Tent for 2 Person is Waterproof and Windproof Check price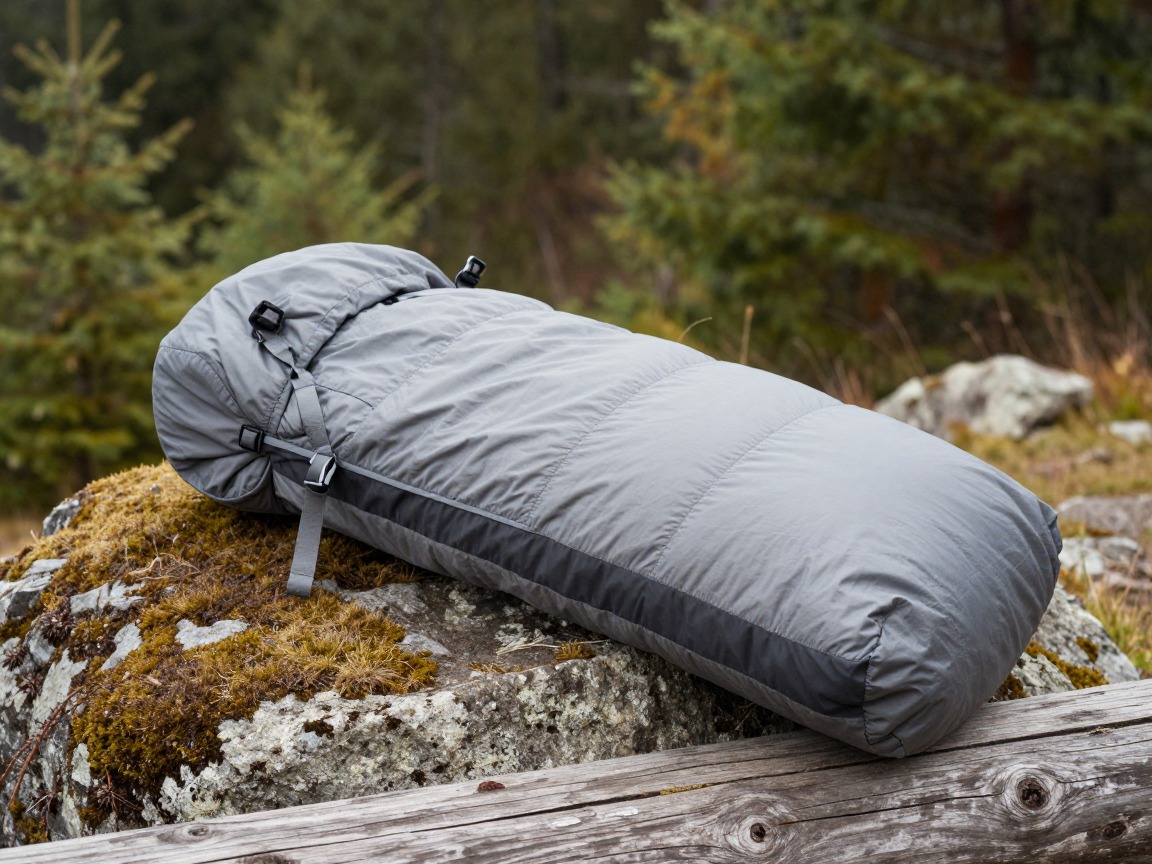
Sleeping bag
Rated a little below the expected overnight low; a cold night that cuts your sleep short makes it harder to get up for first light.
What to look for: A comfort rating below your expected low, not the survival rating, with a good hood and draft collar. Down for weight, synthetic if you expect damp conditions.
 MalloMe Sleeping Bags for Adults Cold Weather & Warm - Backpacking C Check price
 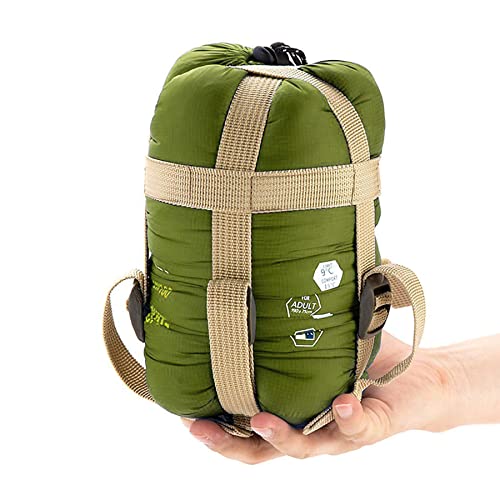 ECOOPRO Portable Check price
  Teton Trailhead Check price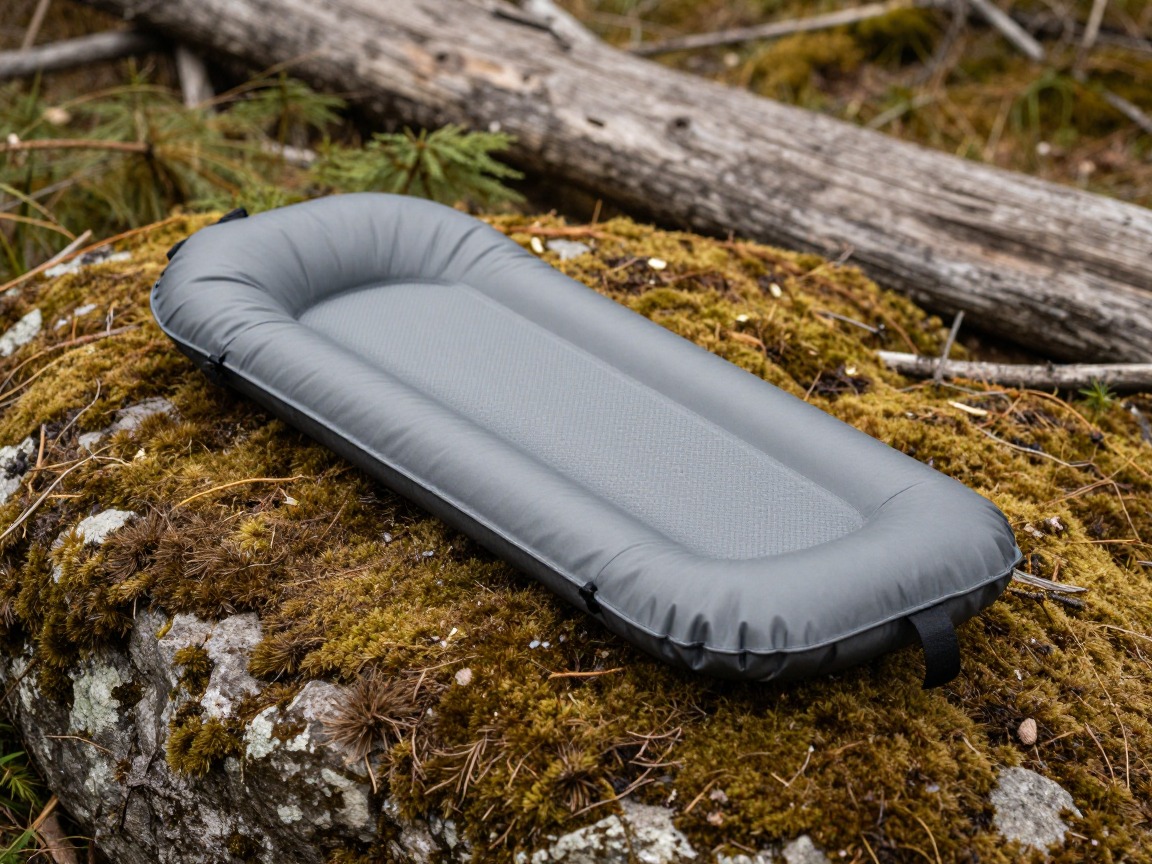
Sleeping pad
Insulates you from the cold ground as much as it cushions you — a cold night defeats the point of camping for the dawn window.
What to look for: Enough R-value for the ground (roughly 3+ for three-season trips) and a quiet fabric — one that crinkles with every shift disturbs an otherwise still camp.
 FUN PAC Camping Sleeping Pad Check price
  Gear Doctors® Ether 17.5oz Ultralight Camping Sleeping Pad Check price
  Oramoose 4in Ultralight Camping Sleeping Pad with Pillow and Foot Pu Check price
 - Stakes & guylines
- Camp pillow (inflatable or stuff-sack)
Food, water & scent discipline
Camping overnight around active wildlife raises the stakes on food storage — a canister or a correct hang isn't optional, it's what keeps your camp safe and keeps animals from learning that people mean food.
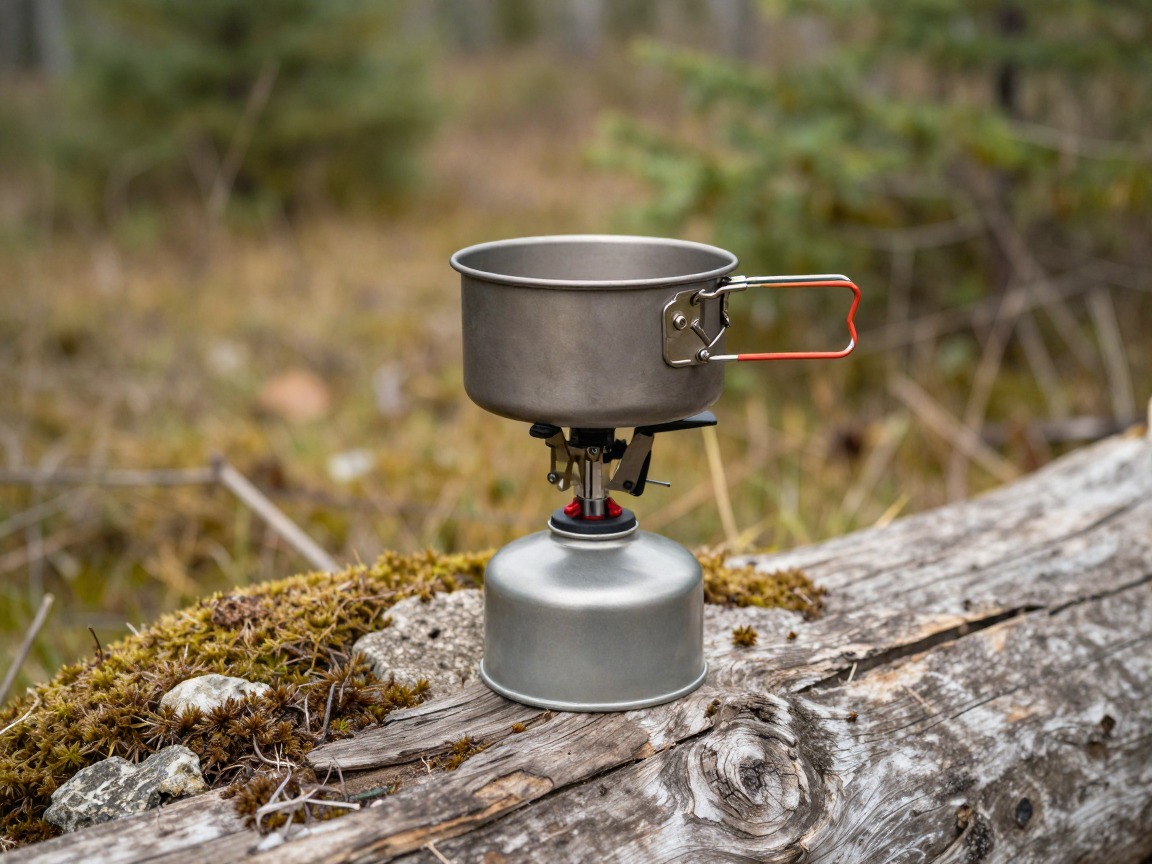
Backpacking stove
A compact canister stove boils water for dinner and a hot drink without an open flame or lingering cooking smells near your tent.
What to look for: A stable canister stove with a fast boil and fuel you can buy near the trailhead. Cook and eat well away from where you'll sleep, every night.
 AOTU Portable Camping Stoves Backpacking Stove with Piezo Ignition S Check price
  MSR PocketRocket 2 Ultralight Camping and Backpacking Stove Check price
  Fire-Maple Greenpeak 1 Camping Stove with Piezo Ignition Portable Ga Check price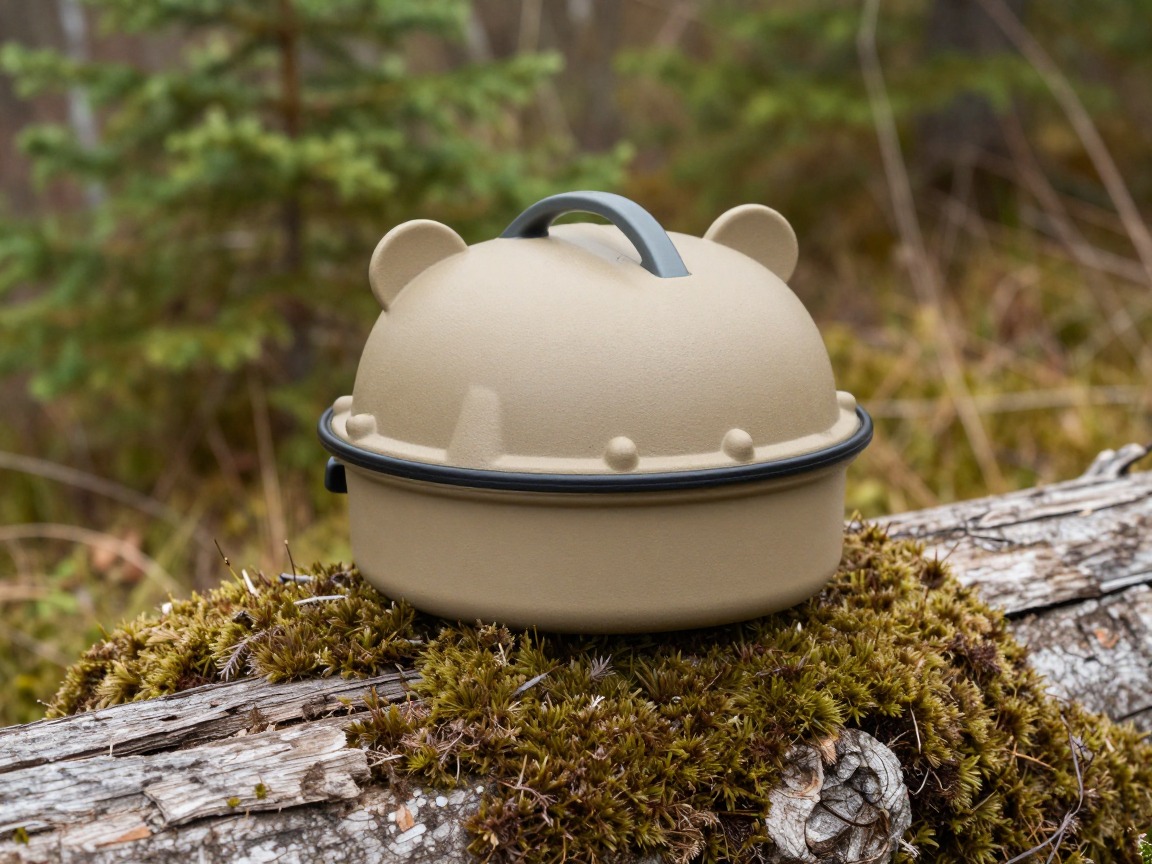
Bear canister
Stores food, trash, and scented items out of reach of anything that comes looking — required in many parks and worth carrying anywhere you're deliberately camping near wildlife.
What to look for: Check your destination's requirement before you go — some areas mandate a hard-sided canister rather than a hang. Size it to fit one trip's food, not just the leftovers.
 BearVault BV450 Jaunt Portable Bear Canister for Backpacking - Mediu Check price
  BearVault BV425 Sprint Portable Bear Can - Small Check price
  Bear Canister for Backpacking Check price
 - Pot, mug & spork
- A way to treat water — filter or chemical treatment
- Food and snacks planned for low-mess eating away from your tent
- Confirm the required food-storage method for your destination before you leave
Muted clothing & layers
What you wear either lets you fade into the landscape or announces you well before you're close enough to see anything — muted colors and quiet fabrics matter as much as warmth.

Quiet base layer
A soft, non-rustling layer in muted greens, browns or grays keeps you from standing out against the terrain you're watching.
What to look for: Earth tones over bright colors or white, a soft-finish fabric that doesn't swish with each step, and enough wicking for long stretches of sitting still.
 100% Merino Wool Base Layer Men Set - Thermal Underwear for Men Long Check price
  Merino.tech Merino Wool Base Layer Women Set - Heavyweight Check price
  100% Merino Wool Base Layer Men Set - Thermal Long Underwear with Ba Check price
Warm layer for standing watch
Wildlife watching means long stationary stretches at the coldest parts of the day, so you'll wear this far more than on a moving hike of the same length.
What to look for: More warmth than you'd pack for constant movement, in a muted color rather than anything bright, and packable enough that you'll actually bring it to a pre-dawn spot.
 Outdoor Ventures Women's Packable Lightweight Puffer Jacket with Hoo Check price
  Amazon Essentials Women's Lightweight Long-Sleeve Water-Resistant Pa Check price
  Outdoor Ventures Women's Packable Lightweight Puffer Jacket with Hoo Check price
Packable rain shell
Weather can turn while you're sitting still for an hour at a lookout — a quiet shell means a passing shower doesn't end the watch early.
What to look for: A quiet, non-crinkly fabric in a muted color rather than a loud, reflective shell, packed small enough that it's always in the pack.
 UIQUR Mens Rain Jacket Raincoat Waterproof Windbreaker Black L Check price
  COOFANDY Men's Waterproof Hiking Travel Shell Breathable Rain Jacket Check price
  Columbia Womens Arcadia II Waterproof Rain Jacket Check price
 - Muted-color sun hat or beanie for cold, early starts
- Spare hiking socks and camp clothes
- Quiet-soled shoes rather than anything that squeaks or crunches
Dawn, dusk & patience
Wildlife is most active at first and last light, and good watching is mostly waiting well — a reliable light, a place to sit, and the safety basics matter as much as anything with a lens on it.

Headlamp
Gets you into position before sunrise and back out after sunset — the most-used piece of gear on this trip outside your binoculars.
What to look for: A dim, adjustable low setting so you don't blind your own night vision or startle animals on the walk in, plus a red-light mode for a stakeout.
 LHKNL Headlamp Flashlight Check price
  Lepro LED Headlamp Rechargeable IPX4 Waterproof Headlight 5 Modes - Check price
  Energizer LED Headlamp PRO Check price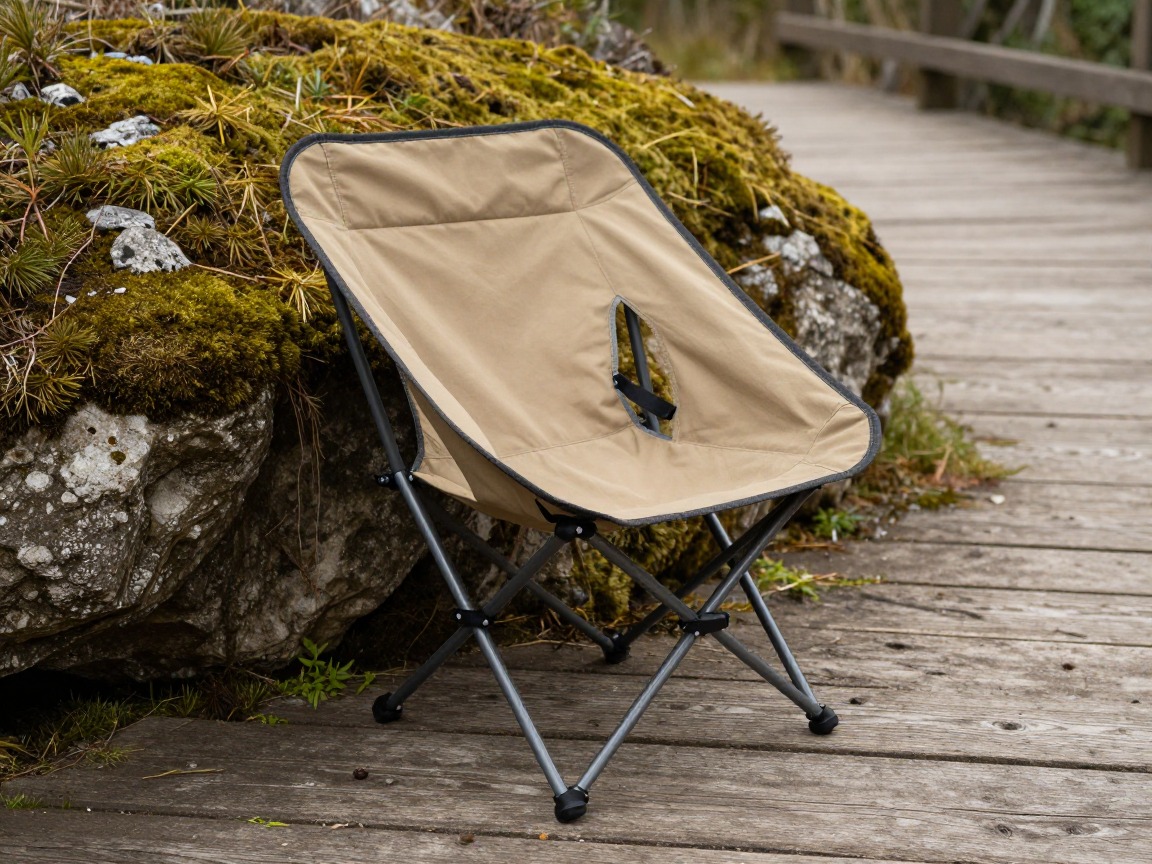
Sit pad or camp stool
A low, packable seat turns a damp log or cold ground into a spot you're happy to hold for as long as it takes for something to show up.
What to look for: Light enough that you'll actually carry it, enough insulation from cold or wet ground, and quick to set down and pack away without noise or fuss.
 ONETIGRIS Tigerblade Camping Chair Check price
  ONETIGRIS Tigerblade Camping Chair Check price
  MOON LENCE Portable Camping Chair Backpacking Chair - The 4th Genera Check price
First-aid kit
A fuller kit than a day hike, since you're overnight and farther from help if something goes wrong.
What to look for: Blister care, wound cleaning, your own regular medication, and a small repair kit, matched to how far you actually are from help.
 Mini First Aid Kit - 150 Piece Small Waterproof EVA Hard Shell Case Check price
  Adventure Medical Kits Ultralight/Watertight Medical Kit .5 Check price
  211 PCS Waterproof First Aid Kit Check price
 - Map + compass or GPS (offline), plus land-manager alerts on wildlife activity
- Trekking poles for quiet, controlled footing
- Satellite messenger in remote bear or predator country
- Whistle, and a plan for a close-range encounter
- Phone silenced, camera shutter sound off
- Toilet kit — trowel, TP, waste bags (Leave No Trace)
How to adapt this setup
Confirm the required food-storage method before you go — canister, locker, or a correct hang — and cook and eat well away from your tent every night.
Add a spotting scope and a lightweight tripod — open terrain rewards glassing at real distance far more than getting closer on foot.
Lean on your ears and a slower pace as much as your binoculars, and expect shorter sightlines — patience does more work than optics here.
Add a warmer insulating layer, gloves, and a hat, and lean on a hot drink at the stakeout — you'll be sitting still through the coldest part of the day.
Keep the group small and the noise budget thin — fewer conversations, softer footfalls, and a shared plan to freeze and watch rather than point and talk.
Common mistakes to avoid
- Approaching for a closer look or a photo instead of using optics to close the distance.
- Feeding wildlife, even by accident through careless food storage — it teaches animals people mean food.
- Skipping food storage because 'it's just one night' — scent discipline keeps camp and animals safe.
- Bright colors or noisy fabrics that announce you before you're close enough to see anything.
- No headlamp, or one bright enough to wash out your own night vision on the walk in.
- Not checking land-manager rules on closures or the required food-storage method beforehand.
Make it yours
Frequently asked questions
What should I pack for a wildlife-watching backpacking trip?
A standard weekend overnight system — pack, tent, sleeping bag and pad — plus binoculars, muted quiet clothing, a bear canister or approved food storage, a sit pad for waiting, and a headlamp for dawn starts. Confirm your destination's specific wildlife and food-storage rules before you go.
How close is too close to wildlife?
Follow the distance guidance posted for your specific park or forest — it varies by species and location. As a general rule, if an animal changes its behavior because of you, you're already too close; back away and watch from farther out with binoculars instead.
Do I need a bear canister for an overnight trip?
Check the rules for your specific destination — many parks and forests require a hard-sided canister or an approved locker. Where it's not required, a correct counterbalance hang is the alternative, planned before dark, not improvised at camp.
What's the best time of day to see wildlife while backpacking?
Dawn and dusk are typically the most active windows for most species, which is the main reason to camp overnight rather than day-trip. Camping puts you in position for both without an early drive in the dark.
Is it okay to feed wildlife to get a closer look?
No — feeding wildlife, even accidentally through careless food storage, teaches animals to approach people, which is dangerous for both and often ends badly for the animal. Keep a respectful distance and let optics do the work instead.
Illustrative images show the type of gear, not specific products. Recommendations link to similar items on Amazon; we only ever link real listings and never show fabricated prices or ratings. General planning guidance, not a substitute for your own judgment or professional backcountry-safety instruction.