
The sub-zero extreme-cold setup
Sub-zero extreme cold is where a well-built winter backpacking kit gets pushed to its outer edge: temperatures well below 0°F, where a soaked base layer or a dead stove can turn dangerous in under an hour. This setup covers the expedition-grade sleep system, insulation and cold-proofing that trip demands, built for backpackers already solid on standard winter overnights.

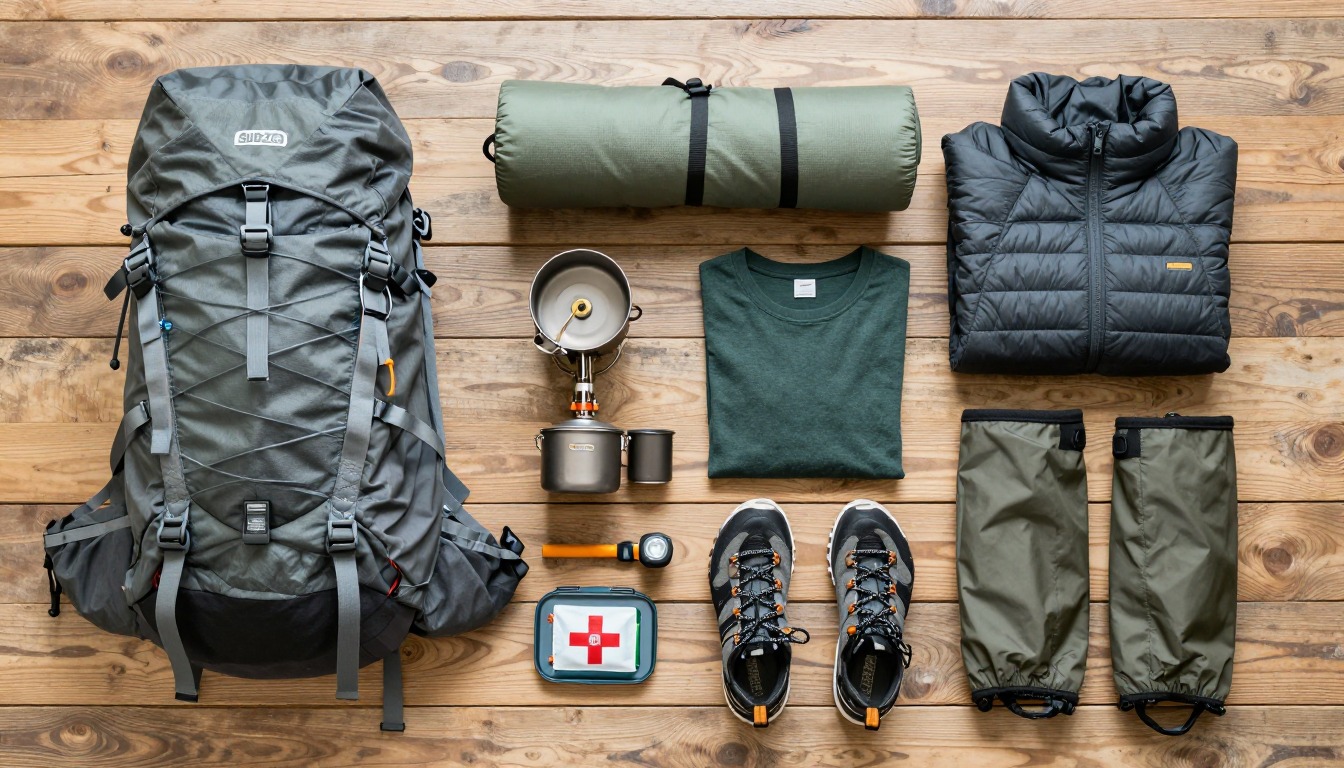
An extreme-cold kit isn't winter backpacking with a colder number attached — it's a different standard of margin. Every piece gets upgraded: the bag rated deep into sub-zero territory, pads stacked rather than single, and a full expedition insulation system built around an oversized belay parka you can throw on the moment you stop moving. Vapor management stops being a nice-to-have and becomes central, since at these temperatures damp insulation doesn't just lose warmth — it can turn dangerous fast. Redundancy and conservative decision-making run through every choice, because well below 0°F, small mistakes cost far more than on an ordinary winter night.
This setup suits backpackers already fully comfortable with standard winter backpacking on marked, non-avalanche terrain, now stepping deliberately into genuinely severe cold — well below 0°F, not just a frosty night. It's not the place to build basic winter competence; that comes first, on milder trips. And it's never a substitute for avalanche education: any avalanche-exposed route needs formal avalanche training, a beacon, shovel and probe, and a partner trained to use all three.
- Build the sleep system to a genuinely deep cold rating first, then stack pads for combined R-value — this system can't run short on margin.
- Build a full expedition insulation system around an oversized belay parka sized to go over every other layer, adding real warmth in seconds at any stop.
- Plan vapor-barrier strategy from the start — bag, feet, and often torso — so days of sweat don't slowly wet out the insulation you're relying on.
- Treat fuel, batteries and water as things that want to freeze, and build habits — sleeping with them, keeping them against your body — that keep them working.
About this setup
Sub-zero extreme cold isn't a bigger number tacked onto a standard winter trip — it's a genuinely different environment. Below a certain point, a soaked base layer, a stove that won't fire, or hesitating too long on a decision stop being inconveniences and start being the beginning of a real emergency. That's why this setup exists as its own thing, not a slightly heavier version of standard winter backpacking: every system here carries deliberate, deep margin, because at these temperatures margin is what keeps a hard trip from becoming a dangerous one.
The differences from a standard winter kit are real, not cosmetic. The sleeping bag and pads get rated well beyond what a normal winter night needs, since cold at this depth steals heat far faster than a milder night ever will. A full expedition insulation system, built around an oversized belay parka, replaces the lighter puffy that's fine for a typical winter overnight. Vapor management — a liner in the bag, and often vapor barrier clothing too — moves from a nice-to-have to a core strategy, since insulation that slowly wets out over several days here doesn't just lose warmth, it can put you in real trouble. Fuel, batteries and even filtered water all need active management just to keep working.
One boundary matters above everything else here: this kit is built for marked, non-avalanche terrain. Avalanche country is an entirely separate discipline, requiring formal avalanche training, a beacon, shovel and probe, and a partner trained to use all three. No amount of insulation or redundancy replaces that education — if a route carries any avalanche exposure, get the training first, and treat conservative decision-making, turning back early, adding a margin day, as part of the kit itself.
The pack
An expedition sleep system, doubled pads and a full insulation layer take real volume before they take real weight — most sub-zero setups land at 65 L or larger.
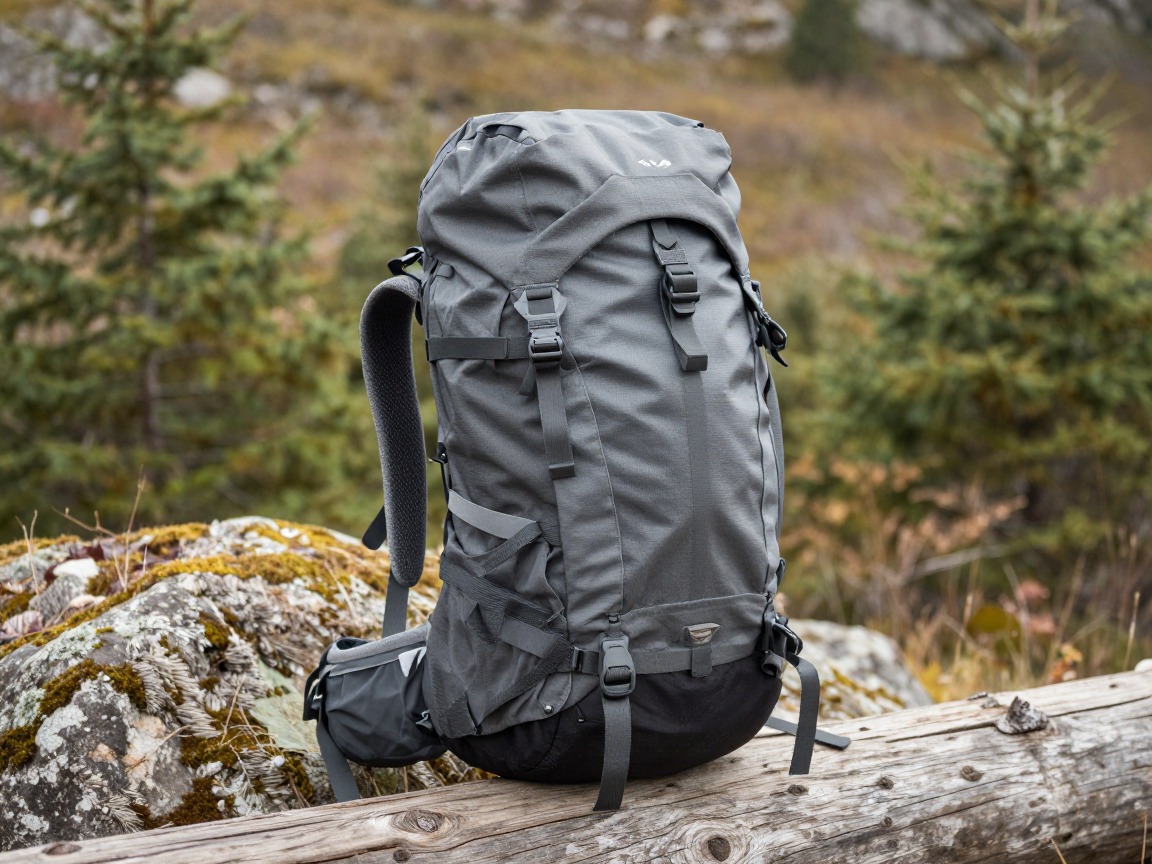
Expedition pack
A large-capacity pack has to swallow a deep-cold sleeping bag, stacked pads, a belay parka and extra fuel, with room left for the food a cold trip burns through.
What to look for: 65 L or more, external straps or loops for snowshoes and a shovel, and closures you can run with mittens on — small buckles and toggle zippers are a genuine liability at these temperatures.
 WoneNice 50L Check price
  Teton 55L Scout Internal Frame Backpack for Hiking Check price
 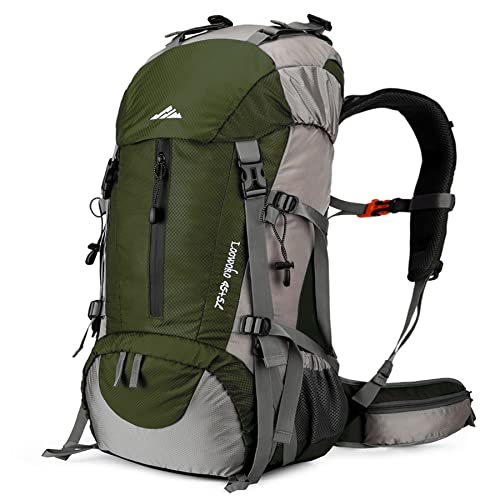 Loowoko 50L Hiking Backpack with Rain Cover for Both Men & Women Check price
 - A full pack liner or heavy-duty dry bag, since snow and spindrift work into a pack exactly like rain does
Shelter
A shelter that can genuinely hold up to sustained sub-zero wind and snow load isn't optional here — it's the difference between a hard trip and an emergency.
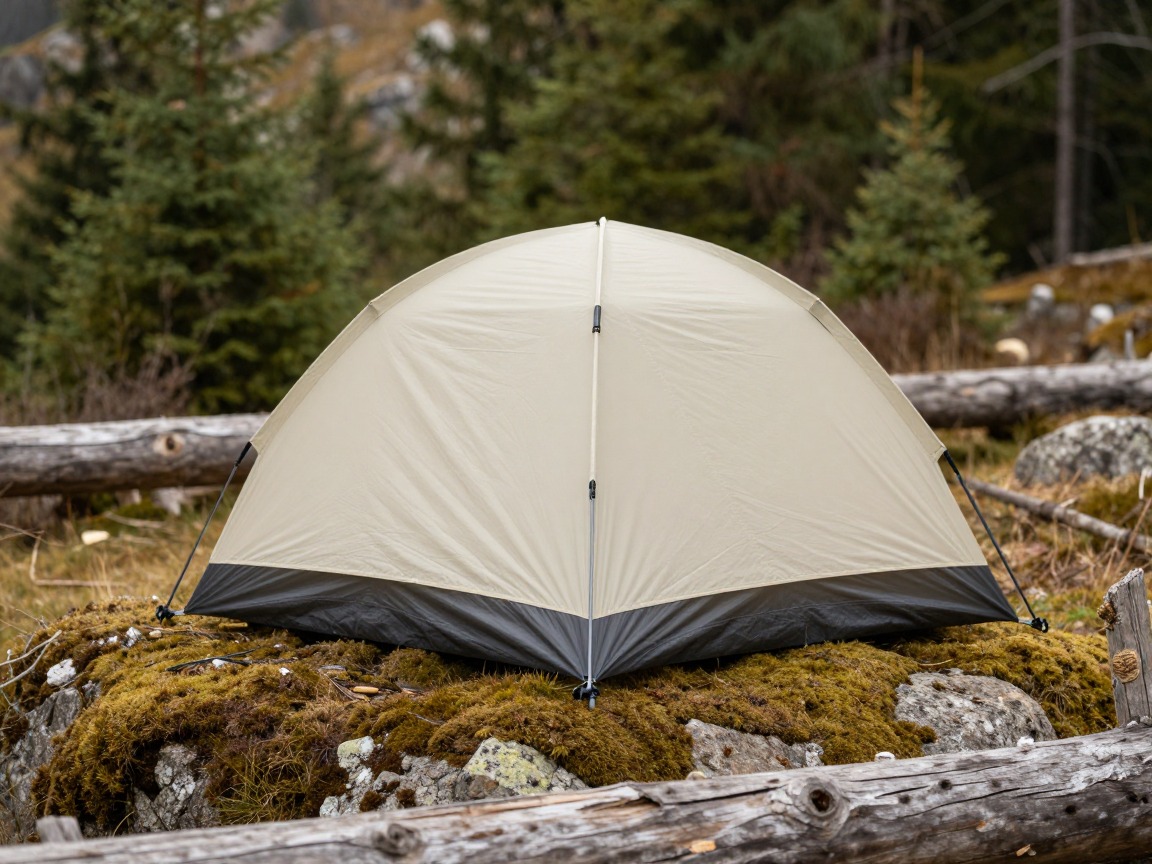
4-season expedition tent
A mountaineering-grade tent with a robust pole structure and a fly that reaches the ground sheds snow load and holds its shape in wind that would collapse a lighter three-season design.
What to look for: A true 4-season or expedition-rated design, sturdy pole geometry, and enough adjustable venting to manage the heavy condensation a sealed-up tent produces at these temperatures.
 Night Cat 2-Persons Backpacking Tent: Waterproof Lightweight Camping Check price
  BISINNA 2/4 Person Camping Tent Lightweight Waterproof Backpacking T Check price
  Forceatt Tent for 2 Person is Waterproof and Windproof Check price
 - Snow stakes, deadman anchors, or skis and poles buried as anchors — normal stakes rarely hold in this kind of snow
- A shovel to build a wind-sheltered platform and, ideally, a windbreak wall
- Heavier or doubled guylines, since wind loading is a real hazard here, not a minor inconvenience
Sleep system
This is the system with zero room for shortcuts. Rate everything with real margin — comfort ratings for a summer trip and even standard winter gear both fall short here.
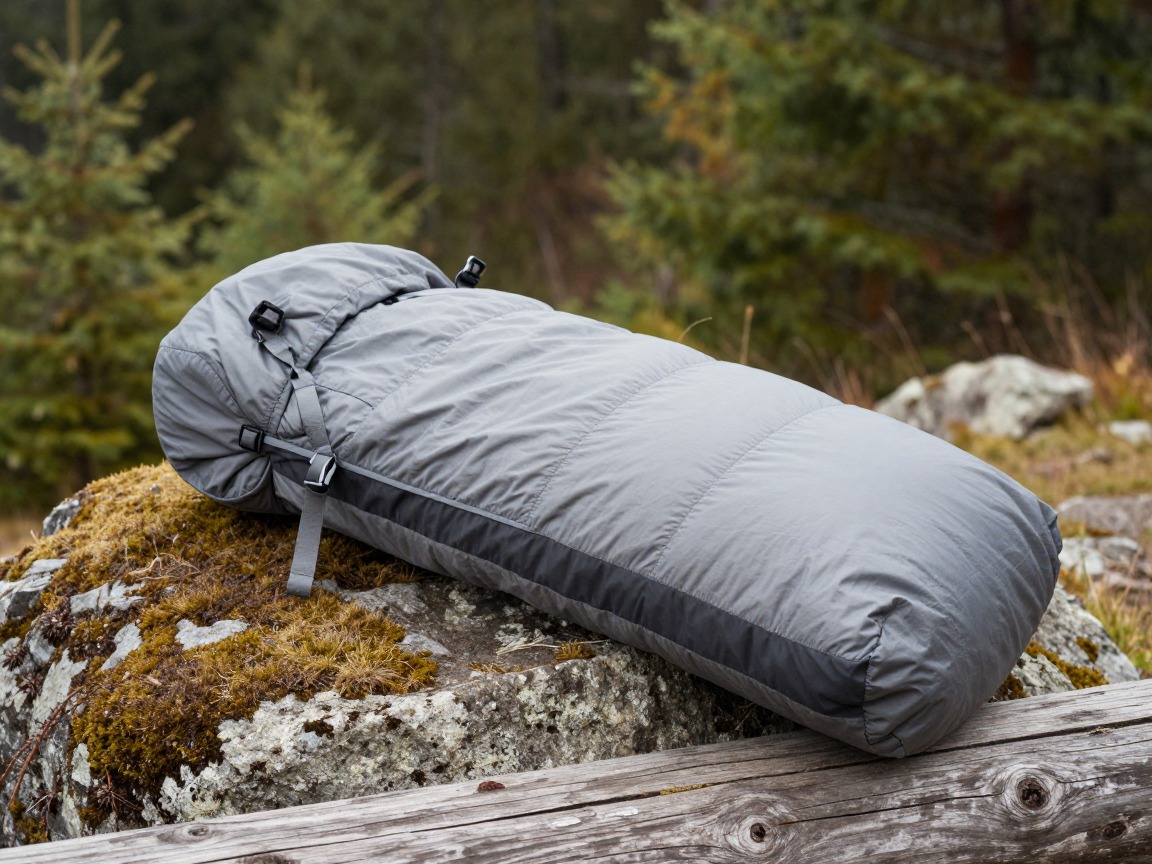
Expedition sleeping bag
An expedition-rated bag, built with a genuinely deep comfort rating and a fuller hood and draft collar, is the core piece of the entire kit — everything else exists to support it.
What to look for: A comfort rating with real margin below the coldest night on your forecast, not a survival rating. Down still gives the best warmth for the weight, provided it's kept genuinely dry.
 MalloMe Sleeping Bags for Adults Cold Weather & Warm - Backpacking C Check price
 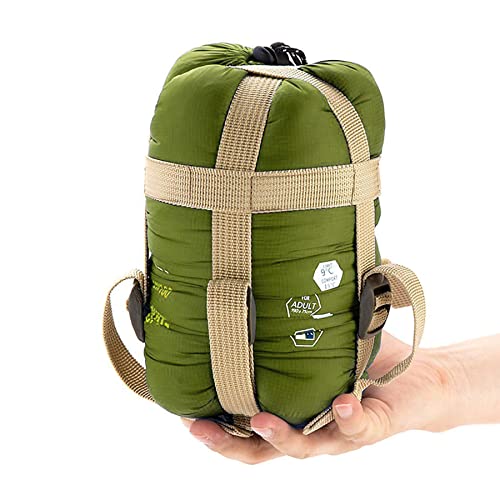 ECOOPRO Portable Check price
  Teton Trailhead Check price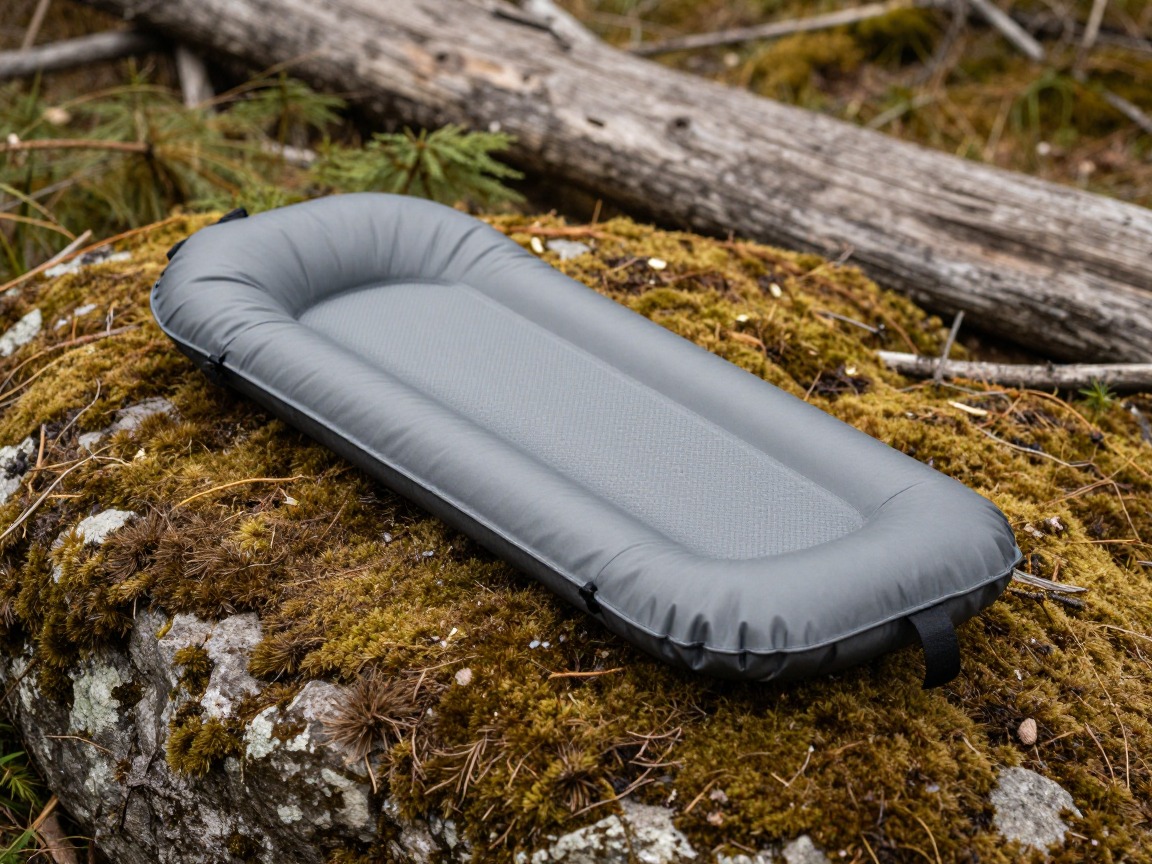
Doubled sleeping pads
Two pads stacked — typically a closed-cell foam pad under an inflatable — insulate against frozen ground far better than either one alone, and give you a working backup if the inflatable fails.
What to look for: A combined R-value well beyond what a standard winter pad offers; treat the foam pad as a genuine backup, not a redundancy you'll never need.
 FUN PAC Camping Sleeping Pad Check price
  Gear Doctors® Ether 17.5oz Ultralight Camping Sleeping Pad Check price
  Oramoose 4in Ultralight Camping Sleeping Pad with Pillow and Foot Pu Check price
 - A vapor barrier liner inside the bag, so days of sweat and breath moisture don't slowly wet out the down or synthetic fill
- A pee bottle, clearly marked, so nobody leaves a warm bag in the middle of the night
- A sleeping bag liner or overbag for genuinely extreme nights, adding margin without adding a second full bag
Kitchen & water
Cold fights you on three fronts here: stoves lose power, filters crack when frozen, and melting snow for every drop of water burns real fuel.
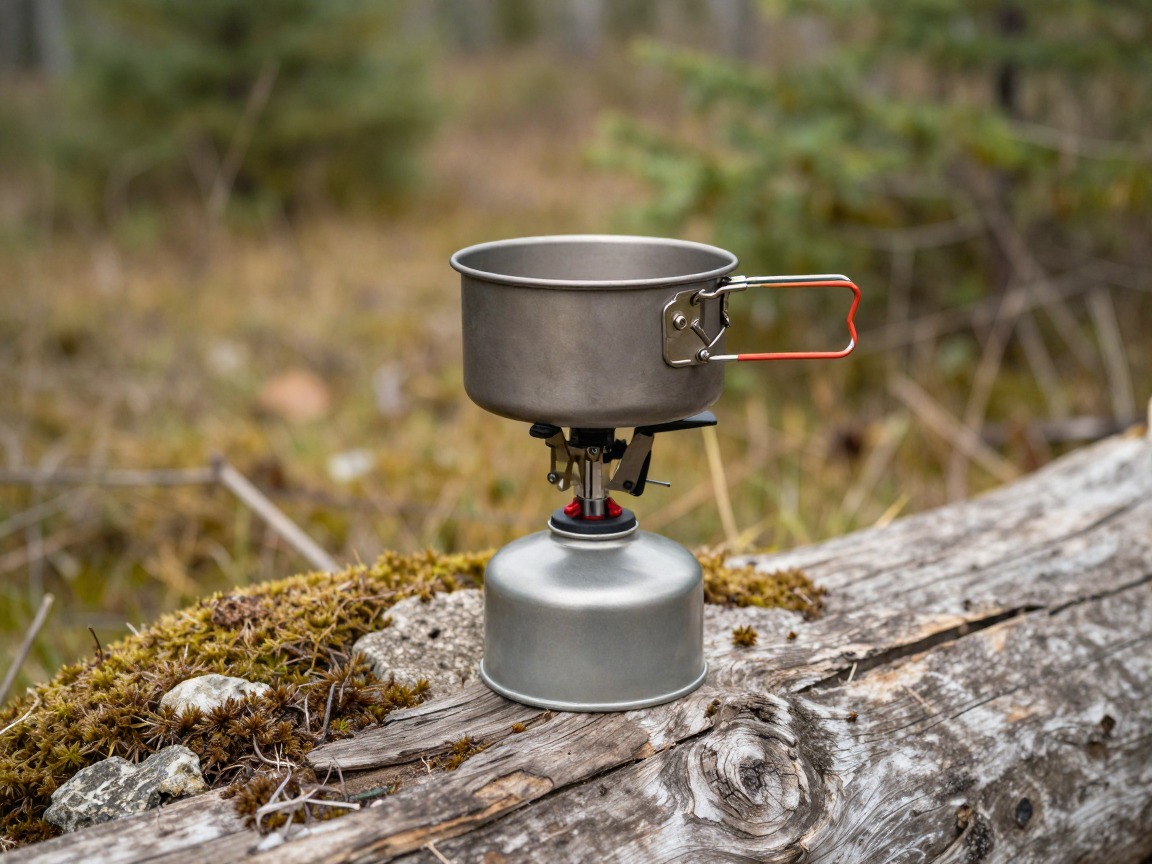
Expedition stove
A liquid-fuel expedition stove keeps performing regardless of temperature, where a canister stove can lose pressure and sputter as the canister itself gets cold.
What to look for: A liquid-fuel design built for sustained cold-weather use, or a canister stove paired with an inverted-canister setup and a habit of keeping spare canisters warm against your body.
 AOTU Portable Camping Stoves Backpacking Stove with Piezo Ignition S Check price
  MSR PocketRocket 2 Ultralight Camping and Backpacking Stove Check price
  Fire-Maple Greenpeak 1 Camping Stove with Piezo Ignition Portable Ga Check price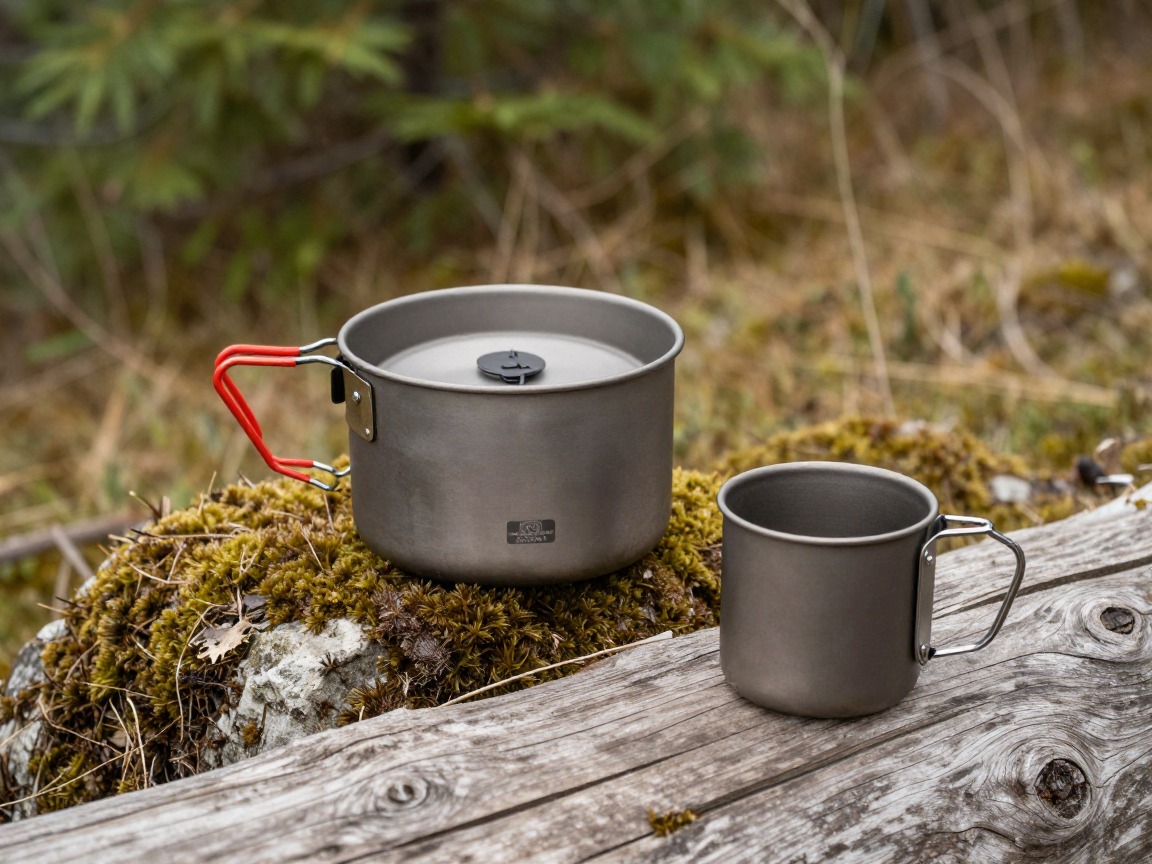
Snow-melting pot
Melting snow for all your water takes noticeably longer and burns more fuel than heating water you already have, so a slightly oversized pot with a tight lid earns its keep fast.
What to look for: A pot larger than your standard winter choice, a lid that seals well to trap heat, and a light, durable metal like titanium or aluminum.
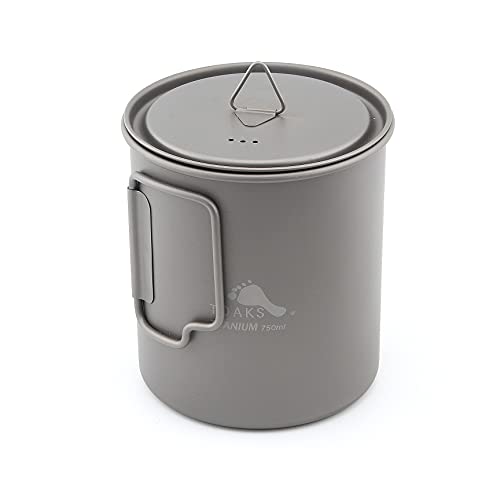 TOAKS Titanium 750ml Pot Check price
  TOAKS Titanium 750ml Pot with Bail Handle for Ultralight Camping Check price
  TOAKS Titanium 1100ml Pot with Pan Check price
 - More fuel than a standard winter trip — melting all your water from snow adds up fast
- A firm plan for a water filter that can freeze solid: sleep with it, or skip filtering altogether and melt or boil snow instead
- An insulated bottle carried upside-down, plus a thermos for something hot at camp
- Extra calorie-dense food — your body burns significantly more just staying warm at these temperatures
Clothing & the expedition insulation system
This isn't a heavier version of a normal winter layering system — it's a complete system built around one oversized piece that changes everything at rest stops.

Heavyweight base layer
A heavyweight merino or synthetic base layer, worn with a genuine vapor-barrier strategy on longer trips, keeps working through days of sustained cold — cotton has no place anywhere near this kit.
What to look for: Heavyweight merino or a synthetic built for sustained cold, plus a completely dry set kept only for sleeping in.
 100% Merino Wool Base Layer Men Set - Thermal Underwear for Men Long Check price
  Merino.tech Merino Wool Base Layer Women Set - Heavyweight Check price
  100% Merino Wool Base Layer Men Set - Thermal Long Underwear with Ba Check price
Expedition belay parka
An oversized belay parka goes over your shell and every mid-layer beneath it, so the moment you stop moving you can add a huge amount of warmth in seconds without undressing.
What to look for: Genuinely oversized — sized to fit over your full layering system without compressing it — with a heavily insulated hood and closures you can manage with thick gloves or mittens on.
 Outdoor Ventures Women's Packable Lightweight Puffer Jacket with Hoo Check price
  Amazon Essentials Women's Lightweight Long-Sleeve Water-Resistant Pa Check price
  Outdoor Ventures Women's Packable Lightweight Puffer Jacket with Hoo Check price
Hardshell
A genuinely waterproof, windproof hardshell blocks wind-driven snow while you're moving and layers underneath the belay parka once you stop.
What to look for: A durable, fully waterproof and windproof shell with a helmet-compatible hood that seals over a warm hat, sized to layer over serious insulation without restricting movement.
 UIQUR Mens Rain Jacket Raincoat Waterproof Windbreaker Black L Check price
  COOFANDY Men's Waterproof Hiking Travel Shell Breathable Rain Jacket Check price
  Columbia Womens Arcadia II Waterproof Rain Jacket Check price
 - Vapor barrier clothing (liner socks, a VBL shirt) for multi-day trips, so sweat stops soaking into insulation you can't dry out in the field
- Expedition-weight mittens over liner gloves, plus spares of every glove layer
- Insulated camp booties and extra wool socks for the moment you stop moving
- A face-covering layer — balaclava or heavy buff — plus goggles for wind and glare
Traction & flotation
The same traction and flotation any winter trip needs, matched to genuinely cold, often harder-frozen snow and ice.
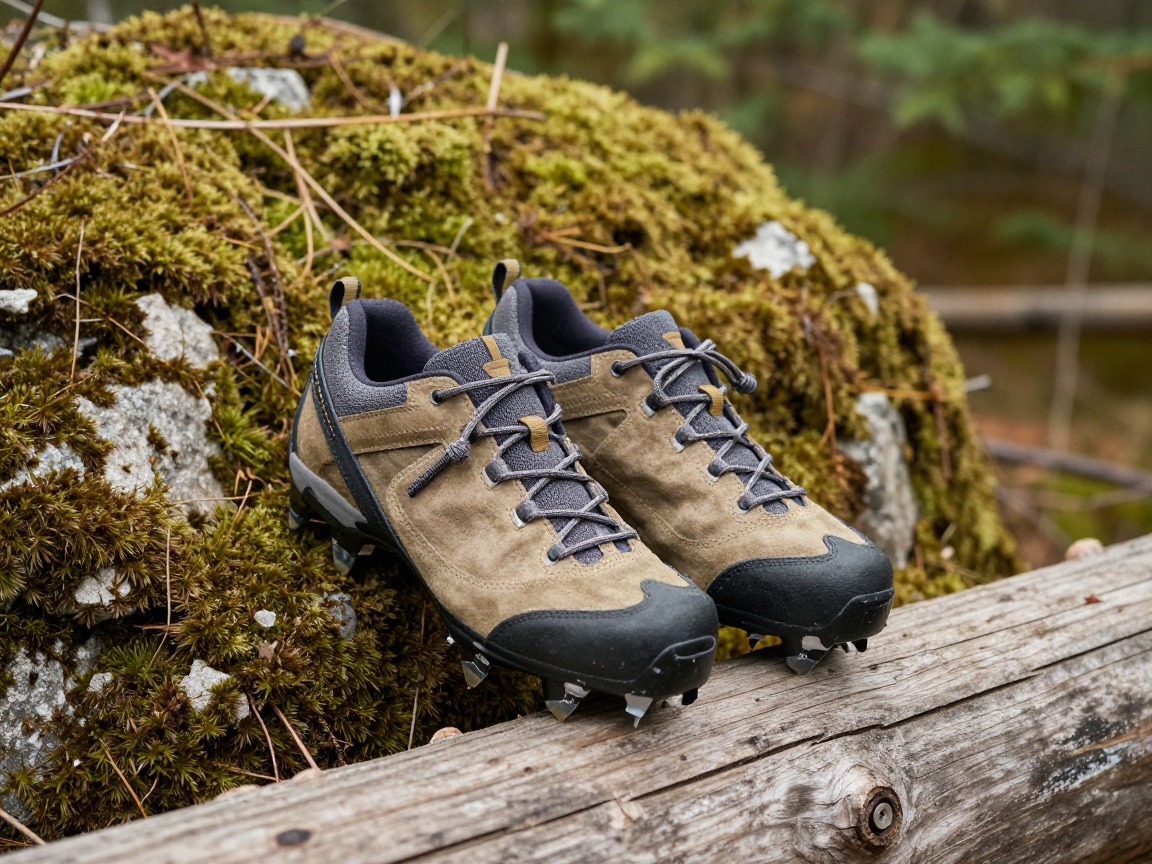
Crampons or microspikes
Traction matched to the actual terrain — microspikes for packed trail snow, crampons (with real training) for anything steep, icy or wind-hardened.
What to look for: Crampons and the training to use them if your route has any steep or firm snow; otherwise sturdy microspikes. Confirm compatibility with your boots before you rely on either in the field.
 Kahtoola MICROspikes Footwear Traction for Winter Check price
 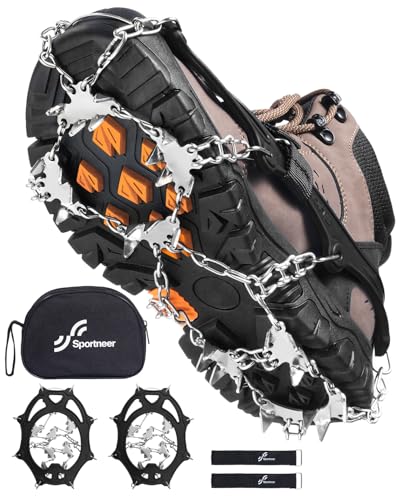 Sportneer Crampons: Ice Cleats for Shoes and Boots with 28 Spikes - Check price
  Kahtoola MICROspikes Footwear Traction for Winter Check price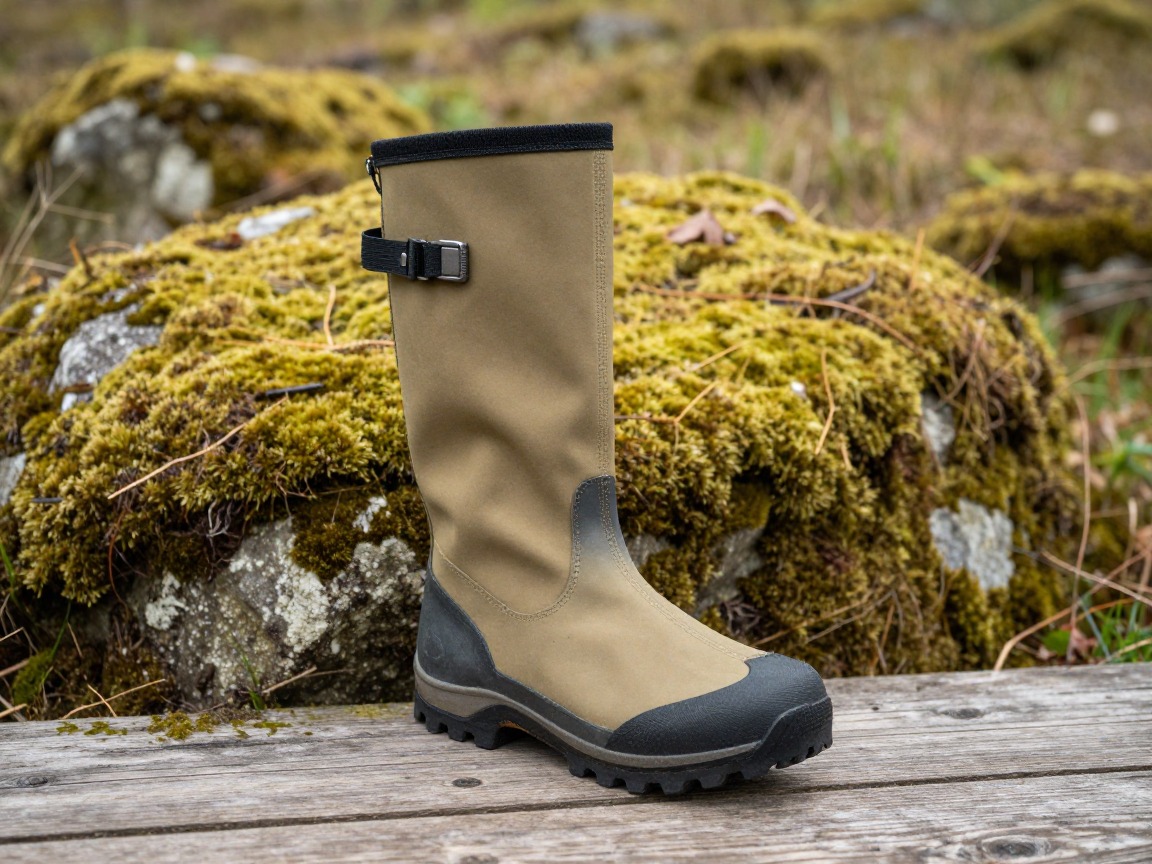
Insulated gaiters
Tall, waterproof gaiters keep snow and spindrift out of your boots on a trip where a wet boot has little real chance to dry out overnight.
What to look for: Waterproof and tall enough to fully seal over the boot cuff, with a durable instep strap built to survive repeated days in deep or crusted snow.
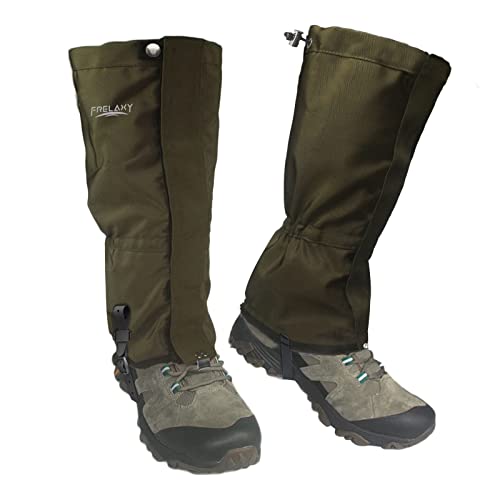 Frelaxy Leg Gaiters 100% Waterproof Hiking Gaiters Check price Frelaxy Ultra High-Performance Hunting Gaiters Check price
 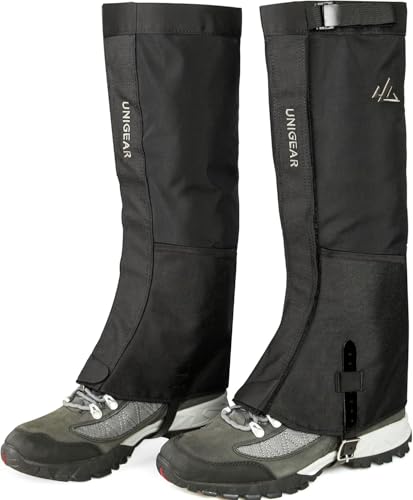 Unigear Leg Gaiters Check price
 - Snowshoes for deep or unbroken snow
- An ice axe and the training to self-arrest, for steep or firm terrain
Navigation, light & safety
Redundancy matters most here — you're deliberately further from help, in conditions that punish even small mistakes quickly. Build in backups and a genuinely conservative turnaround plan.

Headlamp
Long winter darkness means real camp chores happen by headlamp; carry a bright one and lithium batteries, which hold their charge far better than alkalines in deep cold.
What to look for: Bright output, a secure over-hat fit, a red mode for camp, and lithium batteries — or a plan to keep a rechargeable light warm against your body overnight.
 LHKNL Headlamp Flashlight Check price
  Lepro LED Headlamp Rechargeable IPX4 Waterproof Headlight 5 Modes - Check price
  Energizer LED Headlamp PRO Check price
First-aid kit
A kit scaled to a multi-night trip well beyond easy help, built around recognizing the early signs of frostbite and hypothermia in yourself and your partners and getting to safety, not treating them in the field.
What to look for: Cold-specific basics, your own regular medications, and a way to keep supplies from freezing. Know the early warning signs of frostbite and hypothermia, and have a clear, conservative plan to turn back or call for help the moment you see them.
 Mini First Aid Kit - 150 Piece Small Waterproof EVA Hard Shell Case Check price
  Adventure Medical Kits Ultralight/Watertight Medical Kit .5 Check price
  211 PCS Waterproof First Aid Kit Check price
 - Map and compass — screens and fingers both fail fast in deep cold
- A satellite messenger or personal locator beacon; at these temperatures and this far from help, it isn't optional
- A fire-starting kit that works cold and wet
- Extra batteries and a power bank, kept warm inside your jacket or sleeping bag
- Avalanche beacon, shovel and probe — and the formal avalanche training to use them — for any route that enters avalanche terrain
- A detailed itinerary and a firm turnaround time left with someone at home, with a bias toward turning back early
How to adapt this setup
A single night can get by with careful pad and bag choices; add a full extra night or more and vapor-barrier strategy, extra fuel and dry backup layers stop being optional.
Wind strips heat far faster than still cold air. Prioritize a stronger tent, a wind-sheltered site, and a belay parka you genuinely trust over marginal savings in weight.
Push every number further: a deeper-rated bag, a second pad, more insulation, and stricter fuel, water and battery discipline — and lower your turnaround threshold to match.
This moves the trip into mountaineering territory: crampons, an ice axe, and mandatory formal avalanche training with a beacon, shovel and probe. Get the education and the partner first — no gear list substitutes for it.
A group shares some redundancy, like a second stove or shared warmth, but solo travel demands even more conservative turnaround decisions and a detailed plan left with someone at home.
Common mistakes to avoid
- A sleeping bag or pad system rated for standard winter, not genuinely deep sub-zero cold — the single most common way this kind of trip goes wrong.
- Skipping vapor-barrier strategy on a multi-night trip and finding your insulation slowly wetted out and losing warmth by the second or third day.
- A canister stove with no cold-weather plan, left to fail when the canister itself gets too cold to build pressure.
- Undersizing the belay parka so it won't fit over your full layering system, losing the fastest way to add serious warmth at a stop.
- Underestimating how much extra fuel, food and battery power a genuinely cold multi-day trip consumes.
- Pushing into avalanche terrain, or ignoring early frostbite or hypothermia warning signs, instead of making the conservative call to turn back.
Make it yours
Frequently asked questions
What actually separates sub-zero extreme-cold backpacking from standard winter backpacking?
Every system gets pushed further: a sleeping bag and pad rated well beyond a typical winter night, a full expedition insulation system built around a belay parka, an active vapor-barrier strategy, and firm habits that keep fuel, water and batteries from freezing. The overall approach also shifts toward much more conservative decision-making, since the cost of a small mistake is higher.
Do I need a vapor barrier liner for this kind of trip?
For anything beyond a single overnight, yes — it's one of the defining pieces of this kit. Days of sweat and breath moisture will slowly wet out a sleeping bag's insulation in deep cold, and a liner, in the bag and sometimes in clothing too, stops that moisture before it reaches the fill.
Why carry an oversized belay parka instead of a normal puffy?
A belay parka is sized deliberately large so it goes over your shell and every mid-layer beneath it. That lets you add a large amount of warmth in seconds the moment you stop moving, without undressing first — exactly when you're most at risk of chilling fast.
How do I keep my stove and fuel working in genuinely extreme cold?
A liquid-fuel stove is the most reliable choice, since it isn't affected by canister temperature the way a canister stove is. If you do use a canister stove, keep spare canisters warm against your body and consider an inverted-canister setup, and carry more fuel than you think you'll need.
Is this kind of trip appropriate for someone new to winter backpacking?
No — this setup is built for backpackers already fully comfortable with standard winter backpacking on marked, non-avalanche terrain. Build that foundation first on milder trips. Any route with avalanche exposure additionally requires formal avalanche training, a beacon, shovel and probe, and a trained partner, regardless of experience level.
Illustrative images show the type of gear, not specific products. Recommendations link to similar items on Amazon; we only ever link real listings and never show fabricated prices or ratings. General planning guidance, not a substitute for your own judgment or professional backcountry-safety instruction.