
The spring wildflower hike setup
Spring hiking sits at the seam between winter and summer, and the trail doesn't care which season you packed for. This setup covers the shoulder-of-winter day hike — sun-to-sleet layering, light traction for the snow and ice that linger in the shade, and the etiquette that keeps mud season from wrecking the trail for everyone behind you.

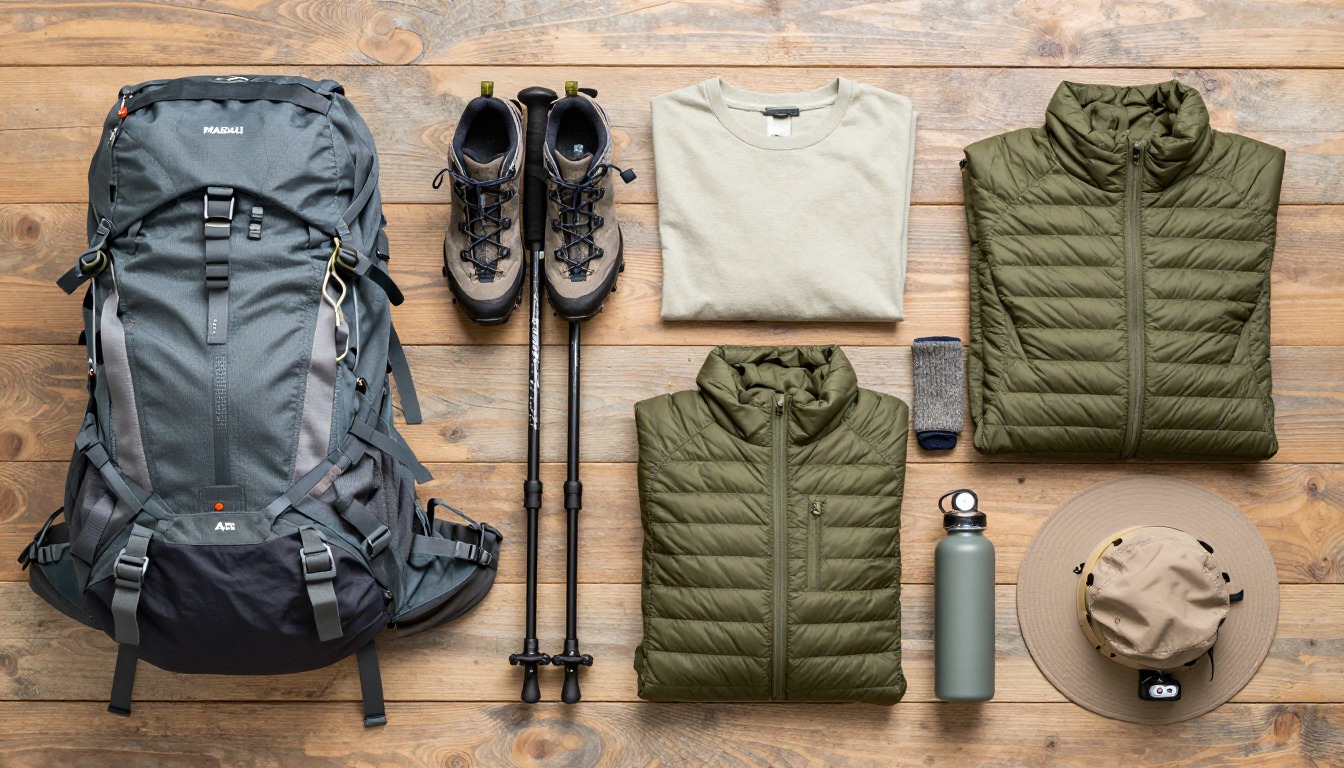
Spring day hikes are built around volatility, not a single set of conditions: the same trail can be dry and sunny at the trailhead, muddy through the mid-elevation forest, and holding packed snow on a shaded switchback near the top. This kit leans into that range — a layering system wide enough to cover a big temperature swing, light traction for lingering ice rather than full winter gear, and a habit of treading carefully on trails that are at their most fragile.
Hikers heading out as trails start to open after winter, on routes that mix bare, muddy ground with patchy snow and ice higher up. If your route still holds continuous, deep snowpack, this isn't the setup — that's winter hiking, with a winter kit and, on anything steep or avalanche-prone, formal training. If a trail is posted closed or clearly too soft to hike without damaging it, the honest move is to pick a different, more resilient route instead.
- Start with a mid-sized daypack and build a layering system for a wide temperature swing, not a single forecast.
- Add light traction and gaiters if any part of your route holds shaded snow or ice, even on days that start warm and muddy at the trailhead.
- Plan creek crossings and soft, muddy sections into your pace — trekking poles and a water filter for treating snowmelt both earn their keep here.
- Check trail conditions before you go, and be ready to turn back or reroute around ground too soft to hike responsibly.
About this setup
Spring hiking has a well-earned reputation for mixed conditions, because it's really three seasons compressed into one trail. You can start in a cold, gray parking lot, sweat through a sunny mid-morning climb, and get pelted with sleet on an exposed ridge — sometimes in the same few hours. That volatility, more than any single hazard, is what a spring kit needs to answer.
Underfoot tells its own story. Snowmelt swells creeks that were a rock-hop in summer into something needing real care to cross, and turns long stretches of low-lying or shaded trail into standing mud. Higher up, packed snow and ice can linger for weeks after the trailhead has fully thawed — not enough to justify a winter setup, but enough that light microspikes earn their small weight.
Mud season is also when trails are most vulnerable, and how you hike through it matters. Walking straight through a muddy section keeps the trail narrow; stepping around it to keep your boots clean widens the tread and kills the vegetation at the edges — how a single-track trail slowly becomes a braided mess. If a trail is genuinely too soft to hike without damaging it, or posted with a mud-season closure, the right call is to turn around, not push through for the plan's sake. Add a sun climbing higher and stronger by the week, bouncing extra UV off any remaining snow, and you've got the full spring picture: changeable, muddy, and worth the extra care.
The pack
A 15–25 liter daypack is plenty for a spring day hike — room for a full range of layers plus a wet or muddy one you'll want to stash separately.
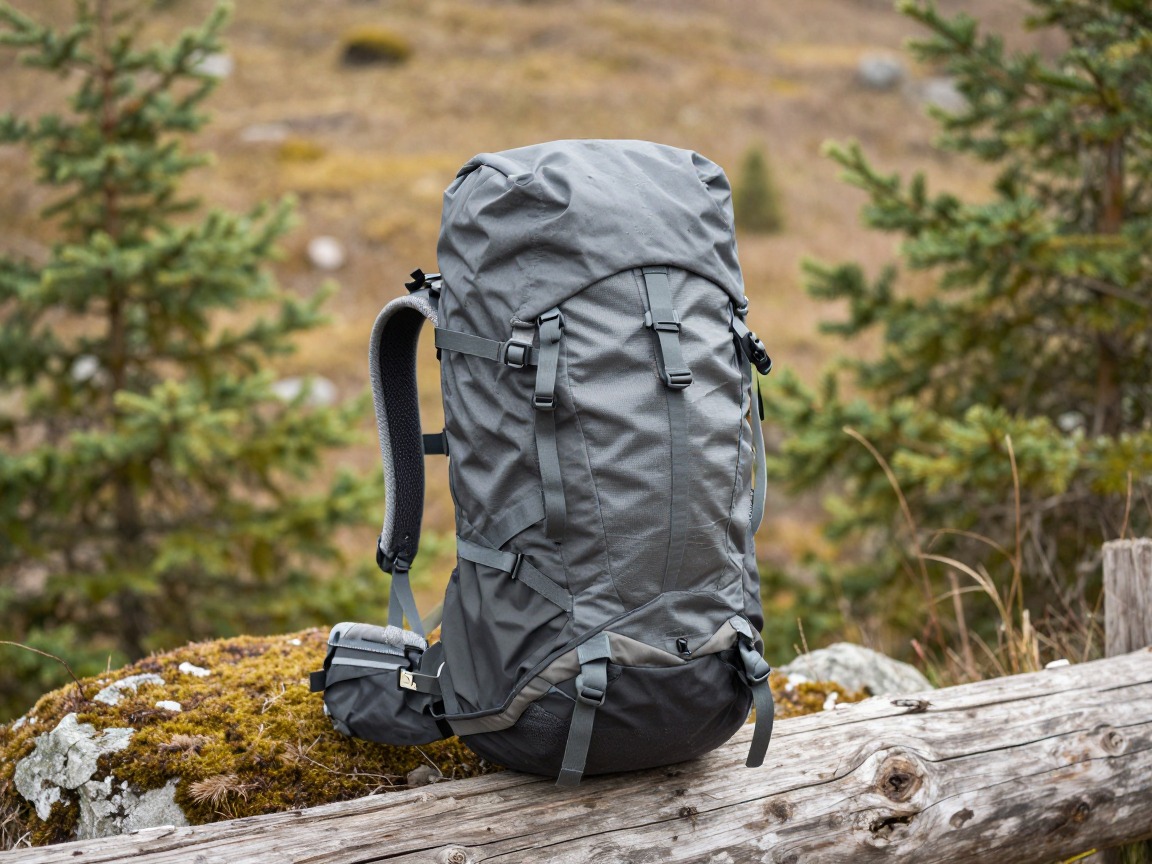
Spring daypack
Holds the wide range of layers spring demands, with enough room to stash a soaked shell or muddy gaiters without soaking the rest of your kit.
What to look for: A supportive back panel, stretch pockets for a wet layer, and 15–25 L — spring's temperature swing means more layers than a summer day, but nowhere near a winter's worth.
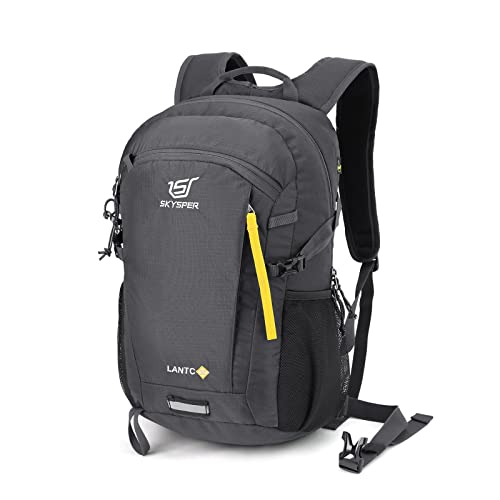 SKYSPER Small Hiking Backpack Check price
  Osprey Sportlite 20L Lightweight Hiking Backpack Check price
 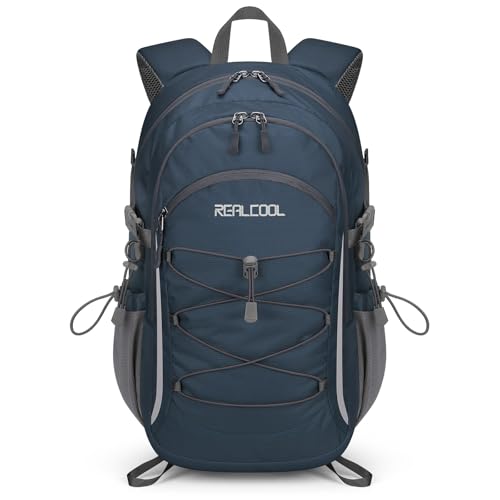 RealCool 20L Lightweight Hiking Backpack Check price
 - A pack liner or dry bag for wet or muddy layers
Traction & mud-season footing
Spring trails are two trails in one — mud at the trailhead, then packed snow and ice on shaded, north-facing ground higher up. Match your footing to both.
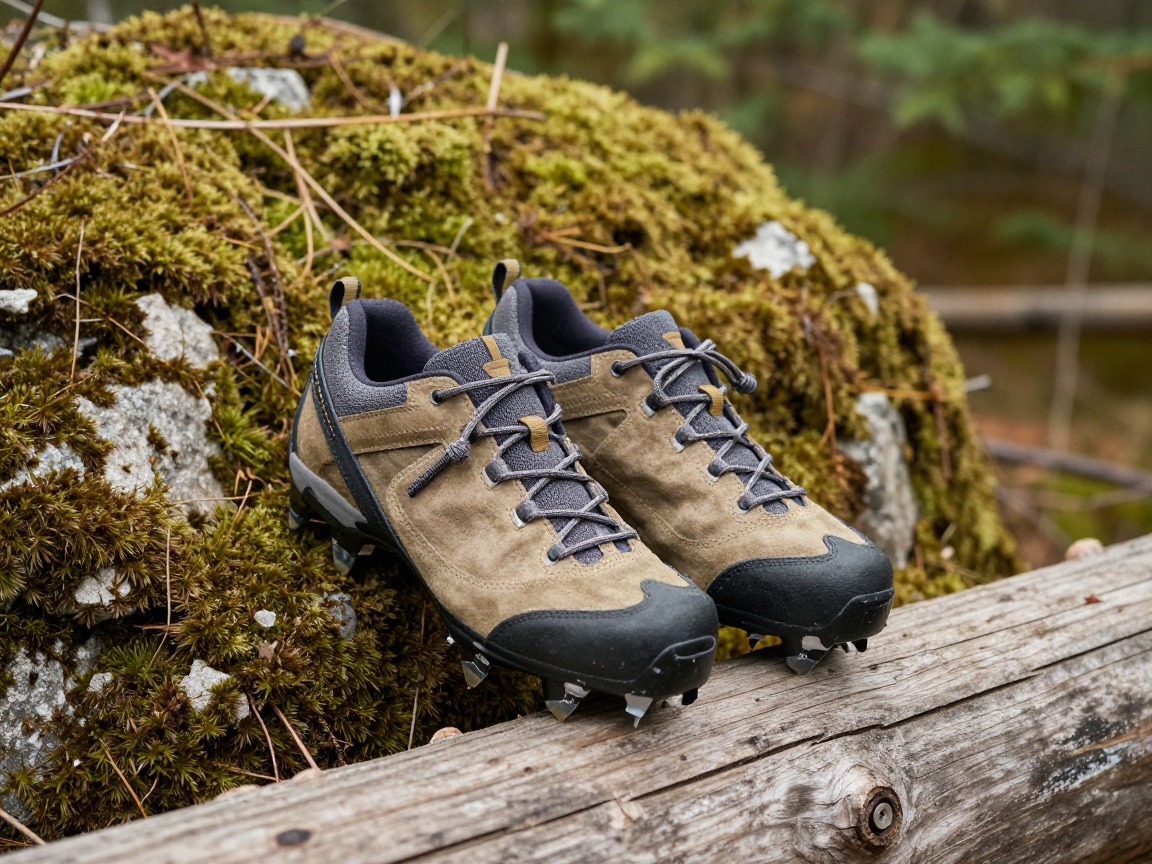
Light traction (microspikes)
Slip-on spikes handle icy, snow-packed sections that linger in shade and on north aspects long after the valley floor has thawed to mud.
What to look for: Light, packable microspikes rather than full crampons — spring snow is usually soft and patchy, not the firm snow crampons are built for. Look for a pair that packs down small for the muddy stretches between.
 Kahtoola MICROspikes Footwear Traction for Winter Check price
 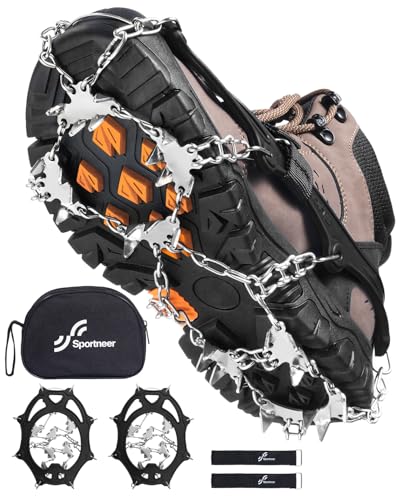 Sportneer Crampons: Ice Cleats for Shoes and Boots with 28 Spikes - Check price
  Kahtoola MICROspikes Footwear Traction for Winter Check price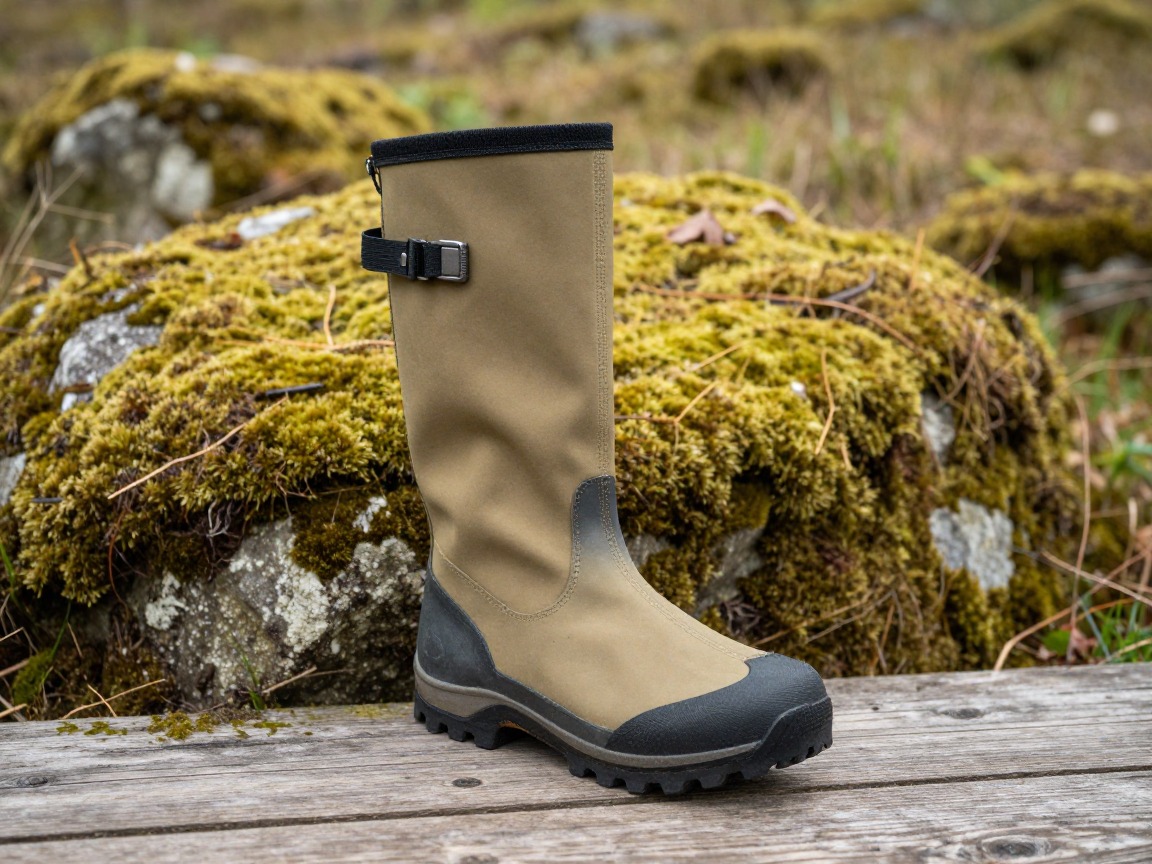
Gaiters
Keeps mud, slush and snowmelt out of your boots on a trail that can alternate between all three within a few hundred yards.
What to look for: Low or mid-height gaiters that seal over the boot cuff and shed mud easily — no need for a winter-weight pair, just grit- and water-tight.
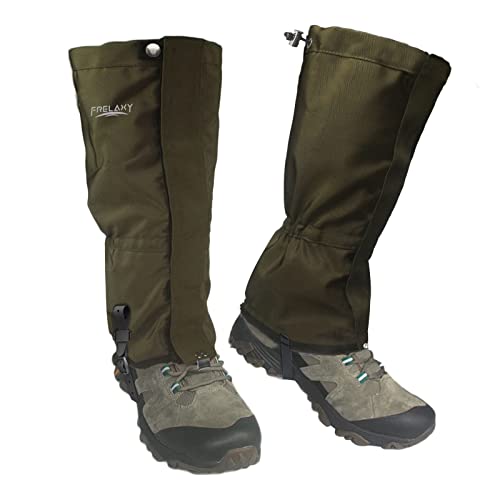 Frelaxy Leg Gaiters 100% Waterproof Hiking Gaiters Check price Frelaxy Ultra High-Performance Hunting Gaiters Check price
 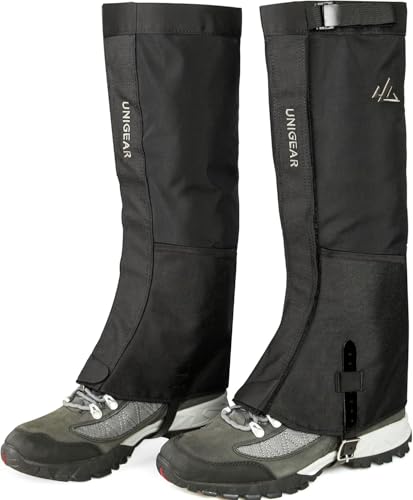 Unigear Leg Gaiters Check price
Trekking poles
Steadies you through mud and slick roots, and adds a third point of contact at creek crossings swollen with snowmelt.
What to look for: Adjustable poles with baskets that won't punch through soft mud, and grips that work gloved or bare-handed as the day warms.
 Trekology Trek-Z Cork Grip Collapsible Lightweight Hiking Trekking P Check price
  Cascade Mountain Tech Trekking Poles Check price
  covacure Hiking Poles Check price
 - Trail shoes or boots you don't mind getting muddy
- A boot brush for the car — cleaning mud off your soles helps stop seeds and pathogens hitching a ride to the next trailhead
Clothing & layers for a wide swing
The single biggest spring skill is layering for a day that might start in a rain shell at a cold trailhead and finish in a t-shirt and full sun — or the reverse. Build a system you can add to and strip off all day.

Base layer
A moisture-wicking layer against your skin handles a climb's sweat and a wind-blown ridge's chill without staying wet.
What to look for: Lightweight merino or synthetic, never cotton — spring's mix of sweat, drizzle and snowmelt spray makes a fast-drying layer matter more than it does in summer.
 100% Merino Wool Base Layer Men Set - Thermal Underwear for Men Long Check price
  Merino.tech Merino Wool Base Layer Women Set - Heavyweight Check price
  100% Merino Wool Base Layer Men Set - Thermal Long Underwear with Ba Check price
Warm layer
A packable fleece or light puffy for breaks, exposed ridgelines, and the moment a front drops the temperature in minutes.
What to look for: Something you can stuff in a pocket and pull on the next minute — spring's fast-changing weather rewards a layer you'll actually reach for.
 Outdoor Ventures Women's Packable Lightweight Puffer Jacket with Hoo Check price
  Amazon Essentials Women's Lightweight Long-Sleeve Water-Resistant Pa Check price
  Outdoor Ventures Women's Packable Lightweight Puffer Jacket with Hoo Check price
Rain shell
Waterproof, packable protection for the sleet, graupel and sudden showers spring throws at otherwise sunny forecasts.
What to look for: Genuinely waterproof, not merely water-resistant, with a hood that seals against wind-driven rain or sleet — spring precipitation is often colder than it looks.
 UIQUR Mens Rain Jacket Raincoat Waterproof Windbreaker Black L Check price
  COOFANDY Men's Waterproof Hiking Travel Shell Breathable Rain Jacket Check price
  Columbia Womens Arcadia II Waterproof Rain Jacket Check price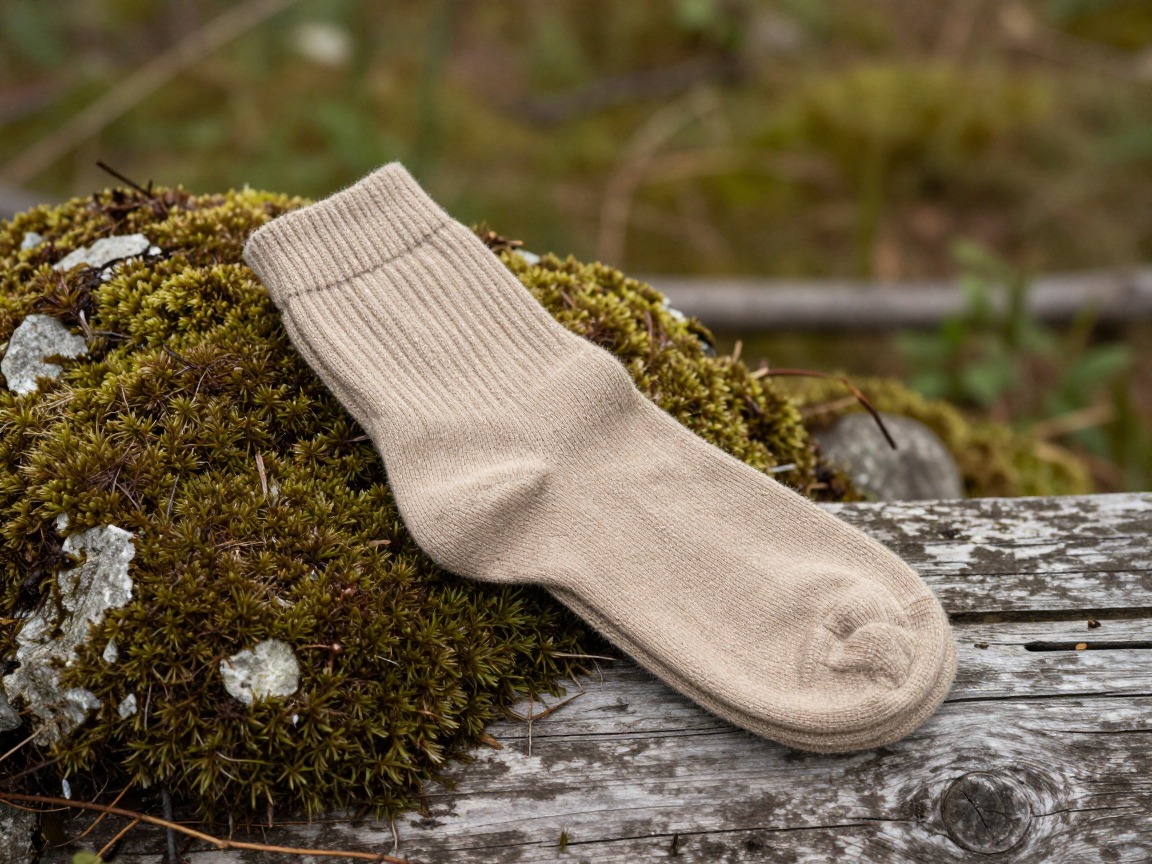
Hiking socks
Wool or synthetic socks that keep working when your boots meet a puddle, a creek crossing or a soft patch of trail.
What to look for: Wool or a wool blend, plus a dry spare pair — wet feet from a mud-season crossing are a common reason a spring hike ends early.
 Alvada Merino Wool Hiking Socks Thermal Warm Crew Winter Boot Sock F Check price
  DANISH ENDURANCE Merino Wool Socks for Men & Women Check price
  innotree 3 Pack Men's Merino Wool Hiking Socks Check price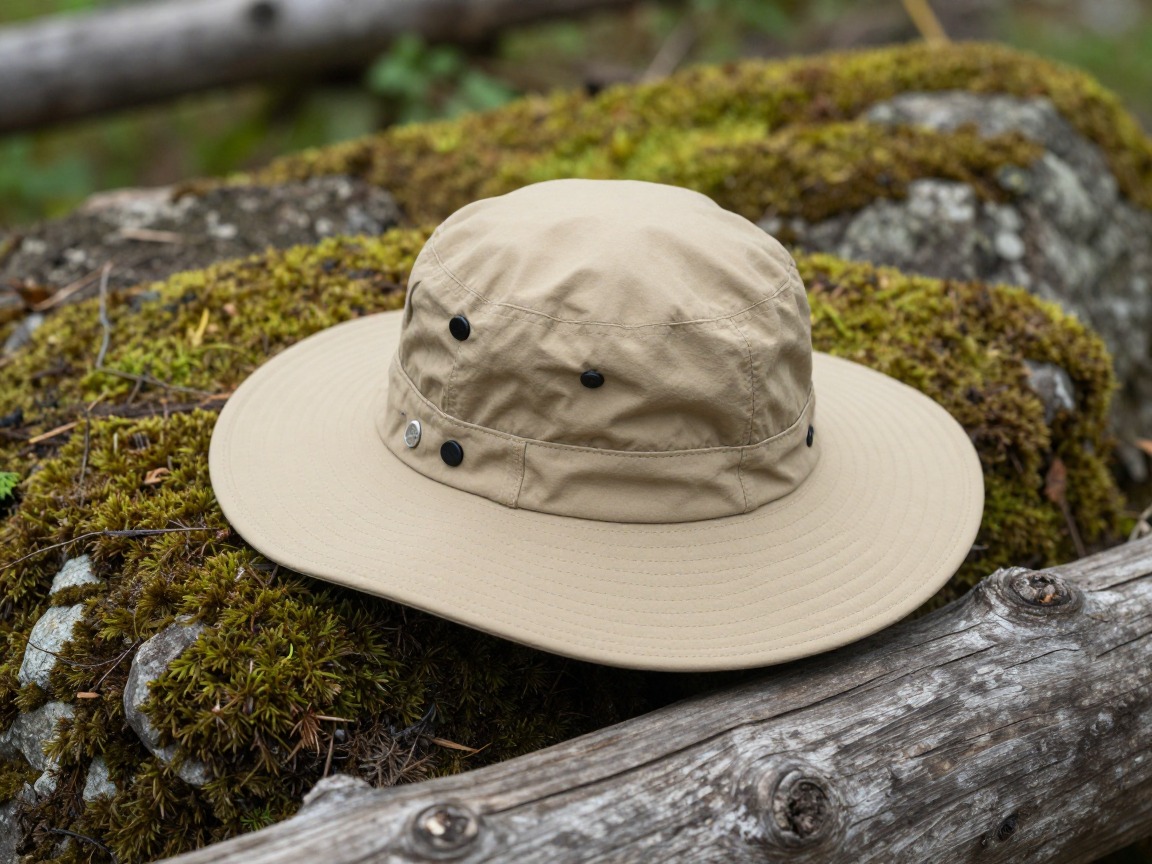
Sun protection
Sun exposure that's often stronger than the cool air suggests, especially with lingering snow underfoot bouncing extra light back at you.
What to look for: A brim that shades your face and neck, paired with sunglasses and sunscreen — spring's sun angle steepens fast, and snow patches reflect real UV back up.
 FURTALK Womens Sun Hat with Ponytail Hole Beach Hiking Summer Wide B Check price
 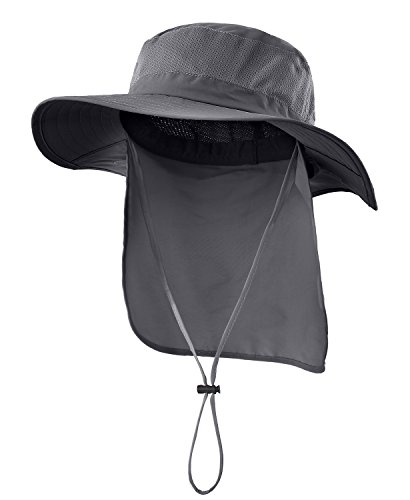 Home Prefer Outdoor UPF50+ Mesh Sun Hat Wide Brim Fishing Hat with N Check price
  FURTALK Sun Hats for Men Fishing Hat UPF Protection Wide Brim Bucket Check price
 - Warm hat & light gloves for cold starts
- A buff for wind and sun on exposed sections
- Moisture-wicking shirt & hiking pants
Water & food
Snowmelt swells creek crossings and can carry more sediment and runoff than a summer stream, so treat what you collect and plan crossings with a little extra care.
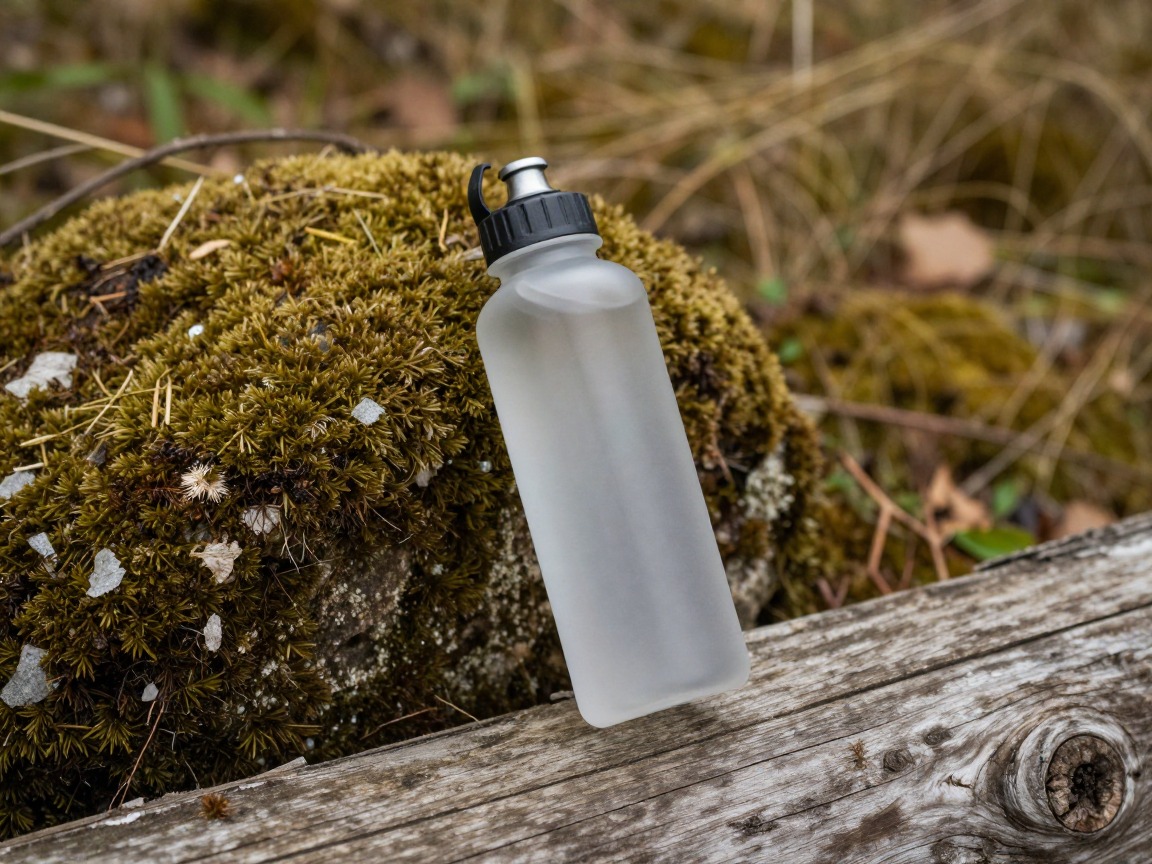
Water bottle
Simple and tough for a day that swings from a near-freezing start to a warm afternoon; a wide mouth makes refilling from a running creek easy.
What to look for: A durable, wide-mouth bottle you can refill on the move; insulated if the day starts cold enough to worry about ice forming.
 Nalgene 32 oz Wide Mouth Water Bottle Check price
  Nalgene 32 oz Wide Mouth Water Bottle Check price
  Nalgene 32 oz Wide Mouth Water Bottle Check price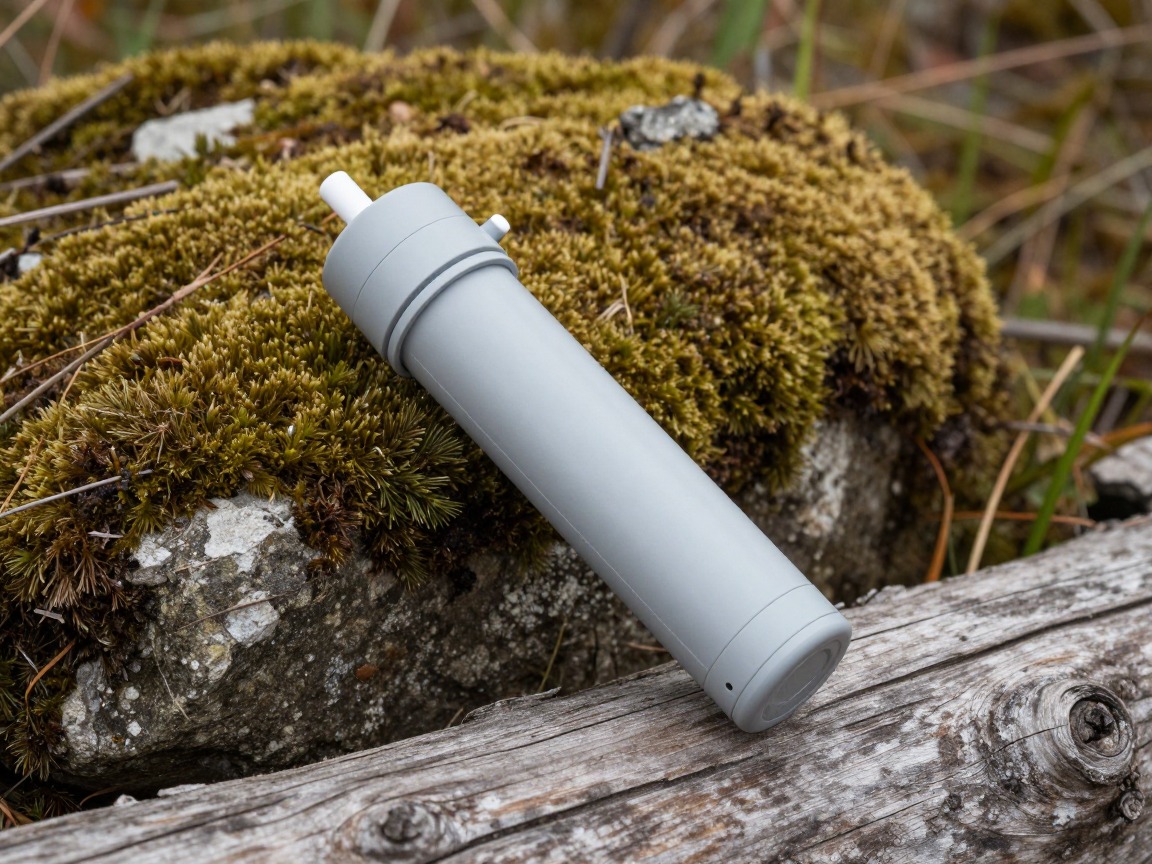
Water filter
Snowmelt streams look clean but carry runoff and sediment from thawing ground, so treat what you collect rather than assuming spring water is safe raw.
What to look for: A filter that handles cloudy, sediment-heavy water without clogging — a squeeze or gravity filter with an easy-to-backflush design suits spring conditions well.
 Sawyer Squeeze Water Filtration System Check price
  Sawyer Products SP128 Mini Water Filtration System Check price
  LifeStraw Personal Water Filter for Hiking Check price
 - Lunch + high-energy snacks
- Electrolyte tabs or drink mix
Navigation, light & safety
Spring days are lengthening, but mixed conditions and creek crossings can force a slower pace than the map suggests — plan light and build in a margin.

Headlamp
A backup light for the days that take longer than planned once mud, snow patches and creek crossings slow your pace.
What to look for: Reliable output and fresh batteries — a slower, more careful pace over mixed terrain eats daylight faster than a dry-trail summer hike does.
 LHKNL Headlamp Flashlight Check price
  Lepro LED Headlamp Rechargeable IPX4 Waterproof Headlight 5 Modes - Check price
  Energizer LED Headlamp PRO Check price
First-aid kit
A compact kit for the slips, twisted ankles and cold-related discomfort that come with slick mud and lingering ice underfoot.
What to look for: A kit weighted toward blister and sprain care, plus anything for minor cold exposure — and know what's in it before you need it.
 Mini First Aid Kit - 150 Piece Small Waterproof EVA Hard Shell Case Check price
  Adventure Medical Kits Ultralight/Watertight Medical Kit .5 Check price
  211 PCS Waterproof First Aid Kit Check price
 - Map + compass or GPS (with offline maps)
- Sunscreen & SPF lip balm
- Whistle
- Phone + power bank
- Fire — lighter/matches
- Emergency shelter (bivy/space blanket)
- Check trail or land-manager mud-season advisories before you go
How to adapt this setup
If your route holds continuous snowpack rather than patchy remnants, step up to the winter day-hike setup — fuller traction, warmer insulation and winter-level redundancy.
A run of mild, dry weather lets you trim the backup insulation and leave the microspikes behind if the route's confirmed clear — but keep water for snowmelt creeks and a light layer for cold mornings.
Heavy snowmelt runoff, especially in the afternoon after a warm spell, can make a crossing genuinely dangerous. Unbuckle your hip belt, use poles for a third contact point, and be willing to wait, reroute or turn back rather than force it.
Lean harder into gaiters and trekking poles, walk through mud rather than around it, and check for posted mud-season advisories — some trails close or discourage hiking on the softest days.
More elevation gain means more lingering snow and colder wind on top; add an extra insulating layer and lean toward the cold-weather end of the day-hike list.
Common mistakes to avoid
- Packing for the morning's forecast and getting caught by an afternoon front — spring weather changes fast.
- Skipping traction because the trailhead was muddy, then hitting an icy, shaded switchback in trail runners.
- Stepping around mud instead of through it, which widens the trail and damages ground at its edges.
- Forcing a fast, high creek crossing swollen with the day's snowmelt instead of waiting or turning back.
- Underestimating spring sun because the air feels cool — sunburn and snow glare catch hikers off guard.
- Cotton layers that stay wet through a day of sweat, drizzle and mud, chilling you the moment you stop.
Make it yours
Frequently asked questions
What should I pack for a spring hiking trip?
A day kit built for a wide temperature swing: a 15–25 L pack, a full layering system from base layer to rain shell, light traction and gaiters for lingering snow and mud, trekking poles for creek crossings, and strong sun protection. Check trail conditions before you go — spring routes can vary hugely week to week.
Do I need microspikes for spring hiking?
Often, yes, even when the trailhead is bare and muddy. Shaded, north-facing sections and higher elevations commonly hold packed snow or ice for weeks after the lower trail has thawed. Light microspikes handle this well; if you're finding continuous deep snowpack instead of patches, you're still in winter-hiking territory.
How do I safely cross a creek swollen with snowmelt?
Look for the widest, shallowest section rather than the shortest crossing, unbuckle your hip belt so you can shed the pack if you fall, and use trekking poles for a third contact point. Snowmelt creeks run highest in the afternoon after a warm day — if it looks too fast or deep, wait, reroute or turn back.
Why does mud-season hiking etiquette matter?
Walking around a muddy section rather than through it widens the trail and kills vegetation at its edges — how a narrow footpath slowly becomes a wide, damaged scar. Sticking to the tread, even through the mud, and skipping trails posted closed or clearly too soft protects it for everyone who hikes after you.
Do I need sun protection in spring if it still feels cold?
Yes — spring sun is often stronger than the air temperature suggests, since the sun angle steepens quickly through the season, and any remaining snow patches reflect extra UV back up at you. A brimmed hat, sunglasses and sunscreen belong in a spring kit as much as a summer one.
Illustrative images show the type of gear, not specific products. Recommendations link to similar items on Amazon; we only ever link real listings and never show fabricated prices or ratings. General planning guidance, not a substitute for your own judgment or professional backcountry-safety instruction.