
The Rocky Mountain National Park day hike setup
Rocky Mountain National Park puts you above 9,000 feet before you've taken a step, then often above treeline before lunch — a combination that rewards an early start and punishes anyone who wanders up unprepared. This is a day-hike setup built around Colorado's classic pattern: clear skies at dawn, building clouds by late morning, and thunderstorms that can turn an exposed ridge or summit dangerous by early afternoon.

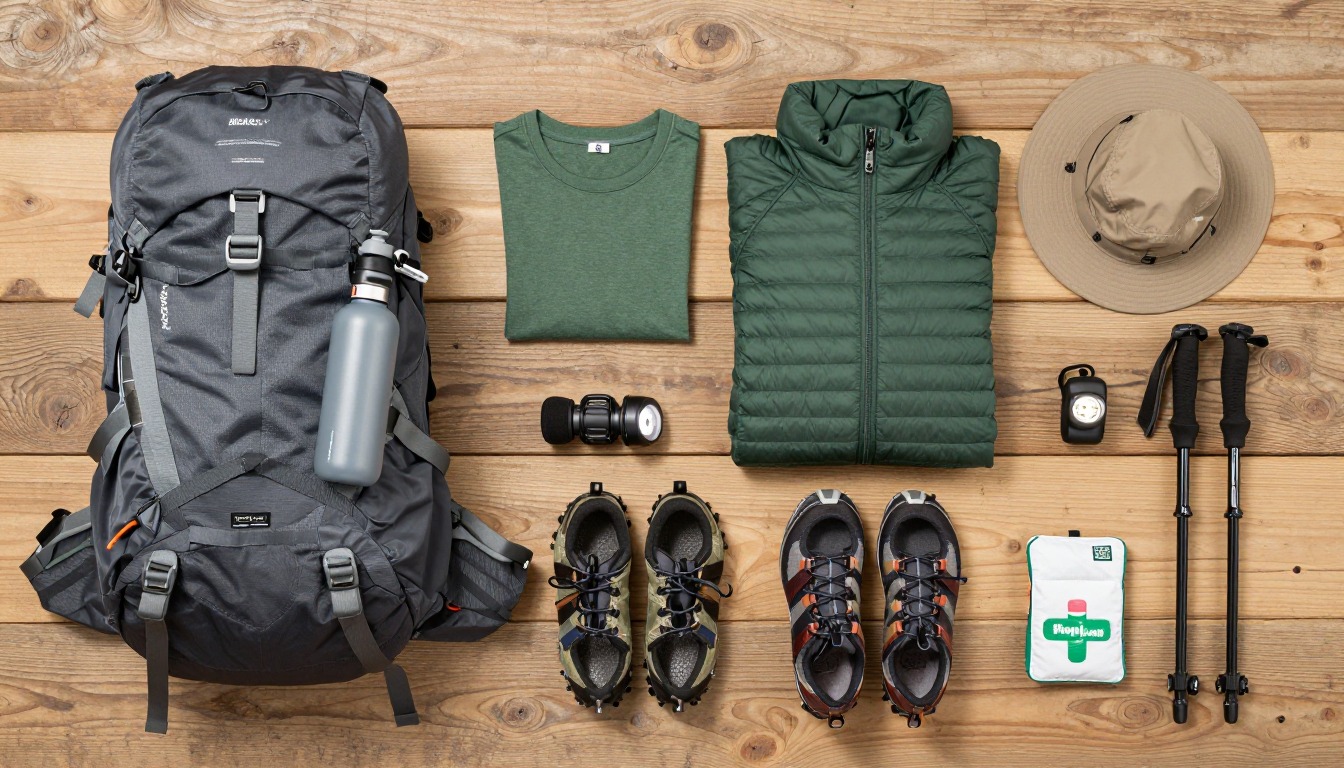
The kit is built around beating the weather, not fighting it. Trailheads here sit high enough that altitude itself is part of the hike, and above treeline the forecast can change in the time it takes to eat lunch. Everything below exists to get you moving early, keep you warm and dry through a big temperature swing, and get you back below treeline before the sky decides the day is over.
This suits hikers doing RMNP's classic subalpine and alpine day hikes — lakes, waterfalls, and non-technical summits reached in a single day, with an early start and a firm turnaround time. It's not built for glacier travel, technical scrambling, or overnight backcountry, which needs its own permit. Coming from near sea level, expect altitude to slow you down — it affects fit hikers too, not just first-timers.
- Start with a pack sized for altitude-day extras — layers, a shell, and food — not a bare-minimum day pack.
- Build the layering system around the day's real temperature swing: a base layer for a cold, often below-freezing start, insulation for breaks, and a wind/rain shell for the afternoon.
- Add sun protection and the light-navigation-first-aid trio, then set a turnaround time that gets you below treeline before early afternoon.
- Check current trail conditions, the weather, and any entrance timed-entry requirements the night before, then start at dawn.
About this setup
Most RMNP trailheads sit at 8,500 to 9,500 feet before you've taken a step, and many of the park's best day hikes — Emerald Lake, Sky Pond, Chasm Lake, Flattop Mountain — climb well above that, often above treeline entirely. For hikers arriving from lower elevations, altitude is part of the trail, not background noise: expect to feel more winded, tired, and thirsty than a similar hike back home. Treat a headache, nausea, or unusual fatigue that doesn't ease with rest, food, and water as a sign to descend, not push through.
Summer in the Colorado high country runs on a predictable clock: clear, calm mornings, clouds building through late morning, and thunderstorms common by early-to-mid afternoon, especially in July and August. Above treeline there's no cover from lightning, so the standard alpine strategy applies here: start at or before dawn, clear any exposed ridge or high point early, and be back below treeline by around midday. If clouds build faster than your plan expects, that's the trigger to turn around — the trail will still be there next time.
Rocky Mountain National Park has run some form of timed-entry reservation system for its busiest entrances in recent summers, and the rules shift season to season — check current requirements before you drive up, not after. On trail, the sun does more than it does at home: UV exposure increases with elevation, and open alpine terrain and lingering snow bounce even more of it back at you, so sunburn and eye strain show up faster than the temperature suggests.
The pack
RMNP day hikes carry more than most — extra layers, a shell for afternoon storms — so a slightly bigger daypack earns its keep.
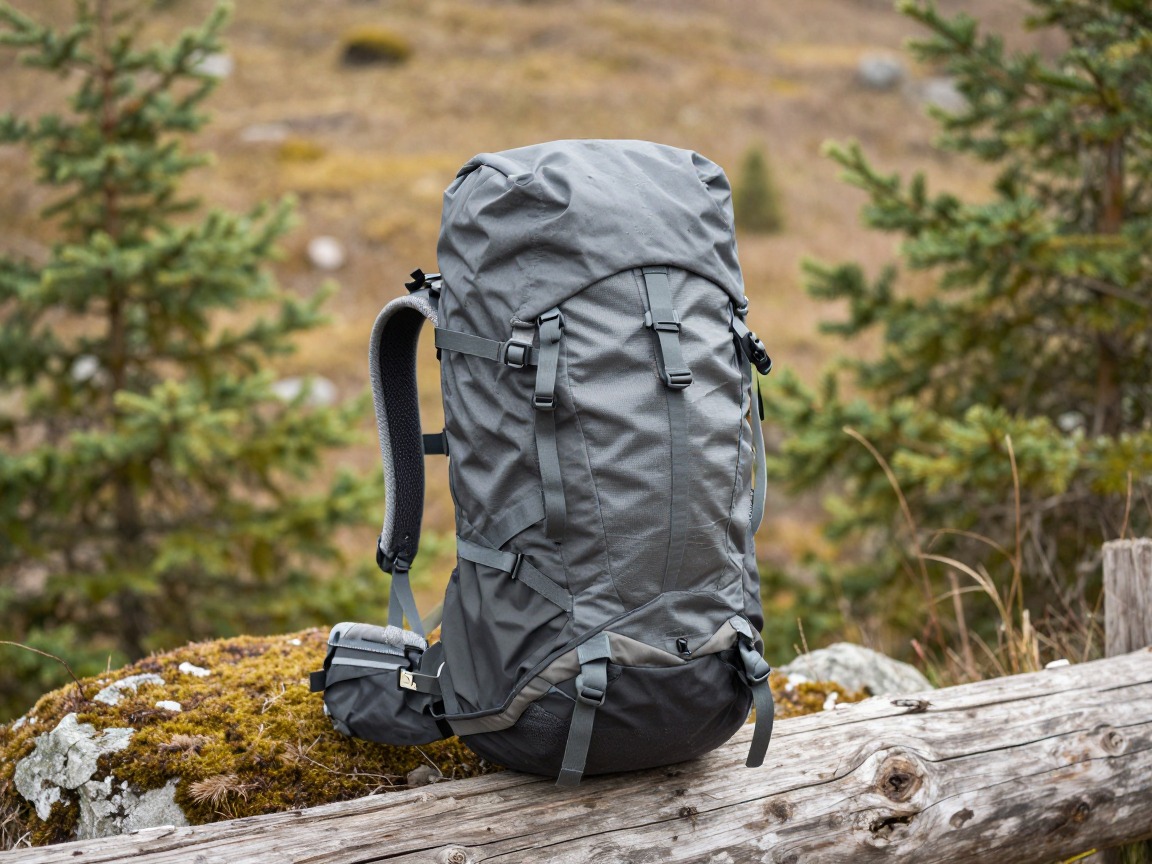
Altitude day pack
Carries the extra layers, water, and food a big-elevation day above treeline demands, without becoming a full overnight-sized load.
What to look for: A 25–35 L pack with a comfortable hip belt for the climb, room for a stuffed insulating layer and shell, and external attachment points for trekking poles or microspikes.
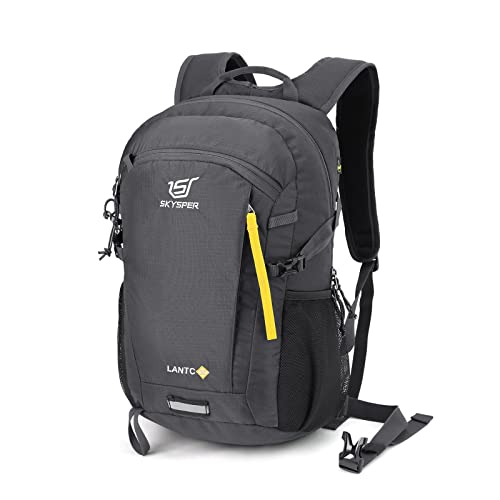 SKYSPER Small Hiking Backpack Check price
  Osprey Sportlite 20L Lightweight Hiking Backpack Check price
 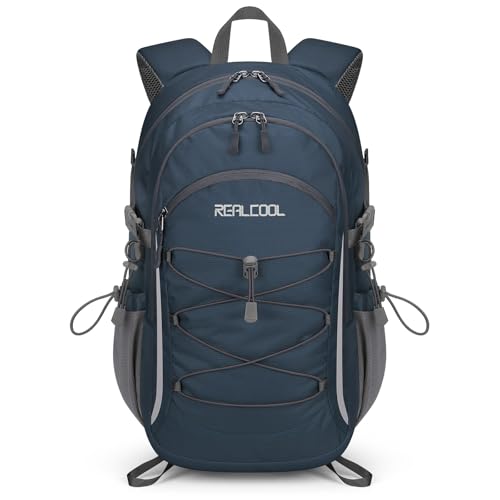 RealCool 20L Lightweight Hiking Backpack Check price
 - A pack liner or trash-compactor bag to keep everything dry if an afternoon storm catches you
- Your timed-entry reservation confirmation, printed or saved offline, if your entrance requires one
Water & fuel
Altitude and dry mountain air pull more water out of you than the effort suggests — and there's often nothing to refill from above the last creek near treeline.
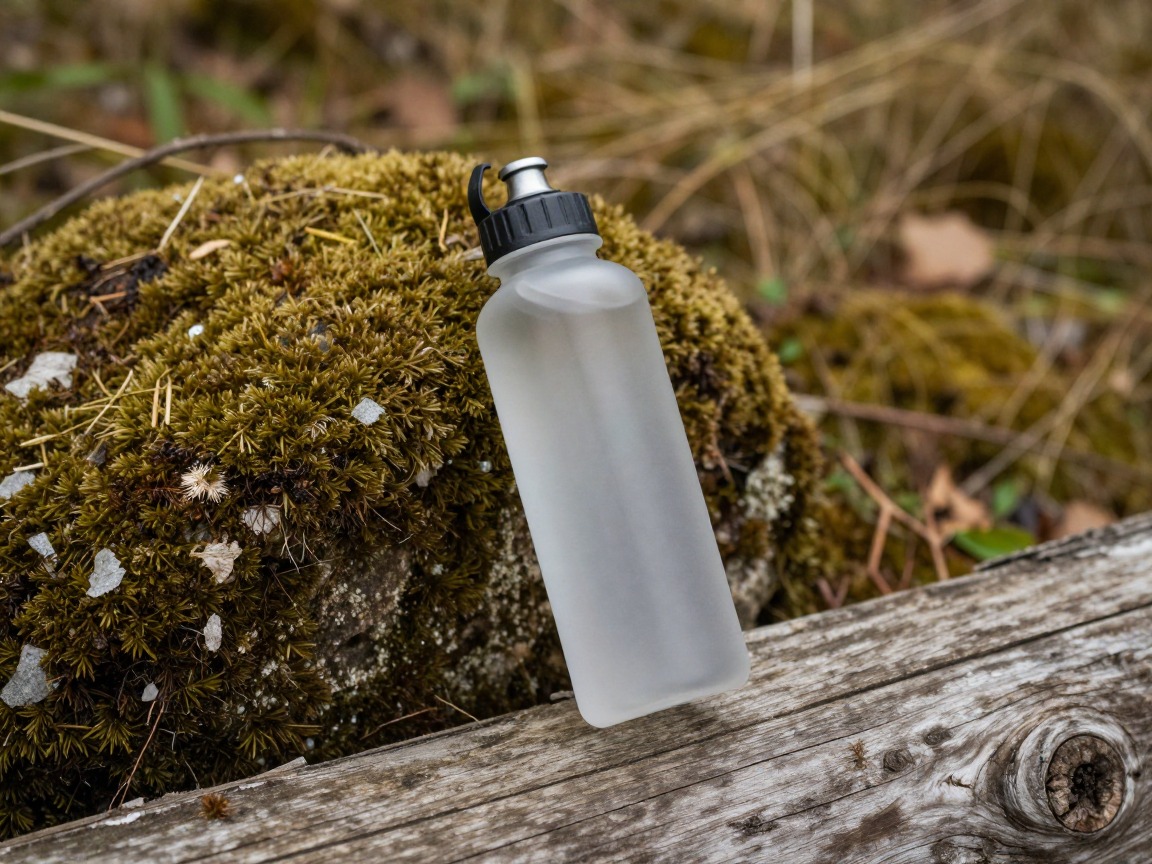
Insulated water bottle
Holds up through a below-freezing pre-dawn start and keeps drinking easy all the way to a hot, exposed stretch later in the day.
What to look for: An insulated, wide-mouth bottle or two, easy to fill and to drop electrolyte tabs into. Reliable in the cold beats bladder convenience on a below-freezing start.
 Nalgene 32 oz Wide Mouth Water Bottle Check price
  Nalgene 32 oz Wide Mouth Water Bottle Check price
  Nalgene 32 oz Wide Mouth Water Bottle Check price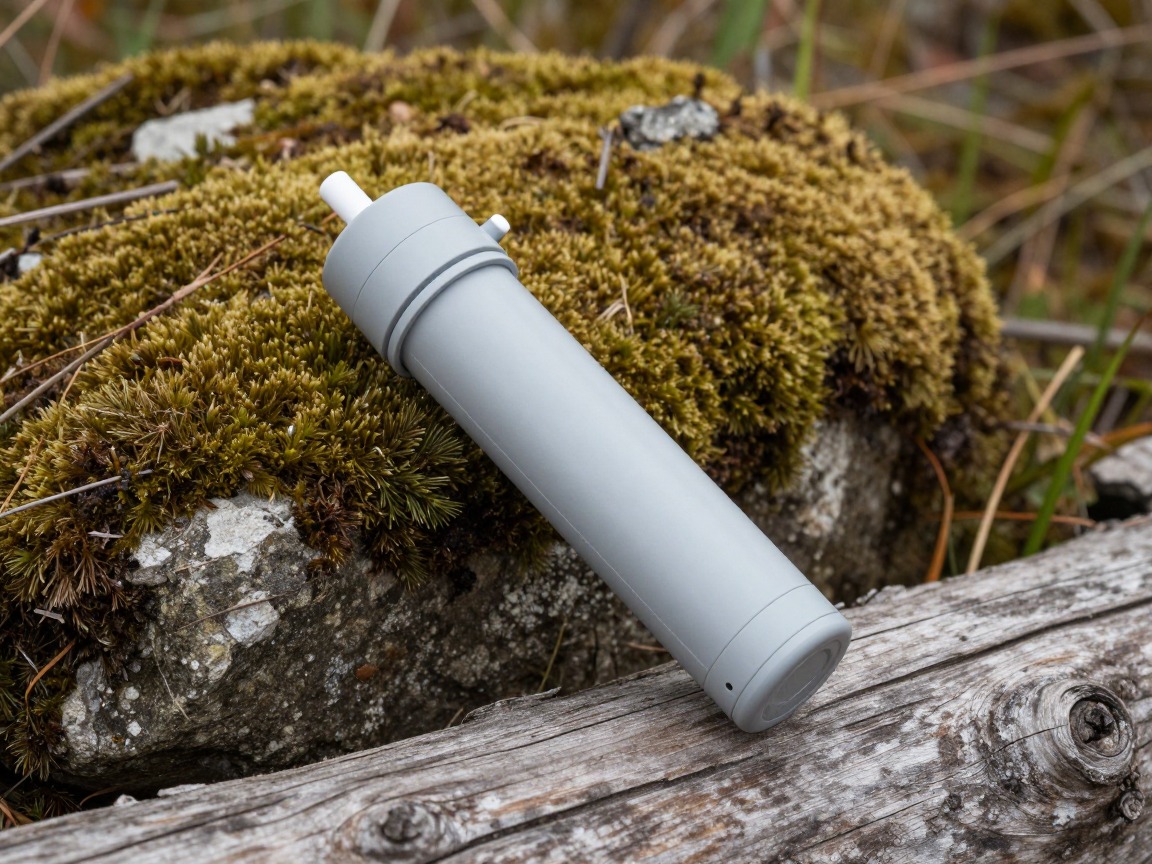
Water filter
Lets you top off fully at the last reliable creek or lake near treeline, since there's often no more water once you're climbing into open alpine terrain.
What to look for: Fast, light, and simple — a squeeze filter covers most RMNP day hikes. Treat the last water source near treeline as your final fill-up before you climb higher.
 Sawyer Squeeze Water Filtration System Check price
  Sawyer Products SP128 Mini Water Filtration System Check price
  LifeStraw Personal Water Filter for Hiking Check price
 - Calorie-dense snacks you can eat without stopping — appetite often drops at altitude even though you still need the fuel
- Electrolyte tabs or drink mix
- A little extra emergency food beyond what you expect to eat
Layers for the altitude swing
A high-country day here can start below freezing and end in strong sun on exposed rock — the layering system covers both without a full closet on your back.

Warm base layer
Keeps you working through the coldest part of the day — the pre-dawn climb toward treeline — without soaking through once you're moving hard.
What to look for: A midweight merino or synthetic base that keeps insulating even damp. Skip cotton entirely here — a below-freezing start punishes it fast.
 100% Merino Wool Base Layer Men Set - Thermal Underwear for Men Long Check price
  Merino.tech Merino Wool Base Layer Women Set - Heavyweight Check price
  100% Merino Wool Base Layer Men Set - Thermal Long Underwear with Ba Check price
Insulating layer
A packable warm layer for breaks, any high point along the route, and the moment a building cloud cools the air fast.
What to look for: The most warmth for its packed size, easy to throw on over a damp base layer. Synthetic fill handles an occasional wet snowfield crossing better than down.
 Outdoor Ventures Women's Packable Lightweight Puffer Jacket with Hoo Check price
  Amazon Essentials Women's Lightweight Long-Sleeve Water-Resistant Pa Check price
  Outdoor Ventures Women's Packable Lightweight Puffer Jacket with Hoo Check price
Wind/rain shell
Blocks the wind that does most of the chilling above treeline and buys time to get moving if afternoon weather arrives early.
What to look for: Waterproof and windproof, with a hood that fits over a warm hat. Packable enough that it rides along on every hike, not just the ones that look stormy.
 UIQUR Mens Rain Jacket Raincoat Waterproof Windbreaker Black L Check price
  COOFANDY Men's Waterproof Hiking Travel Shell Breathable Rain Jacket Check price
  Columbia Womens Arcadia II Waterproof Rain Jacket Check price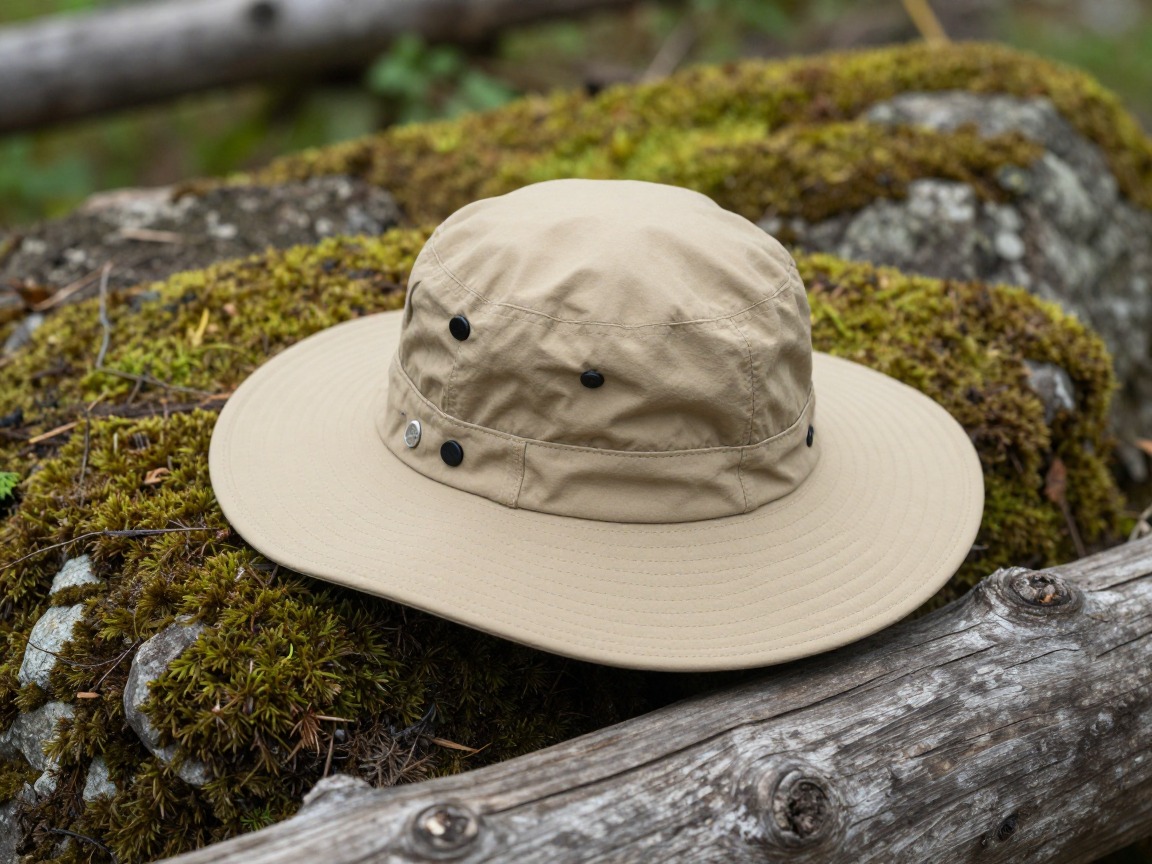
Sun protection
UV climbs with elevation, and open alpine terrain and lingering snow bounce even more of it back at you — sunburn and eye strain show up fast up here.
What to look for: A brimmed hat that shades your face and neck, sunglasses rated for bright snow glare, and real sunscreen. Don't judge sun strength by how cool the air feels.
 FURTALK Womens Sun Hat with Ponytail Hole Beach Hiking Summer Wide B Check price
 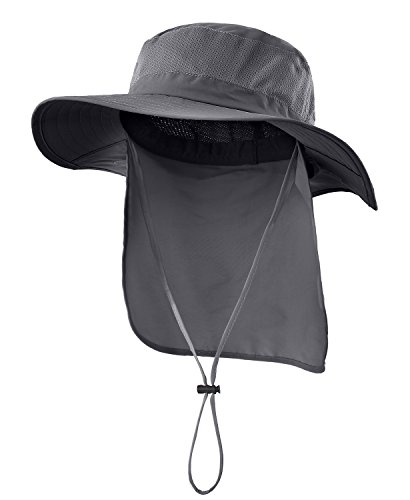 Home Prefer Outdoor UPF50+ Mesh Sun Hat Wide Brim Fishing Hat with N Check price
  FURTALK Sun Hats for Men Fishing Hat UPF Protection Wide Brim Bucket Check price
 - Wool hiking socks, ideally with a dry spare
- Warm hat or beanie for the pre-dawn start and any above-treeline stretch
- Lightweight gloves
- Moisture-wicking shirt & hiking pants
Navigation, light & safety
This is where an RMNP day hike differs most from an easy trail walk: a genuine pre-dawn start, traction for lingering snow, and a turnaround time you actually keep.

Headlamp
Lights the pre-dawn start that gets you above treeline early, and doubles as backup if the day runs long.
What to look for: Enough output to move confidently before sunrise, a secure strap, and a lock mode so it doesn't drain in your pack. Lithium batteries hold up better on cold starts.
 LHKNL Headlamp Flashlight Check price
  Lepro LED Headlamp Rechargeable IPX4 Waterproof Headlight 5 Modes - Check price
  Energizer LED Headlamp PRO Check price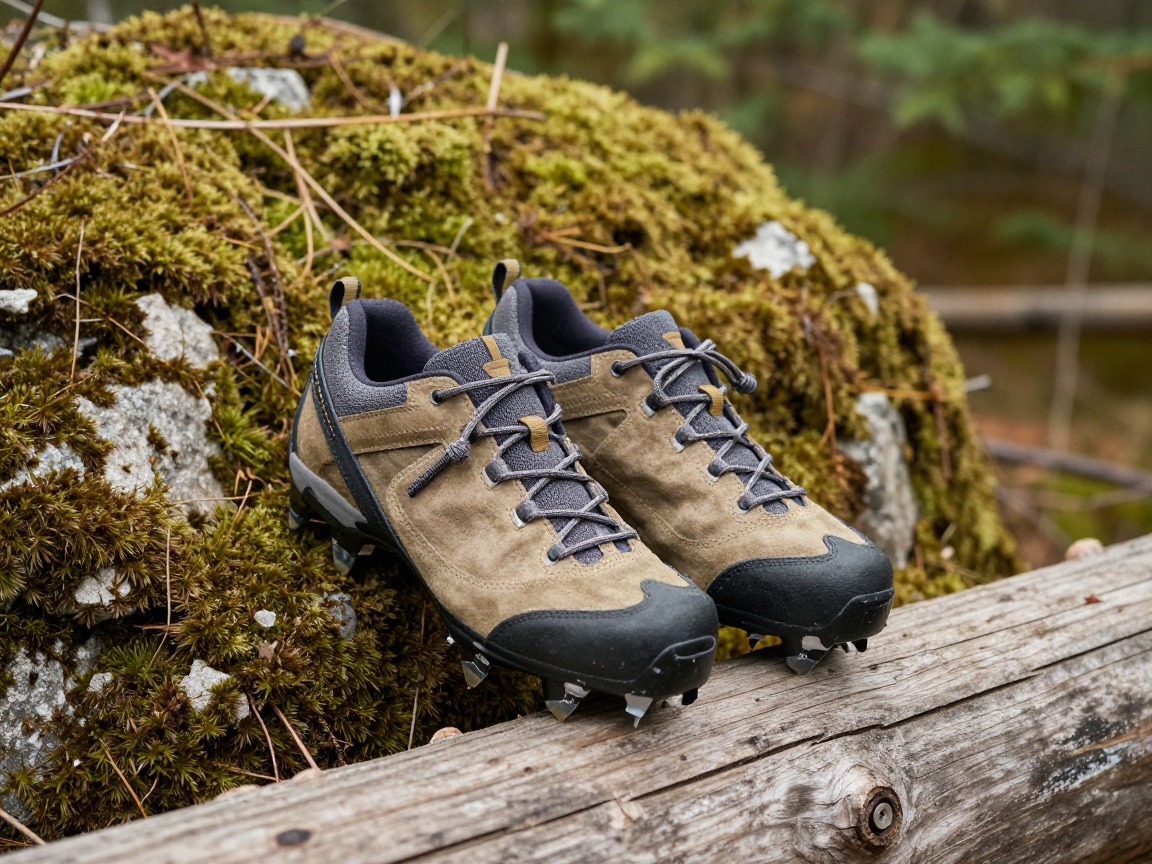
Microspikes
Lingering snowfields on shaded and high-elevation stretches are common well into summer here — spikes turn a slick crossing into a normal step.
What to look for: Slip-on microspikes that pack small and fit over boots, good for packed snow and icy patches on walkable terrain. Firm or steep snow needing an ice axe is a different, trained skill set.
 Kahtoola MICROspikes Footwear Traction for Winter Check price
 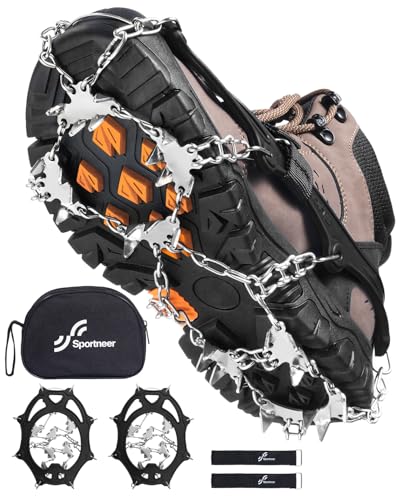 Sportneer Crampons: Ice Cleats for Shoes and Boots with 28 Spikes - Check price
  Kahtoola MICROspikes Footwear Traction for Winter Check price
Trekking poles
Add stability on loose rock and lingering snow, and save your legs on the descent after a big day of elevation gain.
What to look for: Adjustable, comfortable grips and locks that hold on steep ground. Many hikers stash them briefly for short scrambles and pull them back out for the descent.
 Trekology Trek-Z Cork Grip Collapsible Lightweight Hiking Trekking P Check price
  Cascade Mountain Tech Trekking Poles Check price
  covacure Hiking Poles Check price
First-aid kit
Covers blisters, cuts, and the small stuff on a long day, and sits alongside a basic sense of altitude symptoms in yourself and anyone you're hiking with.
What to look for: A compact kit weighted toward blisters and the things that actually happen on long alpine days — then learn what's in it before you need it.
 Mini First Aid Kit - 150 Piece Small Waterproof EVA Hard Shell Case Check price
  Adventure Medical Kits Ultralight/Watertight Medical Kit .5 Check price
  211 PCS Waterproof First Aid Kit Check price
 - Map + compass or an offline GPS route — cell service is patchy to nonexistent above treeline and on the park's quieter trails
- Sunscreen & SPF lip balm
- Whistle
- Phone + power bank
- Fire — lighter/matches
- Emergency shelter (bivy/space blanket)
- A written route and turnaround time left with someone, plus your planned trailhead
How to adapt this setup
Trails that spend real time exposed above treeline reward an earlier start and a tighter turnaround time. Treat any building clouds — even distant ones — as your cue to start heading down, not wait-and-see weather.
Early-summer hikes to alpine lakes often still cross lingering snowfields, and September can bring an early snap of winter above treeline. Add traction and an extra warm layer rather than assume high-summer rules apply just because it's warm down in Estes Park.
Trails on the park's quieter west and north sides see far fewer hikers and often have no cell service at all. Tell someone your route and return time, and consider a satellite messenger if you're hiking solo out there.
Not every RMNP trail climbs above treeline. For a shorter, forest-shaded hike, you can trim the alpine layers and traction — but keep the water, sun protection, and safety basics, since altitude and fast-building weather are part of the park at any elevation.
Common mistakes to avoid
- Starting mid-morning instead of at dawn, then getting caught above treeline exactly when afternoon storms build.
- Underestimating how much altitude slows you down in your first day or two at elevation, especially from near sea level.
- Skipping sun protection because the air feels cool — UV at altitude burns skin and eyes faster than the temperature suggests.
- Packing a summer kit for a pre-dawn start that's well below freezing at a high trailhead.
- Ignoring a lingering snowfield on an early- or late-season alpine trail because it's technically summer.
- Treating a building afternoon cloud as no big deal instead of the trigger to turn around.
Make it yours
Frequently asked questions
Why do Rocky Mountain National Park hikes start so early?
Most alpine and subalpine trails here start well before sunrise so hikers can be off exposed ridges and high points before early-afternoon thunderstorms build, a near-daily pattern in the Colorado high country through summer. An early start also means cooler temperatures for the steepest climbing and more daylight margin if the hike runs long.
Does altitude actually matter on a Rocky Mountain National Park day hike?
Yes — most trailheads sit above 8,500 feet, and many trails climb well above 10,000. Expect to move slower and tire faster than you would at home, drink more water than usual, and treat a headache, nausea, or unusual fatigue that doesn't improve with rest as a reason to descend rather than continue.
Do I need a timed-entry reservation to hike in Rocky Mountain National Park?
The park has used timed-entry systems for its busiest entrances and corridors in recent years, and the specifics change by season. Check the park's current reservation requirements before you go, since arriving without one when it's required can mean being turned away at the gate.
What should I wear for the temperature swing on an RMNP day hike?
Layer for a big range: a warm base layer for a cold, often below-freezing start, an insulating layer for breaks and any high point, and a wind/rain shell for exposed ridges and afternoon storms. Real sun protection matters even on a cool morning, since UV climbs with elevation.
Is there snow on Rocky Mountain National Park trails in summer?
Often, yes, especially on shaded, north-facing, and higher-elevation stretches into early or even mid-summer. Lingering snowfields can hide the trail or turn a simple crossing slick and exposed, so microspikes are worth carrying on alpine lake and high-point trails well into the season.
Illustrative images show the type of gear, not specific products. Recommendations link to similar items on Amazon; we only ever link real listings and never show fabricated prices or ratings. General planning guidance, not a substitute for your own judgment or professional backcountry-safety instruction.