
The river-crossing route setup
Some backpacking routes cross real rivers — not a hop over stepping stones, but a genuine ford with current, cold water, and consequences if you get it wrong. This setup builds on a standard multi-day kit with one added layer: everything you need to keep your gear dry, cross with good technique, and know when to walk away.

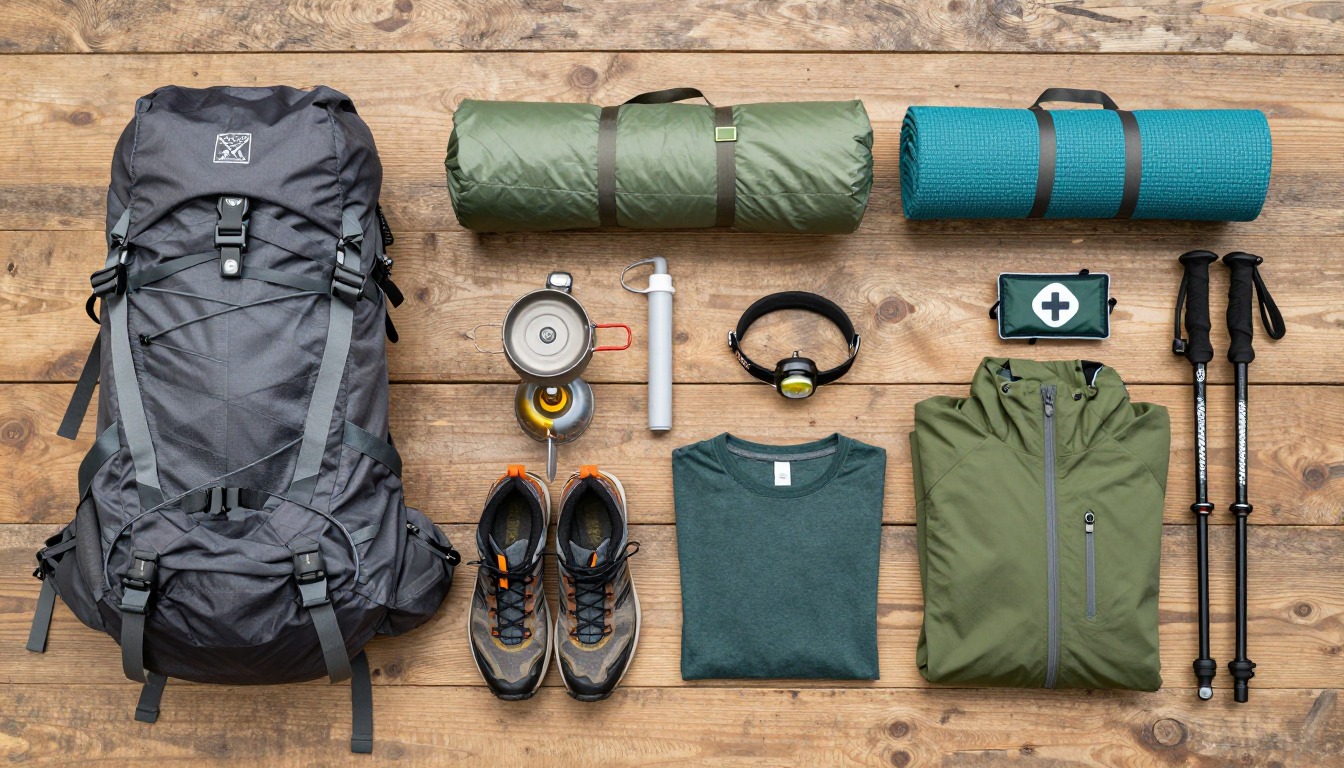
The extra risk on a river-crossing route isn't the walking — it's the few minutes spent in moving water. The kit is built around three ideas: keep your gear and one dry layer genuinely dry no matter what your feet do, cross with your body set up to recover if you slip, and never let the schedule push you into a ford that looks wrong. None of this replaces judgment at the bank — it just improves your odds.
This suits backpackers on routes with one or more unbridged fords — no bridge, no reliable line of stepping stones. It assumes a working overnight kit already; this adds the crossing layer on top. Ankle-deep water or a footlog needs little of this; a glacier-fed river or canyon ford is a different level of risk than gear alone can manage, so check current trip reports first.
- Build your normal overnight kit first, then add the crossing layer on top of it.
- Line the inside of your pack with dry bags so a deep ford can't soak your sleeping bag or dry clothes.
- Carry dedicated water shoes or sandals for the bank, and practice unbuckling your hip belt before you step in.
- Plan crossing times around the water, not your itinerary — snowmelt rivers run lowest in the early morning, before the day's heat sends more water downstream.
About this setup
A river crossing changes the character of a trip more than almost any other feature on a route. Most trail hazards — weather, elevation, distance — build gradually and give you time to adjust. A ford is different: you're dry, then for a few minutes you're in moving water, then you're across. The gear here isn't exotic — it's the ordinary backpacking kit with one deliberate layer added for those few minutes, because that's where the real risk is concentrated.
The core idea is to separate what gets wet from what stays dry before you reach the water. Your trail shoes and legs are going to get wet — that's the plan, not a failure. Everything else — your sleeping bag, dry clothes, electronics — gets sealed in dry bags before you're at the bank. The same logic applies to your body: loosen or unclip your hip belt and sternum strap before stepping in, so a loaded pack can't hold you underwater if you go down. Face upstream or at a slight angle, move one point of contact at a time with trekking poles, and pick a line with a safe run-out below you.
Timing is the piece hikers underestimate most. A river fed by snowmelt or a glacier rises through the afternoon as the day's heat works downstream, then drops again overnight — so an easy morning ford can be a genuinely difficult wade by late afternoon. Experienced backpackers plan big fords for early morning and build the day's mileage around that timing. And no gear list replaces the judgment to walk the bank for a better line, wait it out, or turn back when a crossing looks faster, deeper, or colder than you're prepared for. That call is always yours, based on current conditions, not the map.
The pack & keeping gear dry
Everything you carry through a ford needs a plan for water before you get wet — the barrier belongs inside the pack, not on the outside.
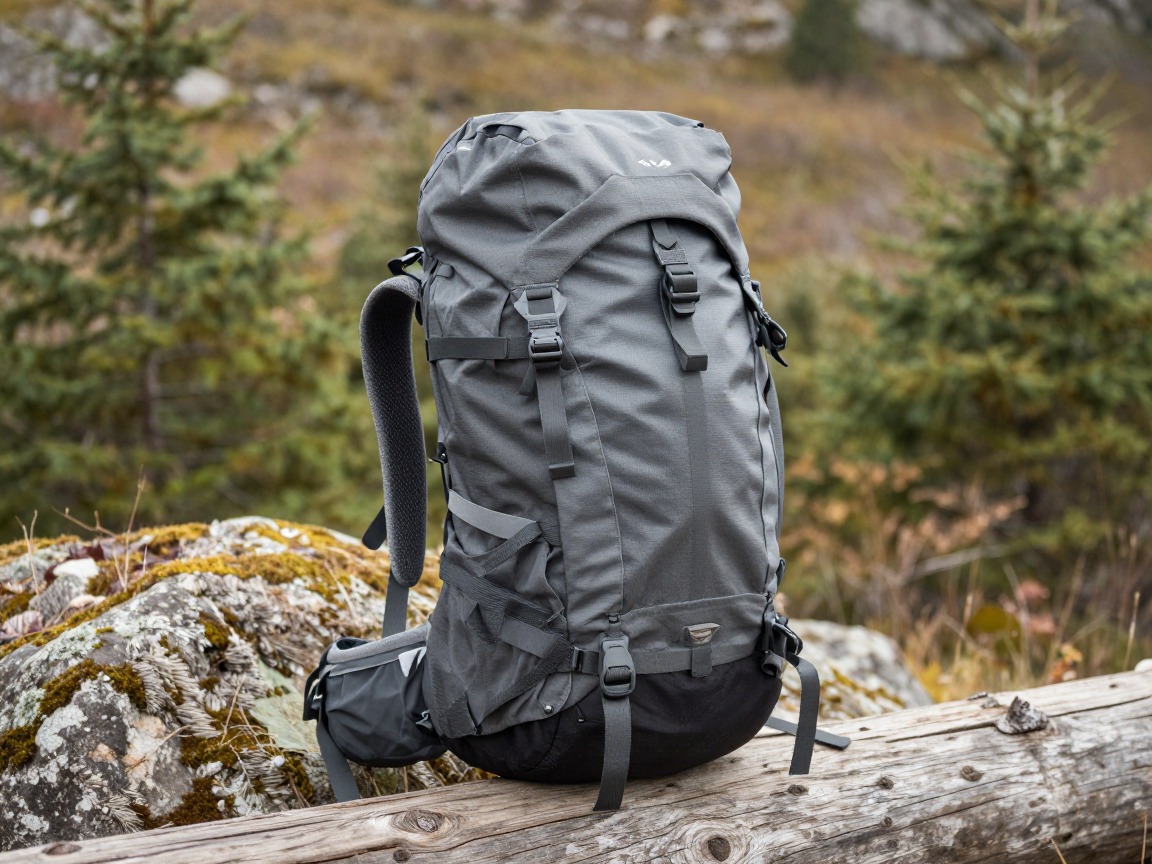
Overnight backpack
Carries the full multi-day system and, on a crossing route, everything you're relying on to stay organized and sealed against water getting in.
What to look for: A genuine hip belt with a quick-release buckle you can undo one-handed, since you'll be unclipping it before every real ford. Fit and load-carrying matter as much as on any weekend trip.
 WoneNice 50L Check price
  Teton 55L Scout Internal Frame Backpack for Hiking Check price
 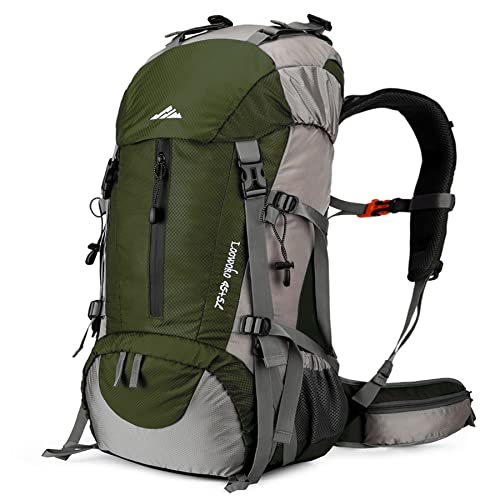 Loowoko 50L Hiking Backpack with Rain Cover for Both Men & Women Check price
 - Heavy-duty dry bags or a full pack liner lining the inside of the pack, sized to hold your sleeping bag and dry clothes.
- A small dedicated dry bag just for your phone, first-aid kit, and anything electronic.
Shelter & sleep
The sleep system is what a wet crossing can't be allowed to compromise — it stays sealed in its bag no matter what happened at the ford.
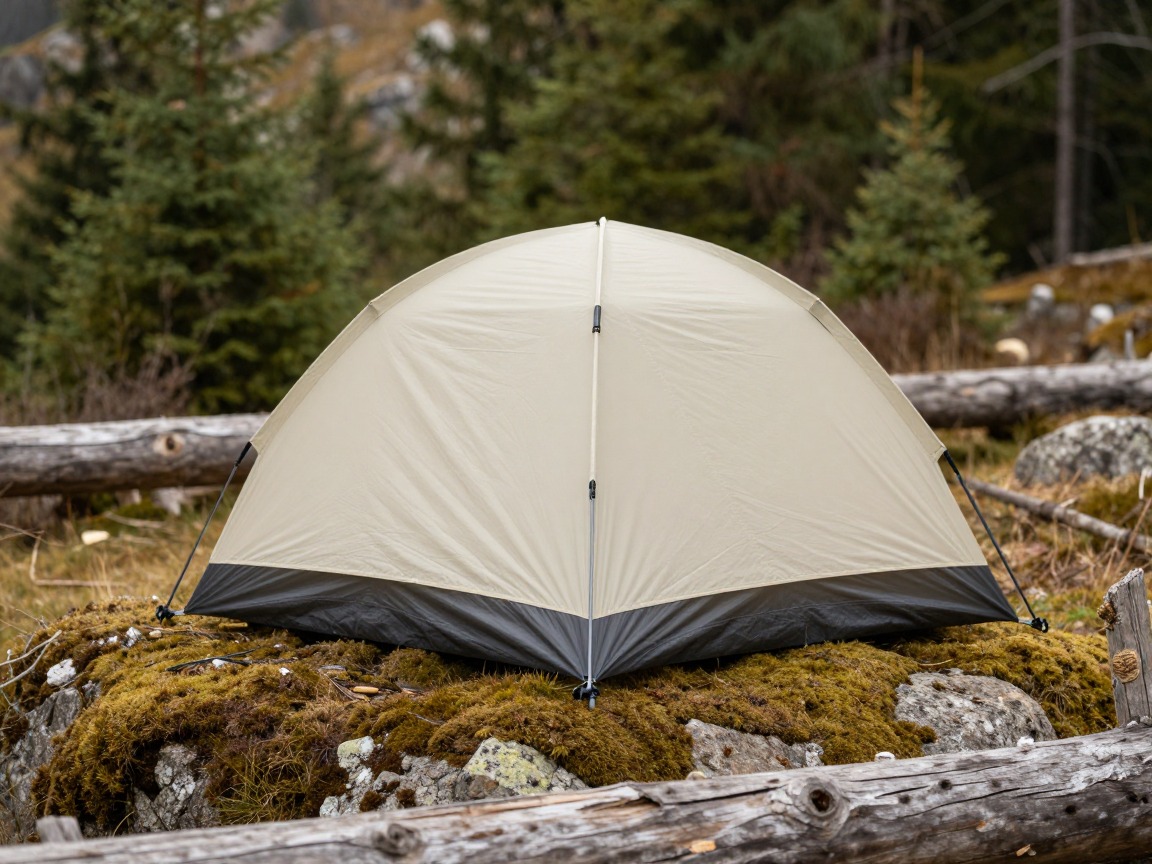
Backpacking tent
Your shelter for the nights on either side of the crossing — a freestanding design pitches reliably on the gravel bars and rocky ground common near river camps.
What to look for: A freestanding or semi-freestanding tent that pitches on rocky or sandy ground without needing perfect stake purchase, plus a full-coverage fly for exposed riverside camps.
 Night Cat 2-Persons Backpacking Tent: Waterproof Lightweight Camping Check price
  BISINNA 2/4 Person Camping Tent Lightweight Waterproof Backpacking T Check price
  Forceatt Tent for 2 Person is Waterproof and Windproof Check price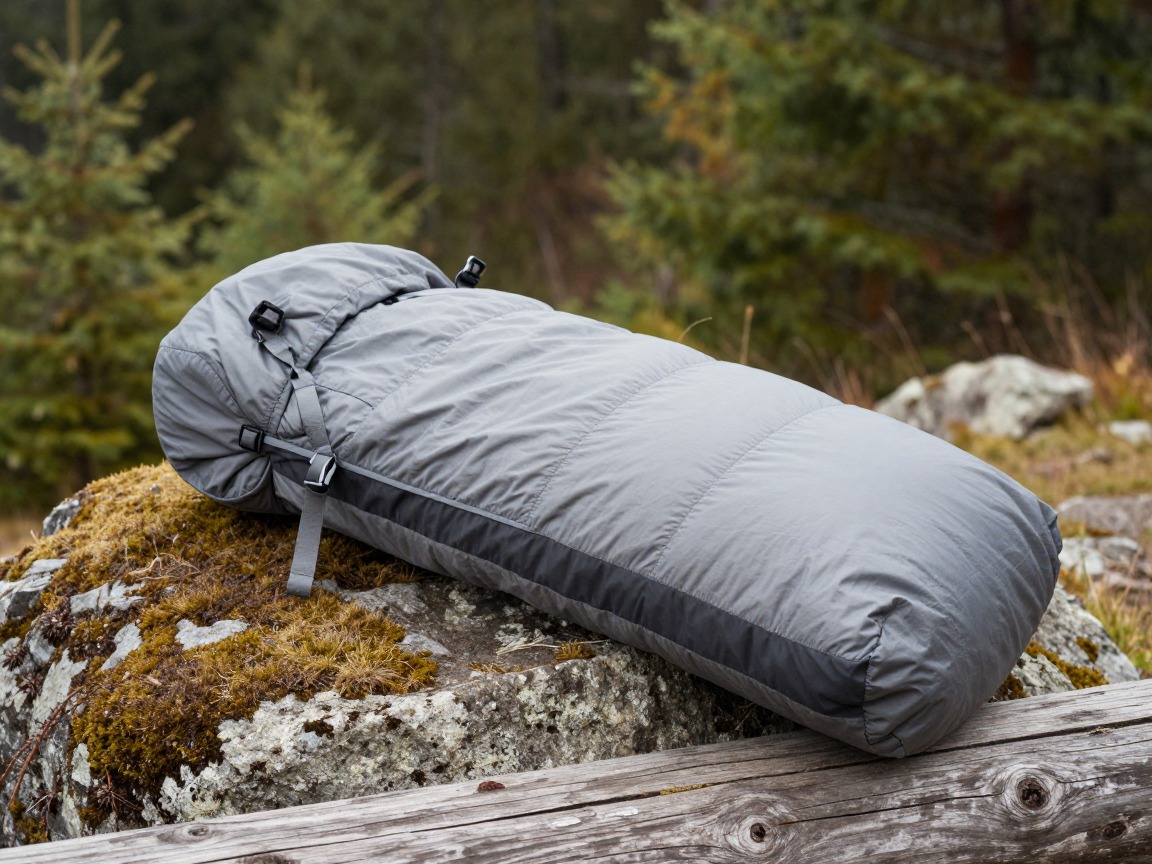
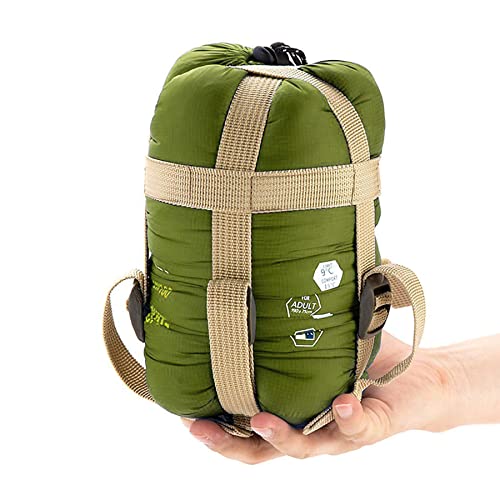
Sleeping bag
Kept sealed in its own dry bag at all times — the one item on the whole trip you genuinely cannot afford to get wet.
What to look for: A comfort rating suited to the route's nights, and a fill you trust: synthetic keeps some warmth if it does get damp, down needs a fully reliable dry bag around it.
 MalloMe Sleeping Bags for Adults Cold Weather & Warm - Backpacking C Check price
  ECOOPRO Portable Check price
  Teton Trailhead Check price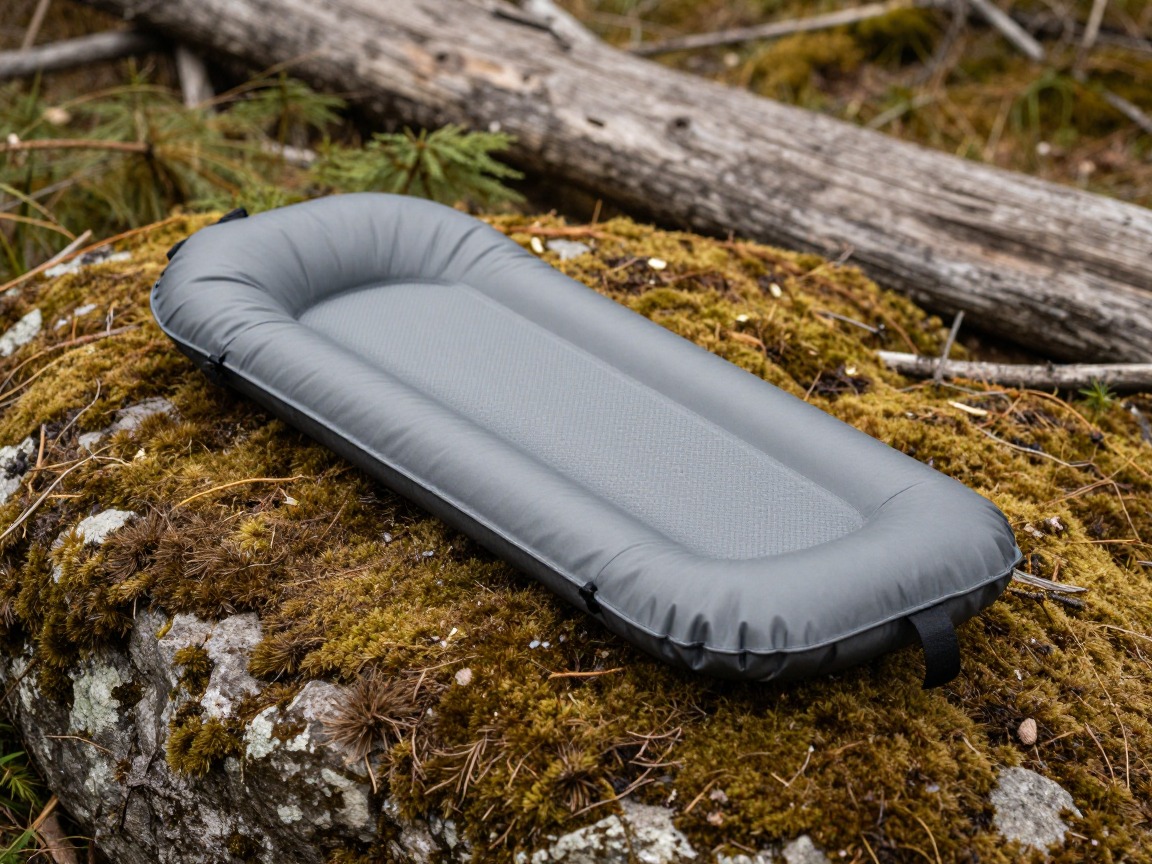
Sleeping pad
Insulates you from the cold ground near a river, where overnight temperatures often run colder than the surrounding forest.
What to look for: Enough R-value for the season and a packed size that fits inside your dry-bagged setup without adding bulk.
 FUN PAC Camping Sleeping Pad Check price
  Gear Doctors® Ether 17.5oz Ultralight Camping Sleeping Pad Check price
  Oramoose 4in Ultralight Camping Sleeping Pad with Pillow and Foot Pu Check price
 - Stakes & guylines
- Groundsheet for a gravel-bar campsite
Kitchen & water
A simple kitchen and a reliable filter cover eating and drinking — river camps rarely lack for water, just for treated water.
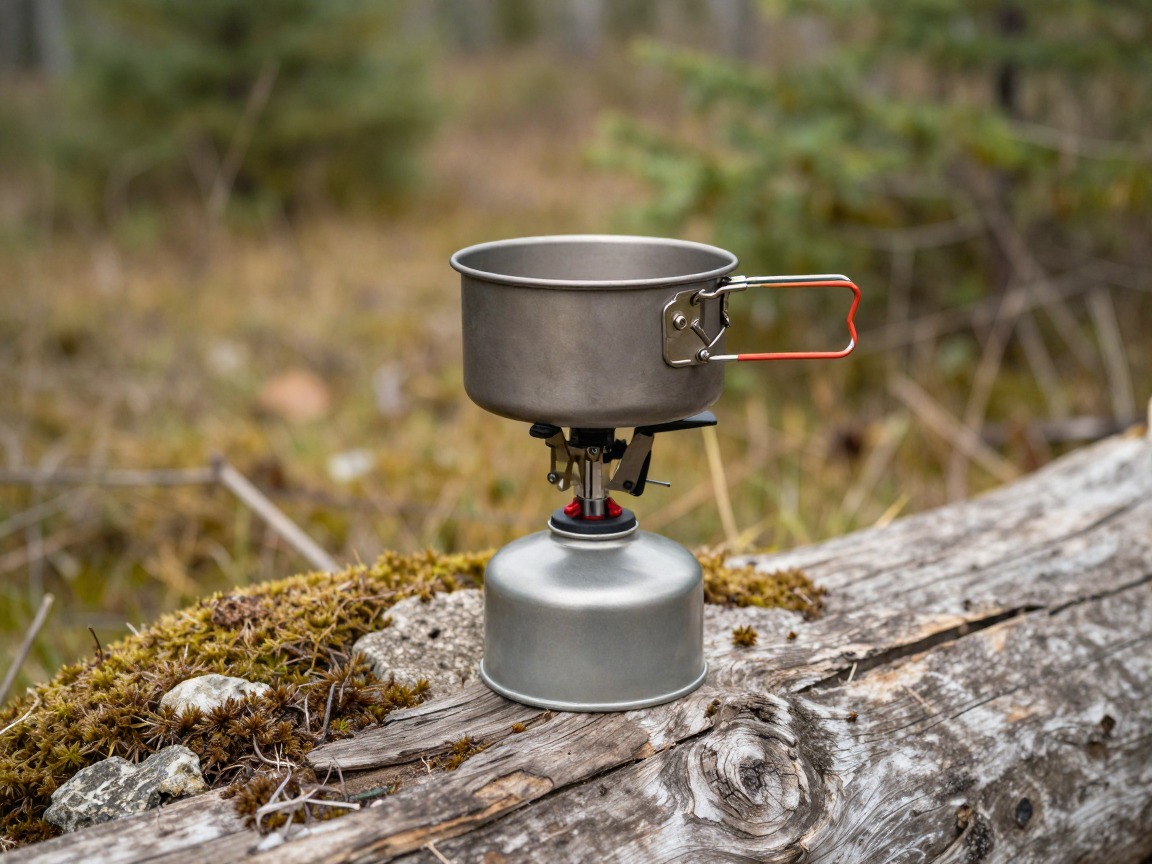
Backpacking stove
A compact canister stove handles dinners and hot drinks with minimal fuss, which matters after a long day that included a crossing.
What to look for: A stable stove that's easy to operate with cold hands, since you may be cooking not long after wading a cold river.
 AOTU Portable Camping Stoves Backpacking Stove with Piezo Ignition S Check price
  MSR PocketRocket 2 Ultralight Camping and Backpacking Stove Check price
  Fire-Maple Greenpeak 1 Camping Stove with Piezo Ignition Portable Ga Check price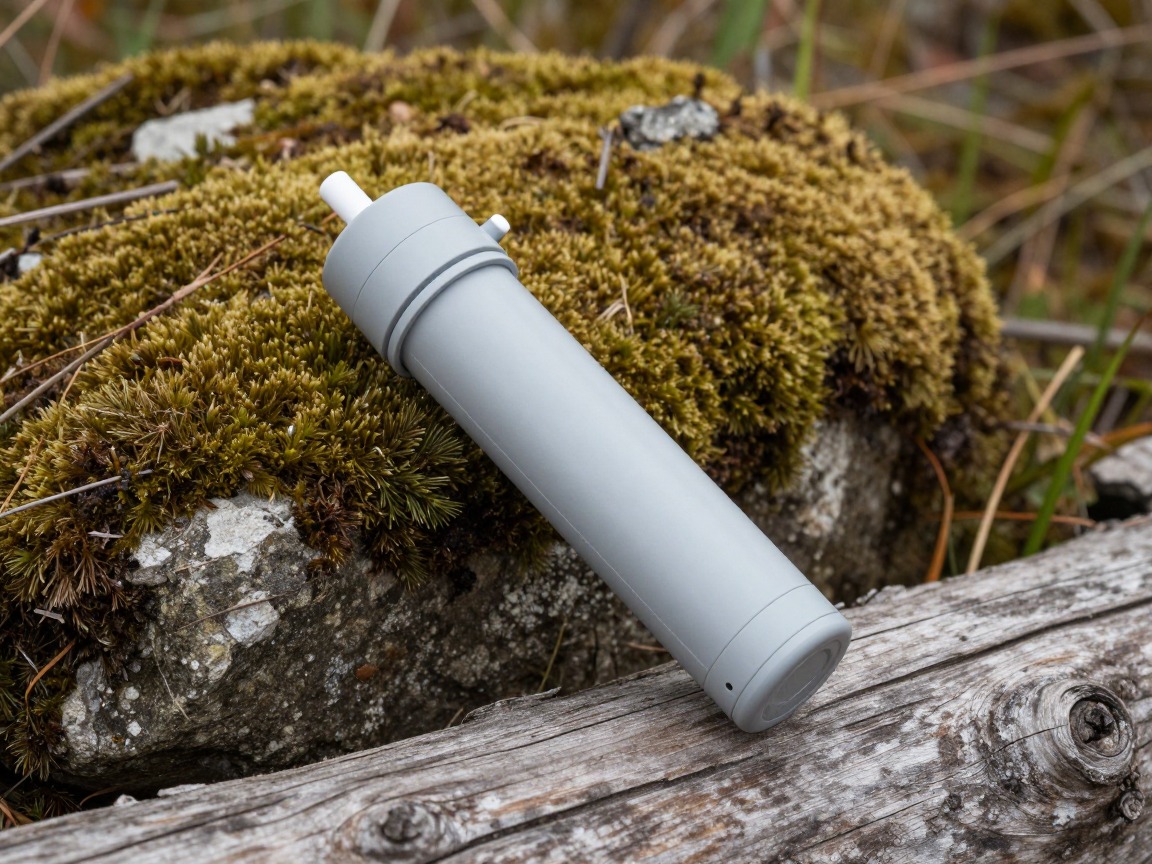
Water filter
Treats the same river you just crossed, or its tributaries, so you're not carrying more water weight than you need to.
What to look for: Fast flow and easy field cleaning — silty, glacial, or snowmelt water can run cloudy and clogs a filter faster than a clear mountain stream.
 Sawyer Squeeze Water Filtration System Check price
  Sawyer Products SP128 Mini Water Filtration System Check price
  LifeStraw Personal Water Filter for Hiking Check price
 - Pot, mug & spork
- Fuel canister
- Food storage appropriate to the area (canister or hang)
Footwear: the trail and the ford
What you hike in and what you cross in don't have to be the same shoe — many backpackers carry a dedicated pair just for the water.
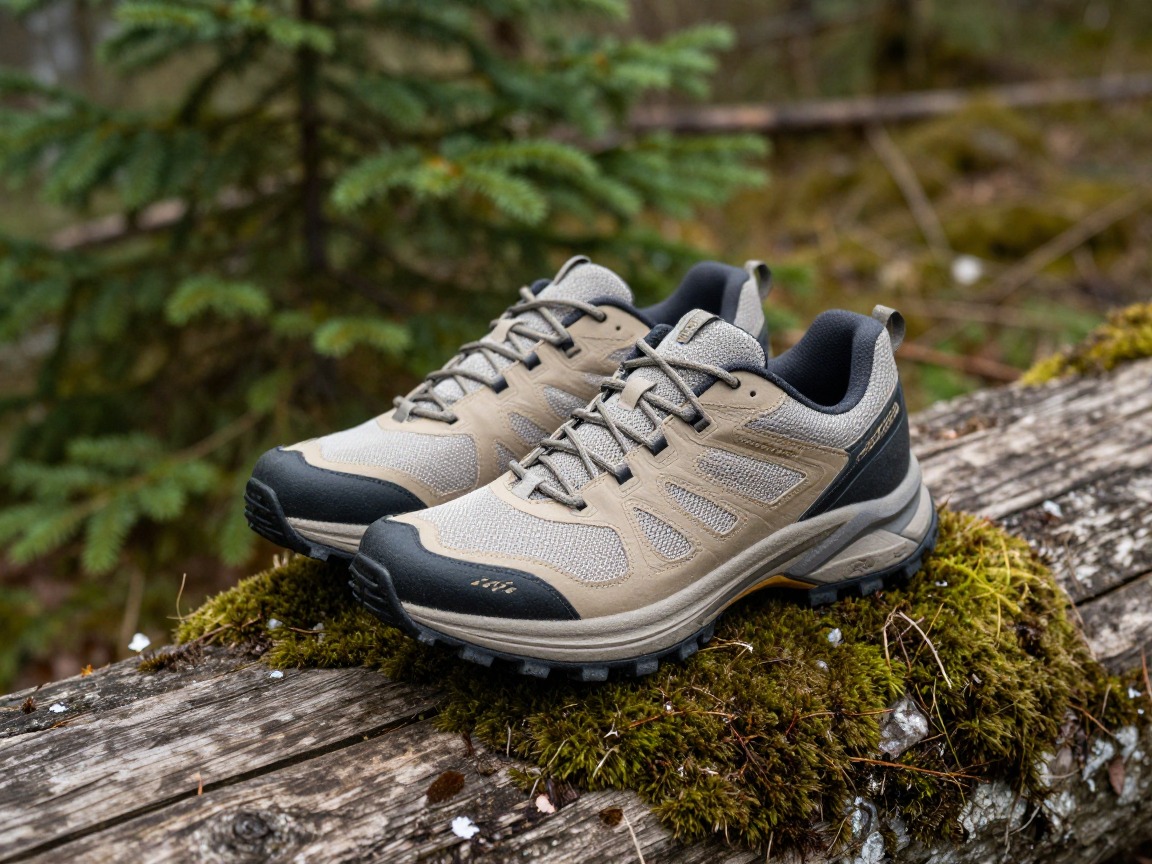
Trail runners
Your main hiking footwear for the miles between crossings — a shoe that drains and dries quickly is worth considering if fords are frequent.
What to look for: Good grip on wet rock and a shoe you're genuinely happy to have get wet and dry out again repeatedly over a multi-day route.
 Saucony Men's Excursion TR14 Trail Running Shoe Check price
  Adidas Mens Terrex Tracefinder 2 Trail Running Check price
  Brooks Men’s Cascadia 19 Mountain Trail Running Shoe - Black/Black/E Check price
 - Dedicated water shoes or sandals with a secure heel strap, carried just for crossings — barefoot risks cuts and lost footing on a hidden riverbed.
- Gaiters, if the approach or exit banks are loose gravel or brushy.
- A dry pair of socks stashed in a dry bag for after the last crossing of the day.
Clothing & layers
Layering here is about what survives a wetting versus what's held in reserve — sharpened by the crossing itself.

Base layer
Worn while crossing since it's going to get wet anyway; wool or synthetic keeps working even soaked, unlike cotton.
What to look for: Merino or a synthetic wicking fabric, never cotton, in a weight suited to the trip's season.
 100% Merino Wool Base Layer Men Set - Thermal Underwear for Men Long Check price
  Merino.tech Merino Wool Base Layer Women Set - Heavyweight Check price
  100% Merino Wool Base Layer Men Set - Thermal Long Underwear with Ba Check price
Rain shell
Wind on wet skin right after a cold ford pulls heat fast — a shell breaks that wind while you dry out and warm back up.
What to look for: Genuinely waterproof and windproof, with enough room to layer underneath if temperatures drop after the crossing.
 UIQUR Mens Rain Jacket Raincoat Waterproof Windbreaker Black L Check price
  COOFANDY Men's Waterproof Hiking Travel Shell Breathable Rain Jacket Check price
  Columbia Womens Arcadia II Waterproof Rain Jacket Check price
 - A packable insulating layer, kept dry, for camp and the minutes right after a cold ford.
- Spare hiking socks.
Trekking poles, navigation & safety
Poles turn two legs into a stable tripod in current; the rest of this section is the redundancy that matters most on a route without a bridge.

Trekking poles
Give you two extra points of contact in moving water — plant them upstream and move one point of contact at a time rather than shuffling both feet together.
What to look for: Solid locking mechanisms that hold under real sideways load; a pole that collapses mid-crossing is worse than no pole at all.
 Trekology Trek-Z Cork Grip Collapsible Lightweight Hiking Trekking P Check price
  Cascade Mountain Tech Trekking Poles Check price
  covacure Hiking Poles Check price
Headlamp
Essential if a crossing or a detour runs your schedule later than planned and you finish the day's miles after dark.
What to look for: Reliable water resistance and enough runtime to cover an unplanned late finish.
 LHKNL Headlamp Flashlight Check price
  Lepro LED Headlamp Rechargeable IPX4 Waterproof Headlight 5 Modes - Check price
  Energizer LED Headlamp PRO Check price
First-aid kit
Covers the cuts, scrapes, and cold-related concerns that come with wading over rock and gravel.
What to look for: A kit weighted toward blister and cut care, packed in its own dry bag so it's actually usable when you need it.
 Mini First Aid Kit - 150 Piece Small Waterproof EVA Hard Shell Case Check price
  Adventure Medical Kits Ultralight/Watertight Medical Kit .5 Check price
  211 PCS Waterproof First Aid Kit Check price
 - Map + compass or offline GPS, showing the crossing point and any marked alternate fords.
- A satellite messenger on routes without cell coverage, useful if a crossing turns out to be impassable and you need to signal a change of plan.
- Whistle
- Sun hat & sunglasses
How to adapt this setup
If the route has one shallow crossing rather than a genuine hazard, lighten up — a small dry bag for camp clothes may be enough, and your existing trail shoes will do. Save the full water-shoe setup for repeated or deeper fords.
On routes with repeated fords of the same river, quick-drying trail shoes worn through every crossing often beat carrying separate water shoes.
Plan your day around an early crossing, before afternoon melt raises the water. These rivers can rise noticeably by late afternoon and drop again overnight, so timing matters more than technique.
Add a full dry change of clothes you never touch until after the last crossing, and treat the minutes right after a cold ford — not the crossing itself — as the real hypothermia risk.
A ford you'd cross with a partner spotting you is a different decision alone. Lower your risk tolerance, and default to 'wait or turn back' on any crossing that gives you pause.
Common mistakes to avoid
- Crossing with the hip belt still buckled, so a loaded pack can hold you under if you go down.
- Packing dry-clothes essentials in a pack with no real liner, then finding them soaked after a deep ford.
- Treating the map's blue line as gospel, when the marked point isn't always the safest crossing on the day.
- Attempting a snowmelt crossing late in the day, when it's running highest, instead of an early-morning ford.
- Going in barefoot or in loose sandals with no heel strap, risking a cut foot or a lost shoe.
- Pushing through a crossing that looks wrong — too fast, deep, or murky — because turning back feels like wasted time.
Make it yours
Frequently asked questions
How do you safely cross a river while backpacking?
Unbuckle your hip belt and sternum strap, use trekking poles for extra points of contact, and face upstream or at a slight angle. Move one point of contact at a time rather than shuffling both feet together, and pick a line with a safe run-out below you. If it looks too fast, deep, or murky, don't cross.
What should I wear to cross a river on a hike?
Many backpackers carry dedicated water shoes or sandals with a secure heel strap just for crossings, switching out of their hiking shoes at the bank. Bare feet risk cuts on an unseen riverbed, and loose sandals can be pulled off by current.
Why do you cross rivers in the early morning?
Rivers fed by snowmelt or glaciers typically run lowest overnight and in the early morning, then rise through the day as the sun melts more water upstream. Planning a big ford for first thing in the morning, rather than mid-afternoon, is one of the simplest ways to reduce the risk.
Should I unbuckle my pack before crossing a river?
Yes — loosen or unclip your hip belt and sternum strap before stepping into moving water, so the pack can't hold you underwater or drag you off balance if you fall. Keep the shoulder straps on so you can still stand or swim, but make sure the belt releases fast.
How do I keep my sleeping bag dry on a trip with river crossings?
Line the inside of your pack with a heavy-duty liner or dry bags, and consider a second dry bag just for the sleeping bag and any dry camp clothes. A pack rain cover alone doesn't protect against a deep ford or a fall in the water — the barrier needs to be on the inside.
Illustrative images show the type of gear, not specific products. Recommendations link to similar items on Amazon; we only ever link real listings and never show fabricated prices or ratings. General planning guidance, not a substitute for your own judgment or professional backcountry-safety instruction.