
The photography hiking setup
Hiking to make photographs changes the rhythm of a day hike more than the gear list — the best light shows up at the edges of the day, and a camera adds weight and fragility a normal pack doesn't manage. This setup gets a camera safely to the shot, protects it once you're there, and adds the patience — and the layers — to wait for the light.

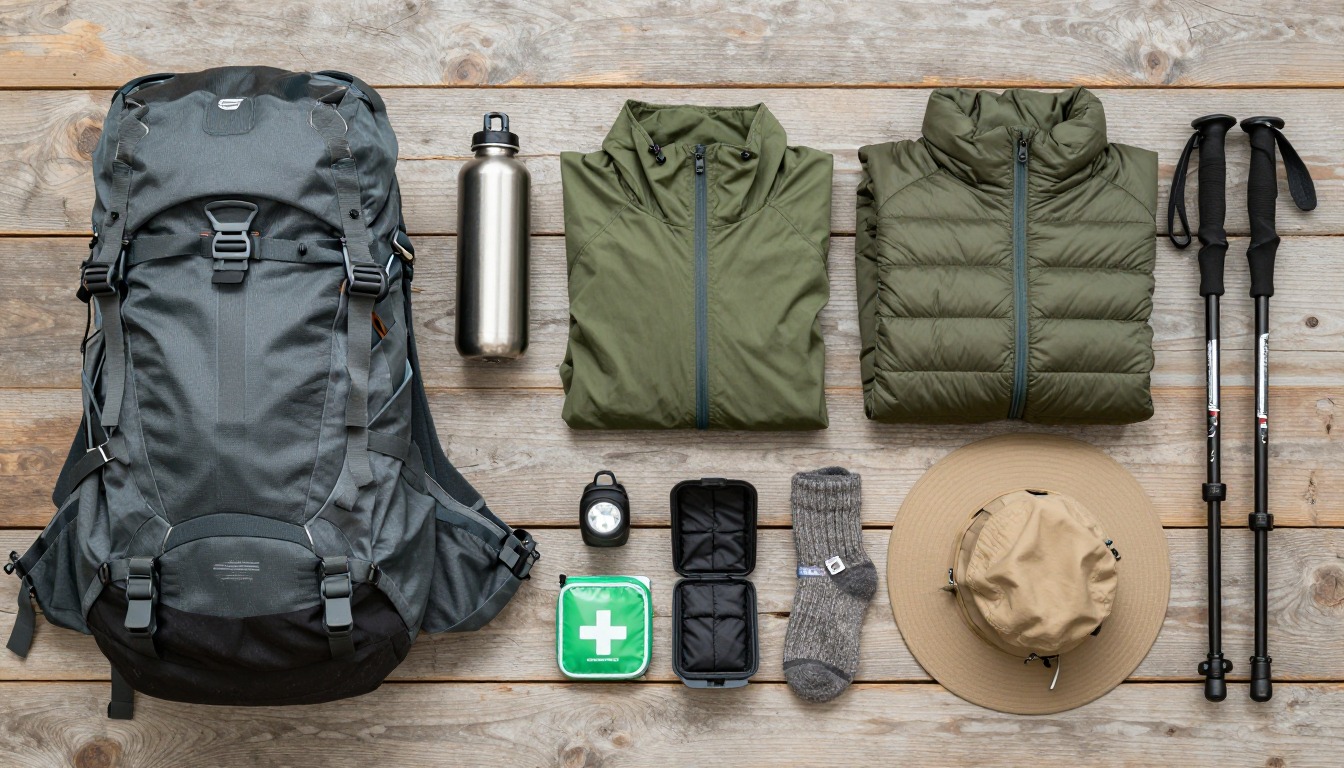
This kit handles three things a normal day hike doesn't: extra weight that has to earn its place, gear that needs protecting from rain and knocks, and a schedule set by golden hour instead of trailhead convenience. So the pack is chosen for quick access and padding, a tripod and dry protection ride alongside the day-hike basics, and the layers lean warmer — standing still waiting for light chills you faster than walking ever will.
Hikers who want real photographs, not just phone snapshots — anyone carrying a mirrorless or DSLR body, at least one lens, and ideally a tripod, on trails they could otherwise day-hike in sneakers. Shooting handheld on a phone? The standard day-hike list covers you for less weight. Chasing sunrise from camp overnight? Blend this with the weekend-backpacking setup.
- Start with a camera-specific pack — quick side or top access matters more than raw capacity once you're chasing changing light.
- Add protection first: a rain cover or dry bag for the camera, then a tripod, spare batteries and extra memory cards.
- Layer for standing still, not just walking — dawn and dusk shoots mean a warm layer and headlamp before most hikers are even on trail.
- Finish with the day-hike basics — water, food, navigation, first aid — then weigh the pack and trim what you won't use.
About this setup
Photography changes a hike's rhythm more than its gear list. A landscape shot worth stopping for usually happens at the edges of the day — the hour before sunrise, the hour after sunset — meaning hiking in the dark on purpose, standing still in the cold once you're there, and building the day around light instead of mileage. That just asks for a headlamp, a warm layer and a turnaround time most casual day hikers never think about.
The gear itself asks for two things a standard day pack doesn't: protection and quick access. A camera body and lens are more fragile and pricier than anything else in a typical day-hike kit, so weatherproofing — a dedicated rain cover or dry bag, not just the pack's own cover — earns its place fast. Quick side or top access matters just as much, since the gap between catching a shot and missing it is often the seconds it takes to get the camera out. A tripod, spare batteries and a second memory card round out the extras; weigh the loaded pack rather than assuming 'it's just a camera.'
The rest of the kit is ordinary day-hike sense, applied more carefully. Water and food don't change because you're carrying a camera. Layers do — you'll stand still far more than you move, so a warm layer that felt unnecessary elsewhere becomes core kit here. And because the best light so often falls outside normal daylight hours, treat the headlamp as essential, tell someone your plan and finish time, and set a firm turnaround — golden hour tempts you to stay for one more frame.
The camera pack
A 25–35 liter pack with a padded camera compartment and side or top access is the sweet spot — room for a body, a lens or two and the day-hike essentials, built to protect glass without fully unpacking.
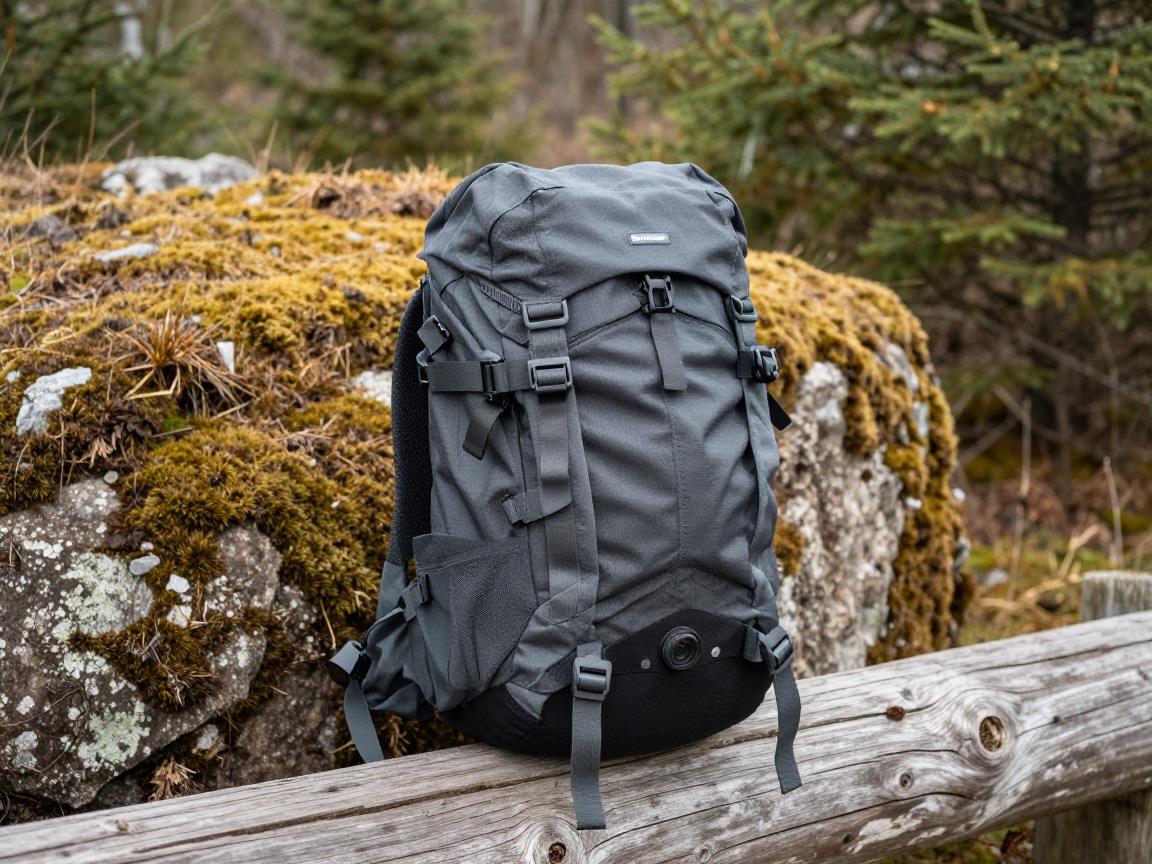
Camera backpack
Carries a camera body, a lens or two and your day kit in one padded compartment, with side or top access so you can shoot without taking the pack off.
What to look for: Padded, customizable dividers, a rain cover built in or included, and side or top-loading access so a lens change doesn't mean unpacking everything.
 RAINSMORE Camera Backpack Check price
 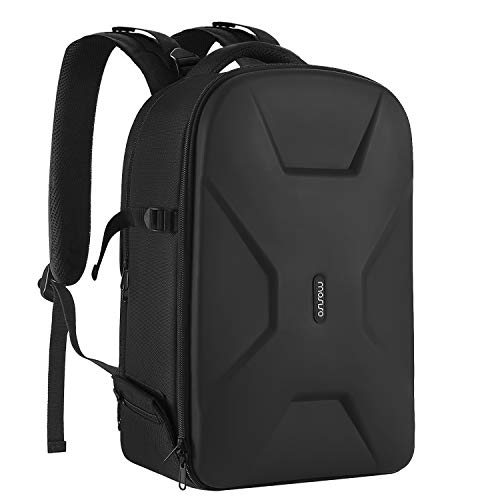 MOSISO Camera Backpack Check price
 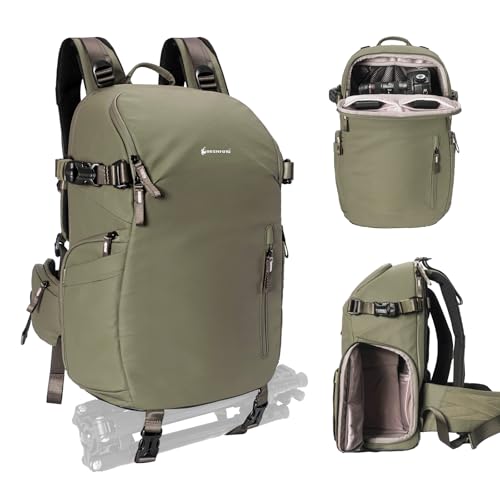 Besnfoto Camera Backpack Waterproof Bag Professional Travel Photogra Check price
 - Compact travel tripod — for long exposures and low light; even a lightweight tabletop model beats none at all
- 2–3 spare camera batteries — cold mornings drain them faster than a normal day of shooting
- Extra memory cards, carried separately from the camera
- A rain cover or dry bag sized for the camera compartment, not just the pack's own cover
- Microfiber lens cloth and a small rocket blower for dust
Water & food
Carry water and food the same way you would on any day hike — the camera changes what you wear and when you move, not how much you need to drink or eat.
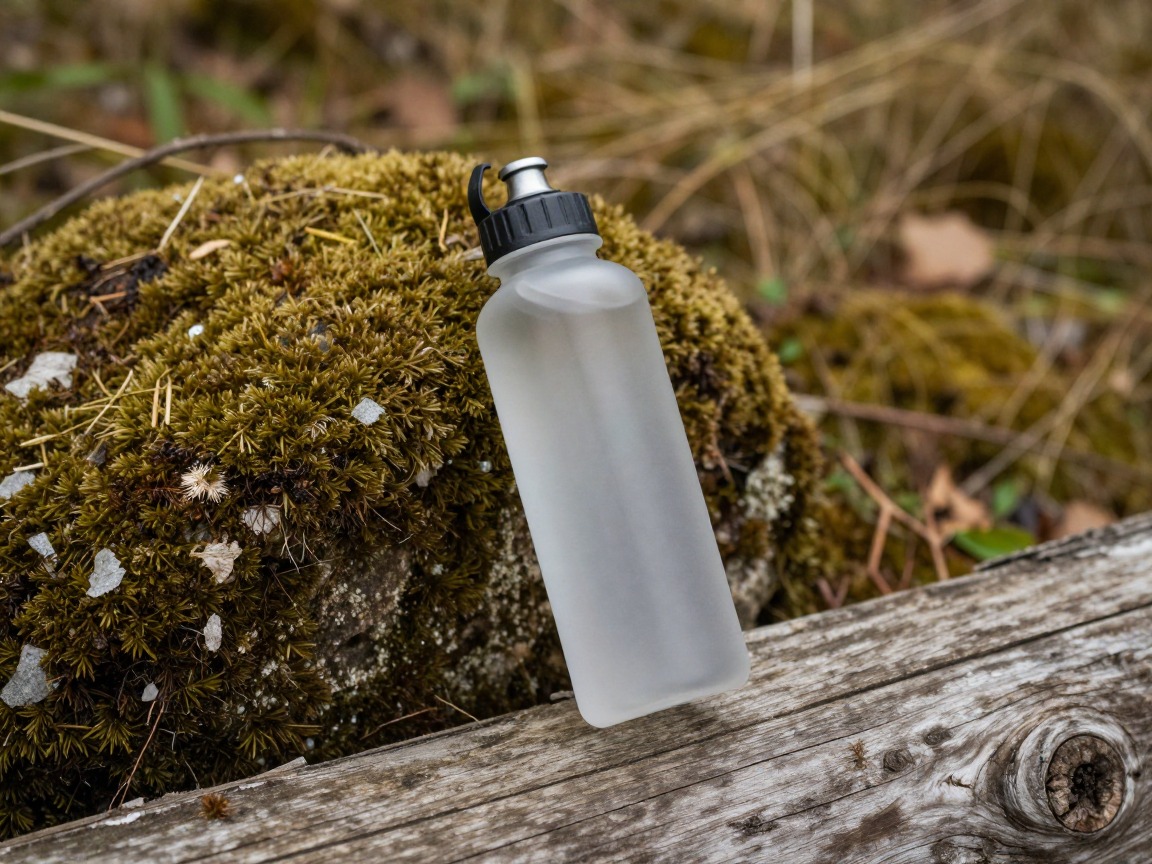
Water bottle
Simple, tough and easy to refill on trail — the same job it does on any day hike, camera or not.
What to look for: A tough, wide-mouth bottle that's easy to refill from a stream and simple to drink from one-handed while you're still holding a camera in the other.
 Nalgene 32 oz Wide Mouth Water Bottle Check price
  Nalgene 32 oz Wide Mouth Water Bottle Check price
  Nalgene 32 oz Wide Mouth Water Bottle Check price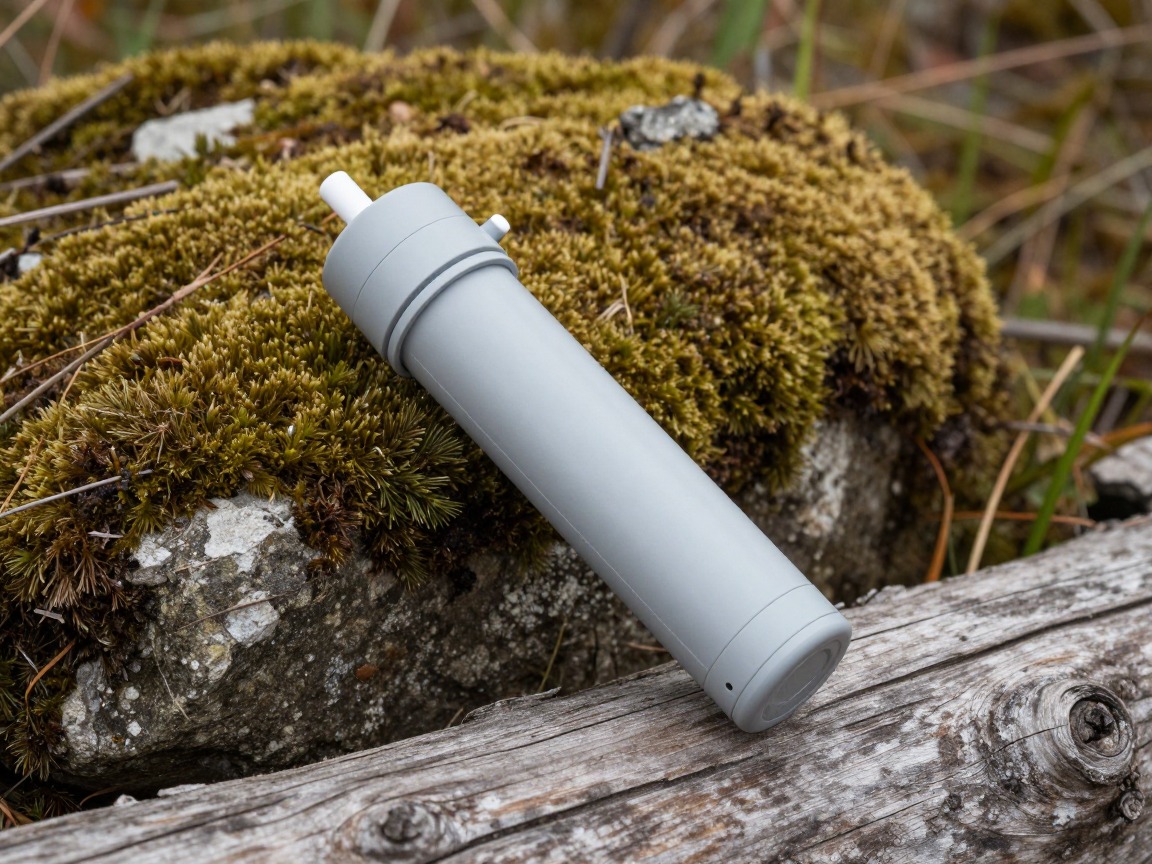
Water filter
Lets you top up from a stream on a long shoot day without carrying extra weight for water you'll mostly not need.
What to look for: Fast flow and easy field cleaning — a squeeze filter is light enough that its weight barely registers next to a camera body and lens.
 Sawyer Squeeze Water Filtration System Check price
  Sawyer Products SP128 Mini Water Filtration System Check price
  LifeStraw Personal Water Filter for Hiking Check price
 - Lunch + snacks you can eat one-handed without setting down your camera
- Electrolyte tabs or drink mix
- A spare emergency snack for a shoot that runs long
Clothing & layers for waiting on light
The best light happens at the edges of the day, which means standing still in the cold waiting for it — dress for that, not just for walking.

Rain shell
Keeps you dry through a dawn mist or passing shower without retreating — a hood that clears your eyeline matters as much as waterproofing.
What to look for: Waterproof and breathable, with a hood that stays clear of your eyeline and a shell quiet enough not to crinkle while you're listening for the shutter.
 UIQUR Mens Rain Jacket Raincoat Waterproof Windbreaker Black L Check price
  COOFANDY Men's Waterproof Hiking Travel Shell Breathable Rain Jacket Check price
  Columbia Womens Arcadia II Waterproof Rain Jacket Check price
Warm layer
A packable puffy or fleece for the long stretches of standing still photography adds — you generate far less heat framing a shot than walking to it.
What to look for: Real warmth for its pack size, since you'll wear it stationary more than moving; synthetic shrugs off a damp dawn better than down.
 Outdoor Ventures Women's Packable Lightweight Puffer Jacket with Hoo Check price
  Amazon Essentials Women's Lightweight Long-Sleeve Water-Resistant Pa Check price
  Outdoor Ventures Women's Packable Lightweight Puffer Jacket with Hoo Check price
Hiking socks
Same job as any day hike — manage moisture, prevent blisters — but it matters more when a long wait for light adds cold, still hours onto your feet.
What to look for: Wool or a wool blend, tall enough to clear your boot cuff. Never cotton, especially standing in wet grass for a shot.
 Alvada Merino Wool Hiking Socks Thermal Warm Crew Winter Boot Sock F Check price
  DANISH ENDURANCE Merino Wool Socks for Men & Women Check price
  innotree 3 Pack Men's Merino Wool Hiking Socks Check price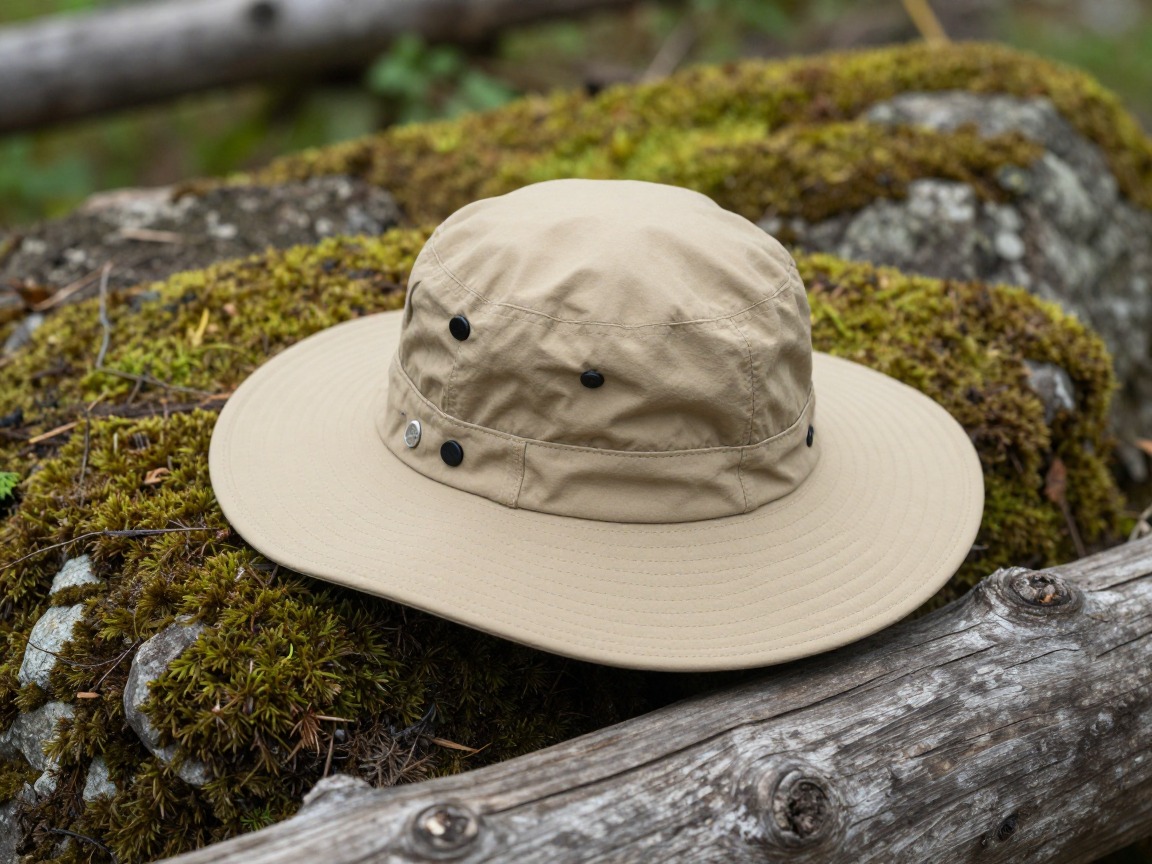
Sun protection
Shades your eyes and neck through the harsh midday hours between shoots, and doubles as a wind layer waiting on a ridge for the light to turn.
What to look for: A brim wide enough to cut glare through a viewfinder, breathable for the hike in, and packable enough to swap for a warm hat at dawn or dusk.
 FURTALK Womens Sun Hat with Ponytail Hole Beach Hiking Summer Wide B Check price
 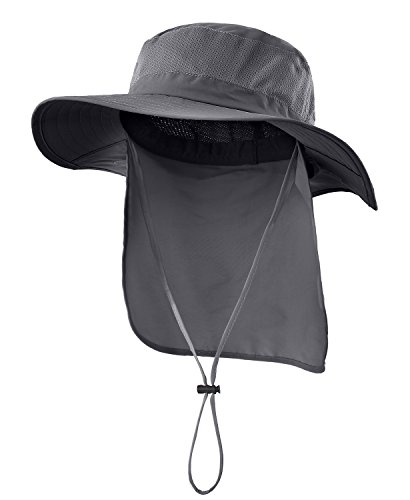 Home Prefer Outdoor UPF50+ Mesh Sun Hat Wide Brim Fishing Hat with N Check price
  FURTALK Sun Hats for Men Fishing Hat UPF Protection Wide Brim Bucket Check price
 - Moisture-wicking base layer & hiking pants
- A warm hat or buff for standing around at dawn or dusk
- Thin liner gloves you can still operate a camera in
Navigation, light & safety
A headlamp matters more here than on almost any other day hike — golden hour means you're often hiking in the dark on one end of the day or the other, by design.

Headlamp
Gets you to a sunrise spot before first light or back after a sunset shoot — for photography hiking this is core kit, not backup.
What to look for: Enough output for full dark (roughly 200+ lumens), a red-light mode that won't wreck night vision or blow out a long exposure, and a lock mode for the pack.
 LHKNL Headlamp Flashlight Check price
  Lepro LED Headlamp Rechargeable IPX4 Waterproof Headlight 5 Modes - Check price
  Energizer LED Headlamp PRO Check price
First-aid kit
A compact kit for blisters, cuts and the small stuff — worth carrying always, and more so when chasing light means you're out past your usual turnaround.
What to look for: A kit weighted toward blisters and minor injuries you can actually treat, small enough to tuck beside the camera gear.
 Mini First Aid Kit - 150 Piece Small Waterproof EVA Hard Shell Case Check price
  Adventure Medical Kits Ultralight/Watertight Medical Kit .5 Check price
  211 PCS Waterproof First Aid Kit Check price
Trekking poles
Optional, but useful when extra camera weight changes your balance on a descent, or you're moving over rough ground in the dark for first light.
What to look for: Adjustable, packable poles with locks that hold under load — collapsible models stow easily alongside a camera pack.
 Trekology Trek-Z Cork Grip Collapsible Lightweight Hiking Trekking P Check price
  Cascade Mountain Tech Trekking Poles Check price
  covacure Hiking Poles Check price
 - Map + compass or GPS (with offline maps)
- Phone + power bank — GPS and a photo app drain it faster than usual
- Whistle, fire (lighter/matches), and an emergency shelter (bivy/space blanket)
- A planned turnaround time — golden hour tempts you to linger past it
How to adapt this setup
Carrying one small mirrorless body and a single lens? Drop to a 20–25L daypack with a padded insert instead of a dedicated camera pack, and skip the second lens — a tabletop tripod still covers long exposures.
A second body, a long lens or a heavier tripod head adds real weight — size up toward 35–45L, split the load with a hip-belt lens pouch, and favor a sturdier tripod or monopod for reach and stability.
Sub-freezing dawns drain batteries even faster — keep spares warm in an inner pocket, add a heavier insulating layer for the wait, and layer in traction for ice underfoot.
Chasing first light from a ridge means camping near the shot — blend this list with the weekend-backpacking setup so you're not hiking out in the dark to reach it.
Common mistakes to avoid
- Packing the camera at the bottom of the bag, so a passing shot is gone by the time it's out.
- Skipping a dedicated rain cover or dry bag because the pack itself is 'water resistant.'
- Leaving the tripod behind to save weight, then having no way to shoot a steady long exposure.
- Underdressing for how much time you'll spend standing still waiting on light, versus moving.
- Treating the headlamp as optional on a hike planned entirely around dawn or dusk light.
- No spare battery or memory card, so a full day of shooting ends early on a technicality.
Make it yours
Frequently asked questions
What kind of pack do I need for hiking with a camera?
A 25–35 liter pack with a padded, dedicated camera compartment and side or top access works best — room for a body, a lens or two and your day-hike essentials, without unpacking everything for a lens change. A padded insert in a normal daypack is a lighter alternative for one small body and lens.
Do I really need a tripod for hiking photography?
If you're shooting long exposures, low light, or want yourself in frame, yes — even a compact travel tripod beats none. For quick handheld daylight shots you can skip it, but golden-hour photography leans on the stable, longer exposures a tripod makes possible.
How do I protect camera gear from rain while hiking?
Use a rain cover or dry bag sized for your camera compartment, not just the pack's built-in cover, and keep the camera sealed or under a jacket between shots in real rain. A microfiber cloth for wiping the lens and body is worth carrying too.
Why does a photography hike need a headlamp more than a normal day hike?
Because the best light happens at the edges of the day, photography hikes routinely start before sunrise or finish after sunset on purpose. A reliable headlamp with a red-light mode, which won't wreck night vision or blow out a long exposure, is core kit here, not a backup.
How much extra weight does a camera really add to a day hike?
A mirrorless body, a lens, a compact tripod and spare batteries typically add several pounds over a standard day-hike kit — enough to notice on a long or steep trail. Weigh the loaded pack before you go, and trim any accessory you won't actually use that day.
Illustrative images show the type of gear, not specific products. Recommendations link to similar items on Amazon; we only ever link real listings and never show fabricated prices or ratings. General planning guidance, not a substitute for your own judgment or professional backcountry-safety instruction.