
The peak bagging (summit day) setup
Peak bagging swaps a day hike for a long, exposed push above treeline — usually starting hours before sunrise, off the summit before afternoon weather builds. This is a summit-day setup: a hard turnaround time, fast-changing mountain weather, and the layers and traction big elevation and lingering snow demand.

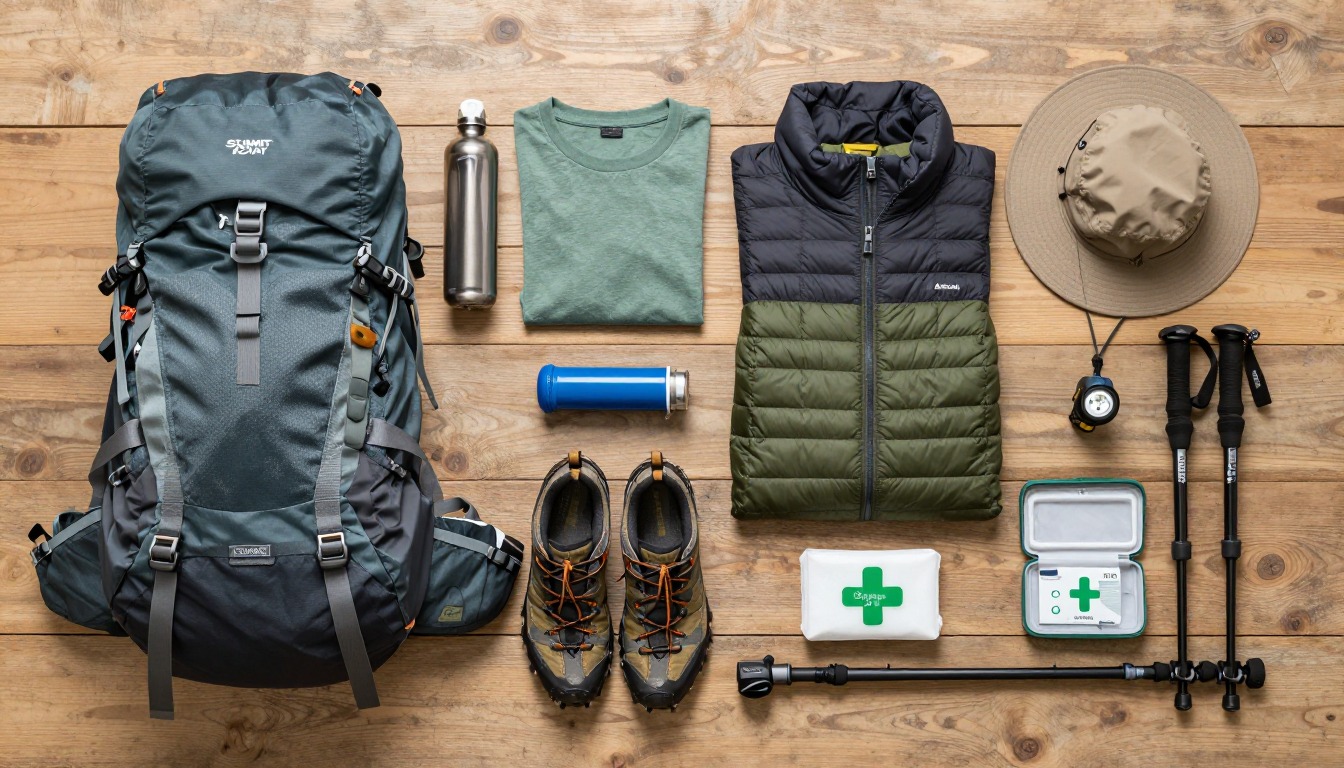
A peak-bagging kit is built around one number: your turnaround time. Above treeline, weather turns fast, so everything here gets you up and down before it does — a light pack, layers for the swing between a headlamp-lit trailhead and a wind-scoured summit, traction for lingering snow, and enough backup that a small problem doesn't become a big one.
This suits hikers comfortable with sustained, steep elevation gain over a long day, disciplined enough to turn around on a schedule rather than a summit. It's built for non-technical terrain — trails and scrambles, not glaciers or roped climbing. A route needing an ice axe and crampons, or crossing avalanche terrain, is mountaineering, not peak bagging, and calls for formal training instead.
- Start with a light, close-fitting daypack sized for alpine layers and traction, not bigger than the day needs.
- Build the layering system next: a base layer, an insulating layer and a wind/rain shell for pre-dawn cold and midday sun.
- Add traction for lingering snowfields and the light-navigation-first-aid trio, then set a firm turnaround time before the trailhead.
- Weigh the finished pack, trim what isn't earning its place, and confirm your route and turnaround time with someone before you start.
About this setup
Peak bagging is the day hike's more serious cousin: a single push out and back, stretched over more vertical, often starting in the dark so you're off the summit before the afternoon weather builds. The alpine start isn't a flex — it's the whole strategy. Mountains make their own weather, and the safest hours near an exposed summit are almost always the earliest ones, which is why most of this kit exists to get you moving and warm before sunrise.
Above treeline the rules change. Wind that's a non-issue in the trees becomes what actually chills you; sun off open rock and old snowfields burns skin and eyes faster than lower down; and a lingering snowfield can hide the trail or turn a scramble into a slippery, exposed traverse. None of that calls for exotic gear — just the right layers, real traction, and the discipline to respect a turnaround time.
That discipline has a hard edge. Snow or ice on steep terrain, or any route crossing avalanche terrain, is mountaineering, not peak bagging — it needs formal training, an ice axe and crampons you know how to use, and a trained partner, well beyond this list. The same goes for altitude: a bad headache, nausea or confusion that doesn't ease with rest and fluids is a turn-around sign, not a push-through-it one.
The pack
A summit push wants a technical daypack, not a hauler — sized for alpine layers and traction, light enough that extra vertical doesn't cost the summit.
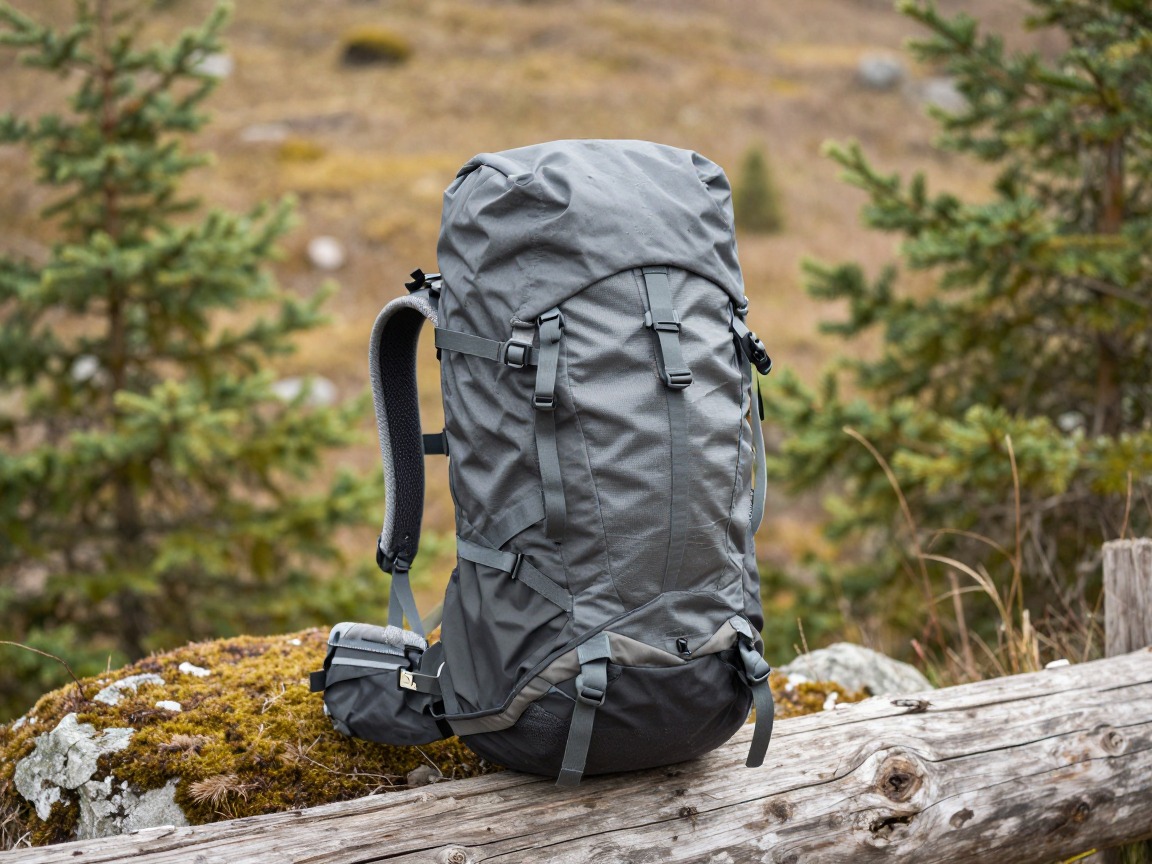
Summit daypack
Carries the alpine layers, traction and extra food and water a long day above treeline needs, without the bulk that slows you down on steep ground.
What to look for: A close-fitting 25–35 L pack with compression straps, external loops for poles or an axe, and a simple design that won't snag on rock. Fit beats any single feature.
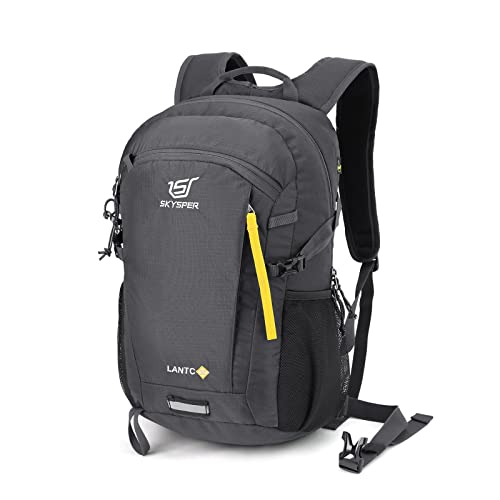 SKYSPER Small Hiking Backpack Check price
  Osprey Sportlite 20L Lightweight Hiking Backpack Check price
 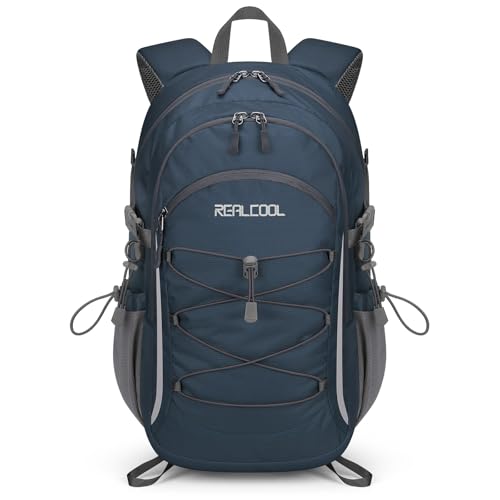 RealCool 20L Lightweight Hiking Backpack Check price
 - A pack liner or dry bag to keep layers dry if the weather turns
Water & fuel
A long day at altitude burns more water and calories than it feels like — dehydration and bonking creep up quietly, slowing you down when you can't afford it.
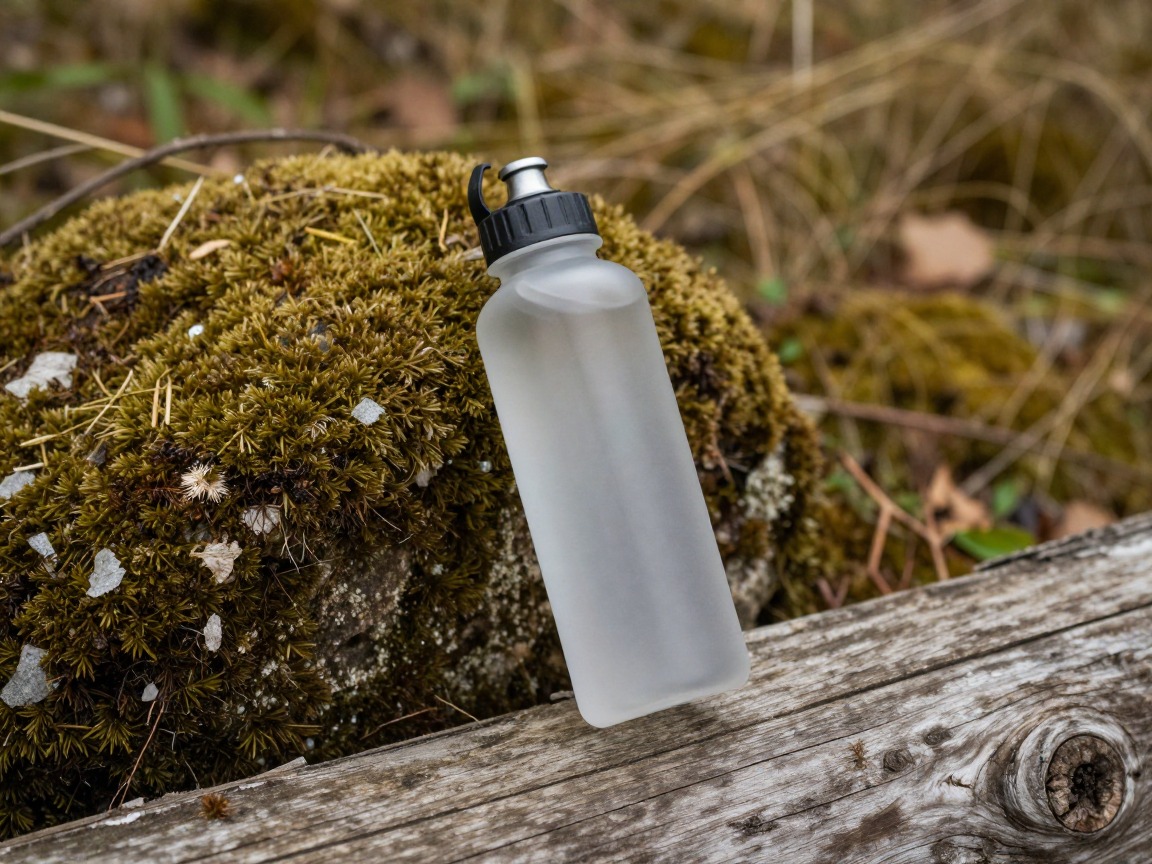
Insulated bottle
Holds up through a well-below-freezing pre-dawn start and doubles as a hot drink at the summit if there's time.
What to look for: An insulated, wide-mouth bottle or two for easy filling and electrolyte tabs. Reliable at cold starts beats any hose-and-bladder convenience.
 Nalgene 32 oz Wide Mouth Water Bottle Check price
  Nalgene 32 oz Wide Mouth Water Bottle Check price
  Nalgene 32 oz Wide Mouth Water Bottle Check price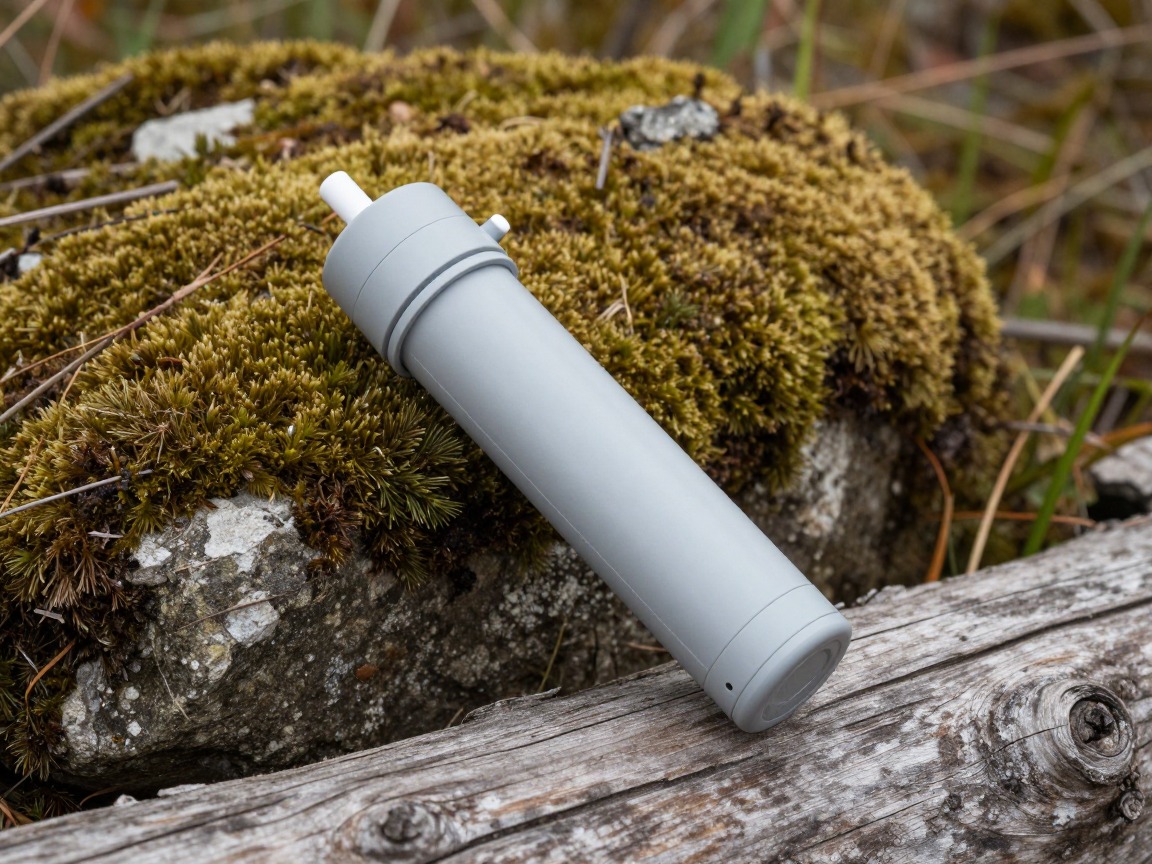
Water filter
Above the last creek or snowmelt near treeline, there's often no more water until you're back down — a filter lets you top up fully before pushing higher.
What to look for: Fast, simple and light — a squeeze filter covers most alpine routes. Treat the last water near treeline as your final fill-up.
 Sawyer Squeeze Water Filtration System Check price
  Sawyer Products SP128 Mini Water Filtration System Check price
  LifeStraw Personal Water Filter for Hiking Check price
 - Calorie-dense food you can eat one-handed while moving
- Electrolyte mix or tabs
- Extra emergency food beyond what you expect to eat
Alpine layers
Above treeline, temperature and wind swing hard between pre-dawn dark and midday sun — the layering system handles both without a full closet.

Warm base layer
Keeps you working through the coldest part of the day — the pre-dawn climb — without soaking through once you're moving hard.
What to look for: A midweight merino or synthetic base that keeps insulating even damp. Cotton is genuinely dangerous here — it holds moisture and steals heat when you need it least.
 100% Merino Wool Base Layer Men Set - Thermal Underwear for Men Long Check price
  Merino.tech Merino Wool Base Layer Women Set - Heavyweight Check price
  100% Merino Wool Base Layer Men Set - Thermal Long Underwear with Ba Check price
Warm/wind layer
A packable insulated layer for the summit stop or the moment weather turns — carry more warmth than the trailhead suggests.
What to look for: The most warmth for its weight, easy to layer over other pieces. Synthetic fill shrugs off damp better than down.
 Outdoor Ventures Women's Packable Lightweight Puffer Jacket with Hoo Check price
  Amazon Essentials Women's Lightweight Long-Sleeve Water-Resistant Pa Check price
  Outdoor Ventures Women's Packable Lightweight Puffer Jacket with Hoo Check price
Wind/rain shell
Wind, not cold air alone, is the real heat-thief on an exposed ridge — a waterproof, windproof shell blocks both and buys time if a storm builds.
What to look for: Waterproof and windproof, with a hood that fits over a warm hat. Packable enough that it always comes along.
 UIQUR Mens Rain Jacket Raincoat Waterproof Windbreaker Black L Check price
  COOFANDY Men's Waterproof Hiking Travel Shell Breathable Rain Jacket Check price
  Columbia Womens Arcadia II Waterproof Rain Jacket Check price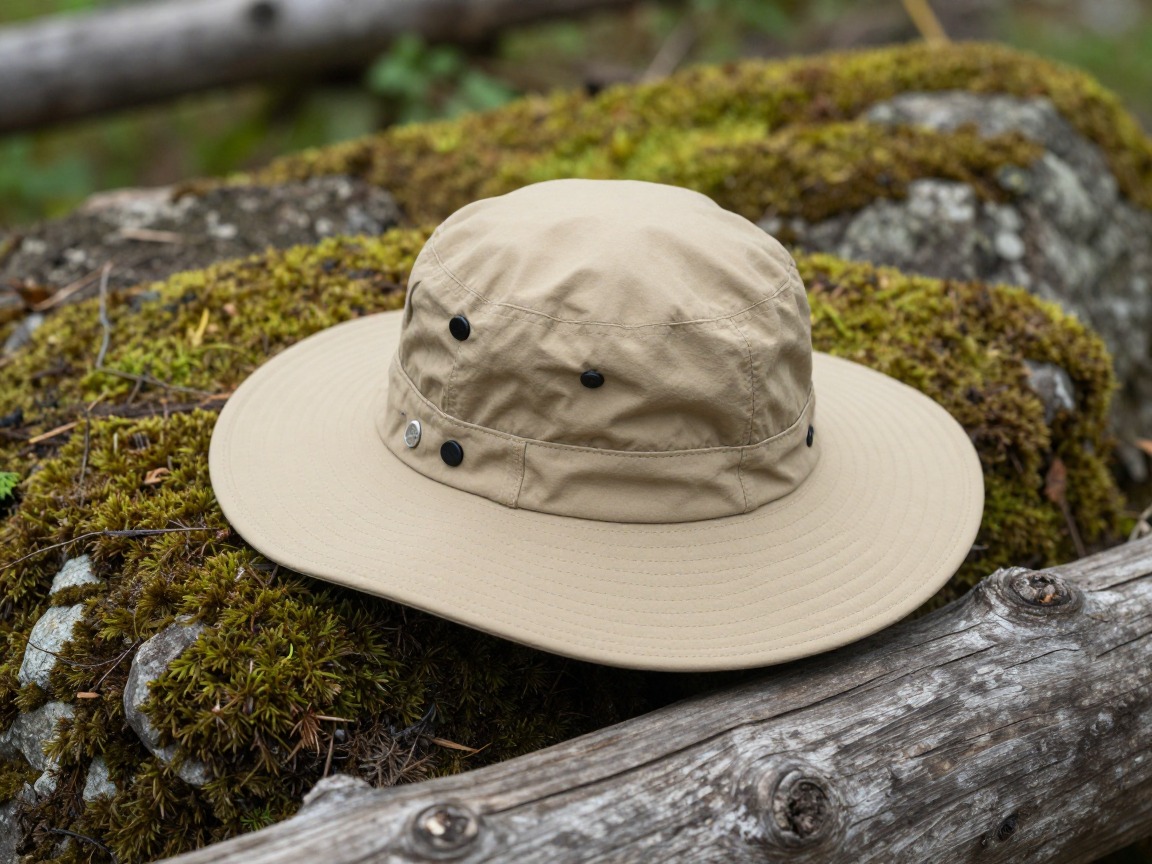
Sun protection
Thinner air and sun off open rock and lingering snow burn skin and eyes faster than the same sun at lower elevation.
What to look for: A brimmed hat that shades face and neck, sunglasses rated for snow glare, and real sunscreen. Summer snowfields glare as hard as winter ones.
 FURTALK Womens Sun Hat with Ponytail Hole Beach Hiking Summer Wide B Check price
 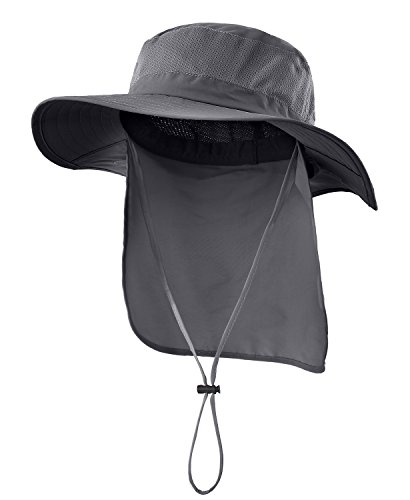 Home Prefer Outdoor UPF50+ Mesh Sun Hat Wide Brim Fishing Hat with N Check price
  FURTALK Sun Hats for Men Fishing Hat UPF Protection Wide Brim Bucket Check price
 - Wool hiking socks plus a dry spare
- Warm hat or beanie for the cold pre-dawn start and exposed summit
- Lightweight gloves
- Moisture-wicking shirt & hiking pants
Navigation, light & safety
This is where a summit push differs most from a day hike: a hard turnaround time, traction for lingering snow, and the redundancy an exposed place demands.

Headlamp
Lights the pre-dawn alpine start and doubles as backup if the day runs long and you're still descending after dark.
What to look for: Enough output to move confidently before sunrise, a secure strap, and a lock mode so it won't drain in your pack. Lithium batteries hold up better in the cold.
 LHKNL Headlamp Flashlight Check price
  Lepro LED Headlamp Rechargeable IPX4 Waterproof Headlight 5 Modes - Check price
  Energizer LED Headlamp PRO Check price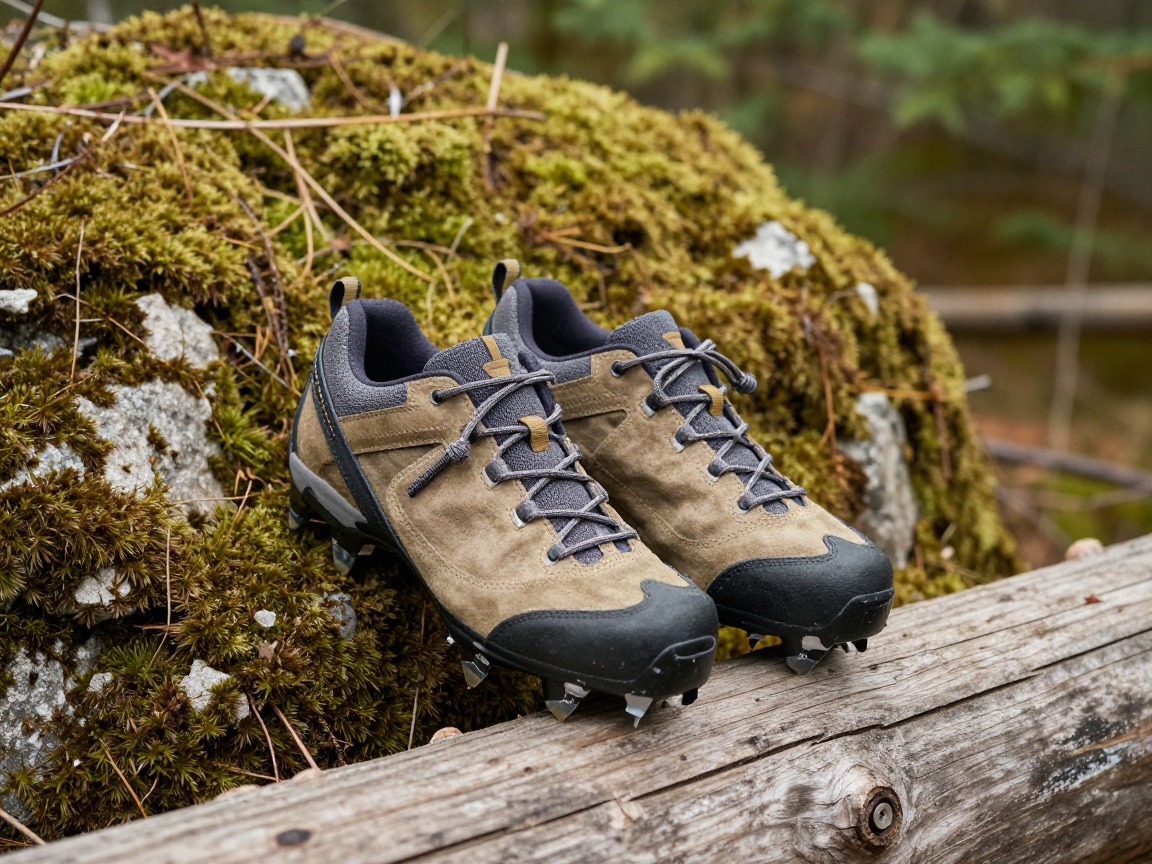
Microspikes
Lingering snowfields on shaded slopes or near the summit are common well into the season — spikes turn a slick crossing into a normal step.
What to look for: Slip-on microspikes that pack small and fit over boots, good for packed snow and icy patches on walkable terrain. Steep or firm snow needing an axe and crampons is a different, trained skill set.
 Kahtoola MICROspikes Footwear Traction for Winter Check price
 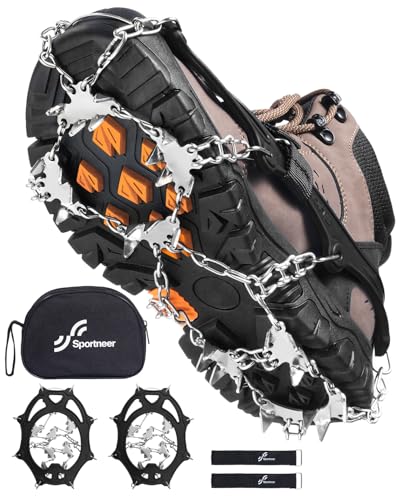 Sportneer Crampons: Ice Cleats for Shoes and Boots with 28 Spikes - Check price
  Kahtoola MICROspikes Footwear Traction for Winter Check price
Trekking poles
Add balance on loose scree and talus, and save your legs on the long descent after a big day of vertical.
What to look for: Adjustable, comfortable grips and locks that hold under load on steep ground. Many hikers stash them for short scrambles and pull them back out for the descent.
 Trekology Trek-Z Cork Grip Collapsible Lightweight Hiking Trekking P Check price
  Cascade Mountain Tech Trekking Poles Check price
  covacure Hiking Poles Check price
First-aid kit
Covers blisters, cuts and the small stuff on a long day, and should sit alongside a basic sense of altitude symptoms in yourself and your group.
What to look for: A compact kit weighted toward blisters and the things that actually happen on long days — then learn what's in it before you need it.
 Mini First Aid Kit - 150 Piece Small Waterproof EVA Hard Shell Case Check price
  Adventure Medical Kits Ultralight/Watertight Medical Kit .5 Check price
  211 PCS Waterproof First Aid Kit Check price
 - Map + compass or GPS with the descent route loaded
- Sunscreen & SPF lip balm
- Whistle
- Phone + power bank
- Fire — lighter/matches
- Emergency shelter (bivy/space blanket)
- A written route and turnaround time left with someone
How to adapt this setup
More elevation gain means more of everything that matters: an earlier start, more food and water, and a turnaround time with real margin — not one that only works if everything goes perfectly.
If lingering snowfields cover much of the route, traction becomes the priority item, not an afterthought. Steep or firm snow is your sign to step back and get mountaineering training first.
Sun and wind both punish exposed ridge walking. Lean harder on sun protection and a wind layer, and treat afternoon thunderstorm risk as a hard deadline, not a guess.
The slowest hiker sets the turnaround time for everyone. Agree on it at the trailhead, and make sure no one is relying on someone else's layers, water or food.
Common mistakes to avoid
- Ignoring your turnaround time because the summit feels close, turning a smart alpine start into a storm problem.
- Underestimating how fast weather builds above treeline on summer afternoons.
- No traction for a lingering snowfield, then improvising on slick, exposed ground.
- Packing a summer day-hike kit for a pre-dawn start that's well below freezing at altitude.
- Skipping real sun protection and paying for it in sunburn and snow-glare eye strain by the summit.
- Carrying a heavier pack than the vertical gain can support, then running out of pace before the top.
Make it yours
Frequently asked questions
What is peak bagging?
Peak bagging is hiking to a summit as the main goal of the day — usually a long, single-day push with significant elevation gain, often above treeline. It's less about mileage and more about vertical, exposure and weather, which is why the kit differs from a standard day hike.
Why start a peak-bagging hike before dawn?
An alpine start gets you up and, ideally, back below treeline before afternoon storms and wind build — a common pattern in mountain weather. Starting hours before sunrise also gives you a real margin against a hard turnaround time instead of racing the clock on the way up.
Do I need an ice axe and crampons for peak bagging?
Not for a non-technical summit with only patches of lingering snow — microspikes and trekking poles usually cover that. If the route has steep or firm snow, or crosses avalanche terrain, that's mountaineering territory and calls for formal training, an axe, crampons and a trained partner.
How do I pick a turnaround time?
Set it before you leave the trailhead, based on your pace, the forecast and how exposed the upper mountain is — then treat it as fixed. A common approach is an early-afternoon cutoff, turning around at that time regardless of how close the summit looks.
What should I wear for a high-altitude summit push?
Layer for a big swing: a warm base layer for the cold pre-dawn start, an insulating layer for breaks and the summit, and a windproof/waterproof shell for exposed ridges. Add real sun protection, since thinner air and glare off snow and rock burn faster than you'd expect.
Illustrative images show the type of gear, not specific products. Recommendations link to similar items on Amazon; we only ever link real listings and never show fabricated prices or ratings. General planning guidance, not a substitute for your own judgment or professional backcountry-safety instruction.