
The mountain sunrise hike setup
There's a narrow window between leaving the trailhead in the dark and the sky turning color at the summit, and a mountain sunrise hike lives or dies on getting that window right. This is a complete setup for climbing before dawn: enough light to move with confidence, enough warmth to enjoy the wait once you stop, and the timing to get there with room to spare.

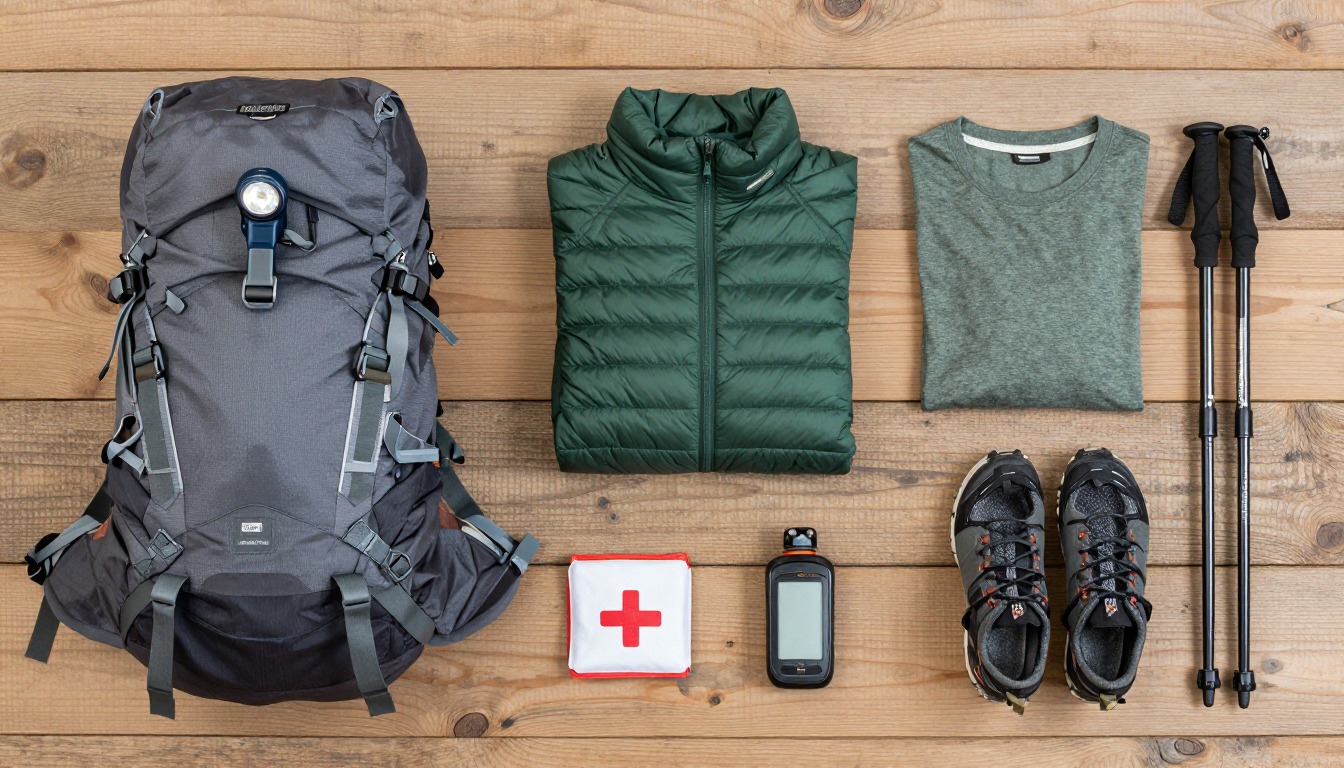
This kit exists because the two hardest parts of a sunrise hike aren't the distance or the elevation gain — they're moving safely before your eyes have anything but a headlamp to work with, and staying warm once you've stopped moving right as the temperature bottoms out. Everything here backs up your light, protects the wait at the top, and builds in enough timing margin that a slow start or a missed turn doesn't cost you the sunrise altogether.
This suits hikers tackling a summit, ridge, or viewpoint they've researched — or ideally already hiked — in daylight, and who are comfortable navigating by headlamp for an hour or more before dawn. It's not the right introduction to a new or exposed trail; scout the route in daylight first, or go with others who already know it, before you attempt it in the dark.
- Work backward from sunrise: check the actual time for your date and location, add your hiking time plus real margin, and set your start time from that — not the other way around.
- Build your light kit first — a headlamp bright enough to move confidently by, plus a backup and spare batteries, since the entire first leg happens with no other light source.
- Add the warmth you'll need standing still at the top: an insulating layer, a base layer, and a hot drink, because the coldest point of the whole hike is the wait, not the climb.
- Finish with navigation and safety — a downloaded route, trekking poles or traction for dark footing, and a plan someone else knows — then trim anything you won't actually use.
About this setup
A sunrise hike is really two hikes stacked on top of each other: a climb that happens almost entirely in the dark, and a summit stay that can run twenty or thirty motionless minutes before and after the sky changes. Most of what goes wrong on these hikes traces back to treating it as one hike instead of two — packing for the climb and forgetting that standing still on an exposed summit before dawn is a different challenge than moving uphill.
The math that matters most is timing. Sunrise happens at a specific, knowable minute, but hiking pace in the dark, on unfamiliar footing, with a headlamp's narrow field of view, tends to run slower than the same trail in daylight — often noticeably slower. Build in margin rather than cutting it close: arriving twenty minutes early to sit and cool down beats a rushed final push that has you gasping as the light changes, or missing it by five minutes because a wrong turn cost you fifteen.
None of this requires technical skill, just preparation most day hikers skip because they're used to starting in daylight. Know your route before you need a headlamp to read it, respect that a headlamp beam narrows your world down to a few feet in every direction, and treat the summit wait as its own event that needs its own layer and its own hot drink — not an afterthought to the climb.
The pack
A sunrise hike rarely needs more than a small daypack — you're carrying light, warmth, and a hot drink for a few hours, not gear for a full day out.
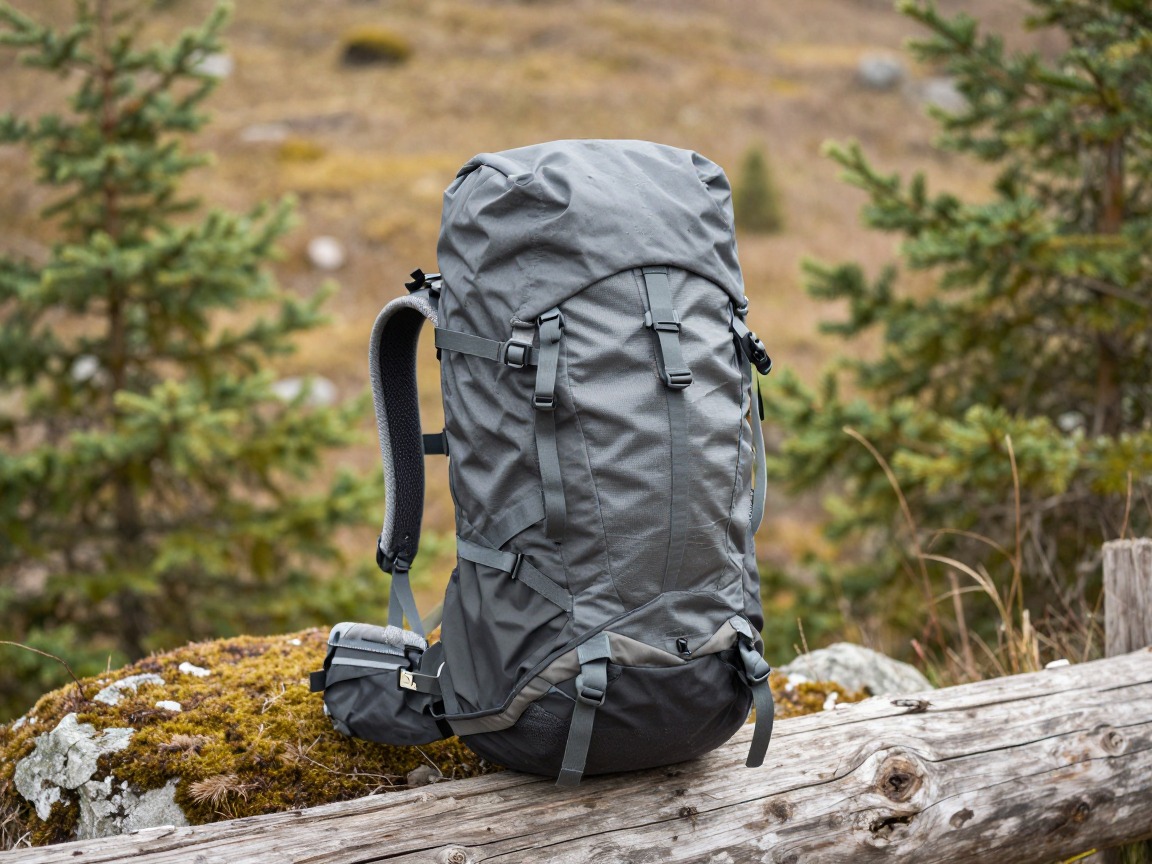
A day-sized backpack
Carries your light kit, warm layer, and hot drink without adding bulk to a climb you'll want to move quickly on.
What to look for: A supportive back panel and pockets you can find without stopping to look, since much of the climb happens by feel in the dark.
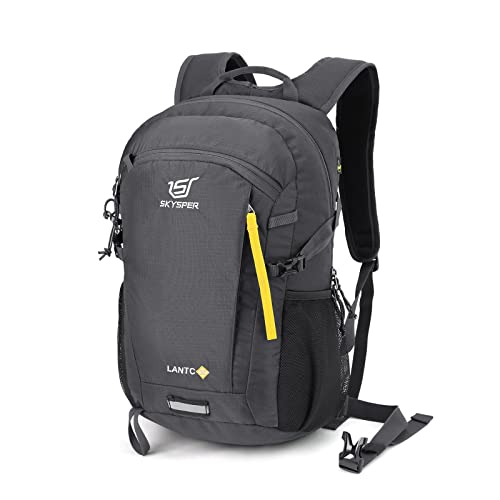 SKYSPER Small Hiking Backpack Check price
  Osprey Sportlite 20L Lightweight Hiking Backpack Check price
 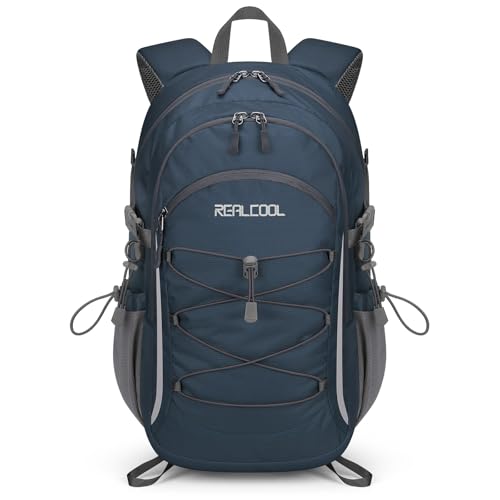 RealCool 20L Lightweight Hiking Backpack Check price
 - Water — enough for the climb, the wait, and the way down; more in warm months
Light for the climb
The first hour or more of a sunrise hike happens with no light but your own — treat your headlamp as the one thing in this kit you can't compromise on.

Headlamp
Your only light source until the sky starts to change — bright enough to actually hike by, not just find a zipper in the dark.
What to look for: Real hiking-grade output, a comfortable strap for a sustained climb, and a lock mode so it can't switch on and drain inside your pack.
 LHKNL Headlamp Flashlight Check price
  Lepro LED Headlamp Rechargeable IPX4 Waterproof Headlight 5 Modes - Check price
  Energizer LED Headlamp PRO Check price
 - Backup light — a second headlamp or small flashlight, carried where you can reach it without stopping
- Spare batteries — cold pre-dawn air drains them faster than most hikers expect
Warmth for the summit wait
The coldest point of a sunrise hike isn't the climb — it's the twenty or thirty motionless minutes at the top, right as the temperature bottoms out before dawn.

Warm layer
A packable puffy or fleece for the still, cold wait at the summit — you'll want it on the moment you stop climbing.
What to look for: The most warmth for its packed size; synthetic fill shrugs off the damp common on pre-dawn summits better than down.
 Outdoor Ventures Women's Packable Lightweight Puffer Jacket with Hoo Check price
  Amazon Essentials Women's Lightweight Long-Sleeve Water-Resistant Pa Check price
  Outdoor Ventures Women's Packable Lightweight Puffer Jacket with Hoo Check price
Base layer
A layer against your skin that keeps you from chilling the moment you stop generating heat from the climb.
What to look for: A snug, moisture-wicking synthetic or wool base layer — never cotton, which holds the sweat from your climb and chills you fast once you're still.
 100% Merino Wool Base Layer Men Set - Thermal Underwear for Men Long Check price
  Merino.tech Merino Wool Base Layer Women Set - Heavyweight Check price
  100% Merino Wool Base Layer Men Set - Thermal Long Underwear with Ba Check price
 - Warm hat and gloves
- Buff or neck gaiter
- A foam pad or something to sit on, to keep cold ground from pulling heat out of you while you wait
Fuel & a hot drink
A hot drink does more for morale and warmth at a cold summit than another layer often does — build it into the plan, not as an afterthought.
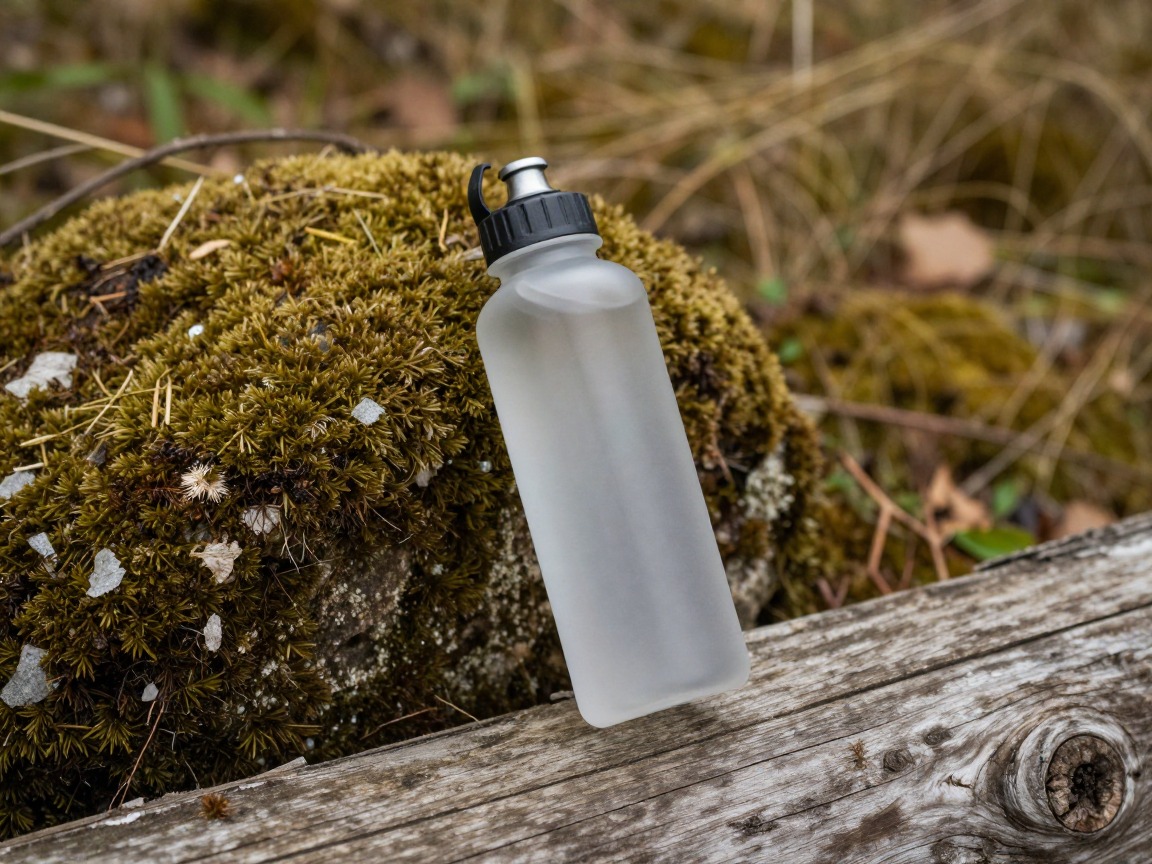
Insulated bottle
Carries coffee, tea, or soup that stays hot through the climb, giving you something warm to hold and drink during the wait for sunrise.
What to look for: A wide-mouth, vacuum-insulated bottle that holds heat for several hours and is easy to drink from with gloves on.
 Nalgene 32 oz Wide Mouth Water Bottle Check price
  Nalgene 32 oz Wide Mouth Water Bottle Check price
  Nalgene 32 oz Wide Mouth Water Bottle Check price
 - High-energy snacks for the climb and the wait — cold saps appetite, so bring more than you think you'll want
- A packet of instant coffee, tea, or soup mix if you're filling the bottle with plain hot water
Navigation & footing in the dark
A trail you know well in daylight can be hard to read by headlamp — sharper navigation and steadier footing matter more before dawn than they do after it.

Trekking poles
Extra points of contact help you read terrain your headlamp only shows a few feet at a time, and catch a stumble before it becomes a fall.
What to look for: Comfortable grips, locks that hold under load, and tips you can feel and place with confidence in the dark.
 Trekology Trek-Z Cork Grip Collapsible Lightweight Hiking Trekking P Check price
  Cascade Mountain Tech Trekking Poles Check price
  covacure Hiking Poles Check price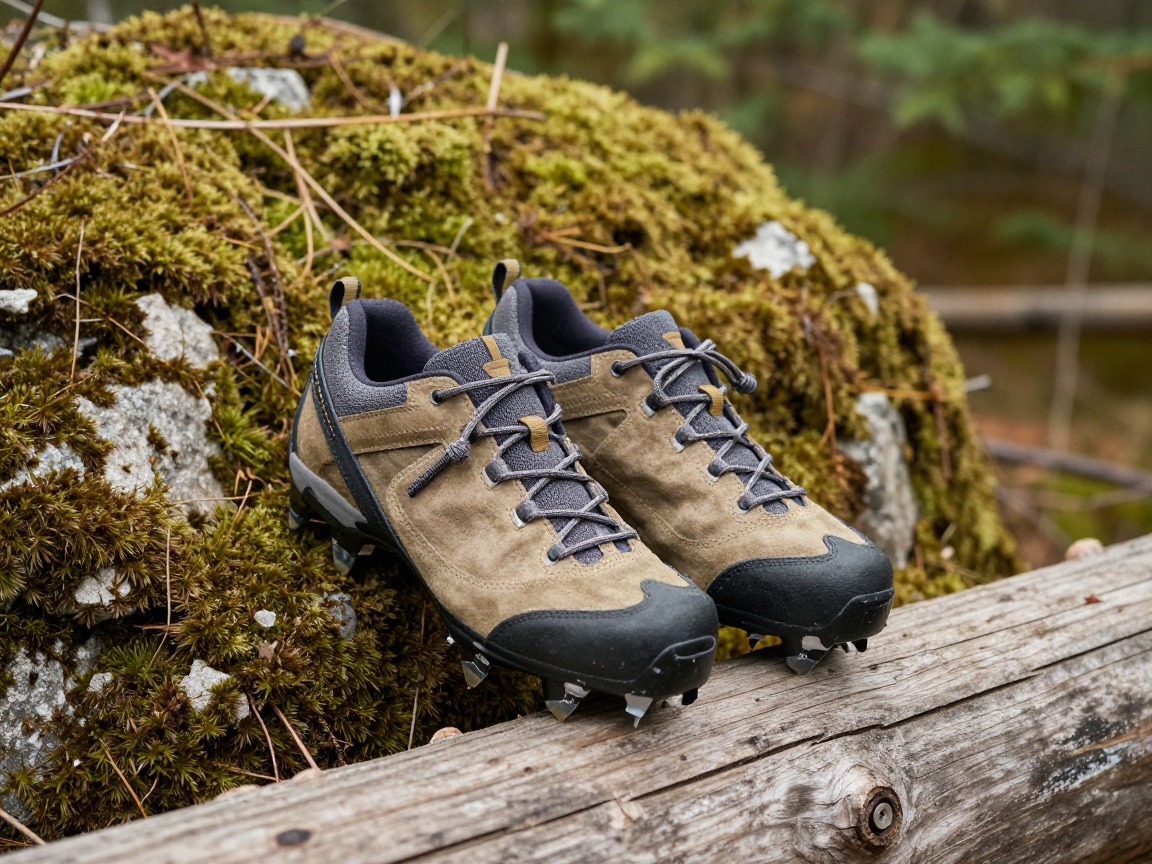
Traction device
On icy, frosty, or loose ground before dawn, traction keeps a trail you know well from turning into a fall you didn't see coming.
What to look for: Something simple to fit by feel, matched to conditions — light traction for hardpack or frost, spikes for real ice.
 Kahtoola MICROspikes Footwear Traction for Winter Check price
 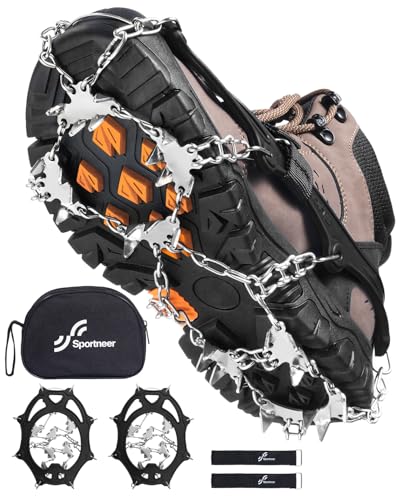 Sportneer Crampons: Ice Cleats for Shoes and Boots with 28 Spikes - Check price
  Kahtoola MICROspikes Footwear Traction for Winter Check price
 - Your route downloaded for offline use before you leave — cell service on summit approaches is often unreliable
- The actual sunrise time for your date and location, with real margin built into your start time
- A clear turnaround or bail time in case you're running behind schedule
Safety
The habits that matter less on a familiar daylight trail — a plan someone else knows, a way to call for help — carry more weight before sunrise, when help is farther away and harder to reach.

First-aid kit
The same small kit you'd carry on any hike, for the same blisters, cuts, and rolled ankles — just harder to treat well in the dark.
What to look for: A compact kit weighted toward what you'd actually use, plus a way to see what you're doing if your headlamp is elsewhere.
 Mini First Aid Kit - 150 Piece Small Waterproof EVA Hard Shell Case Check price
  Adventure Medical Kits Ultralight/Watertight Medical Kit .5 Check price
  211 PCS Waterproof First Aid Kit Check price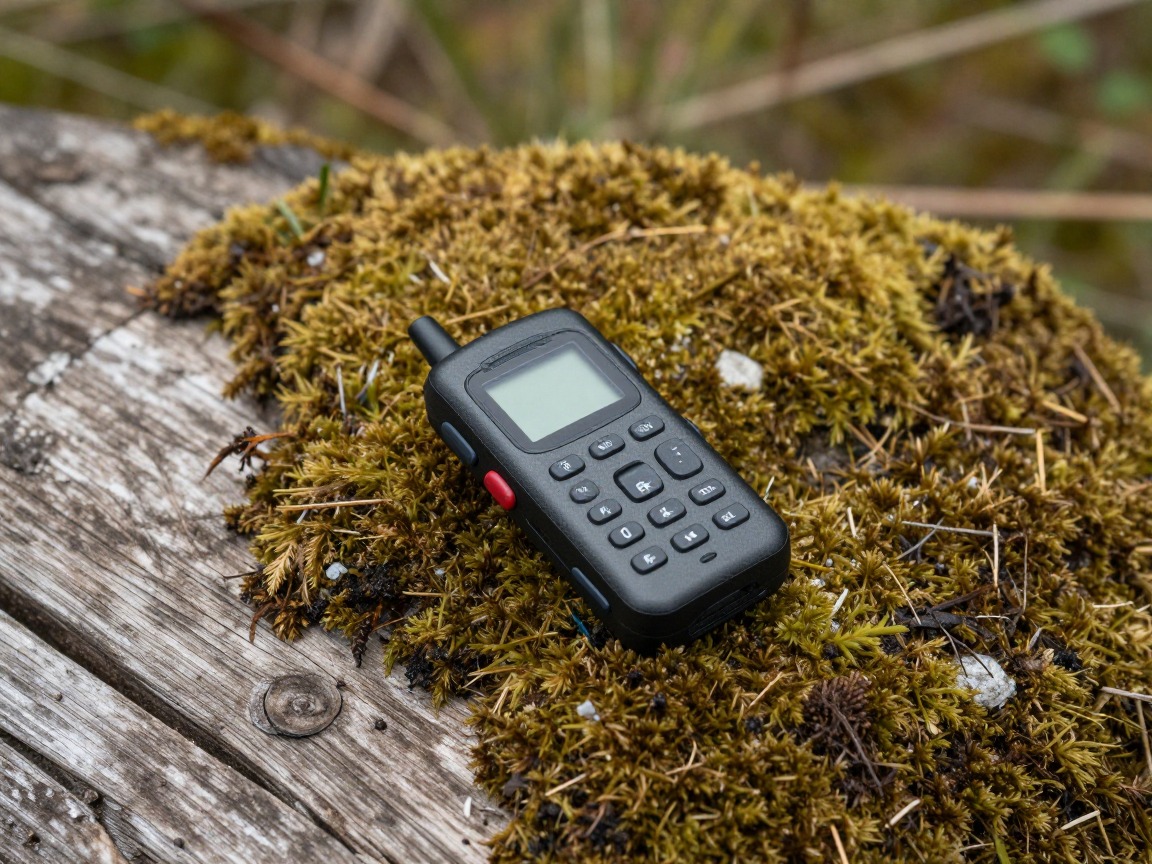
Satellite messenger
A way to call for help or check in from a summit or ridge well out of cell range, especially before other hikers are on the trail.
What to look for: Two-way messaging rather than just an SOS button, and battery life that comfortably covers an early start and a full day.
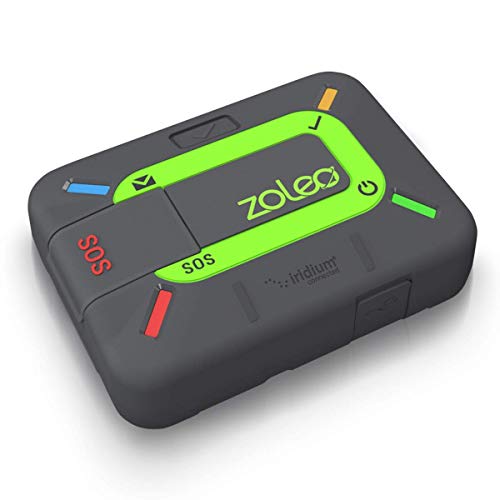 ZOLEO Satellite Communicator Check price
  Garmin inReach® Messenger Satellite Communicator Check price
  Garmin inReach® Mini 2 Check price
 - Phone, fully charged, plus a small power bank
- Tell someone your exact route, start time, and expected return
- Extra caution on exposed summits or ridgelines in wind or low visibility — turn back if conditions feel wrong
How to adapt this setup
Choose a trail you already know in daylight, or one with a well-marked, heavily traveled approach, so you're not learning the route and hiking in the dark at the same time.
Add a heavier insulating layer, warmer gloves, and consider traction for icy sections — the pre-dawn low at altitude in shoulder season can be well below what the valley forecast suggests.
Set your pace and start time to the slowest hiker's speed in the dark, not the fastest, and spread backup lights and navigation duties across more than one person.
Build in extra margin if you're setting up a camera or tripod at the summit — framing a shot in low light takes longer than you'd expect, and you don't want to be doing it while the color is already fading.
Treat it closer to the weekend-backpacking list: more layers, more food, a satellite messenger, and an earlier, more conservative start time given the extra distance covered in the dark.
Common mistakes to avoid
- Timing the start to arrive exactly at sunrise instead of well before it — a slower-than-expected climb in the dark is the easiest way to miss it.
- Packing for the climb and forgetting the wait — the coldest, most exposed part of the hike is standing still at the top, not moving on the way up.
- Relying on a single headlamp with no backup, on a trail where the first hour or more happens with no other light at all.
- Not downloading the route in advance and assuming a cell signal or trail markers will be enough to catch a missed turn in the dark.
- Skipping the hot drink because it feels like an extra — a warm drink does more for morale and warmth at a cold, still summit than another layer often does.
- Underestimating footing in the dark on ground you'd cross without thinking in daylight — a headlamp beam hides loose rock and drop-offs your eyes would normally catch.
Make it yours
Frequently asked questions
How early should I start a sunrise hike?
Work out your hiking time for the distance and elevation gain in the dark — typically slower than the same trail in daylight — then add real margin on top, aiming to arrive at least 20–30 minutes before the actual sunrise time for your date and location rather than cutting it close.
Do I need two headlamps for a sunrise hike?
A backup light is strongly worth carrying. The climb happens with no other light source, so a headlamp that dims, drops, or runs flat becomes a real problem rather than an inconvenience. A second light and spare batteries are cheap insurance for the one thing you can't do without.
Why does it feel colder right before sunrise?
Temperatures typically bottom out just before dawn, after the ground has radiated away heat all night with no sun yet to replace it. Combined with standing still at a summit after a warm climb, that's why the wait for sunrise often feels colder than the hike itself.
What should I bring to stay warm while waiting for sunrise?
An insulating layer over a base layer, a warm hat and gloves, and something to sit on to keep cold ground from pulling heat out of you. A hot drink in an insulated bottle adds warmth from the inside and is worth the extra weight for how much it helps.
Is it safe to hike alone before dawn?
It carries more risk than the same trail in daylight, mainly from navigation errors and reduced visibility of footing and hazards. Stick to a route you know well or one that's well-marked and heavily traveled, carry a downloaded map, and make sure someone else knows your plan and return time.
Illustrative images show the type of gear, not specific products. Recommendations link to similar items on Amazon; we only ever link real listings and never show fabricated prices or ratings. General planning guidance, not a substitute for your own judgment or professional backcountry-safety instruction.