
The Kilimanjaro trek setup
Kilimanjaro is a guided climb by law — porters carry your gear in a duffel while you carry a light daypack through five climate zones to the roof of Africa. This setup covers both halves of that system, the layering range the mountain demands, and the pacing that matters more than fitness above the clouds.

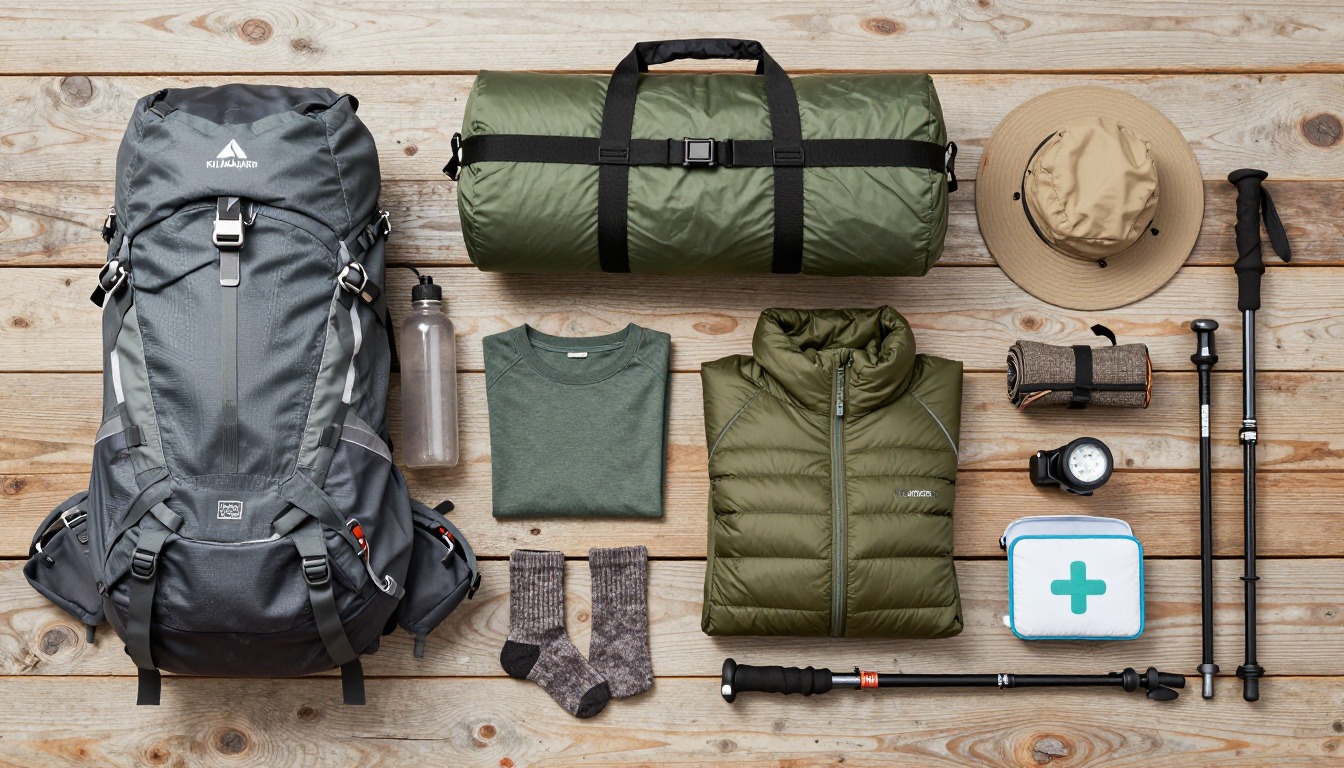
Kilimanjaro is built around three realities: park rules require every climber to use a licensed guide and porter team, so the kit splits into a daypack you carry and a duffel your crew carries; the route crosses five climate zones in under a week, so no single jacket covers the whole climb; and the summit push happens at night, in serious cold and wind, on legs that have already climbed for days. We build the layering around that summit night first, the daypack-duffel split second, and treat altitude pacing as part of the kit, not an afterthought.
Climbers booked on a guided, camping-based Kilimanjaro route — Machame, Lemosho, Rongai, the Northern Circuit or similar — through a licensed operator, where guides and porters handle the shared equipment and your job is walking, layering and acclimatizing well. This isn't a self-supported trip: independent, unguided climbs aren't permitted on the mountain. It's also written for standard routes, not technical variations like the Western Breach direct, which call for their own specialized gear.
- Confirm what your operator provides — tents, meals, cooking gear, porter weight limit — before you buy anything; that decides your daypack versus duffel split.
- Build the five-zone layering system first: breathable layers for the lower rainforest, a warm mid layer for the middle zones, and serious wind and cold protection for summit night.
- Pack the duffel to your operator's weight limit and keep the daypack light — it's the one you carry, all day, across every zone.
- Learn your operator's acclimatization schedule and altitude-sickness protocol before you fly, and settle any medication questions with your doctor in advance — not on the mountain.
About this setup
Kilimanjaro is the highest freestanding mountain in the world, rising to roughly 19,340 feet above the plains of northern Tanzania, and one of the most accessible extreme-altitude climbs anywhere — no technical climbing skills or ropework are required on the standard routes. Park regulations require every climber to use a licensed guide and registered operator, which is why this setup splits into a daypack you carry and a duffel that travels separately with an assigned porter. Standard routes such as Machame, Lemosho, Rongai and the Northern Circuit run roughly five to nine days, mostly camping, with Marangu the one route using huts instead of tents.
What makes the list unusual is the five climate zones the route climbs through in under a week: cultivated farmland at the base, dense rainforest, open heath and moorland, a stark alpine desert, and finally an arctic zone of rock, ice and thin air near the summit. Each zone asks something different of your gear — rain protection low down, wind protection through the moorland, serious cold-weather kit for the final approach — which is why no single jacket or bag covers the whole climb, and why layering carries more weight here than on most trips.
Most climbers who don't reach the summit are turned back by altitude, not fitness or technical difficulty. Acute mountain sickness can affect any climber regardless of fitness, and it's driven far more by how fast you ascend than how hard you trained beforehand. Longer routes build in more acclimatization days and tend to have better summit success for that reason. Guides on any reputable operator watch for symptoms such as headache, nausea, dizziness or unusual fatigue, and treat worsening symptoms as a reason to slow down or descend — follow their protocol, and settle any question about altitude medication with your doctor before you fly.
The pack system
Every standard Kilimanjaro route is guided and supported — porters carry the bulk of your gear in a duffel between camps, and you carry a light daypack for the day's walking only.
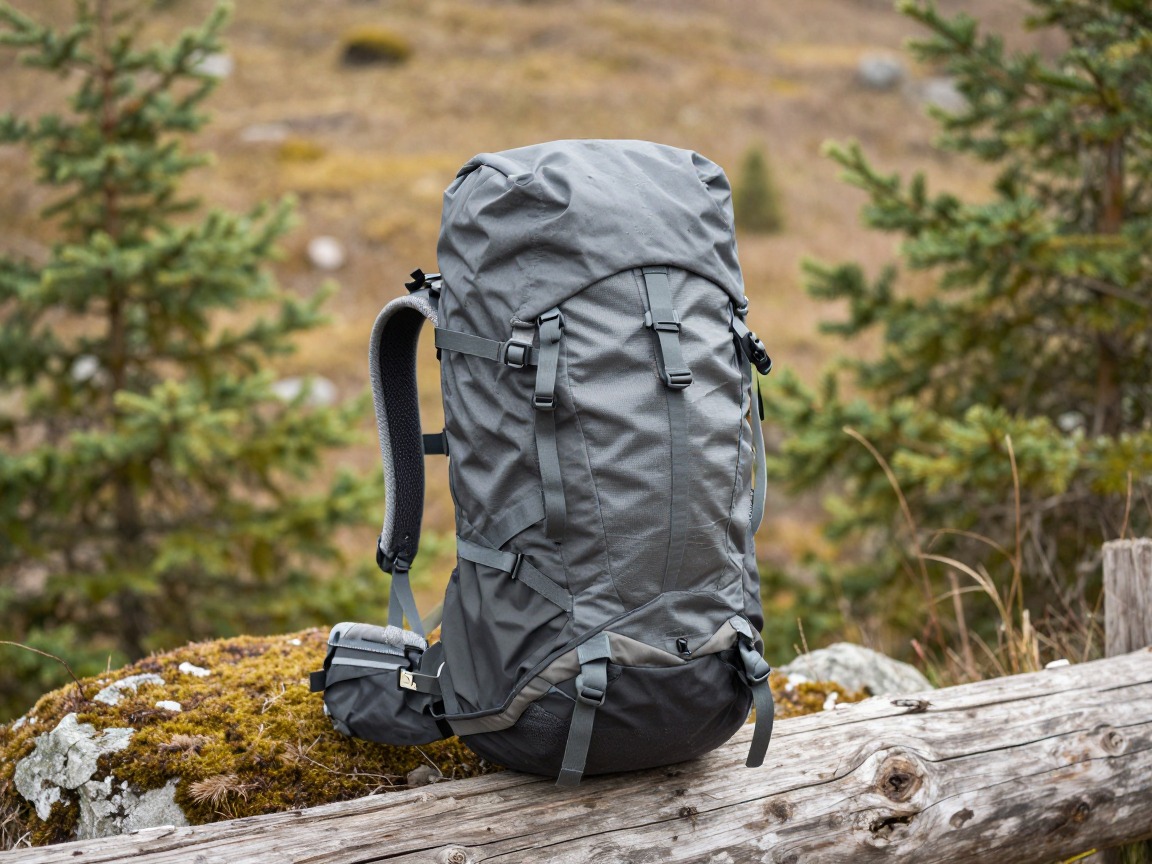
Daypack (25–35L)
Carries what you need between camps each day — water, a layer, snacks, camera, sun protection — while your main gear travels separately with the porter team.
What to look for: A ventilated, comfortable back panel for hours of daily wear, a real hip belt to take weight off your shoulders as the air thins, and enough room for the layering changes a single day can demand.
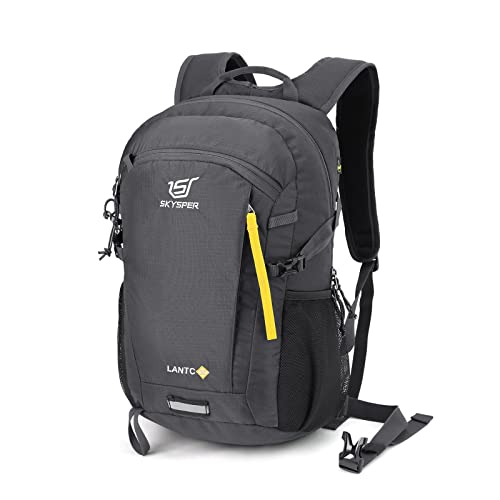 SKYSPER Small Hiking Backpack Check price
  Osprey Sportlite 20L Lightweight Hiking Backpack Check price
 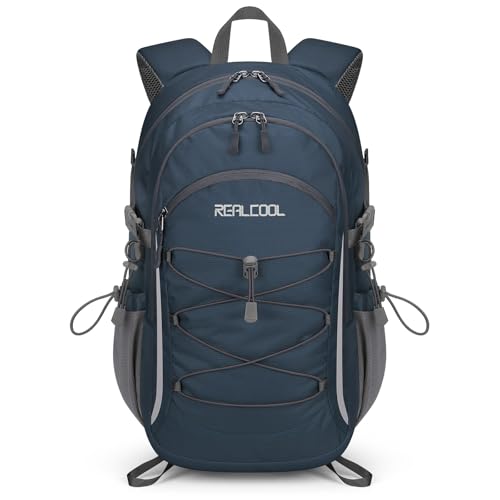 RealCool 20L Lightweight Hiking Backpack Check price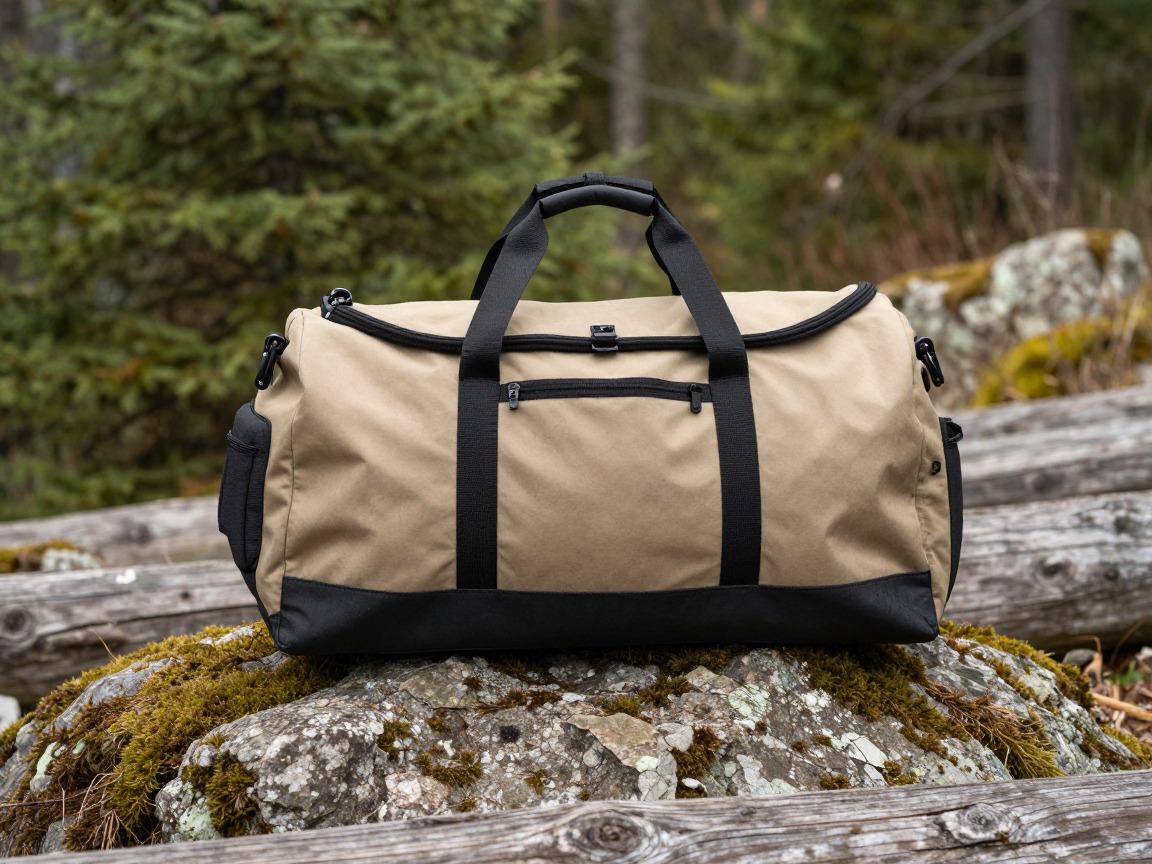
Porter duffel
Holds your sleeping bag, spare clothing and personal gear, carried by an assigned porter between camps to a weight limit your operator sets and checks at the gate — mandatory on every guided climb.
What to look for: Tough, water-resistant fabric that can take daily loading and unloading in the dirt, and a packed weight that respects your operator's porter limit exactly.
 Fmeida 65L Duffle Bag Foldable Travel Duffel Bags for Men Women Trav Check price
  120L Foldable Collapsible Waterproof Travel Duffel Bag for Men and W Check price
  adidas Defender 5 Duffel Bag for Sports Check price
 - Daypack rain cover for the rainforest zone
- Packing cubes or stuff sacks to keep the duffel organized
- Tip money for guides, porters and cooks, in cash, as briefed by your operator
Sleep system
Camp nights get cold fast once the sun drops, and the higher camps can swing well below freezing even after a warm, humid start in the rainforest.
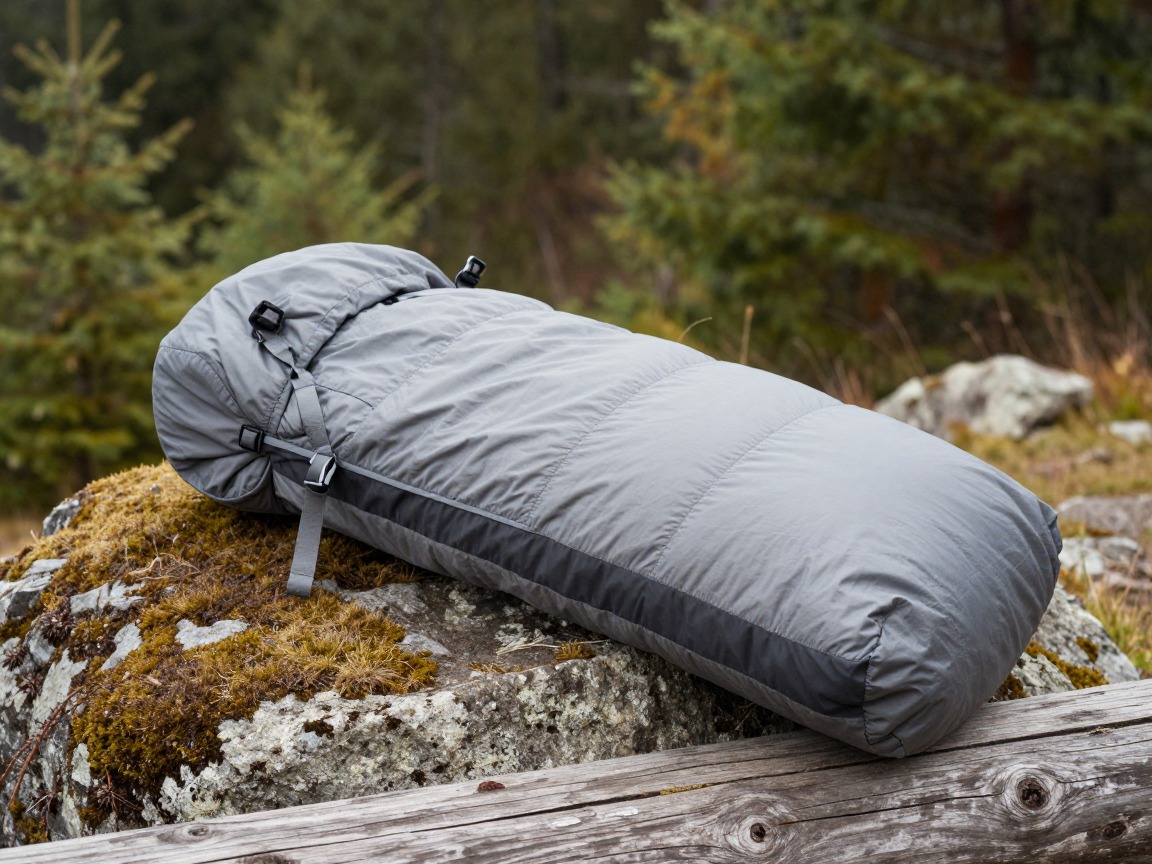
Sleeping bag
Your main defense against summit-night cold, which drops far lower than the lower camps ever suggest.
What to look for: A genuinely cold-rated bag, well below what the lower camps hint at, with a compressible fill that doesn't blow your duffel's weight allowance.
 MalloMe Sleeping Bags for Adults Cold Weather & Warm - Backpacking C Check price
 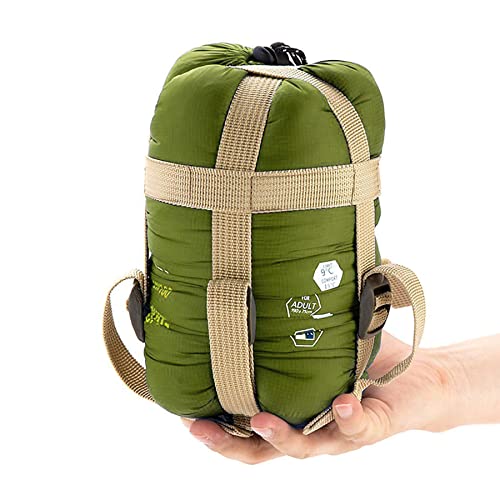 ECOOPRO Portable Check price
  Teton Trailhead Check price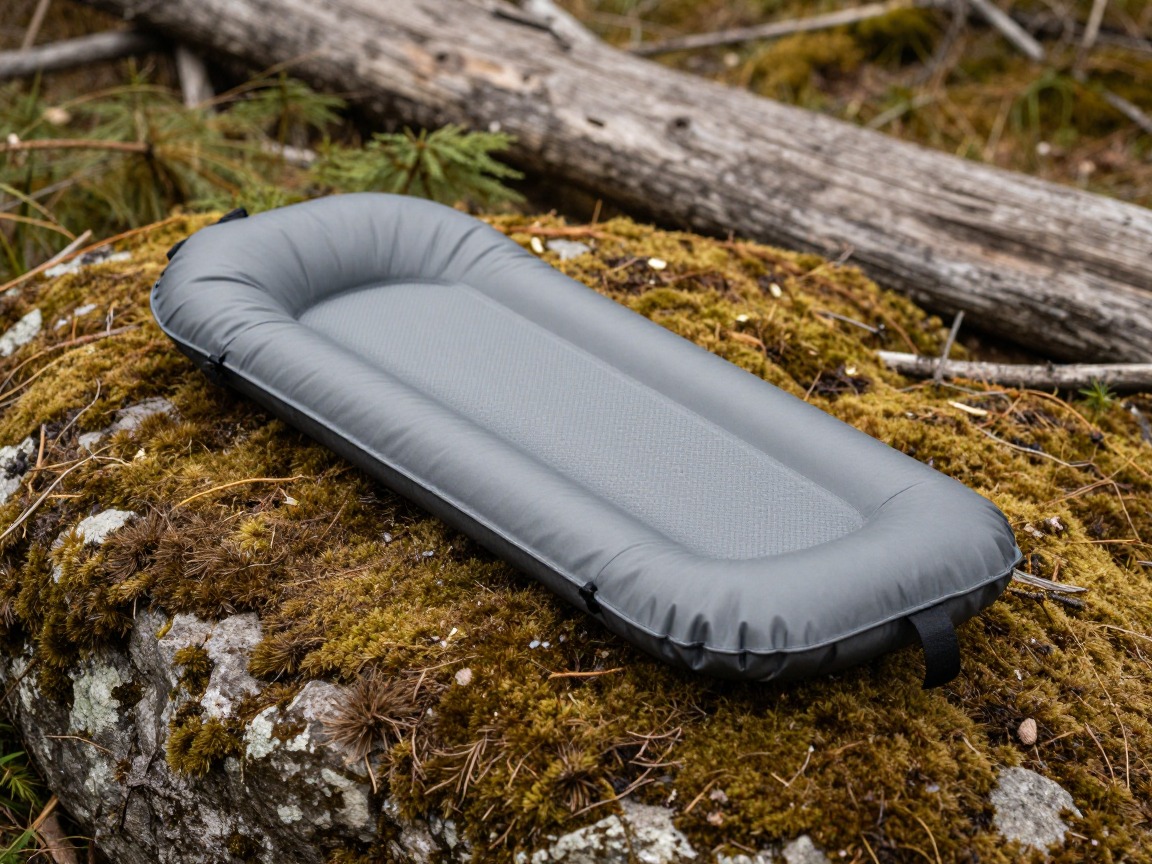
Sleeping pad
Insulates you from frozen or frost-hardened ground at the higher camps, where a thin pad barely helps.
What to look for: A pad with real insulation, not just cushioning, for camps above the tree line, packed small enough to fit inside a weight-limited duffel.
 FUN PAC Camping Sleeping Pad Check price
  Gear Doctors® Ether 17.5oz Ultralight Camping Sleeping Pad Check price
  Oramoose 4in Ultralight Camping Sleeping Pad with Pillow and Foot Pu Check price
 - Sleeping bag liner for extra warmth and hygiene
- Inflatable travel pillow (optional)
- Hot-water bottle — a sturdy bottle filled at camp — to warm inside your bag on cold nights
Hydration & altitude fueling
Thin air and hard uphill effort burn through fluids faster than you'd expect, and staying hydrated is one of the few things fully within your control up here.
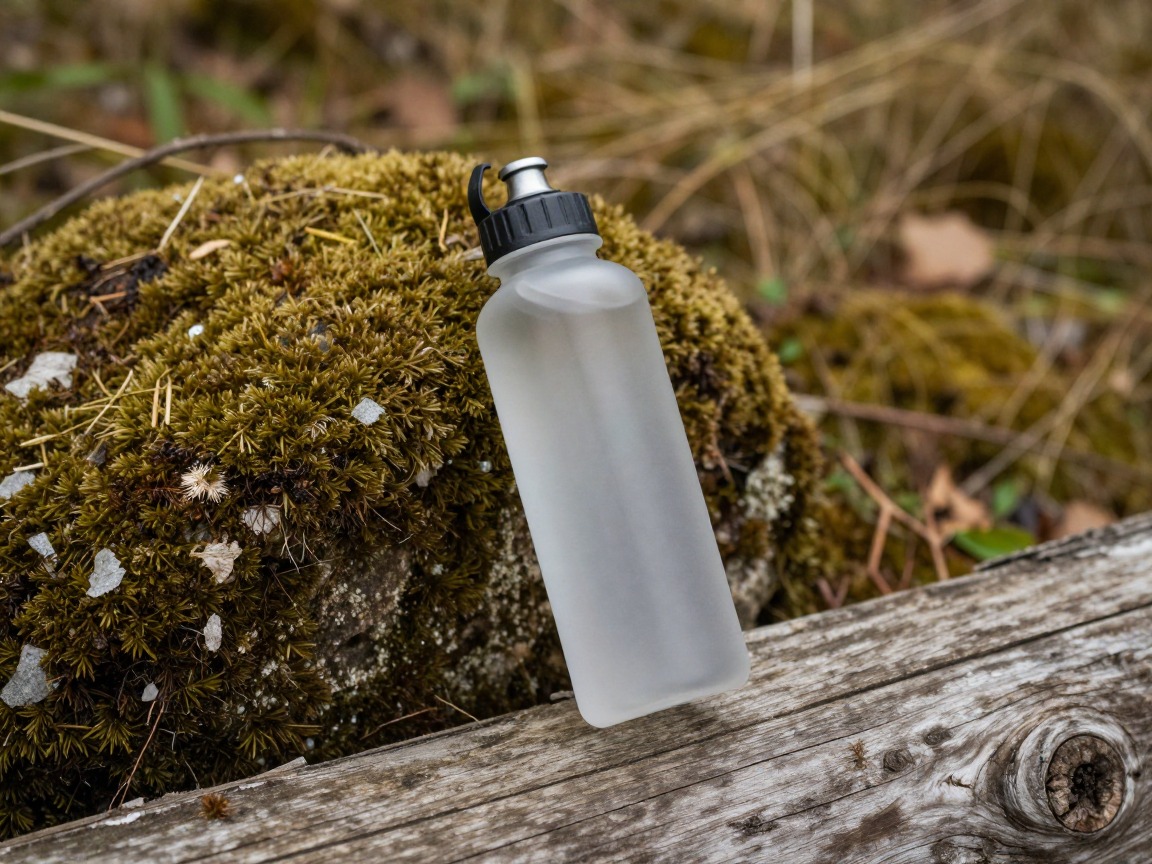
Water bottle(s)
Your everyday water supply, refilled from water your porter team carries and treats at each camp.
What to look for: Tough, wide-mouth bottles that are easy to refill quickly and to add electrolyte tabs to; an insulated design helps keep water from freezing on summit morning.
 Nalgene 32 oz Wide Mouth Water Bottle Check price
  Nalgene 32 oz Wide Mouth Water Bottle Check price
  Nalgene 32 oz Wide Mouth Water Bottle Check price
 - Water treatment tablets or a compact filter as a backup
- Electrolyte tabs or a rehydration mix
- High-energy snacks you actually like — appetite often drops at altitude
Clothing & layering for five climate zones
Few trips test a layering system like this one: you'll sweat through humid rainforest heat on day one and shiver in arctic cold on summit night a few days later.

Base layer
Worn across all five zones, wicking sweat on the lower slopes while doubling as a warmth layer higher up.
What to look for: Merino or a synthetic blend that resists odor over many wears, plus a spare top kept clean and dry for summit night.
 100% Merino Wool Base Layer Men Set - Thermal Underwear for Men Long Check price
  Merino.tech Merino Wool Base Layer Women Set - Heavyweight Check price
  100% Merino Wool Base Layer Men Set - Thermal Long Underwear with Ba Check price
Insulated jacket
Your core warmth for cold mornings, high camps and the summit push, when temperatures fall far below the lower zones.
What to look for: A packable down or synthetic jacket that layers easily over a base layer and under a shell, sized to fit your added layers for the final night.
 Outdoor Ventures Women's Packable Lightweight Puffer Jacket with Hoo Check price
  Amazon Essentials Women's Lightweight Long-Sleeve Water-Resistant Pa Check price
  Outdoor Ventures Women's Packable Lightweight Puffer Jacket with Hoo Check price
Waterproof/windproof shell
Blocks the driving rain and mist common in the lower rainforest zone, and the biting wind that builds the higher you climb toward the crater rim.
What to look for: Genuinely waterproof, not just water-resistant, with a hood roomy enough to fit over a warm hat and a balaclava on summit night.
 UIQUR Mens Rain Jacket Raincoat Waterproof Windbreaker Black L Check price
  COOFANDY Men's Waterproof Hiking Travel Shell Breathable Rain Jacket Check price
  Columbia Womens Arcadia II Waterproof Rain Jacket Check price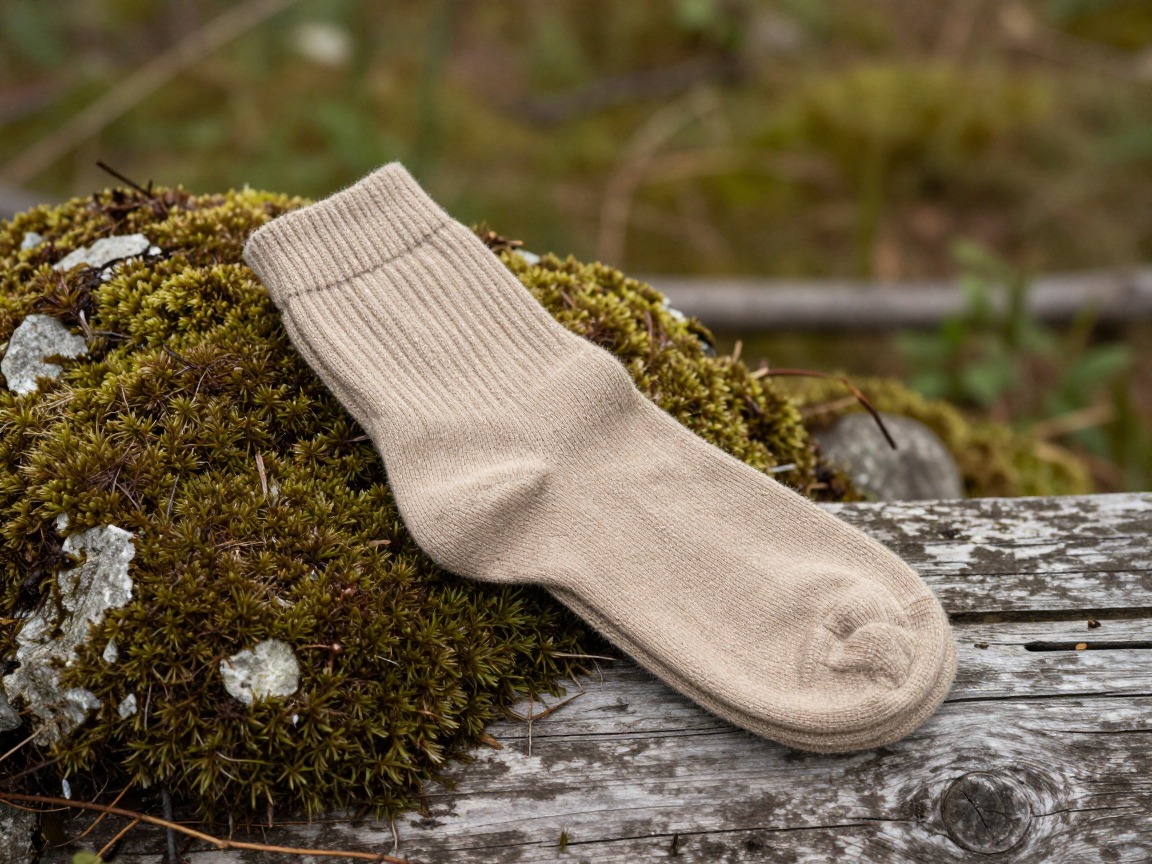
Hiking socks
Blisters and cold feet are common reasons climbers struggle on summit night — good socks, rotated daily, help prevent both.
What to look for: Wool or a wool blend, cushioned at the heel and ball of the foot, with a thicker pair set aside for the summit attempt. Never cotton.
 Alvada Merino Wool Hiking Socks Thermal Warm Crew Winter Boot Sock F Check price
  DANISH ENDURANCE Merino Wool Socks for Men & Women Check price
  innotree 3 Pack Men's Merino Wool Hiking Socks Check price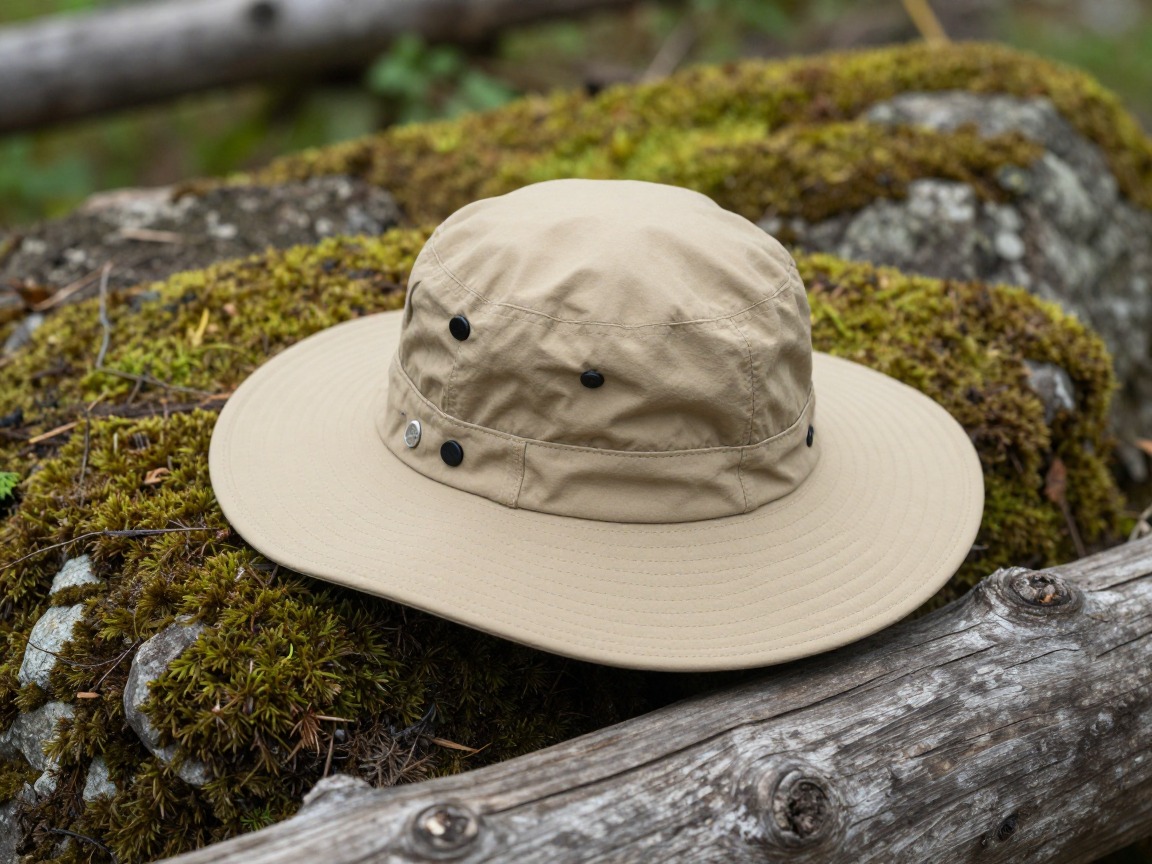
Sun hat & eye protection
Equatorial sun is intense in the lower zones, and thinner air plus glare off scree and snow means UV exposure only climbs higher up.
What to look for: A brimmed hat for the sun-exposed lower zones, sunglasses rated for strong glare above the tree line, and a high-SPF sunscreen you reapply often.
 FURTALK Womens Sun Hat with Ponytail Hole Beach Hiking Summer Wide B Check price
 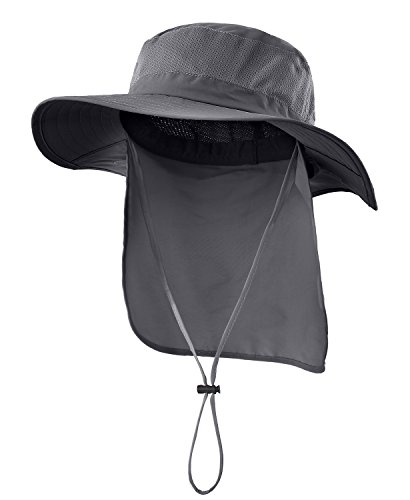 Home Prefer Outdoor UPF50+ Mesh Sun Hat Wide Brim Fishing Hat with N Check price
  FURTALK Sun Hats for Men Fishing Hat UPF Protection Wide Brim Bucket Check price
 - Balaclava or buff for wind, dust and glare above the tree line
- Warm hat, liner gloves and a heavier insulated outer glove for summit night
- Gaiters for scree, trail dust and any light snow near the top
- Lightweight hiking pants and moisture-wicking shirts for the lower, warmer zones
- Down booties or warm camp socks for cold tent nights (optional)
Navigation, altitude & safety
The biggest risk on Kilimanjaro isn't the terrain — it's climbing faster than your body can adjust. Build pacing and awareness in alongside the gear.

Trekking poles
Take real strain off your knees on the long summit-night descent and steady you on loose scree and dusty switchbacks.
What to look for: Adjustable, packable poles with comfortable grips — most climbers use them for nearly the entire trek, not just the steep sections.
 Trekology Trek-Z Cork Grip Collapsible Lightweight Hiking Trekking P Check price
  Cascade Mountain Tech Trekking Poles Check price
  covacure Hiking Poles Check price
Headlamp
Essential for the midnight summit push, which starts hours before dawn so climbers reach the summit around sunrise.
What to look for: Bright enough to pick a route over rock and scree in the dark, reliable battery life (keep spares warm, since cold drains them fast), and a red mode that's easy on tent-mates.
 LHKNL Headlamp Flashlight Check price
  Lepro LED Headlamp Rechargeable IPX4 Waterproof Headlight 5 Modes - Check price
  Energizer LED Headlamp PRO Check price
First-aid kit
A kit built for a climb that's genuinely remote for long stretches, plus your own regular medications and anything discussed with your doctor beforehand.
What to look for: Blister care and basic wound supplies as a baseline. Any altitude-related medication is a decision for your doctor before you fly, not a packing-list choice.
 Mini First Aid Kit - 150 Piece Small Waterproof EVA Hard Shell Case Check price
  Adventure Medical Kits Ultralight/Watertight Medical Kit .5 Check price
  211 PCS Waterproof First Aid Kit Check price
 - Traction (microspikes) for icy sections on the higher slopes, if needed
- Satellite messenger or PLB for personal peace of mind
- Trip insurance that specifically covers your trek's summit altitude
- Any personal or altitude medication, discussed and decided with your doctor beforehand
How to adapt this setup
Routes like Marangu compress acclimatization into fewer days — treat the layering and pacing here as the floor, not the ceiling, and take an extra acclimatization day if it's offered.
Marangu is the one standard route with sleeping huts instead of tents. You'll still need your own sleeping bag and full layering system, but the huts replace any shelter you'd otherwise carry.
Seven-to-nine-day routes like Lemosho or the Northern Circuit build in extra acclimatization days — worth prioritizing over a shorter itinerary, since it generally improves summit odds.
A wetter or colder window means leaning harder on the rain shell in the rainforest zone, and adding a warmer insulated layer and heavier glove for summit night.
If this is your first trip above 10,000 feet, build in extra buffer on the layering and lean on your guide's pacing rather than pushing to match a faster group.
Common mistakes to avoid
- Underestimating summit-night cold — temperatures at the top routinely fall far below the lower camps.
- Choosing a shorter route to save time or money and losing the acclimatization days a longer one builds in.
- Ignoring early altitude symptoms because everyone around you seems to be pushing through the same fatigue.
- Packing a sleeping bag rated for the lower camps instead of the actual summit-night cold.
- Overpacking the duffel past your operator's porter weight limit, sorted out — and paid for — at the gate.
- Treating layering as a rainforest-zone decision only, then getting caught out by the wind and cold much higher up.
Make it yours
Frequently asked questions
How cold does it get on summit night on Kilimanjaro?
Summit night temperatures commonly fall well below freezing, often with significant wind chill on the exposed upper slopes. Your guides will brief you on typical conditions for your route — plan your insulation and shell layers around that coldest night, not the daytime temperatures lower down.
Do I need a guide to climb Kilimanjaro?
Yes — park regulations require every climber to use a licensed guide and registered operator; independent, unguided climbs aren't permitted. That's also why the gear splits into a daypack you carry and a duffel your porter carries.
How much weight can my porter carry?
Weight limits are set by your operator and checked at the gate, typically covering your duffel plus a share of camp equipment. Check the exact allowance before you pack and treat it as a hard limit.
What should I do if I get symptoms of altitude sickness on the mountain?
Tell your guide immediately. Treat a worsening headache, nausea, dizziness or unusual fatigue as a reason to stop ascending, and follow your guide's descent protocol. Any altitude medication is a decision for your doctor before the trip, not on the mountain.
Which Kilimanjaro route should I choose?
Standard routes run about five to nine days and vary in scenery, crowding and acclimatization time; longer routes generally allow better acclimatization and tend toward higher summit success. Talk through the trade-offs with your operator based on your timeline and experience.
Illustrative images show the type of gear, not specific products. Recommendations link to similar items on Amazon; we only ever link real listings and never show fabricated prices or ratings. General planning guidance, not a substitute for your own judgment or professional backcountry-safety instruction.