
The high-altitude trek setup
Most high-altitude treks aren't a solo carry — a crew or pack animals move your main gear between teahouses or camps while you walk with a light daypack. This setup covers both halves of that system, plus the layering, sun protection and pacing that a big, thin-air trek asks for.

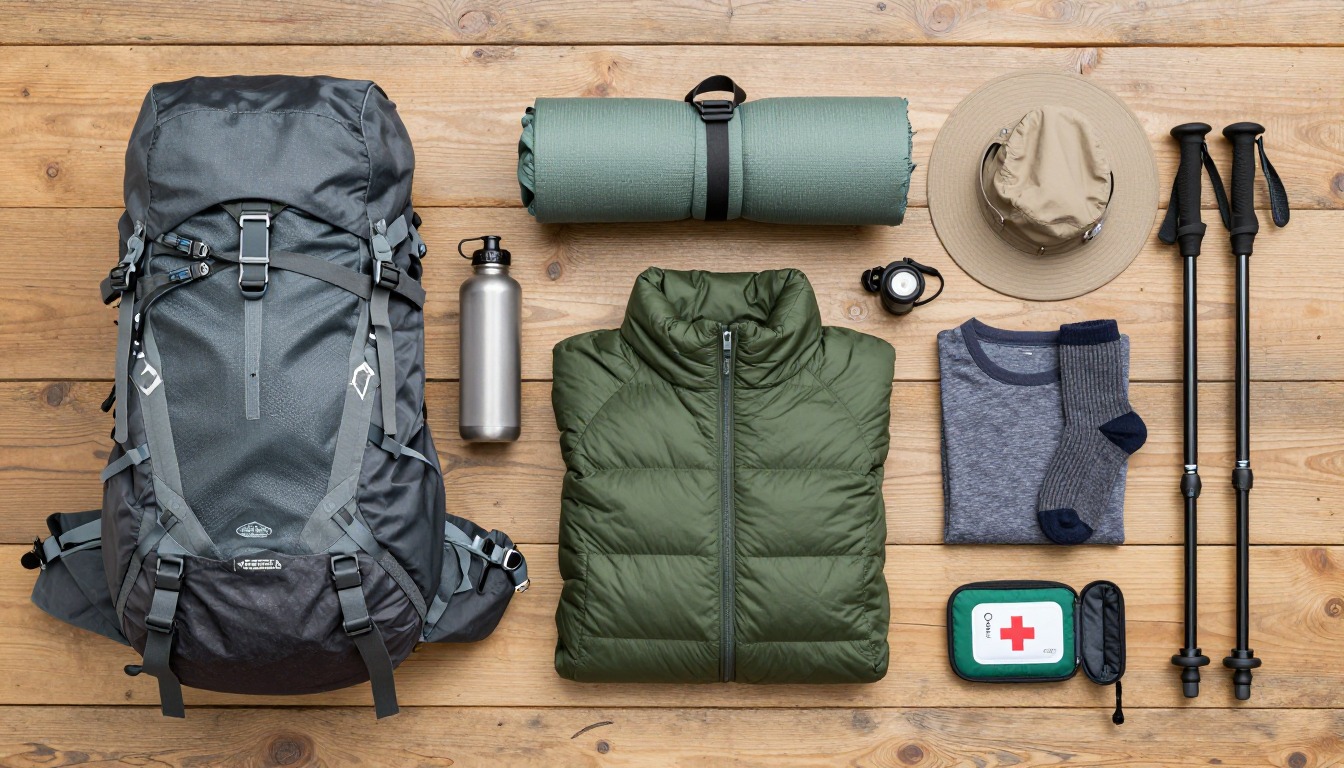
A high-altitude trek is built around three realities: the air is thin and getting used to it takes time, not effort; the temperature and sun swing harder between midday and midnight than on almost any other trip; and most routes are supported, so the kit splits into a light daypack you carry and a duffel your crew carries for you. We build around the pacing first, the layering second, and treat the daypack and duffel as one system.
Trekkers heading into the Andes, the Himalaya or similar high ranges on a teahouse or crew-supported route, where accommodation, meals and load-carrying are arranged for you and the main job is walking, acclimatizing and layering well. Planning a fully self-supported high-altitude trip with no crew? Treat this as a starting point and add the full shelter and kitchen system from the multi-day setup.
- Confirm with your operator what's provided (tent, meals, porter weight limit) — that decides your daypack versus duffel split.
- Build the layering system around big daily temperature swings, then add altitude-specific extras like a warmer bag and stronger sun protection.
- Pack the duffel to your operator's weight limit and keep the daypack genuinely light — it's the one you carry, all day, every day.
- Learn the pace and the warning signs before you fly: acclimatization days, symptoms to watch for, and your plan if someone needs to descend.
About this setup
High-altitude trekking covers a wide range of trips — teahouse routes through the Himalaya where you sleep in a family-run lodge each night, and camping-based treks through the Andes and elsewhere where a crew carries tents between camps. Both share the same defining trade: someone else carries the bulk of your kit, which is why the gear below splits into a small daypack you carry and a duffel that travels separately with the crew or on mules.
Altitude changes the calculus for gear that would otherwise be simple. A sleeping bag that's plenty warm lower down can feel thin once you're sleeping much higher. Sun protection matters more, not less, as the air thins and UV comes through with less filtering, especially with snow reflecting it back at you. And a route that reads as a moderate day hike on the map can leave you breathless up high in a way it never would near sea level — exactly why pacing belongs in the kit list alongside the gear.
Acute mountain sickness can affect any trekker, regardless of fitness, and it's driven far more by ascent rate than by how strong you are. Build rest and acclimatization days into any route that climbs quickly, learn to recognize symptoms such as headache, nausea, dizziness or unusual fatigue, and treat worsening symptoms as a firm reason to stop climbing or descend. Follow your guide's protocol, and seek medical help immediately if symptoms become severe — altitude illness is genuinely serious and doesn't reliably resolve just by resting in place.
The pack system
Most high-altitude treks are supported — a crew or pack animals carry the bulk of your gear between teahouses or camps, and you carry a light daypack for the day's walking only.
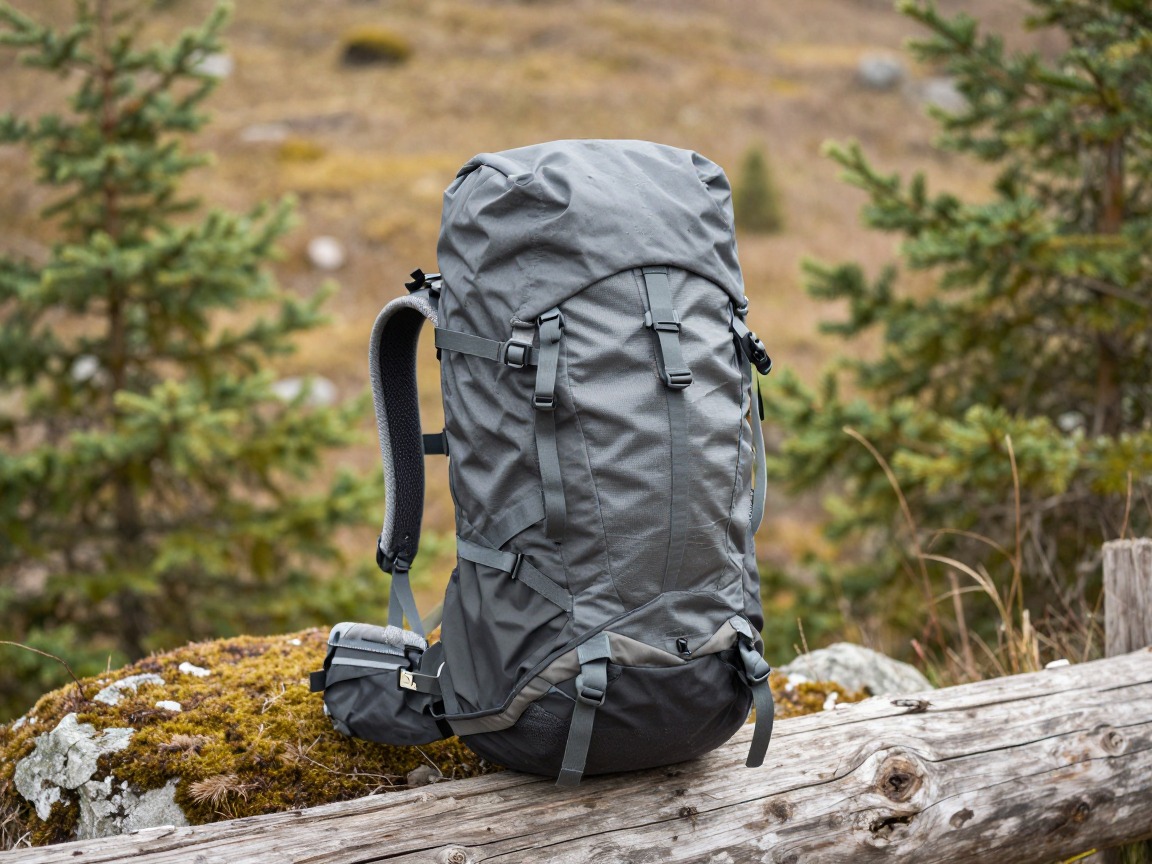
Trekking daypack (25–35L)
Carries everything you need between breakfast and the next teahouse or camp — water, a layer, snacks, camera, sun protection — while your main gear rides separately with the crew.
What to look for: A comfortable, ventilated back panel for hours of daily wear, a real hip belt to take weight off your shoulders at altitude, and 25–35 L, which is plenty when your overnight gear travels in a duffel.
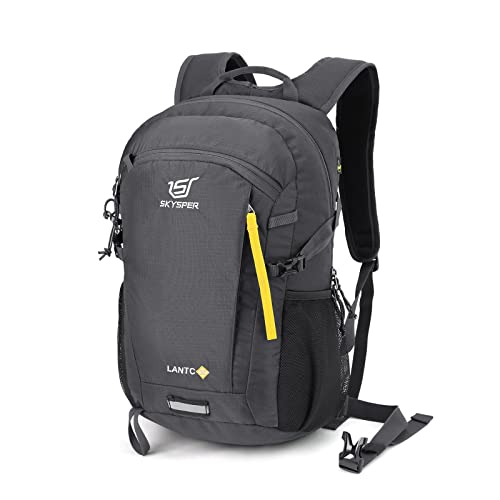 SKYSPER Small Hiking Backpack Check price
  Osprey Sportlite 20L Lightweight Hiking Backpack Check price
 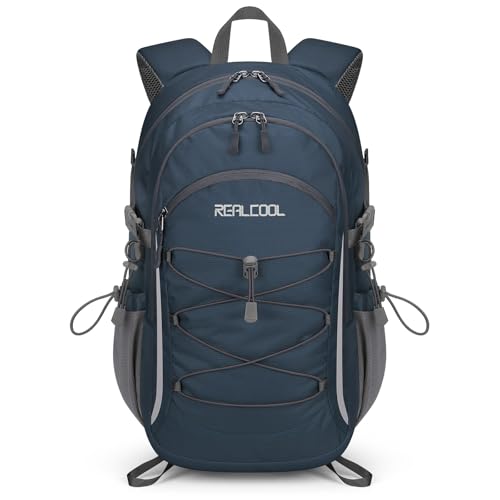 RealCool 20L Lightweight Hiking Backpack Check price
 - Porter duffel bag — carried between stops by porters or mules, usually to a weight limit set by your operator
- A daypack rain cover
- Packing cubes or stuff sacks to keep the duffel organized
Sleep system
Teahouse rooms are rarely heated, and camp nights at altitude get cold fast once the sun drops — the sleep system matters as much here as on any wilderness trip.
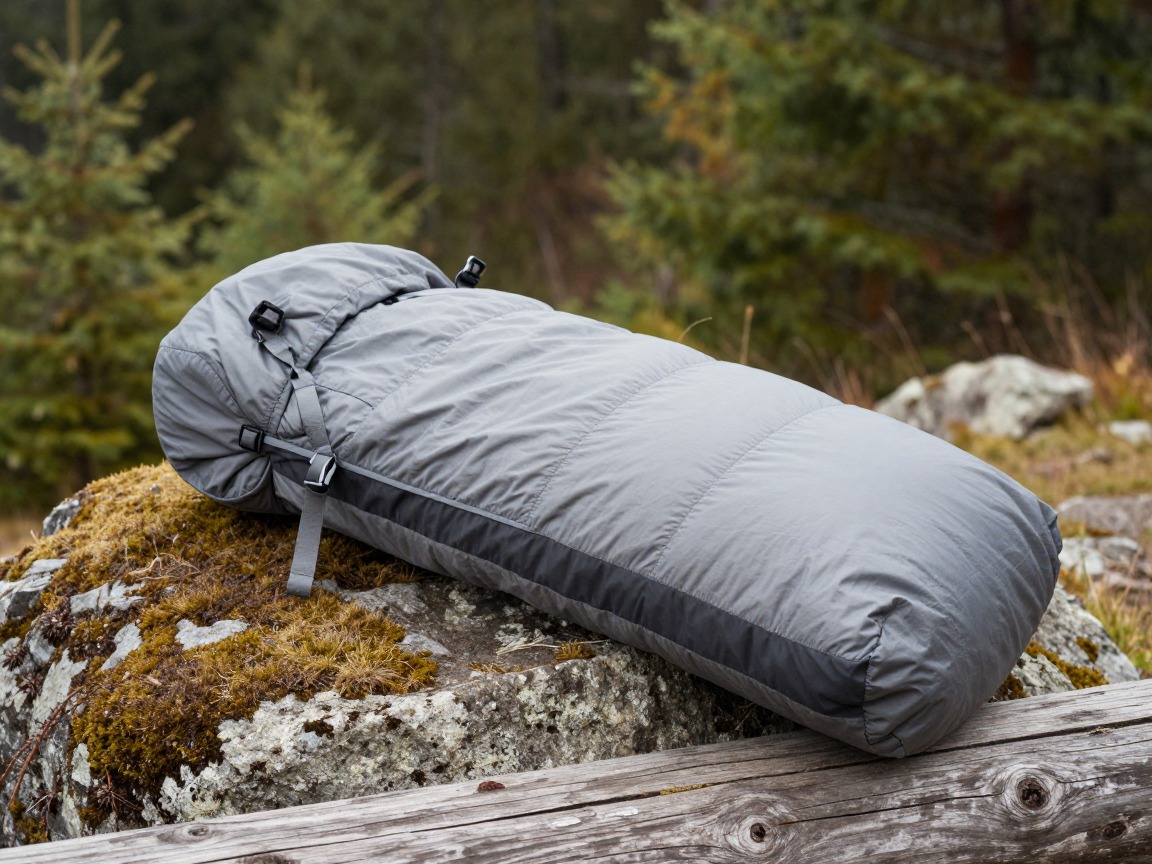
Sleeping bag
Your main defense against cold teahouse rooms or tent nights, which can swing well below freezing even when the days are warm.
What to look for: A comfort rating well below what the daytime temperature suggests — high-altitude nights are consistently colder than expected — and a compressible fill that doesn't eat your duffel allowance.
 MalloMe Sleeping Bags for Adults Cold Weather & Warm - Backpacking C Check price
 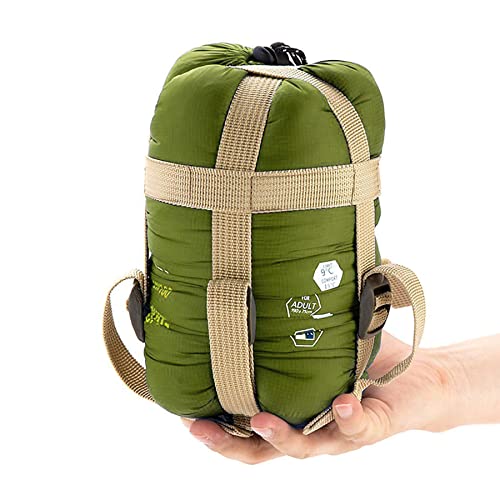 ECOOPRO Portable Check price
  Teton Trailhead Check price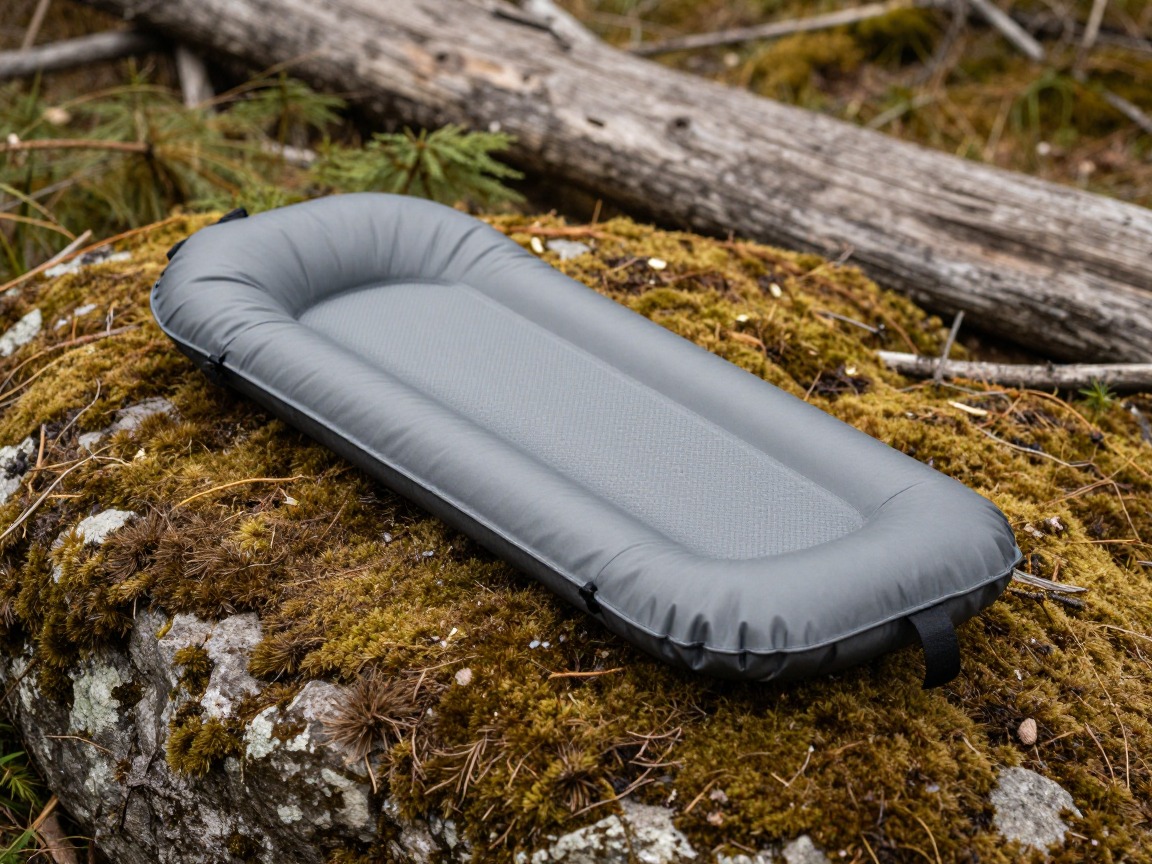
Sleeping pad
Teahouse beds usually come with a thin mattress that does little for insulation, and camping legs may give you a bare tent floor — a light pad adds real warmth either way.
What to look for: A packable, insulating pad for teahouse-based routes, or a fuller three-season pad for any camping legs. Check with your operator which nights you'll actually need it.
 FUN PAC Camping Sleeping Pad Check price
  Gear Doctors® Ether 17.5oz Ultralight Camping Sleeping Pad Check price
  Oramoose 4in Ultralight Camping Sleeping Pad with Pillow and Foot Pu Check price
 - Sleeping bag liner (adds warmth and a layer of hygiene over shared teahouse bedding)
- Inflatable travel pillow (optional)
Hydration & altitude fueling
Thin air and hard uphill effort burn through fluids faster than you'd expect, and staying hydrated is one of the few things within your control for feeling better at altitude.
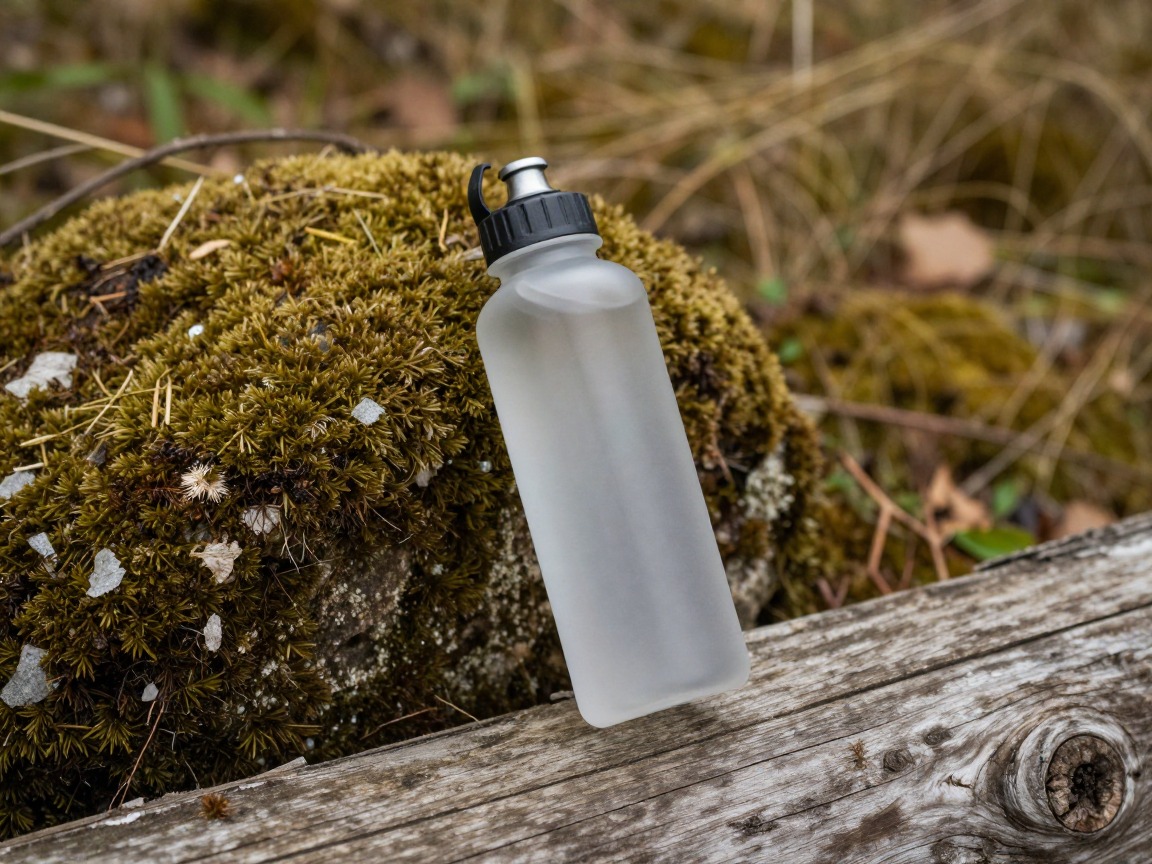
Water bottle(s)
Your everyday water supply on the trail, refilled at teahouses, streams or lodges along the route.
What to look for: A tough, wide-mouth bottle that's easy to refill and drop electrolyte tabs into; carry two on routes with long gaps between water stops. Insulated helps keep water from freezing overnight.
 Nalgene 32 oz Wide Mouth Water Bottle Check price
  Nalgene 32 oz Wide Mouth Water Bottle Check price
  Nalgene 32 oz Wide Mouth Water Bottle Check price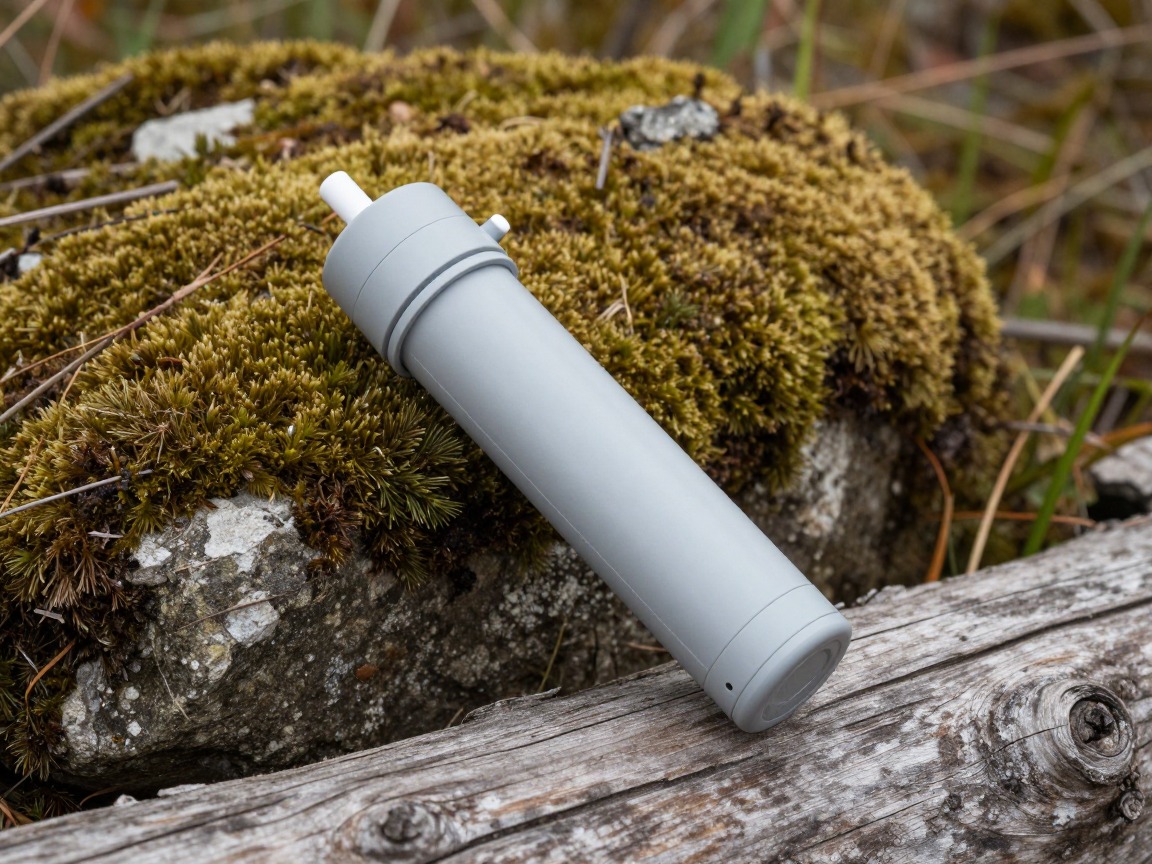
Water filter or purification
Teahouses usually sell boiled or bottled water, but treating your own from a tap or stream saves money over a multi-week trek and cuts plastic waste.
What to look for: A lightweight filter that works at altitude and cold water — check its rated freeze limits, since filters can crack overnight. Purification tablets make a reliable backup.
 Sawyer Squeeze Water Filtration System Check price
  Sawyer Products SP128 Mini Water Filtration System Check price
  LifeStraw Personal Water Filter for Hiking Check price
 - Electrolyte tabs or rehydration mix
- A thermos or insulated mug for hot drinks at high, cold camps (optional)
Clothing & layering
Few trips test a layering system like a high-altitude trek: you'll sweat climbing in the midday sun and shiver at the same viewpoint an hour later once cloud or wind moves in.

Base layer
Worn most days of the trek, wicking sweat on the climbs while still feeling decent without laundry.
What to look for: Merino or a blend for odor resistance over many wears. Pack a spare top for the coldest nights.
 100% Merino Wool Base Layer Men Set - Thermal Underwear for Men Long Check price
  Merino.tech Merino Wool Base Layer Women Set - Heavyweight Check price
  100% Merino Wool Base Layer Men Set - Thermal Long Underwear with Ba Check price
Insulated jacket
Your warmth for cold mornings, high passes and evenings, once the sun goes behind a ridge.
What to look for: A packable down or synthetic jacket with the most warmth for its weight — down for a dry route, synthetic if rain is likely.
 Outdoor Ventures Women's Packable Lightweight Puffer Jacket with Hoo Check price
  Amazon Essentials Women's Lightweight Long-Sleeve Water-Resistant Pa Check price
  Outdoor Ventures Women's Packable Lightweight Puffer Jacket with Hoo Check price
Waterproof/windproof shell
Blocks the wind that arrives with almost every altitude afternoon, plus the rain or snow squalls that build fast on exposed ridgelines.
What to look for: Genuinely waterproof, not just water-resistant, with a hood that fits over a warm hat.
 UIQUR Mens Rain Jacket Raincoat Waterproof Windbreaker Black L Check price
  COOFANDY Men's Waterproof Hiking Travel Shell Breathable Rain Jacket Check price
  Columbia Womens Arcadia II Waterproof Rain Jacket Check price
Hiking socks
Blisters are one of the most common reasons trekkers struggle on a multi-week route — good socks, rotated daily, prevent most.
What to look for: Wool or a wool blend, cushioned at the heel and ball of the foot. Never cotton.
 Alvada Merino Wool Hiking Socks Thermal Warm Crew Winter Boot Sock F Check price
  DANISH ENDURANCE Merino Wool Socks for Men & Women Check price
  innotree 3 Pack Men's Merino Wool Hiking Socks Check price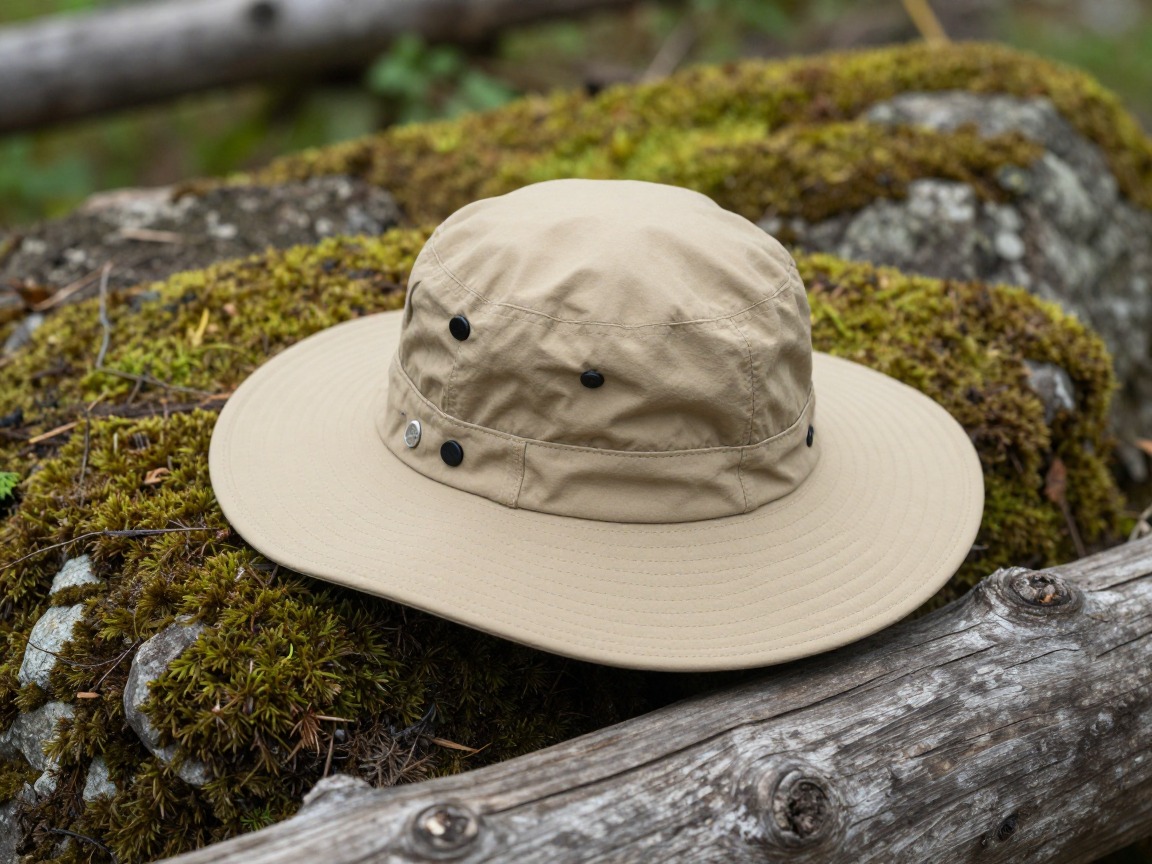
Sun hat & eye protection
High-altitude sun is intense — thinner air filters out less UV, and snow or pale trail dust reflects even more back at you.
What to look for: A brimmed hat that shades your face and neck, sunglasses rated for strong glare, and a high-SPF sunscreen.
 FURTALK Womens Sun Hat with Ponytail Hole Beach Hiking Summer Wide B Check price
 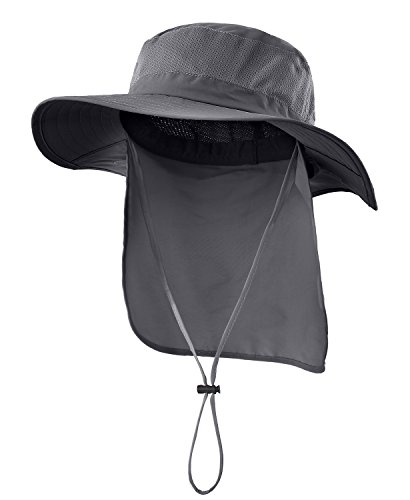 Home Prefer Outdoor UPF50+ Mesh Sun Hat Wide Brim Fishing Hat with N Check price
  FURTALK Sun Hats for Men Fishing Hat UPF Protection Wide Brim Bucket Check price
 - Buff or bandana for trail dust
- Warm hat & liner gloves for cold mornings, evenings and passes
- Lightweight trekking pants & moisture-wicking shirts
- Down booties or warm camp socks for cold teahouse floors (optional)
Navigation, altitude & safety
The biggest risk on a high-altitude trek isn't the terrain — it's climbing faster than your body can adjust. Build the pacing and awareness in alongside the gear.

Trekking poles
Take real strain off your knees on long descents and steady you on loose scree, dusty switchbacks and stream crossings.
What to look for: Adjustable, packable poles with comfortable grips — useful for almost the entire trek, not just steep sections, once fatigue builds over several days.
 Trekology Trek-Z Cork Grip Collapsible Lightweight Hiking Trekking P Check price
  Cascade Mountain Tech Trekking Poles Check price
  covacure Hiking Poles Check price
Headlamp
Used for pre-dawn starts on summit or pass days, and for teahouses and camps where electricity, if there is any, is unreliable after dark.
What to look for: Bright enough for early starts, a red mode that's easy on roommates in a shared teahouse room, and battery life (or spares) for a route with limited charging.
 LHKNL Headlamp Flashlight Check price
  Lepro LED Headlamp Rechargeable IPX4 Waterproof Headlight 5 Modes - Check price
  Energizer LED Headlamp PRO Check price
First-aid kit
A kit built for a trip that's genuinely remote — days from a road in many places — plus your own regular medication and anything discussed with your doctor beforehand.
What to look for: Blister care, basic wound supplies, and your own reliable medications, sized to how far you'll be from help. Discuss altitude-specific preparation with your doctor well before you fly.
 Mini First Aid Kit - 150 Piece Small Waterproof EVA Hard Shell Case Check price
  Adventure Medical Kits Ultralight/Watertight Medical Kit .5 Check price
  211 PCS Waterproof First Aid Kit Check price
 - Traction (microspikes) for icy or snow-covered passes
- Gaiters for dusty trails and light snow
- Satellite messenger or PLB on routes with little cell coverage
- Trip insurance covering your trek's maximum altitude
How to adapt this setup
If your crew pitches tents instead of you sleeping in lodges, add the tent, stove and cookware from the multi-day setup — the daypack/duffel split still applies.
Routes that push higher or spend nights above reliable cell coverage call for a warmer bag, sturdier traction and a satellite messenger.
Colder nights and a real chance of snow mean a warmer bag, fuller insulation, and traction worth packing rather than leaving as a maybe.
Carrying it all yourself means adding the full overnight pack, shelter and kitchen system from the multi-day setup on top of this list.
A single high pass added to a lower trek needs less duffel gear, but keep the sun protection and acclimatization pacing just as serious.
Common mistakes to avoid
- Climbing too fast for the itinerary's acclimatization days, or skipping them to save time.
- Ignoring early altitude sickness symptoms because 'everyone feels a bit off up here'.
- Underestimating high-altitude sun and reflected glare, and paying for it in sunburn or eye strain.
- Packing a sleeping bag rated for the daytime temperature instead of the actual overnight low.
- Overpacking the duffel past your operator's weight limit, leaving porters or mules to make up the difference.
- Skipping trip insurance that actually covers your trek's maximum altitude.
Make it yours
Frequently asked questions
What's the difference between a teahouse trek and a camping-based high-altitude trek?
On a teahouse trek you sleep in family-run lodges with meals and basic bedding provided; on a camping-based trek, a crew pitches tents and cooks at each stop. Both are typically supported, with porters or pack animals carrying the bulk of your gear while you carry a light daypack.
How much can a porter or duffel actually carry?
Weight limits are set by your trekking operator, often split across two duffels per porter — check the exact allowance before you pack. Treat it as a hard limit, and keep your daypack light enough to carry comfortably yourself all day.
What temperature sleeping bag do I need for a high-altitude trek?
Choose a comfort rating well below what the daytime temperature suggests — nights at altitude are consistently colder than trekkers expect, even on routes that feel warm at midday. Ask your operator what past groups have used on your route and season.
How do I know if I have altitude sickness, and what should I do?
Watch for headache, nausea, dizziness, or unusual fatigue that doesn't fit the day's effort. Treat worsening symptoms as a reason to stop ascending or descend, follow your guide's protocol, and seek medical help immediately if symptoms become severe.
Do I need to carry all my own gear on a high-altitude trek?
Usually not — most teahouse and camping-based routes are supported, with a crew or pack animals carrying a duffel of your overnight gear while you carry only a light daypack. Confirm what's provided versus what's on you before finalizing your list.
Illustrative images show the type of gear, not specific products. Recommendations link to similar items on Amazon; we only ever link real listings and never show fabricated prices or ratings. General planning guidance, not a substitute for your own judgment or professional backcountry-safety instruction.