
The hammock camping setup
Sleeping suspended between two trees is a different kind of comfortable — no rocks, roots or slope to fight. This setup walks through a complete hammock kit piece by piece: the hammock and suspension, the underquilt and top insulation that keep you warm, the tarp overhead, and the bug net that makes a summer night bearable.

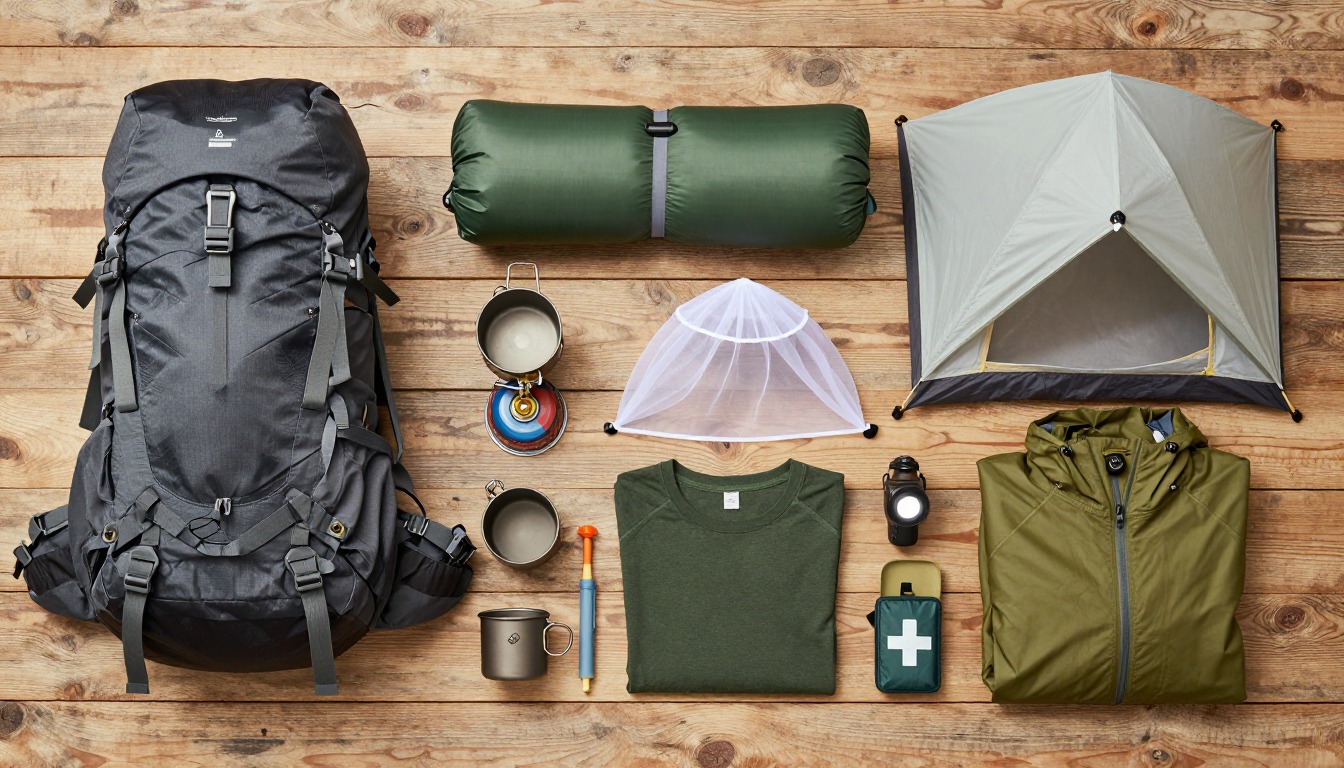
On the ground, your pad and tent floor fight rocks, roots and slope; a hammock and a good suspension handle all of that for you. What a hammock can't do alone is keep you warm — with open air on every side, insulation compresses flat under your weight and stops trapping heat, which is why an underquilt, or a pad used inside the hammock, matters as much as the hammock itself. Add a tarp for rain and a bug net for bugs, and you've replaced a whole ground shelter system with a few lighter pieces.
This setup suits hikers camping in forest with real trees to hang from — much of the eastern US and plenty of western corridors below treeline. It's a poor fit above treeline, in the desert, or wherever trees are scarce or spaced wrong; carry a backup plan for open stretches. Side sleepers who've never gotten comfortable on a pad are often the fastest converts.
- Pick a hammock and suspension built for tree camping, and check land-manager rules on what you can hang from.
- Solve warmth from below first — an underquilt or a pad rated for your expected low. Compressed insulation under your body stops working, so this step isn't optional.
- Add a top quilt or bag for warmth above, then a tarp sized to pitch low and tight against wind-driven rain.
- Clip in a bug net for the places that call for it, and always scout two solid, living trees before you commit to a site.
About this setup
Hammock camping wins converts on terrain that makes tent camping miserable — a rocky, rooty, sloped, or damp forest floor that would leave you finding every lump through your pad all night. Suspended between two trees, none of that matters; pitching a good site becomes about finding two trees instead of a flat patch of dirt. For a lot of people who've never slept well in a tent, a hammock is the first system that actually works.
The catch every beginner learns the hard way is warmth from below. Lie in a hammock with just a sleeping bag and no underquilt, and the bag's insulation compresses flat under your weight, stops trapping air, and lets the breeze underneath pull heat straight out of your back — hammock campers call it cold-butt syndrome. An underquilt hangs outside the fabric, uncompressed, keeping its full loft all night; a pad wedged inside is cheaper and more familiar, though it can shift and leave cold gaps if it's not sized right. Solving this isn't optional — it's the difference between a great night and a sleepless one.
Site selection is its own skill: two sturdy, living trees spaced so your suspension reaches comfortably, clear ground underneath, and no dead branches overhead — what hikers call widowmakers. Use wide, tree-friendly webbing rather than rope or wire, both to protect the bark and because many parks require it; check land-manager rules before you hang, since some areas restrict hammock camping outright. Carry a lightweight backup plan for any stretch where trees thin out.
The pack
You still need something to carry the hammock, suspension and insulation — but a hammock system often packs smaller than a comparable tent-and-pad setup.
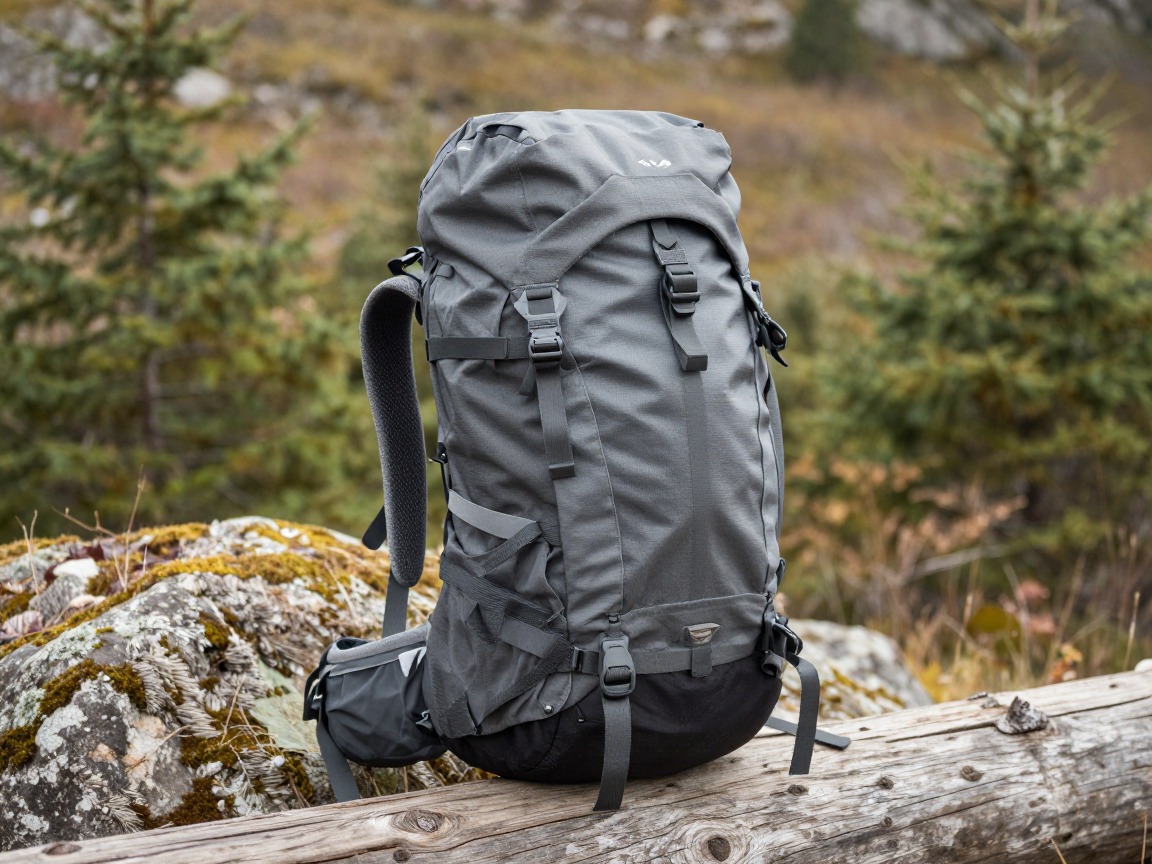
Overnight backpack
Carries the hammock, suspension, insulation and the rest of your gear; skipping a tent floor and poles often means you need less volume than the same trip would take on the ground.
What to look for: A hip belt that genuinely carries weight, a torso length matched to you, and 35–45 L for a weekend — usually more compact than a tent-and-pad kit of the same duration.
 WoneNice 50L Check price
  Teton 55L Scout Internal Frame Backpack for Hiking Check price
 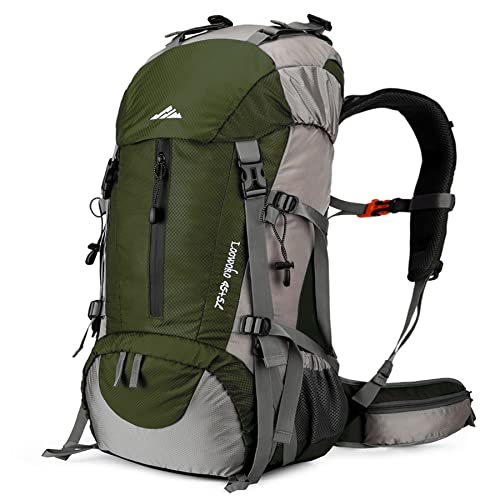 Loowoko 50L Hiking Backpack with Rain Cover for Both Men & Women Check price
 - Pack rain cover or liner
Hammock & suspension
The hammock is the bed; the suspension is what makes it possible without harming the trees you're hanging from.
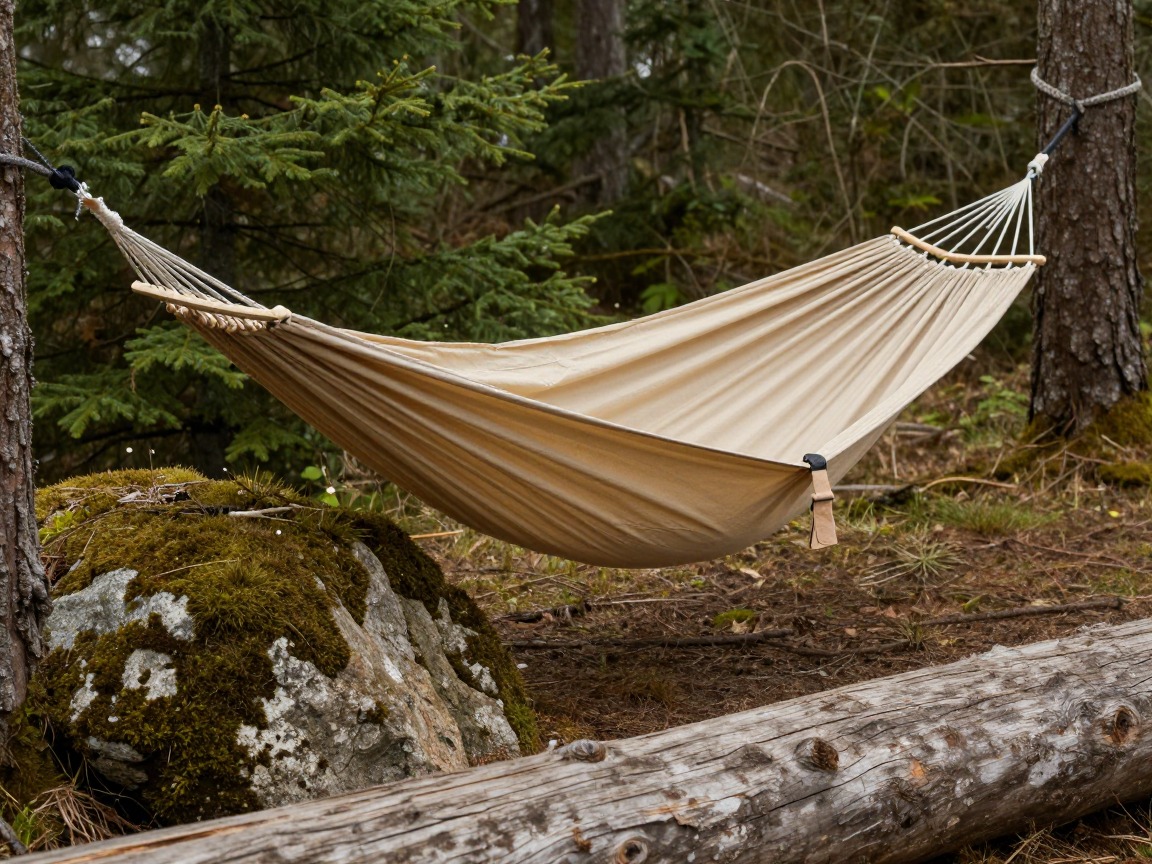
Camping hammock
Your bed for the night — a fabric or mesh hammock strung between two trees, cradling your whole body off the ground instead of resting on it.
What to look for: A hammock sized for your height and sleep style — lying at a slight diagonal, not straight along the ridgeline, is what actually flattens you out — a fabric rated with real margin above your body weight, and an integrated bug net option if bugs are a factor.
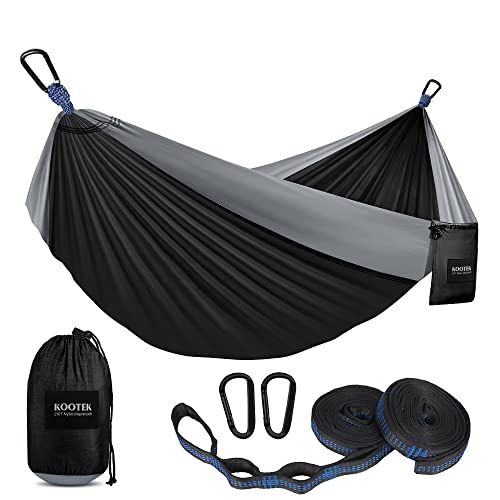 Kootek Camping Hammock 500lbs Capacity Outdoor Camping Essentials Check price
  Durable Hammock 400 lb Capacity Check price
  Wise Owl Outfitters Camping Hammock Check price
 - Tree-friendly suspension straps — wide webbing, never rope or wire
- Ridgeline with carabiners or soft shackles
- A structural ridgeline for hanging a light or small organizer
Warmth: underquilt & top insulation
With open air underneath you, whatever insulation compresses beneath your body stops working — warmth from below needs its own solution.
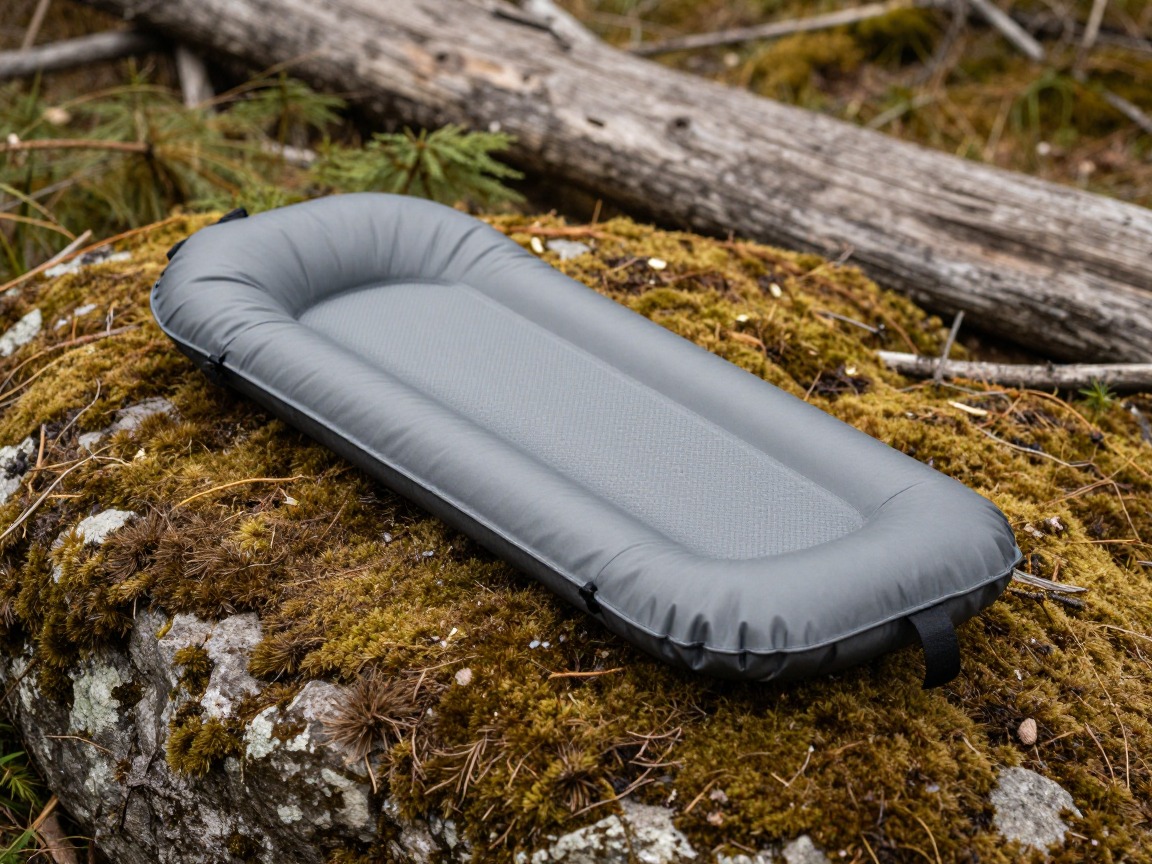
Underquilt or sleeping pad
Hangs beneath the hammock as an underquilt, or sits inside it as a pad, to stop the cold air under you pulling heat out of your back — what hammock campers call 'cold-butt syndrome.'
What to look for: An underquilt rated at or below your expected low, wide enough to wrap the hammock's sides, or, as a cheaper start, an insulated pad shaped to stay put inside without shifting or leaving cold gaps.
 FUN PAC Camping Sleeping Pad Check price
  Gear Doctors® Ether 17.5oz Ultralight Camping Sleeping Pad Check price
  Oramoose 4in Ultralight Camping Sleeping Pad with Pillow and Foot Pu Check price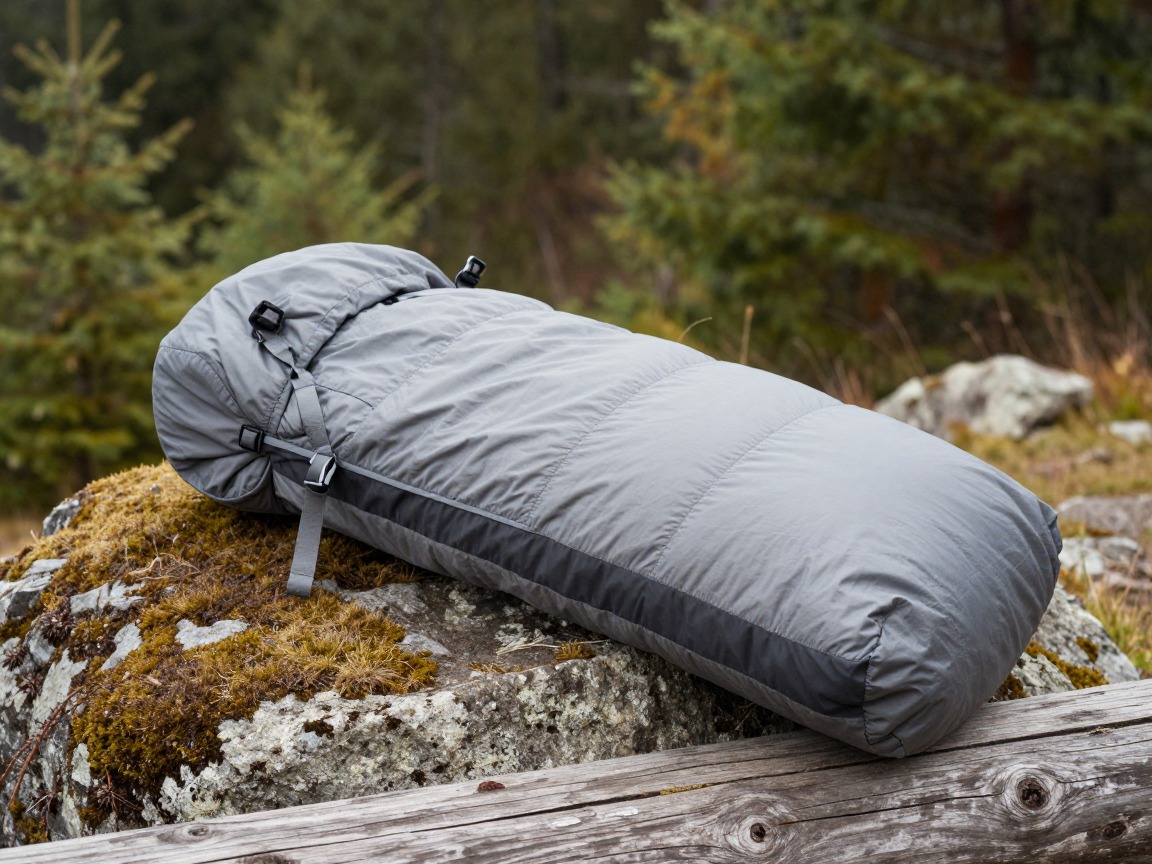
Top quilt or sleeping bag
Covers you from above the same way it would in a tent; a top quilt sheds the hood and back zipper you don't need once an underquilt is handling the side facing the cold air.
What to look for: A comfort rating a little below your expected low, chosen honestly alongside your underquilt or pad's rating — the two work as one system, and warmth depends on getting both right.
 MalloMe Sleeping Bags for Adults Cold Weather & Warm - Backpacking C Check price
 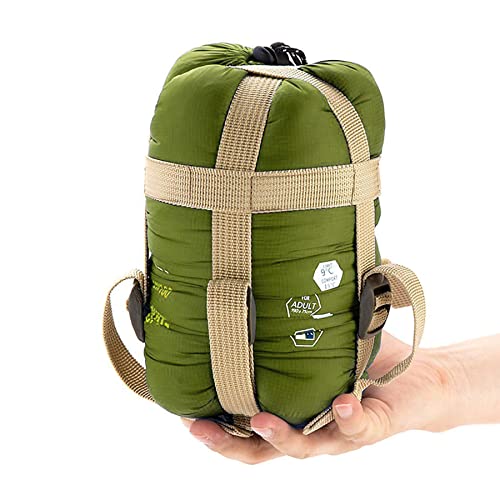 ECOOPRO Portable Check price
  Teton Trailhead Check price
 - Hammock pillow, or a stuffed jacket used as one
Overhead & bug protection
A tarp keeps rain and wind off; a bug net keeps the bugs off. Neither is optional once conditions call for it — there's no tent wall to fall back on.
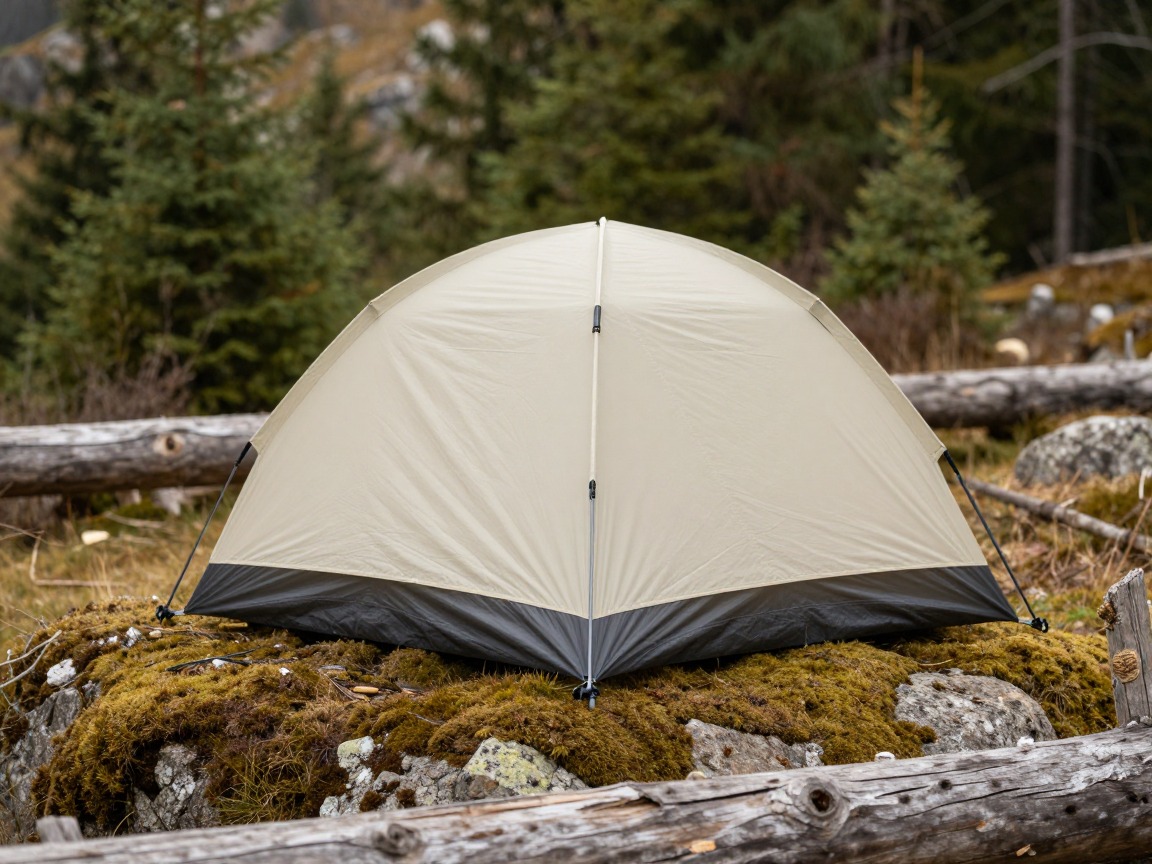
Rain tarp
Pitched above the hammock on its own ridgeline, a tarp is the hammock camper's roof — there's no floor to seal, only weather coming from above and the sides.
What to look for: Enough coverage to block wind-driven rain at a low, tight pitch — a smaller asymmetric cut saves weight, a larger 'winter' cut adds coverage on exposed sites. Practice pitching it taut at home first.
 Night Cat 2-Persons Backpacking Tent: Waterproof Lightweight Camping Check price
  BISINNA 2/4 Person Camping Tent Lightweight Waterproof Backpacking T Check price
  Forceatt Tent for 2 Person is Waterproof and Windproof Check price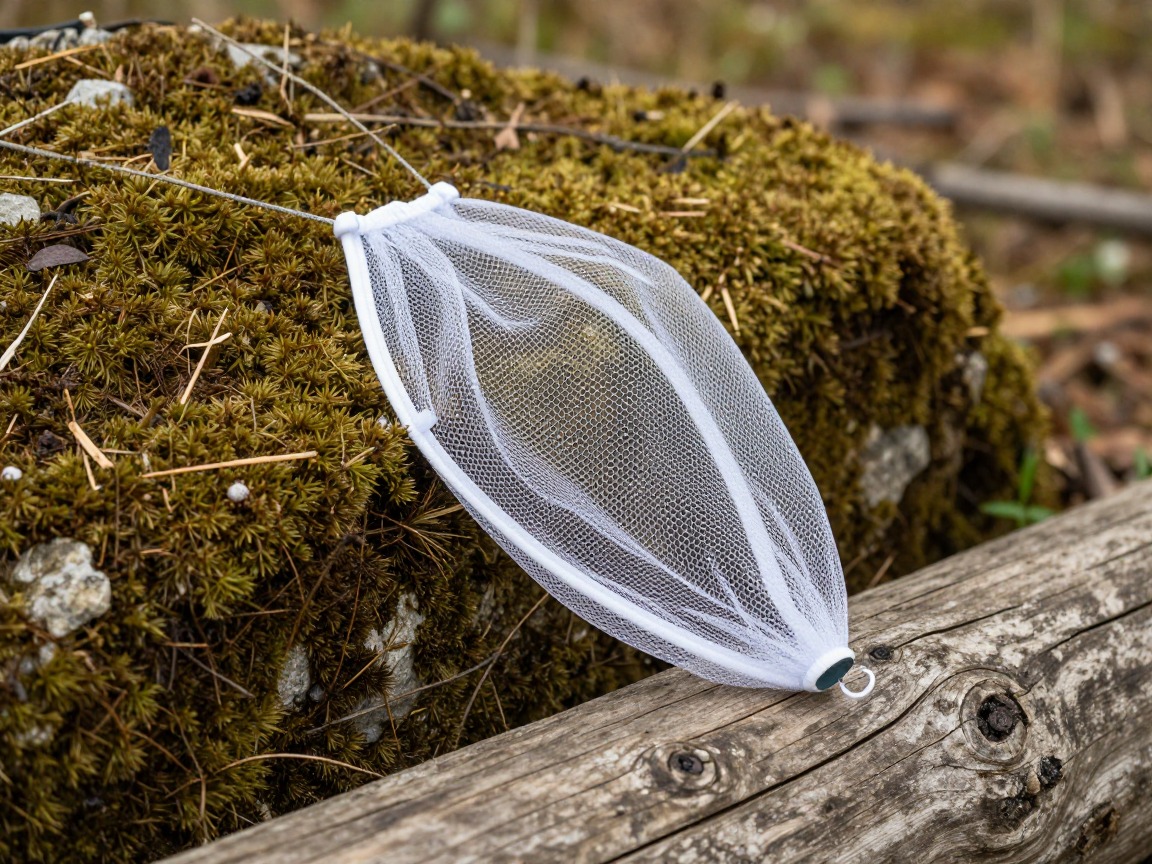
Bug net
Either built into the hammock as a no-see-um mesh 'bug sock' or added as a separate net, it's the difference between sleeping and swatting all night in bug season.
What to look for: Mesh fine enough to stop no-see-ums, not just mosquitoes, an entry you can work in the dark, and, if it's an add-on, a fit matched to your specific hammock.
 South to East Mosquito Head Net for Insects 2 Pack Check price
  2 Pack Mosquito Head Net Mesh for Hiking & Outdoors Check price
 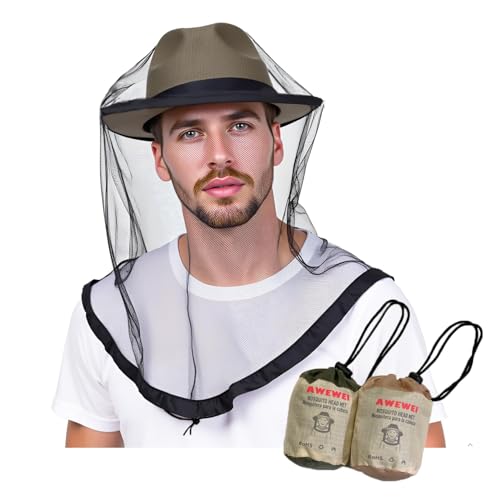 AWEWEI Mosquito Head Net Check price
 - Stakes & guylines for the tarp
- Prusik loops or a tarp ridgeline organizer
Kitchen & water
Cooking and water treatment don't change from ground camping — a canister stove and one pot cover most backcountry meals.
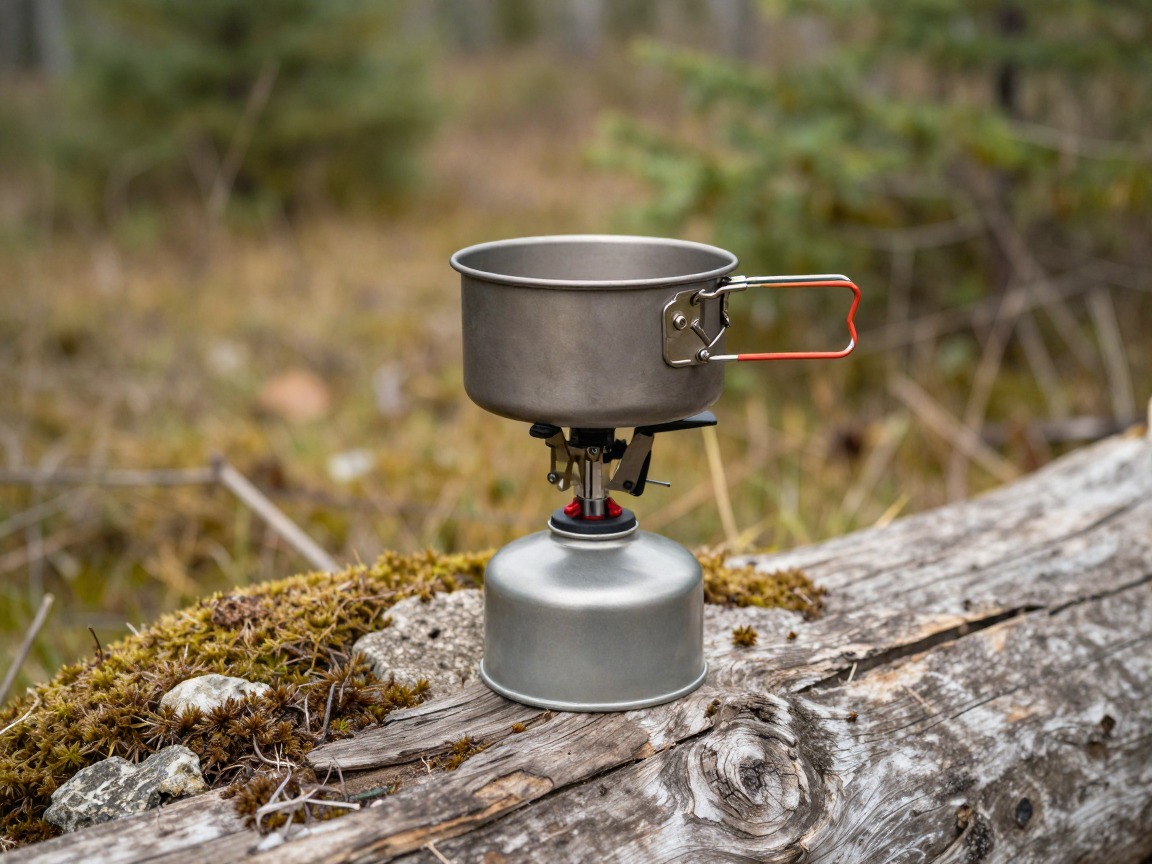
Backpacking stove
A compact canister stove boils water in a couple of minutes for dinners and hot drinks.
What to look for: A stable canister stove with usable simmer control and a quick boil, running on fuel you can find near the trailhead.
 AOTU Portable Camping Stoves Backpacking Stove with Piezo Ignition S Check price
  MSR PocketRocket 2 Ultralight Camping and Backpacking Stove Check price
  Fire-Maple Greenpeak 1 Camping Stove with Piezo Ignition Portable Ga Check price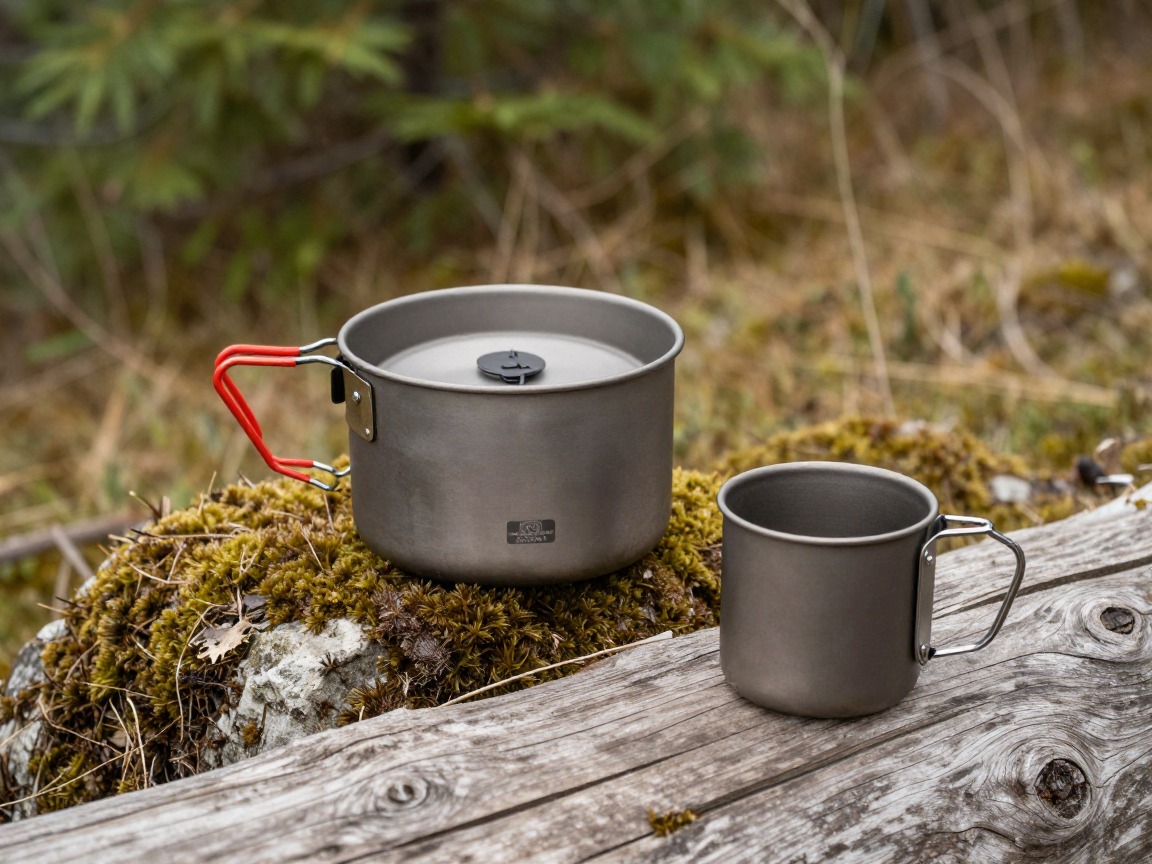
Pot & mug
One lightweight pot doubles as your bowl; titanium or aluminum keeps the weight down.
What to look for: One pot sized to your meals, light metal like titanium or hard-anodized aluminum, with a lid that doubles as a plate.
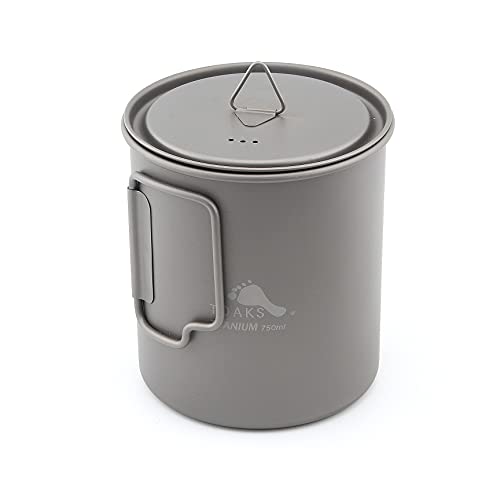 TOAKS Titanium 750ml Pot Check price
  TOAKS Titanium 750ml Pot with Bail Handle for Ultralight Camping Check price
  TOAKS Titanium 1100ml Pot with Pan Check price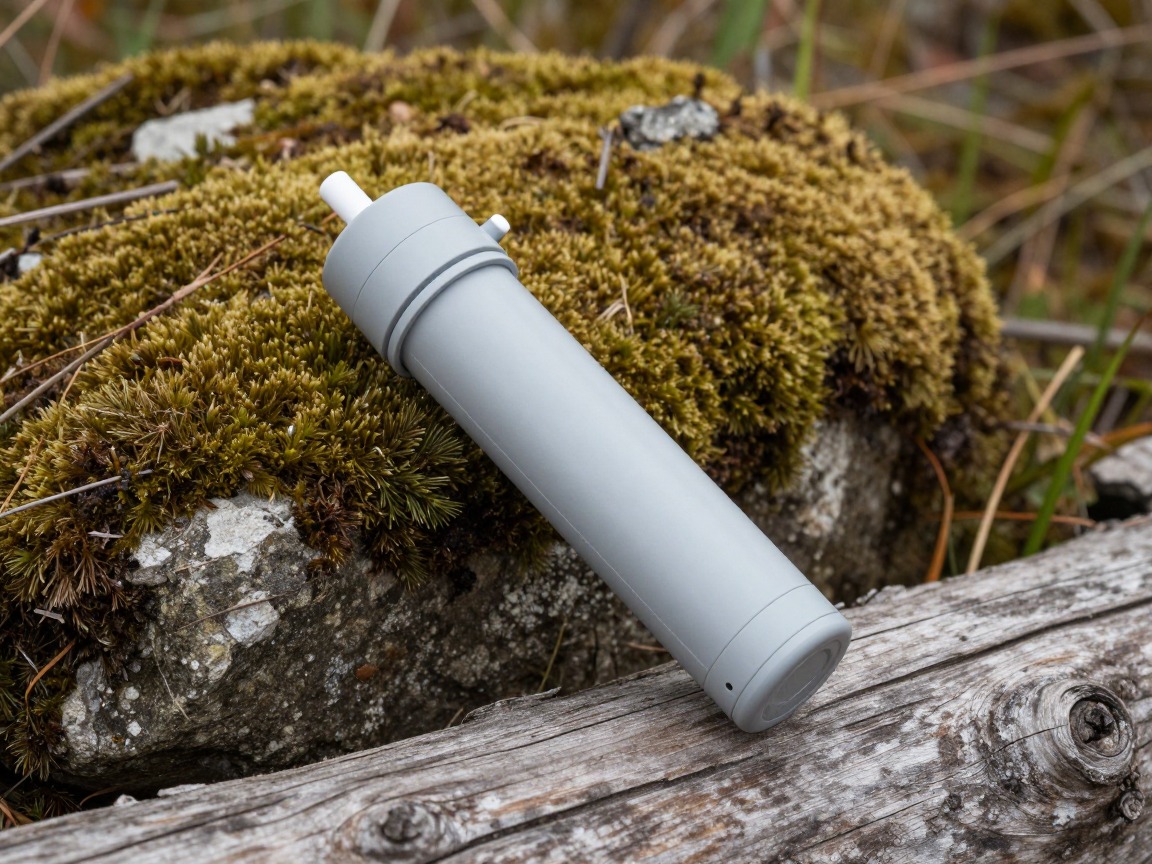
Water filter
Non-negotiable in the backcountry — treats stream and lake water so you can refill along the trail instead of carrying it all.
What to look for: Fast flow, easy field cleaning, and a design that resists clogging on murky water.
 Sawyer Squeeze Water Filtration System Check price
  Sawyer Products SP128 Mini Water Filtration System Check price
  LifeStraw Personal Water Filter for Hiking Check price
 - Fuel canister
- Spork & lighter
- Meals + snacks for each day
- Food storage (canister/bag + hang line, separate from your sleeping hang)
Clothing & layers
Pack a layering system, not outfits: a base layer and a waterproof shell handle most conditions, day or night.

Base layer
Merino or synthetic against the skin wicks sweat and resists odor over multiple days — worn inside your quilt at night as much as on the trail by day.
What to look for: Merino or a merino blend for odor resistance, a close-but-not-tight fit, and a weight matched to the season.
 100% Merino Wool Base Layer Men Set - Thermal Underwear for Men Long Check price
  Merino.tech Merino Wool Base Layer Women Set - Heavyweight Check price
  100% Merino Wool Base Layer Men Set - Thermal Long Underwear with Ba Check price
Rain shell
Waterproof, breathable protection from rain and wind on the trail, and a backup layer if you're sitting out under the tarp at camp.
What to look for: Genuinely waterproof rather than water-resistant, breathable, with a sealing hood and pit zips to vent on the move.
 UIQUR Mens Rain Jacket Raincoat Waterproof Windbreaker Black L Check price
  COOFANDY Men's Waterproof Hiking Travel Shell Breathable Rain Jacket Check price
  Columbia Womens Arcadia II Waterproof Rain Jacket Check price
 - Insulated camp jacket — also boosts warmth stuffed inside your quilt on a colder-than-expected night
- Spare hiking socks
- Camp/sleep clothes
- Sun hat & sunglasses
Navigation, light & safety
Redundancy matters more overnight — carry navigation you can trust without a signal, and know how you'd get out if you needed to.

Headlamp
Essential after dark for cooking, rigging your hang, and finding a bug net zipper in the dark; bring spare batteries or a charge.
What to look for: Bright, comfortable, with a red mode for camp and enough spare power that you're not rationing light.
 LHKNL Headlamp Flashlight Check price
  Lepro LED Headlamp Rechargeable IPX4 Waterproof Headlight 5 Modes - Check price
  Energizer LED Headlamp PRO Check price
First-aid kit
A slightly fuller kit than a day hike — blister care, your own meds and the basics, plus the knowledge to use them.
What to look for: Blister care, wound cleaning, your own reliable medication, and a small repair element like tape or a needle.
 Mini First Aid Kit - 150 Piece Small Waterproof EVA Hard Shell Case Check price
  Adventure Medical Kits Ultralight/Watertight Medical Kit .5 Check price
  211 PCS Waterproof First Aid Kit Check price
 - Map + compass or GPS (offline)
- Trekking poles (can double as tarp support in a pinch)
- Whistle
- Sunscreen & lip balm
- Phone + power bank
- Fire kit
- Toilet kit — trowel, TP, waste bags (Leave No Trace)
How to adapt this setup
Above treeline, in the desert, or on any stretch where trees are scarce or too far apart, a hammock can't hang. Carry a lightweight pad and groundsheet as backup, or plan your route around where the tree cover actually is.
Step up to a warmer-rated underquilt, add a warmer top quilt or bag, and look at a tarp with fuller coverage or doors to cut wind. Cold hammock camping is very doable, but it leans harder on the underquilt than any other single piece.
An integrated or add-on bug net moves from nice-to-have to mandatory, and a well-vented tarp pitched a little higher helps with airflow on sticky nights without giving up rain protection.
The suspension, tarp and underquilt are where the ounces hide — a minimal webbing suspension, a smaller tarp cut, and a well-chosen underquilt trim real weight. See the ultralight backpacking setup for the broader approach.
Common mistakes to avoid
- Skipping the underquilt or pad — insulation compresses under your weight and you get cold from below even in a warm bag.
- Hanging from dead or too-small trees, or using rope or wire straps instead of wide, tree-friendly webbing.
- Pitching the tarp too high, too loose, or off-center so wind-driven rain still reaches the hammock.
- Skipping the bug net in bug season and losing sleep to mosquitoes and no-see-ums instead.
- Lying straight along the ridgeline instead of at a slight diagonal, then waking up sore.
- Not carrying a backup plan on a route with sparse or unsuitable trees.
Make it yours
Frequently asked questions
How do I stay warm in a hammock?
Warmth comes from two separate pieces: an underquilt or pad handles the side facing the cold air below you, since your body weight compresses any insulation you're lying on until it stops working, and a top quilt or sleeping bag handles the air above. Skipping either one is the most common reason hammock campers get cold.
What is cold-butt syndrome?
It's the hammock camper's term for the cold that seeps up through the fabric beneath you because your own body weight has flattened whatever insulation is under you, so it stops trapping heat. An underquilt hung outside the hammock fabric — or a pad sized to stay put inside it — solves it.
Do I need two trees to hammock camp?
Yes — two sturdy, living trees spaced to suit your suspension, with clear ground underneath and no dead branches overhead. Scout your site before dark, use wide tree-friendly straps, and always carry a backup plan for terrain without good trees.
Is hammock camping better than tent camping?
Neither is universally better. Hammocks excel on rocky, rooty, sloped, or damp ground where a tent floor struggles, and many sleepers find them more comfortable; tents work anywhere, including treeless terrain, and don't require underquilt-level warmth planning.
Do hammocks need a bug net?
In bug season, or anywhere humid and buggy, yes — either a no-see-um mesh sock built into the hammock or a separate add-on net. Skip it in the wrong season or location and you'll spend the night swatting instead of sleeping.
Illustrative images show the type of gear, not specific products. Recommendations link to similar items on Amazon; we only ever link real listings and never show fabricated prices or ratings. General planning guidance, not a substitute for your own judgment or professional backcountry-safety instruction.