
The Half Dome day hike setup
Half Dome is the biggest day hike in Yosemite — roughly 14 to 16 miles round-trip from the Valley floor with close to 4,800 feet of elevation gain, most of it before you ever touch the cables. This is a setup built around a required permit, a pre-dawn start, and a final exposed climb up bare granite that only makes sense when the cables, the weather, and the crowd all cooperate.

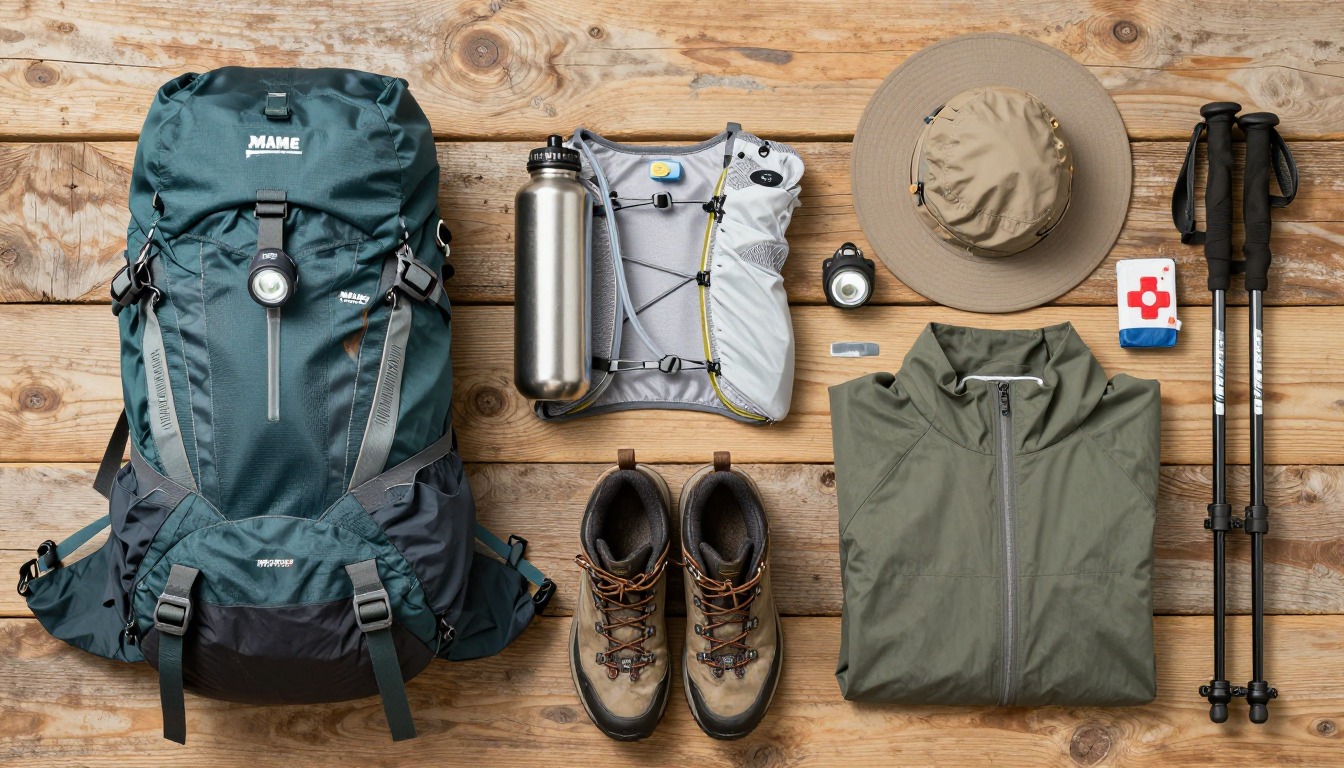
This kit is built for one long, hot, exposed day rather than a technical climb: a light pack carrying far more water than a normal day hike, real sun protection for hours on open granite, sturdy grip for the polished rock below the cables, and the light, poles and first aid a 10-to-12-hour day earns. Nothing here is about the cables themselves — that's a permit, conditions, and a decision made at the subdome, not a piece of gear.
This suits fit, permit-holding hikers comfortable with sustained steep climbing, real heat exposure, and an exposed final pitch on bare rock — not a first day hike or a casual outing. It doesn't suit anyone uneasy with heights or exposure, hiking without a permit, or short on time; Vernal and Nevada Falls make a full, rewarding day on their own without the cables.
- Confirm your permit first — nothing else on this list matters if you can't legally reach the cables that day.
- Build the water and sun system next: more capacity than any other day hike you own, plus real brim and eye protection for hours on open granite.
- Add grippy, broken-in footwear and trekking poles for the steep miles below the subdome, then the light-navigation-first-aid trio for a long day that starts in the dark.
- Weigh the finished pack, trim anything that isn't earning its place on 16 miles, and set a turnaround plan for the cables before you leave the trailhead.
About this setup
Half Dome starts at Happy Isles in Yosemite Valley and climbs past Vernal and Nevada Falls before a long, steady grind through Little Yosemite Valley toward the subdome — the last flat-ish ground before the final pitch. Depending on which trail you take up and down, most hikers cover somewhere around 14 to 16 miles round-trip with close to 4,800 feet of elevation gain, and budget a full 10 to 12 hours car to car. It's less a hike with a hard section at the end and more a genuinely long day that happens to finish with one.
The cable route itself is two steel cables bolted into the granite over the final few hundred feet of the dome's smooth back side, with wooden slats set at intervals as footholds. Because it's steep, exposed, and only manageable in the right conditions, the National Park Service runs a day-use permit system for anyone hiking beyond the subdome when the cables are up — typically a preseason lottery plus a smaller daily lottery closer to your hike date. The permit exists because this stretch gets dangerously crowded and dangerously slick without one; check the current process and cable-up dates directly with the park before you plan around them, since both can change year to year.
The real safety judgment on this hike happens at the subdome, not in a packing list. Wet granite loses grip fast, a crowded cable line creates bottlenecks on an exposed slope with nowhere to step aside, and this dome sits well above the surrounding terrain — a genuinely bad place to be caught by a building thunderstorm. None of that is solved by gear. It's solved by checking conditions and posted guidance before you start, watching the sky all day, and being willing to turn back at the subdome having still had a full, worthwhile day on the mountain.
The pack
Sixteen miles and nearly a vertical mile of gain call for a pack sized for a huge water load and a few layers, not a multi-day hauler.
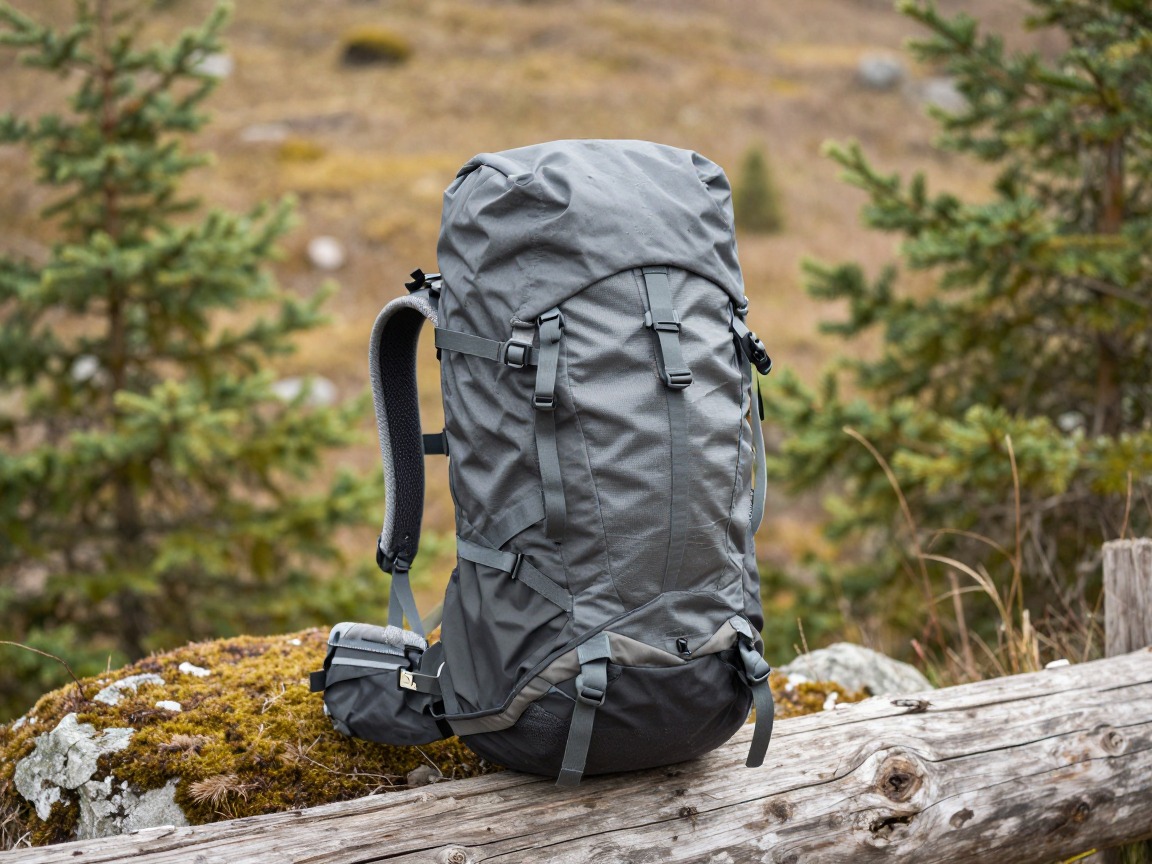
Half Dome daypack
Carries the day's water, food and layers while staying light and close-fitting enough for the steep, exposed miles above Nevada Fall and the scramble to the subdome.
What to look for: A 25–35 L pack with a real hip belt, a hydration sleeve or bottle pockets you can reach without stopping, and external loops to strap poles to before the cables. Fit matters more than any single feature on a day this long.
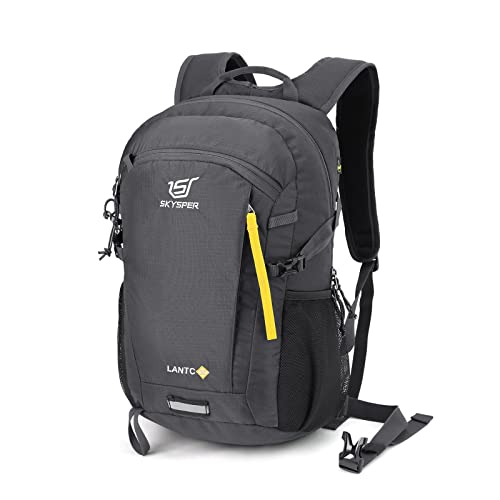 SKYSPER Small Hiking Backpack Check price
  Osprey Sportlite 20L Lightweight Hiking Backpack Check price
 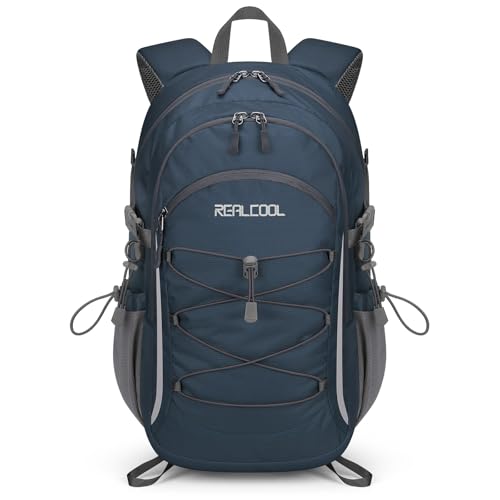 RealCool 20L Lightweight Hiking Backpack Check price
 - A pack liner or dry bag to keep your permit, phone and spare layer dry if weather moves in
Water & fuel
This is one of the most water-hungry day hikes most people will ever do — plan for well beyond a normal day hike, because there's little to no water past a certain point.
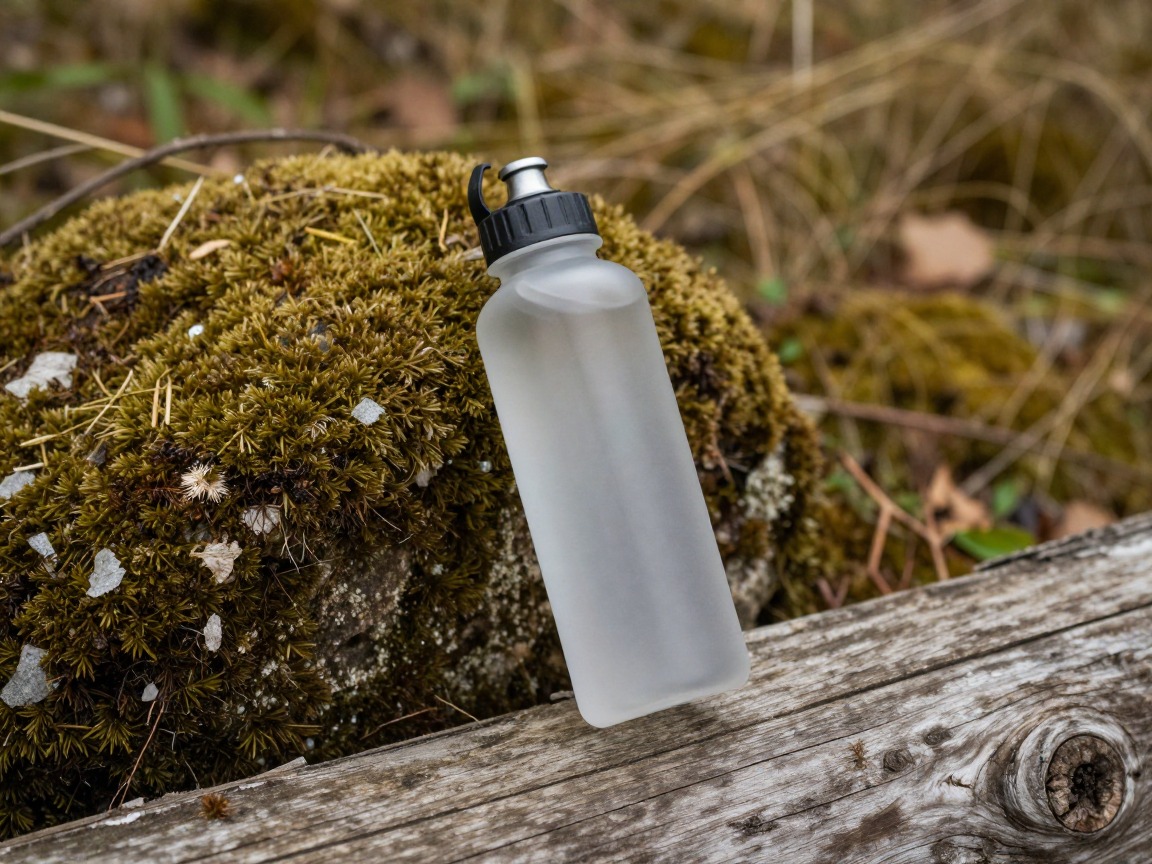
Wide-mouth bottles
Carries the bulk of the day's water and refills quickly at trailside water sources before the trail climbs away from the river for good.
What to look for: Tough, wide-mouth bottles that refill fast from a stream, sized so your bottles and bladder together cover a genuinely long, hot day.
 Nalgene 32 oz Wide Mouth Water Bottle Check price
  Nalgene 32 oz Wide Mouth Water Bottle Check price
  Nalgene 32 oz Wide Mouth Water Bottle Check price
Hydration reservoir
Lets you sip constantly through the exposed, sun-baked climb above Nevada Fall, where stopping to dig out a bottle costs time and momentum on steep ground.
What to look for: A 2–3 L bladder with a lockable bite valve and a wide fill opening. An insulated hose helps keep water drinkable once the sun is fully on the trail.
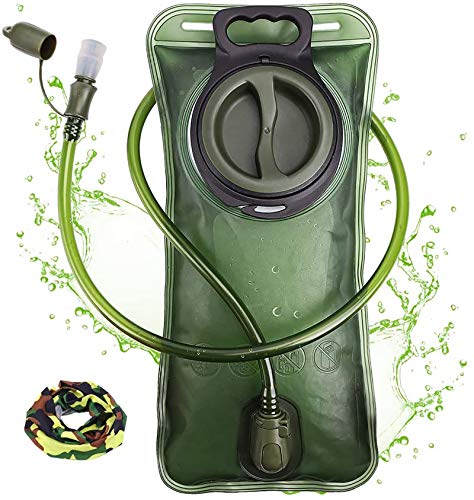 Hydration Bladder Check price
  Hydration Bladder Check price
  Mdvora 1.5L/2L/2.5L/3L Hydration Bladder Check price
Water filter
The Merced River and its side creeks along the lower trail are the last realistic places to refill in full — a filter lets you top off completely instead of carrying every liter from the trailhead.
What to look for: A fast, simple squeeze or pump filter. Treat any refill below Little Yosemite Valley as close to your last for several hours.
 Sawyer Squeeze Water Filtration System Check price
  Sawyer Products SP128 Mini Water Filtration System Check price
  LifeStraw Personal Water Filter for Hiking Check price
 - Calorie-dense food for a 10–12 hour day, not just a normal day hike's worth
- Electrolyte mix or tabs
- Extra emergency food beyond what you expect to eat
Sun, footwear & layers
Above Little Yosemite Valley the granite offers little shade and throws heat and glare back at you all day, right up to a final pitch that rewards a stiff, grippy sole.
Sun protection
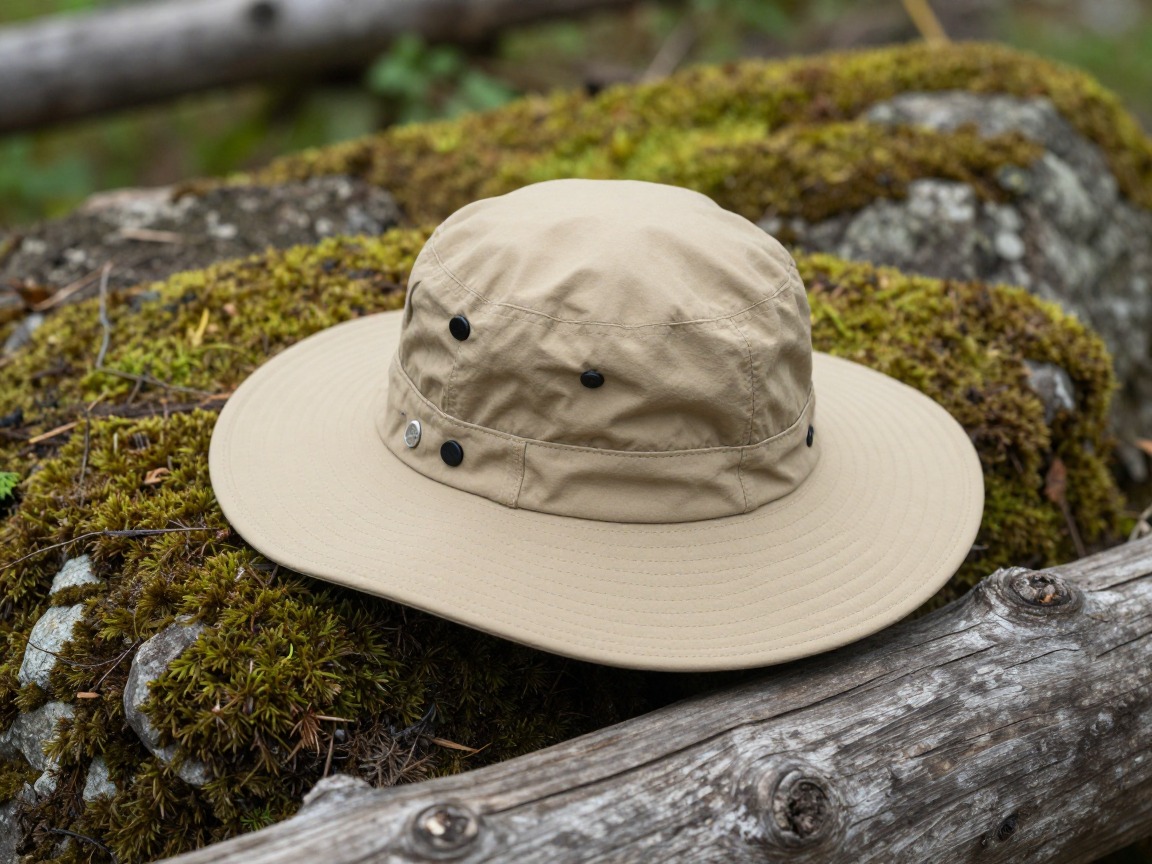
Hours of open granite with no real shade make sun protection as important here as anywhere in the park, especially through the long, exposed climb to the subdome.
What to look for: A wide brim that shades your face and neck, polarized sunglasses for glare off pale rock, and sunscreen you actually reapply through the day.
 FURTALK Womens Sun Hat with Ponytail Hole Beach Hiking Summer Wide B Check price
 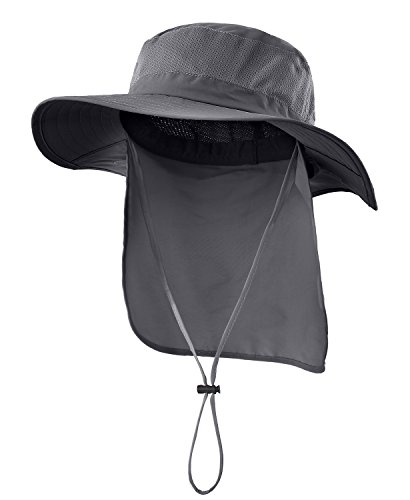 Home Prefer Outdoor UPF50+ Mesh Sun Hat Wide Brim Fishing Hat with N Check price
  FURTALK Sun Hats for Men Fishing Hat UPF Protection Wide Brim Bucket Check price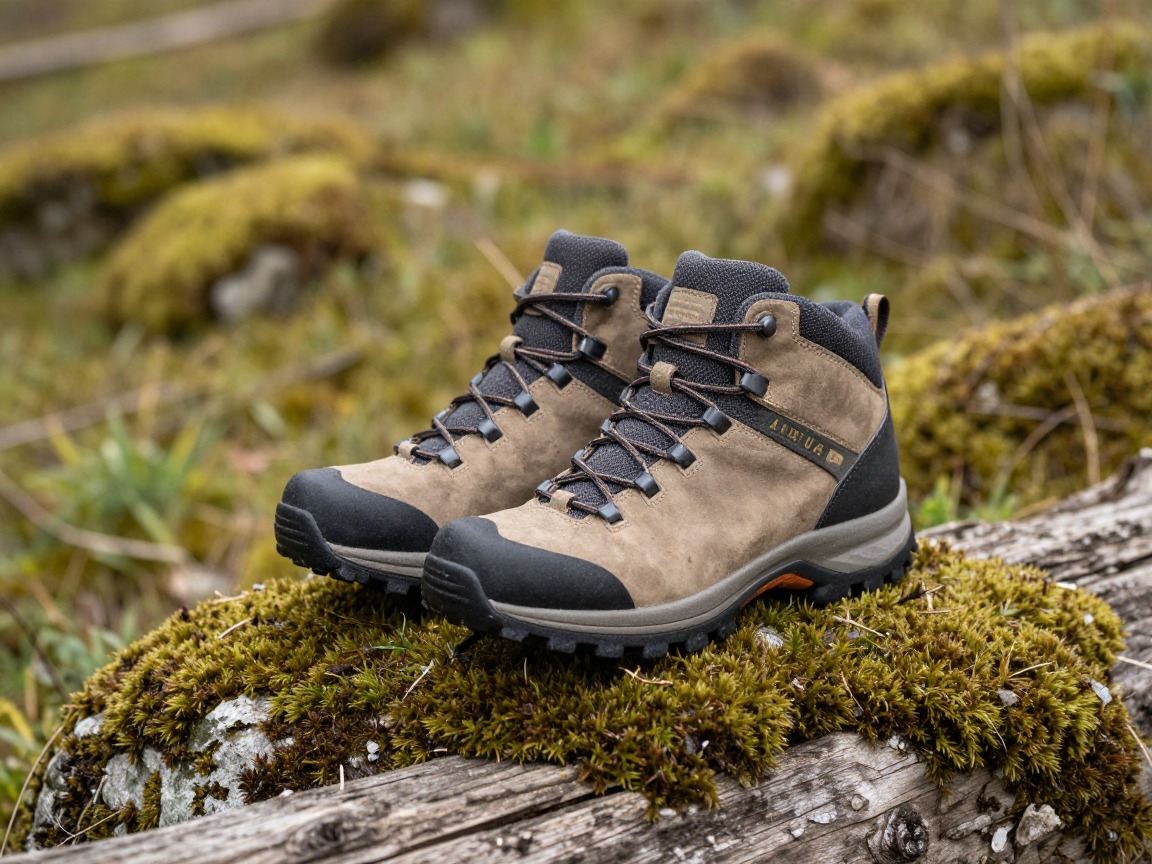
Sturdy, grippy footwear
The granite slabs below the subdome and the polished rock along the cable route reward a stiff, grippy sole and solid ankle support, especially on the long descent with tired legs.
What to look for: Broken-in boots or a trail shoe with a sticky, grippy outsole rated for scrambling on smooth rock. New or worn-smooth soles are the wrong choice for this trail.
 Columbia Men's Transverse Waterproof Hiking Boot Check price
  NORTIV 8 Men's Ankle High Waterproof Hiking Boots Check price
  Columbia Mens Transverse Waterproof Hiking Boot Check price
Rain/wind shell
Sierra summer afternoons build thunderstorms quickly, and a shell that goes on fast is part of getting off exposed granite before weather arrives, not just staying dry.
What to look for: A packable, genuinely waterproof and windproof shell you'll actually carry, since it earns its place by being on you within seconds of the sky changing.
 UIQUR Mens Rain Jacket Raincoat Waterproof Windbreaker Black L Check price
  COOFANDY Men's Waterproof Hiking Travel Shell Breathable Rain Jacket Check price
  Columbia Womens Arcadia II Waterproof Rain Jacket Check price
 - Moisture-wicking shirt and pants or shorts
- A spare pair of hiking socks
- A lightweight buff or bandana for dust, sun and wind on the exposed ridge
Navigation, light & cable-route safety
This is where a Half Dome day differs most from an ordinary day hike: a required permit, a pre-dawn start, and the discipline to skip the cables when conditions say no.

Headlamp
Most hikers start hours before sunrise so they're off the exposed granite before afternoon storms build, and a headlamp is also your backup if the long descent runs past dark.
What to look for: Enough output for confident pre-dawn hiking on rocky trail, a secure strap, and fresh batteries plus a spare set for a day this long.
 LHKNL Headlamp Flashlight Check price
  Lepro LED Headlamp Rechargeable IPX4 Waterproof Headlight 5 Modes - Check price
  Energizer LED Headlamp PRO Check price
Trekking poles
Steady you on the steep switchbacks and polished slabs below the subdome, and save your knees on the long descent; most hikers stash them at the base before the cables.
What to look for: Adjustable poles with locks that hold under load, and a way to strap them to your pack for the climb itself.
 Trekology Trek-Z Cork Grip Collapsible Lightweight Hiking Trekking P Check price
  Cascade Mountain Tech Trekking Poles Check price
  covacure Hiking Poles Check price
First-aid kit
Covers blisters, cuts and the small stuff on a long day, and should sit alongside a working knowledge of heat-illness symptoms given the sun exposure on this route.
What to look for: A compact kit weighted toward blisters and hot-weather issues — then know what's in it before a 16-mile day, not during one.
 Mini First Aid Kit - 150 Piece Small Waterproof EVA Hard Shell Case Check price
  Adventure Medical Kits Ultralight/Watertight Medical Kit .5 Check price
  211 PCS Waterproof First Aid Kit Check price
 - Your Half Dome permit (printed or saved offline, since cell service is unreliable)
- Sturdy gloves for gripping the steel cables
- Map or GPS with the full route loaded
- Sunscreen and SPF lip balm
- Whistle
- Phone plus a power bank
- A firm decision to turn back if the cables are wet, a storm is anywhere nearby, or the route is too crowded to move safely — check posted conditions and ranger guidance before you commit, and treat turning back as the normal, correct call
- A written route and expected return time left with someone
How to adapt this setup
Skip the dome entirely and make Vernal and Nevada Falls, or Half Dome's approach without the cables, your goal — still a big, satisfying day. Only plan around the cables themselves if you're holding a valid permit for that date.
Push your start earlier, carry more water than you think you'll need, and treat any afternoon cloud buildup over the dome as a hard turnaround signal rather than something to wait out.
Make the subdome your turnaround point instead of the summit. It's still a full, demanding day, and coming back another time with better conditions beats pushing a bad call.
Trail runners can replace boots for experienced hikers confident on smooth rock, and the rest of the kit trims down accordingly — but the water, sun and permit rules don't change.
The slowest hiker sets the group's real turnaround time, and the cables bottleneck badly with mismatched groups. Agree on a plan at the trailhead, not partway up the dome.
Common mistakes to avoid
- Planning around the cables without a valid, current permit for that date.
- Underestimating total water needs for a 10-plus-hour day almost entirely on exposed, sun-baked granite.
- Starting too late to be off the dome before afternoon thunderstorms typically build.
- Wearing smooth-soled, brand-new, or worn-out shoes on the polished granite below the cables.
- Pushing onto wet cables or into a dangerous bottleneck instead of turning back at the subdome.
- Underestimating how long the descent takes on tired legs and running out of daylight, food, or water on the way down.
Make it yours
Frequently asked questions
Do I need a permit to hike Half Dome?
Yes — a day-use permit is required for anyone hiking past the subdome while the cables are up, issued through a preseason lottery plus a smaller daily lottery closer to your date. The permit doesn't apply if you're only hiking to Vernal or Nevada Falls without continuing to the cables.
How long is the Half Dome day hike?
Most round-trip routes from Yosemite Valley run roughly 14 to 16 miles with close to 4,800 feet of elevation gain, depending on which trail you take up and down. Most hikers budget a full 10 to 12 hours car to car, including time at the top and on the cables.
When are the Half Dome cables up?
The cables typically go up in late spring and come down in early fall, but exact dates shift year to year with weather and park operations. Confirm current cable-up dates and permit rules directly with Yosemite before you plan a trip around them.
What if the cables are wet or a storm is nearby?
Turn back. Wet granite loses grip fast and the dome sits well above the surrounding terrain, making it a genuinely exposed place to be caught by lightning. Check posted trail conditions and ranger guidance before you commit, and treat any doubt as a reason to stop at the subdome.
How much water do I need for Half Dome?
Substantially more than a typical day hike — many hikers carry several liters and still refill along the lower trail before the route climbs away from reliable water. Plan your total capacity around a long day with little to no water past Little Yosemite Valley.
Illustrative images show the type of gear, not specific products. Recommendations link to similar items on Amazon; we only ever link real listings and never show fabricated prices or ratings. General planning guidance, not a substitute for your own judgment or professional backcountry-safety instruction.