
The Grand Canyon rim-to-rim setup
A rim-to-rim crossing takes the usual day-hike shape and turns it inside out: a long, knee-jarring descent first, then a much longer, hotter climb back to a rim on the far side. This setup is built around the two things that decide whether that day goes well — a hydration and electrolyte plan sized for a canyon floor that runs far hotter than either rim, and a pacing plan that saves enough of you for the climb out.

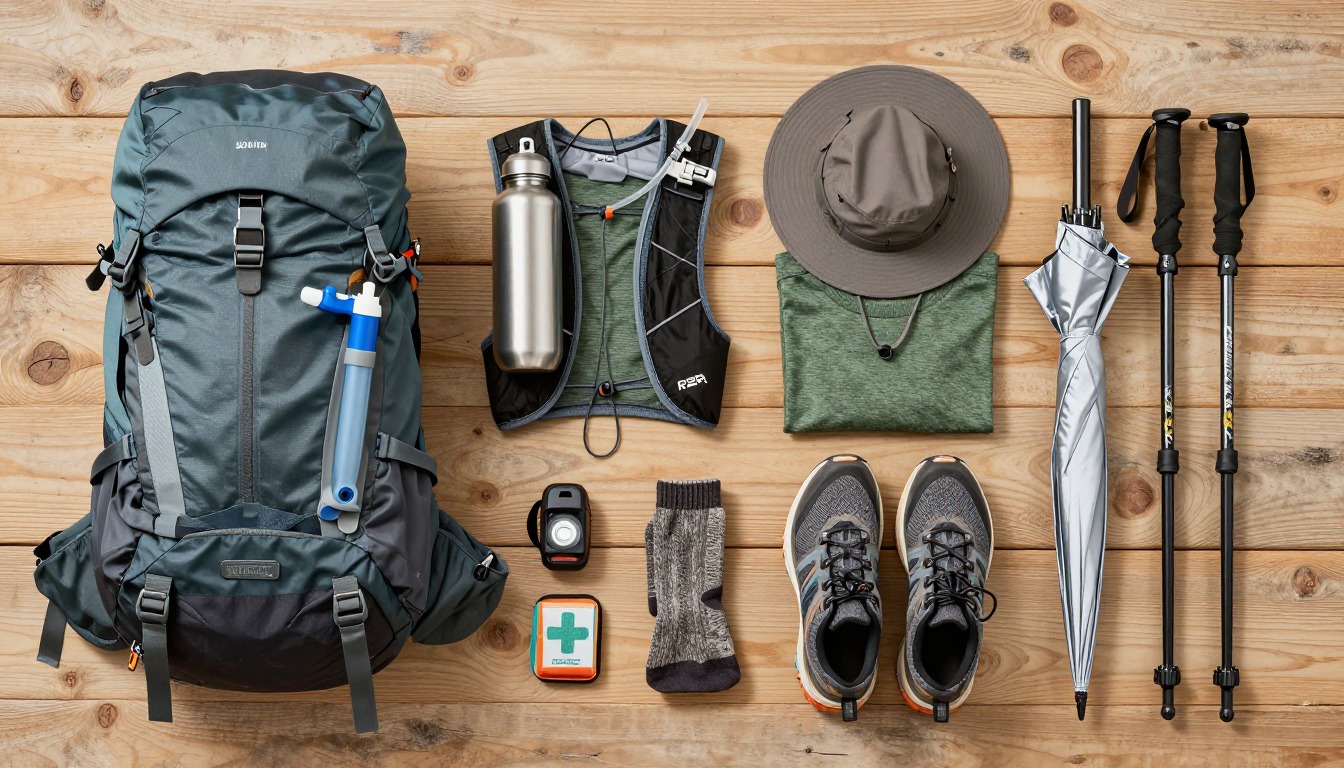
A rim-to-rim kit is organized around a simple, uncomfortable fact: the hardest, hottest miles come last, after you've already descended thousands of feet and the day has had time to heat up. So water and electrolyte capacity get sized for the whole crossing plus a real margin, the sun system assumes an inner canyon that can run 20–30°F hotter than the rim you started from, and the footwear and poles are chosen for a body that's already covered most of a marathon's worth of distance before the real climbing starts. Timing gets treated as gear too — a pre-dawn start isn't optional here, it's the difference between finishing in daylight heat and finishing after dark.
This suits strong, experienced hikers or fastpackers with real big-vertical-day and multi-hour endurance under their belt, doing the crossing in cooler shoulder-season conditions or with a very early start. The National Park Service is explicit that a rim-to-rim (or rim-to-river-to-rim) crossing in a single day is not recommended in summer, and posts that warning at every corridor trailhead for a reason — heat-related rescues and deaths cluster around hikers who underestimated it. If you're newer to big mileage, hiking in peak summer, or unsure of your pace over 20-plus miles and thousands of feet of vertical, the safer version of this trip is spread across two or three days with a permitted night at a backcountry campground or Phantom Ranch.
- Do the water and electrolyte math for the whole crossing, weighted toward the climb out rather than the descent — the way down is never the part that goes wrong.
- Build a full heat-and-sun system assuming the inner canyon runs well hotter than either rim, not the temperature at the trailhead when you start.
- Check current water-station status for your route before you go, and pick your ascent trail with that in mind — one major corridor trail has no water at all along its length.
- Set a pre-dawn start and a real turnaround or bail-out plan, then confirm your itinerary, shuttle logistics and permit (if staying over) before the trailhead.
About this setup
A rim-to-rim crossing is really two very different hikes stitched together. The first stretch drops thousands of feet in a few hours, often in the cool of early morning, and feels deceptively easy — which is exactly why so many hikers get the pacing wrong. The second stretch climbs roughly that same elevation back to a rim, later in the day, in the heat the canyon has had all morning to build, on legs that have already covered a long way. Every experienced corridor hiker plans the day backward from that climb, not forward from the trailhead.
Temperature is the other variable that catches people out. Because heat sinks and gets trapped between canyon walls, the inner corridor near the river routinely runs well hotter than either rim — often 20 to 30°F hotter — even on a day that felt mild at the start. That's also where the two opposite hydration risks show up: too little water and electrolytes leads to classic heat illness, while drinking large amounts of plain water without replacing salt can cause its own serious problems. Neither is something to self-diagnose or self-treat mid-hike — the practical version of this rule is to carry electrolytes and salty food alongside plain water, watch for feeling worse rather than better as you drink, and treat any of that as a reason to stop, find shade, and get help rather than push on.
The corridor trails themselves are well maintained and clearly marked, which is part of what makes a rim-to-rim crossing feel more approachable than it is. Water availability differs sharply between them — Bright Angel Trail has seasonal rest houses with potable water roughly on the way down, while the South Kaibab Trail has no water at all along its length by design, a detail that shapes which direction most groups choose to descend versus climb. Seasonal stations can also be shut off for maintenance or pipeline repairs with little notice, which is why the National Park Service publishes current water-station status and why checking it the day before matters as much as anything in this kit.
The pack
A rim-to-rim day covers a huge amount of ground, so the pack has to carry a genuinely large water and food load without turning into deadweight over 20-plus miles.
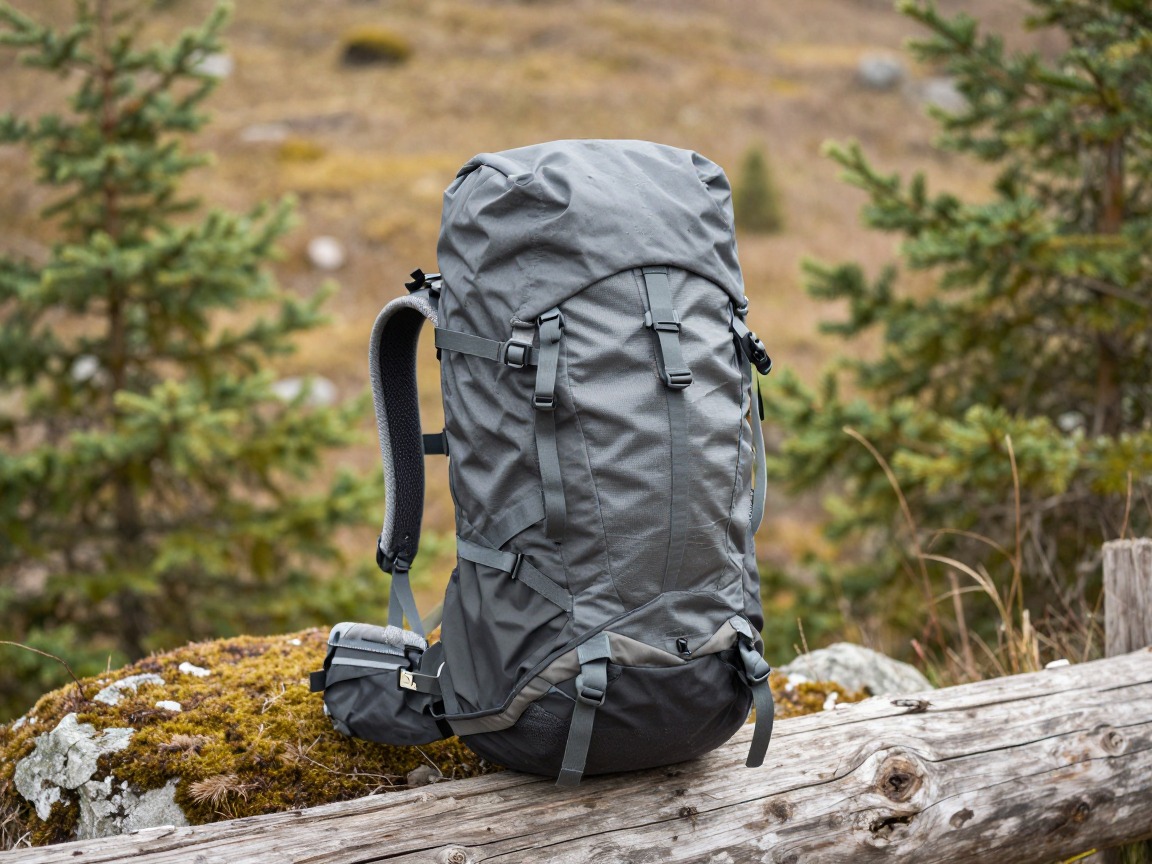
Rim-to-rim daypack
Carries the full-day water load, salty food, layers and safety kit for a crossing that's several times longer than a typical day hike, while staying comfortable over many hours of steady movement.
What to look for: 25–35 L with a stable, well-ventilated harness for hour after hour of wear, easy-reach side pockets so you drink without stopping, and enough capacity for a bigger water carry on the days a station might be down.
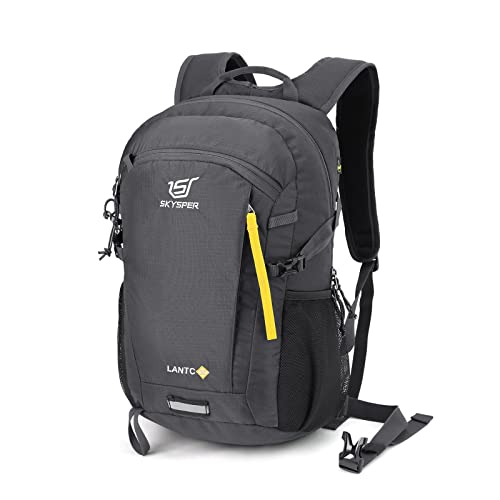 SKYSPER Small Hiking Backpack Check price
  Osprey Sportlite 20L Lightweight Hiking Backpack Check price
 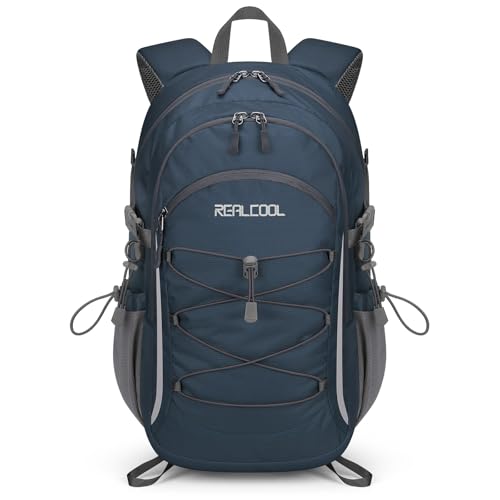 RealCool 20L Lightweight Hiking Backpack Check price
 - Trekking pole loops or an easy way to stash poles hands-free at rest stops
Water & electrolytes
This is the section that actually decides your day. Plan water around the climb out, treat electrolytes and salty food as equal partners to plain water, and never assume a pipeline station will be running.
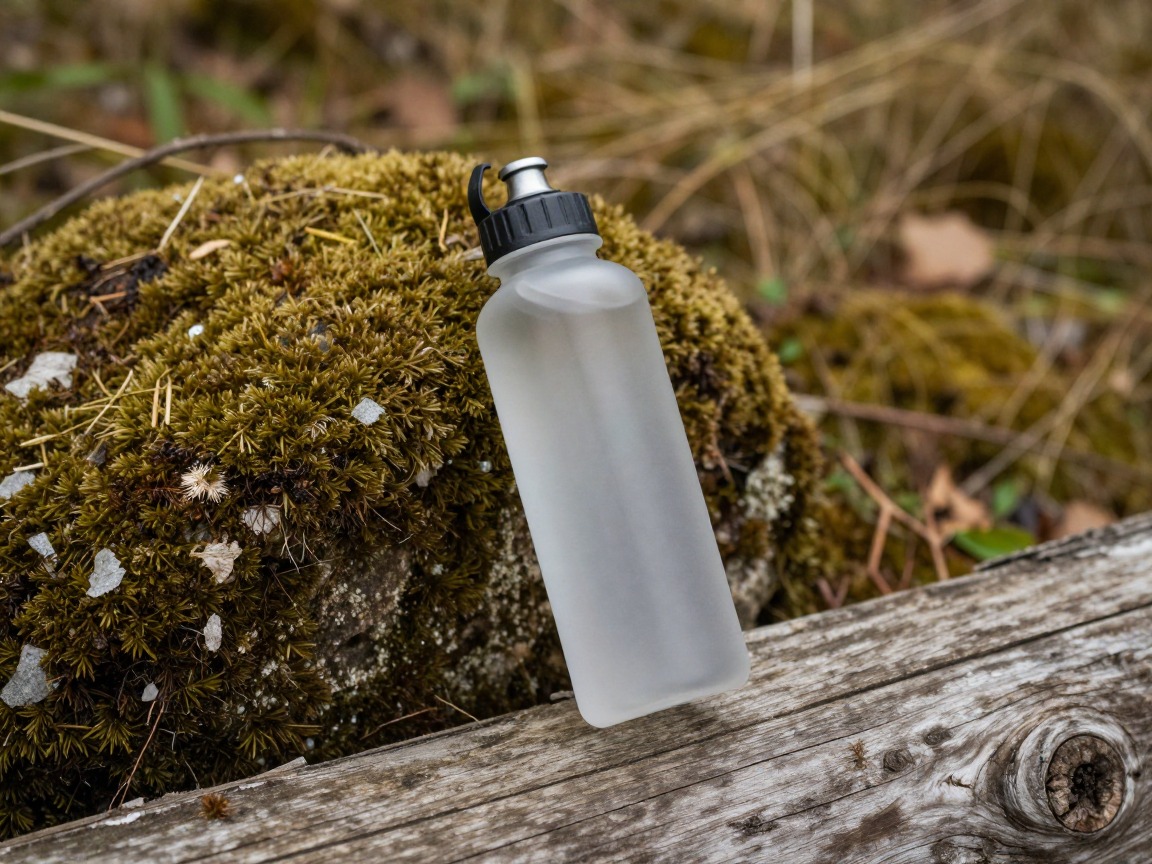
Wide-mouth water bottle
A bottle you can see into and count keeps your water math honest hour by hour, which matters more here than on almost any other hike in this guide.
What to look for: A tough, wide-mouth bottle with clear volume markings, quick to refill or dose with electrolyte mix at a rest house, and durable enough for a hot pack all day.
 Nalgene 32 oz Wide Mouth Water Bottle Check price
  Nalgene 32 oz Wide Mouth Water Bottle Check price
  Nalgene 32 oz Wide Mouth Water Bottle Check price
Hydration reservoir
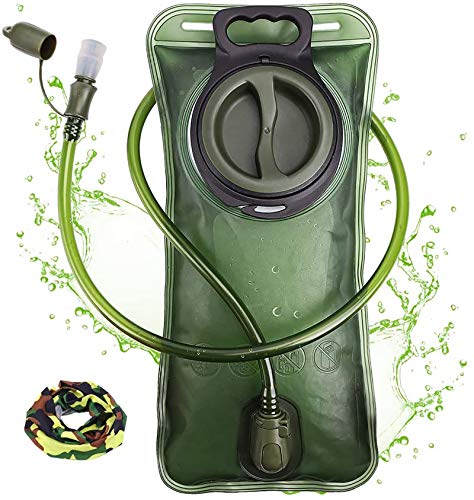
A 2–3 L bladder adds real capacity for the stretches between water stations and makes constant sipping easier than stopping to unclip a bottle.
What to look for: The largest reservoir your pack's sleeve takes, an insulated hose and bite valve to slow heat gain in direct sun, and a wide opening so you can check what you're filling it with.
 Hydration Bladder Check price
  Hydration Bladder Check price
  Mdvora 1.5L/2L/2.5L/3L Hydration Bladder Check price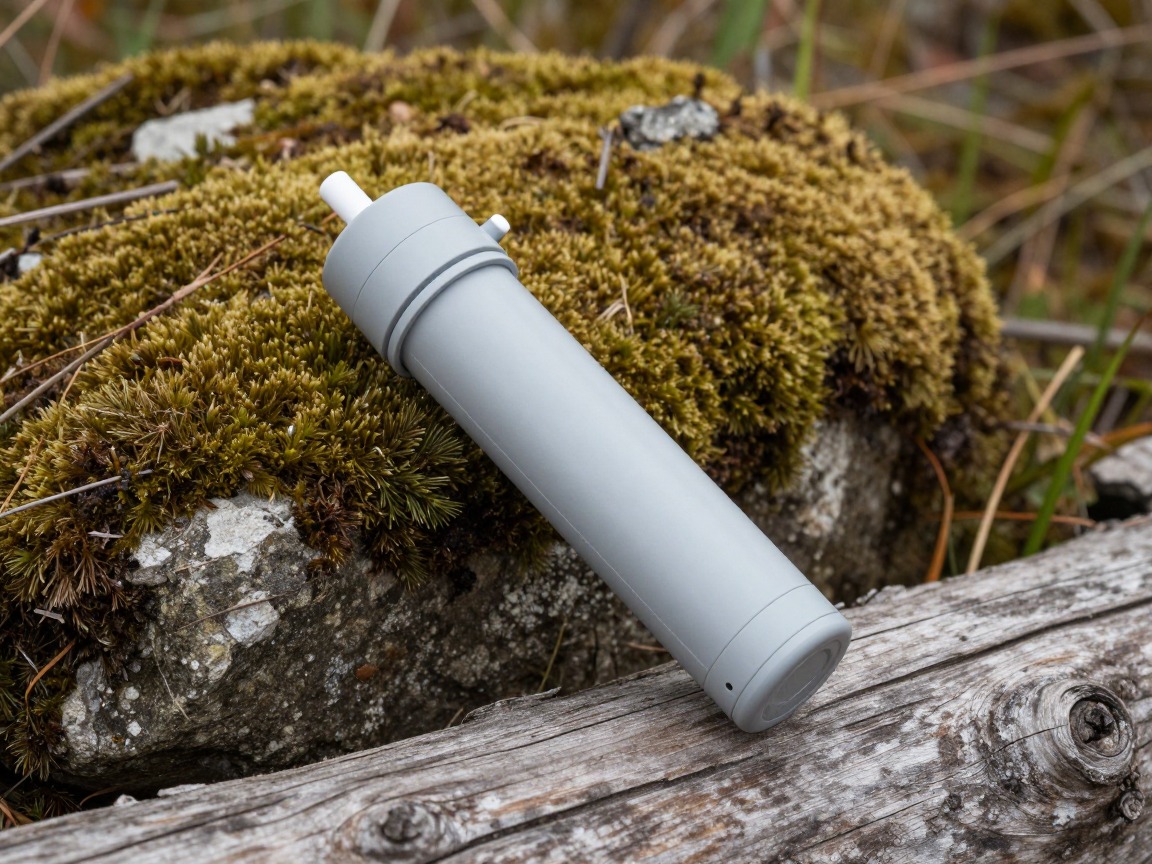
Water filter or purification
Backup insurance for the days a seasonal pipeline station is down for maintenance or a break — the corridor trails do have the Colorado River and side creeks, but not every water source is a maintained tap.
What to look for: A fast, simple filter or backup tablets that add no real weight, there specifically for the scenario where a station you were counting on isn't running.
 Sawyer Squeeze Water Filtration System Check price
  Sawyer Products SP128 Mini Water Filtration System Check price
  LifeStraw Personal Water Filter for Hiking Check price
 - Electrolyte tabs or drink mix, carried separately from plain water
- Salty snacks — chips, crackers, salted nuts, electrolyte chews
- Current water-station status checked on the park website the day before you go
- A written water plan built around your slowest, hottest miles, not your fastest ones
Heat & sun protection
The inner canyon traps and radiates heat in a way neither rim does, and there's real exposure on the lower switchbacks with almost no shade through the middle of the day. Treat this as a complete system.
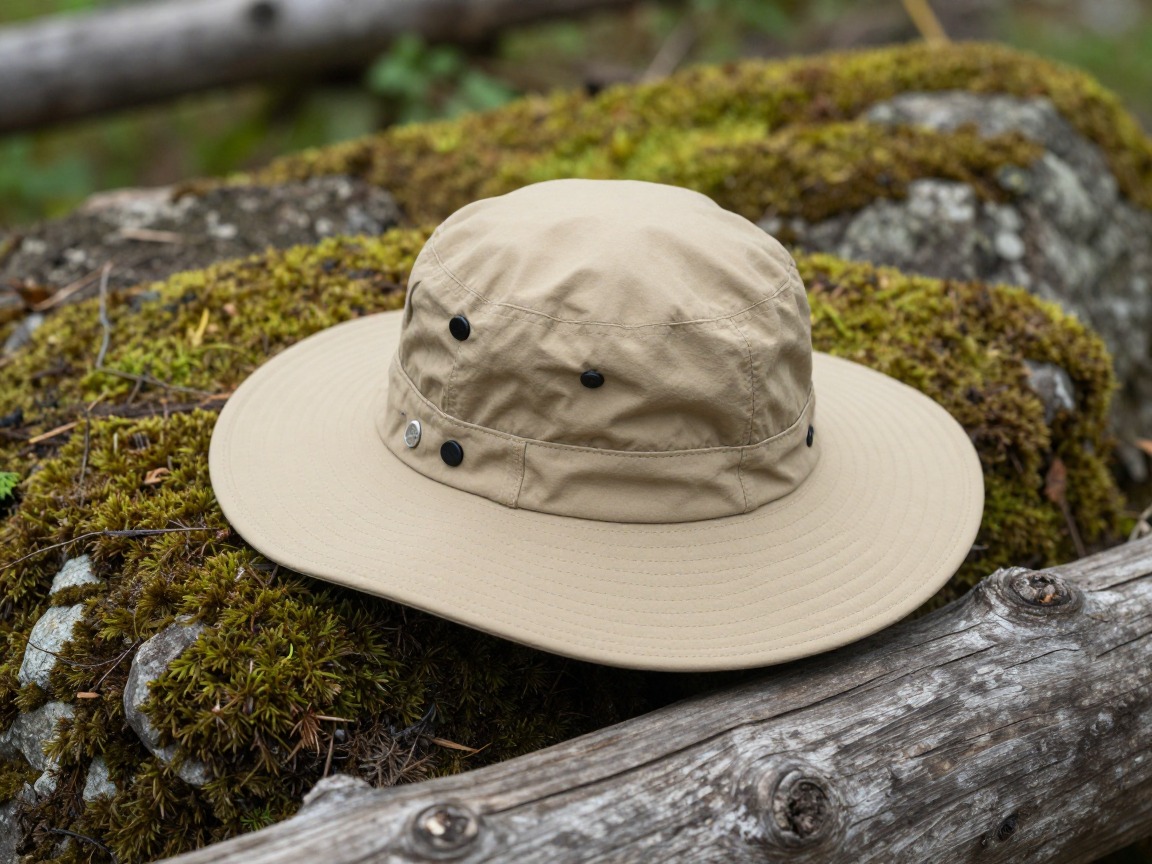
Wide-brim sun hat
Shades face, ears and neck through exposed switchbacks where the sun is close to directly overhead for a stretch of the day.
What to look for: A brim wide enough to shade your neck, a chin cord for canyon updrafts, and a light color that reflects heat rather than holding it.
 FURTALK Womens Sun Hat with Ponytail Hole Beach Hiking Summer Wide B Check price
 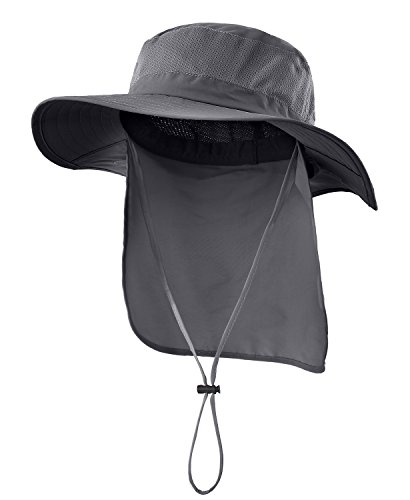 Home Prefer Outdoor UPF50+ Mesh Sun Hat Wide Brim Fishing Hat with N Check price
  FURTALK Sun Hats for Men Fishing Hat UPF Protection Wide Brim Bucket Check price
Sun hoodie
A lightweight, long-sleeve hooded layer that blocks UV directly on the skin, often more comfortable through inner-canyon heat than relying on sunscreen reapplication alone.
What to look for: A UPF-rated, loose-fitting fabric that moves air, thumbholes to cover the backs of your hands, and a light color.
 100% Merino Wool Base Layer Men Set - Thermal Underwear for Men Long Check price
  Merino.tech Merino Wool Base Layer Women Set - Heavyweight Check price
  100% Merino Wool Base Layer Men Set - Thermal Long Underwear with Ba Check price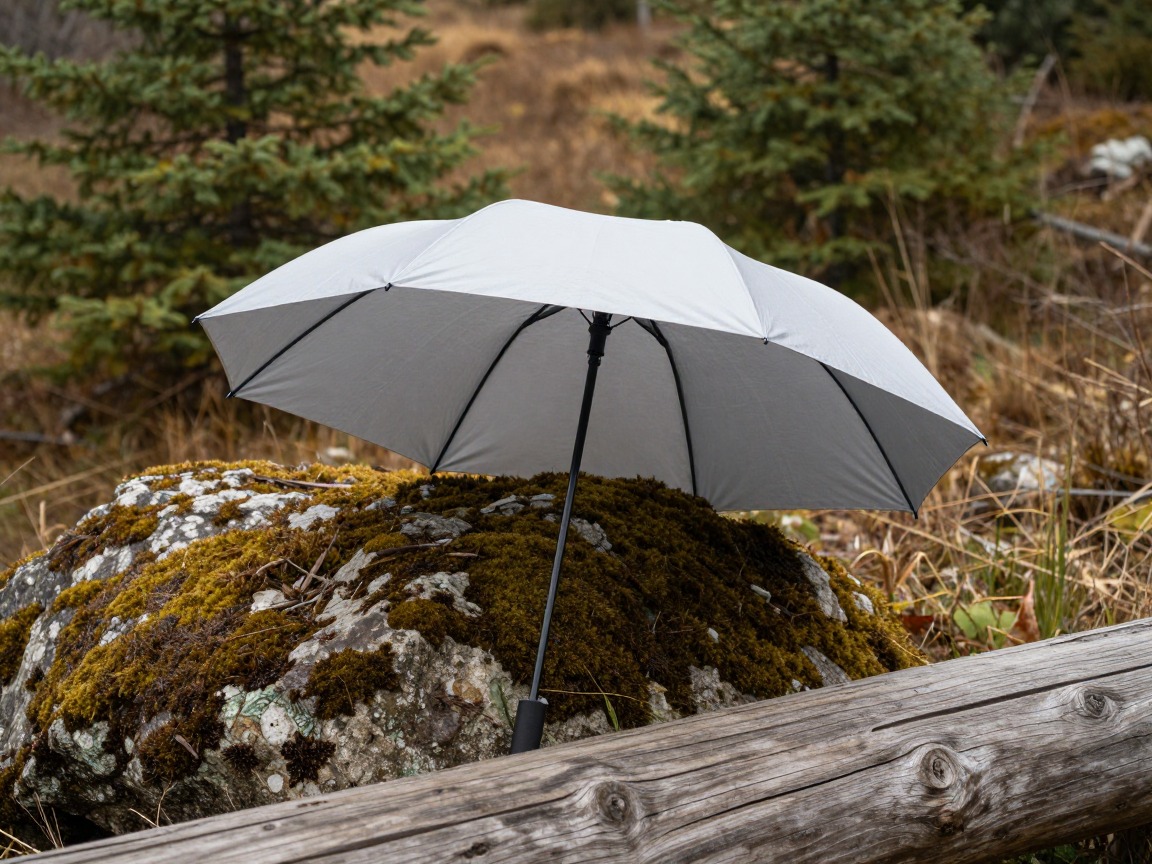
Hiking umbrella
A light, reflective umbrella creates portable shade on the long exposed sections of the climb out where the canyon walls give nothing back until late in the day.
What to look for: A silver-backed, clip-on or hands-free hiking umbrella light enough to carry all day without noticing the extra weight.
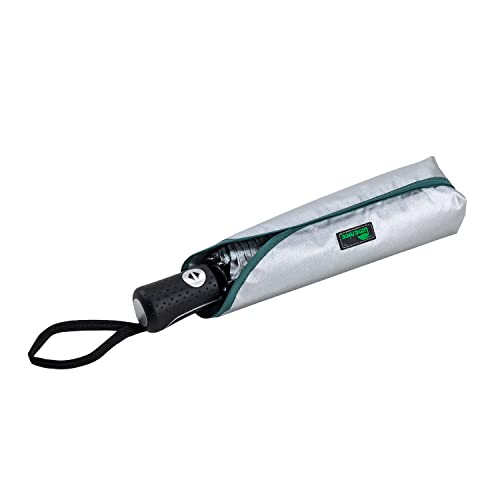 umenice UPF 50+ UV Protection Travel Umbrella Ultra Light Weight Gre Check price
  G4Free UPF 50+ UV Protection Travel Umbrella 42 Inch Sun Umbrella Check price
  G4Free 46 Inch Large Hiking Umbrella Ultralight UV Silver Reflective Check price
 - High-SPF sunscreen & SPF lip balm, reapplied through the day
- UV-blocking sunglasses
- Buff or neck gaiter you can wet at a water station
Footwear & the long climb out
Corridor trails are well maintained, but 20-plus miles and thousands of feet of vertical in each direction ask a lot of feet, ankles and knees. Build this section around comfort over distance, not just grip.
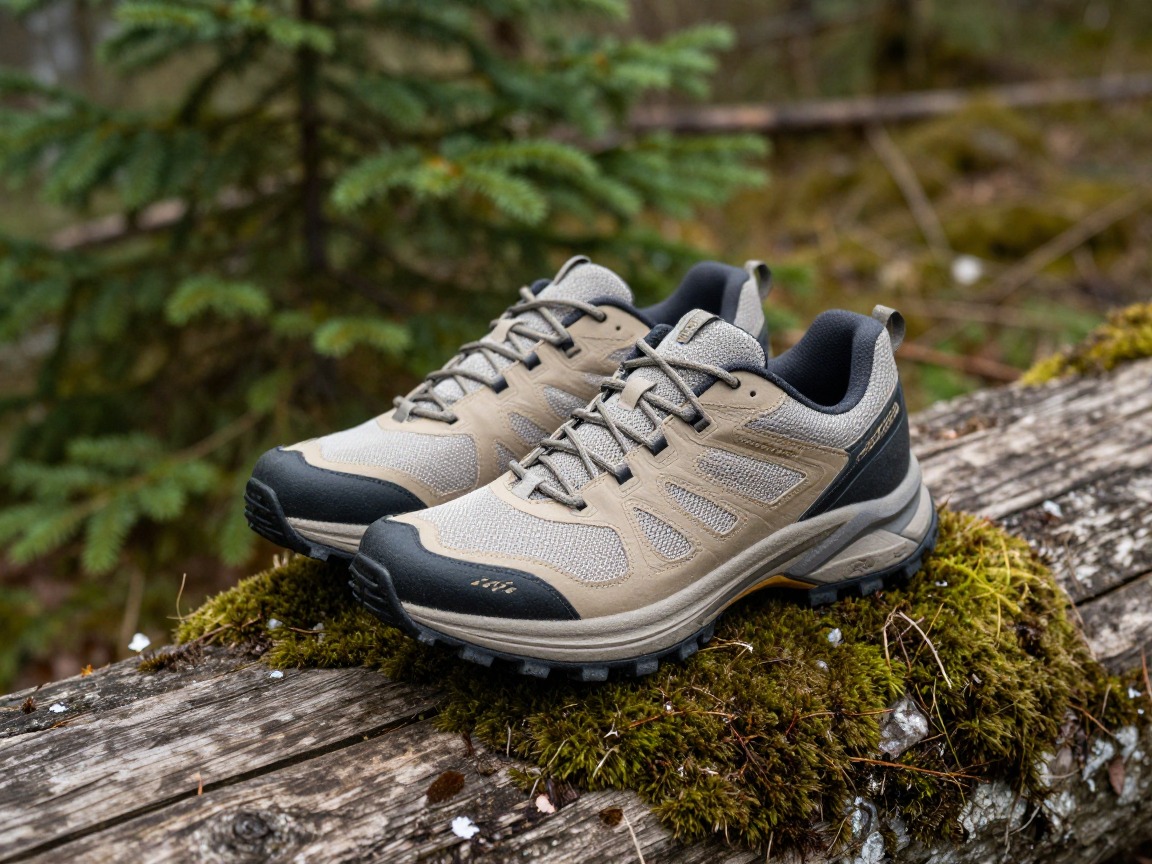
Trail runners
Many rim-to-rim hikers choose a lighter trail runner over a stiff boot, trading a little ankle support for less fatigue over a genuinely huge number of miles and steps.
What to look for: A well-cushioned, well-broken-in trail runner with grippy tread for switchback dust and loose gravel. Prefer a supportive boot instead if you know you want the extra ankle stability — either works, and fit and prior break-in matter more than which one you choose.
 Saucony Men's Excursion TR14 Trail Running Shoe Check price
  Adidas Mens Terrex Tracefinder 2 Trail Running Check price
  Brooks Men’s Cascadia 19 Mountain Trail Running Shoe - Black/Black/E Check price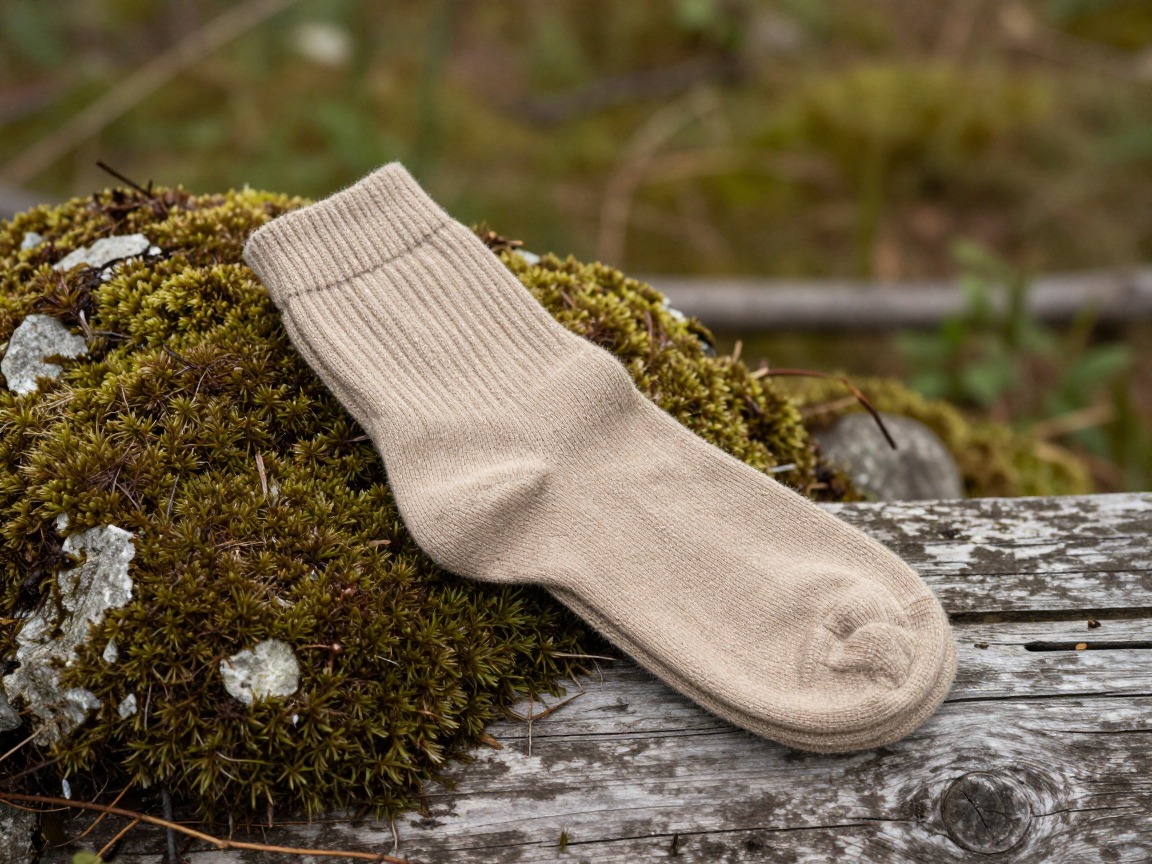
Hiking socks
Wool or synthetic socks manage the moisture from sweating hard in the heat and cut blister risk over a day with far more miles than most hikers put in at once.
What to look for: A cushioned, moisture-wicking pair with a proven fit in your shoes, plus a dry spare for the second half of the day. Skip cotton entirely.
 Alvada Merino Wool Hiking Socks Thermal Warm Crew Winter Boot Sock F Check price
  DANISH ENDURANCE Merino Wool Socks for Men & Women Check price
  innotree 3 Pack Men's Merino Wool Hiking Socks Check price
Trekking poles
Take real load off your knees on the long descent and give tired legs something to lean on through the switchbacks of the climb out — genuinely one of the highest-value items on this list.
What to look for: Sturdy locks that hold under repeated use, comfortable grips for hours of contact, and tips you don't mind wearing down on rock.
 Trekology Trek-Z Cork Grip Collapsible Lightweight Hiking Trekking P Check price
  Cascade Mountain Tech Trekking Poles Check price
  covacure Hiking Poles Check price
 - Moisture-wicking shirt and shorts or pants you've already covered big miles in
- Blister prevention — tape or blister-specific dressings applied before hot spots start
Timing, pacing & safety
A rim-to-rim day lives or dies on timing: a start hours before sunrise, a pace that respects the climb still ahead, and a plan for what you'd do if the day runs long or something goes wrong.

Headlamp
Most rim-to-rim hikers start well before dawn to bank cool miles before the heat builds, and a long day can easily run past dark on the final climb — this isn't optional backup here.
What to look for: Enough output for confident pre-dawn walking on rocky trail, a red mode that's easier on your eyes at a rest house, and spare batteries.
 LHKNL Headlamp Flashlight Check price
  Lepro LED Headlamp Rechargeable IPX4 Waterproof Headlight 5 Modes - Check price
  Energizer LED Headlamp PRO Check price
First-aid kit
A kit weighted toward blisters and the small stuff a huge mileage day produces, alongside the judgment to notice when heat is becoming a real problem rather than ordinary fatigue.
What to look for: A compact kit with room for your own meds. Learn the general, non-prescriptive signs both dehydration and its opposite — drinking a lot of plain water without replacing salt — can produce, such as persistent nausea, confusion, or feeling worse the more you drink; treat any of that as your cue to stop, get to shade, alert a ranger, or call for emergency help, rather than something to self-treat on the trail.
 Mini First Aid Kit - 150 Piece Small Waterproof EVA Hard Shell Case Check price
  Adventure Medical Kits Ultralight/Watertight Medical Kit .5 Check price
  211 PCS Waterproof First Aid Kit Check price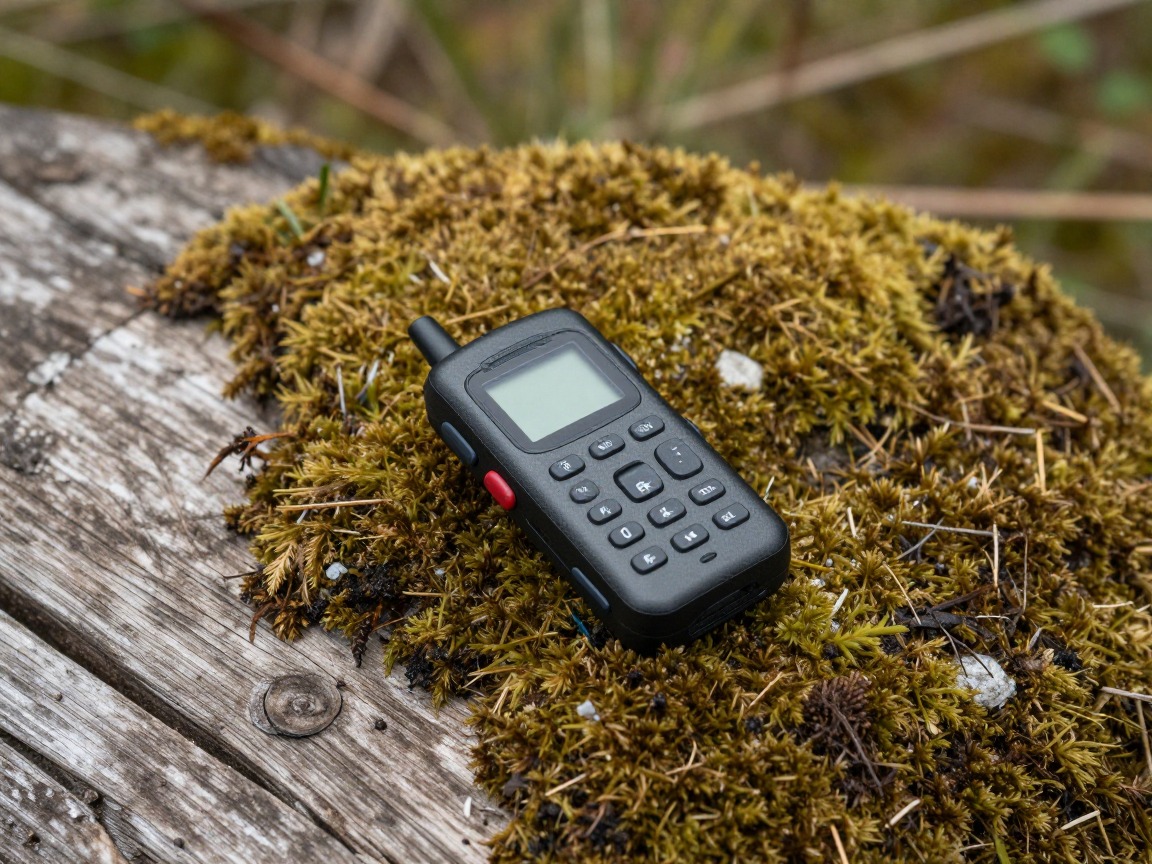
Satellite messenger
Cell coverage inside the canyon is unreliable to nonexistent, and a rim-to-rim crossing is exactly the kind of long, remote day where a way to call for help matters most.
What to look for: Two-way messaging so you can confirm help is actually coming, a subscription that covers the trip, and battery life for a full long day.
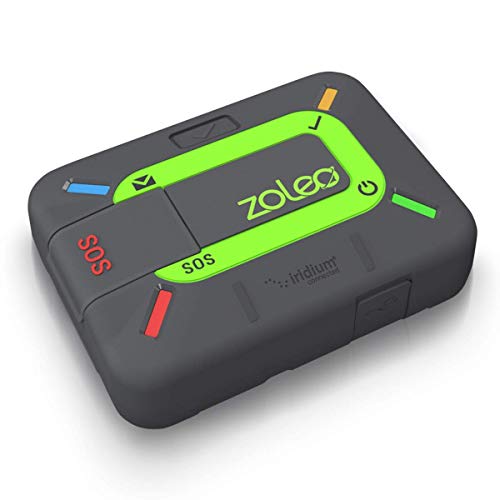 ZOLEO Satellite Communicator Check price
  Garmin inReach® Messenger Satellite Communicator Check price
  Garmin inReach® Mini 2 Check price
 - NPS backcountry permit if staying overnight at a campground or Phantom Ranch
- Shuttle or logistics plan for getting back to your starting rim or vehicle
- A firm turnaround or bail-out point, decided before the trailhead, not on the trail
- Map or offline GPS track of your chosen corridor route
- Whistle
- Phone + power bank
- Full itinerary and expected return time left with someone who isn't hiking with you
How to adapt this setup
Splitting the crossing across two or three days with a permitted night at a backcountry campground or Phantom Ranch is the lower-risk version of this trip — add a sleep system sized for a big day-night temperature swing and check permit availability well in advance, since corridor camping fills fast.
Doing the crossing both directions in one push roughly doubles the vertical and the heat exposure on the same day — this is squarely the version the NPS discourages most strongly in summer, and it demands a much bigger water, electrolyte and turnaround margin than a one-way crossing.
Shift the start even earlier, add real water and electrolyte margin beyond your normal estimate, and treat an afternoon finish through the hottest hours as something to actively plan around rather than accept.
Spring and fall trim the heat margin and the urgency of an ultra-early start, but the climb-out pacing, the water-station check and the salt-and-electrolyte plan still apply exactly as written.
Joining an organized or supported group adds route-finding and pacing backup, but doesn't remove the need for your own water plan, sun system and honest sense of your endurance over 20-plus miles.
Common mistakes to avoid
- Attempting a single-day crossing in summer despite the NPS's explicit guidance against it, and against the heat data at the bottom.
- Descending fast in the cool morning and having little left — in legs, water or morale — for the hotter, longer climb out.
- Drinking large amounts of plain water without replacing salt, and mistaking the resulting symptoms for simple dehydration.
- Choosing the South Kaibab Trail for the ascent without realizing it carries no water along its entire length.
- Assuming a seasonal water station will be running without checking current status the day before.
- Starting late enough that the hardest, most exposed miles land in the hottest part of the afternoon.
Make it yours
Frequently asked questions
Can you hike rim to rim in the Grand Canyon in one day?
Fit, experienced hikers do it, usually in cooler shoulder-season conditions with a pre-dawn start, but the National Park Service explicitly advises against attempting a rim-to-rim or rim-to-river-to-rim crossing in a single day during summer. If you're newer to big mileage or hiking in peak heat, splitting the trip across two or three days with a permitted overnight is the safer option.
Why is the bottom of the Grand Canyon so much hotter than the rim?
Heat sinks and gets trapped between the canyon walls, so the inner corridor near the river commonly runs 20 to 30°F hotter than either rim, even on a day that felt mild at the trailhead. That gap is one of the main reasons rim-to-rim hikes are planned around timing, not just distance.
Are the water stations on the corridor trails reliable?
They're seasonal and can be shut off for maintenance or pipeline breaks with little notice, so treat any station as a bonus rather than a guarantee. Check current water-station status on the park's website the day before you go, and carry a filter or backup treatment as insurance.
What's the difference between dehydration and drinking too much water on a hike like this?
Both are real risks in canyon heat: too little water and electrolytes leads to classic heat illness, while large amounts of plain water without replacing salt can cause its own serious problems. Neither should be self-diagnosed or self-treated on the trail — carry electrolytes and salty food alongside water, and treat feeling worse rather than better as you drink as a reason to stop, find shade, and get help from a ranger or emergency services.
Should I descend the South Kaibab Trail or Bright Angel Trail?
A common approach is descending the shorter, more exposed South Kaibab Trail, which has no water along its length, and climbing out via Bright Angel Trail, which has seasonal rest houses with water on the way up. Either direction works, but knowing which trail has water — and which doesn't — should shape your route choice, not be a surprise on the day.
Illustrative images show the type of gear, not specific products. Recommendations link to similar items on Amazon; we only ever link real listings and never show fabricated prices or ratings. General planning guidance, not a substitute for your own judgment or professional backcountry-safety instruction.