
The Glacier National Park backpacking setup
Glacier National Park sits at the heart of one of the densest grizzly populations left in the Lower 48, and that single fact shapes almost every choice in this kit. This weekend setup covers the full backcountry system — pack, shelter, sleep, and kitchen — built around what makes Glacier different: carrying and storing food correctly, keeping bear spray within reach, and reading alpine weather that can turn in an hour.

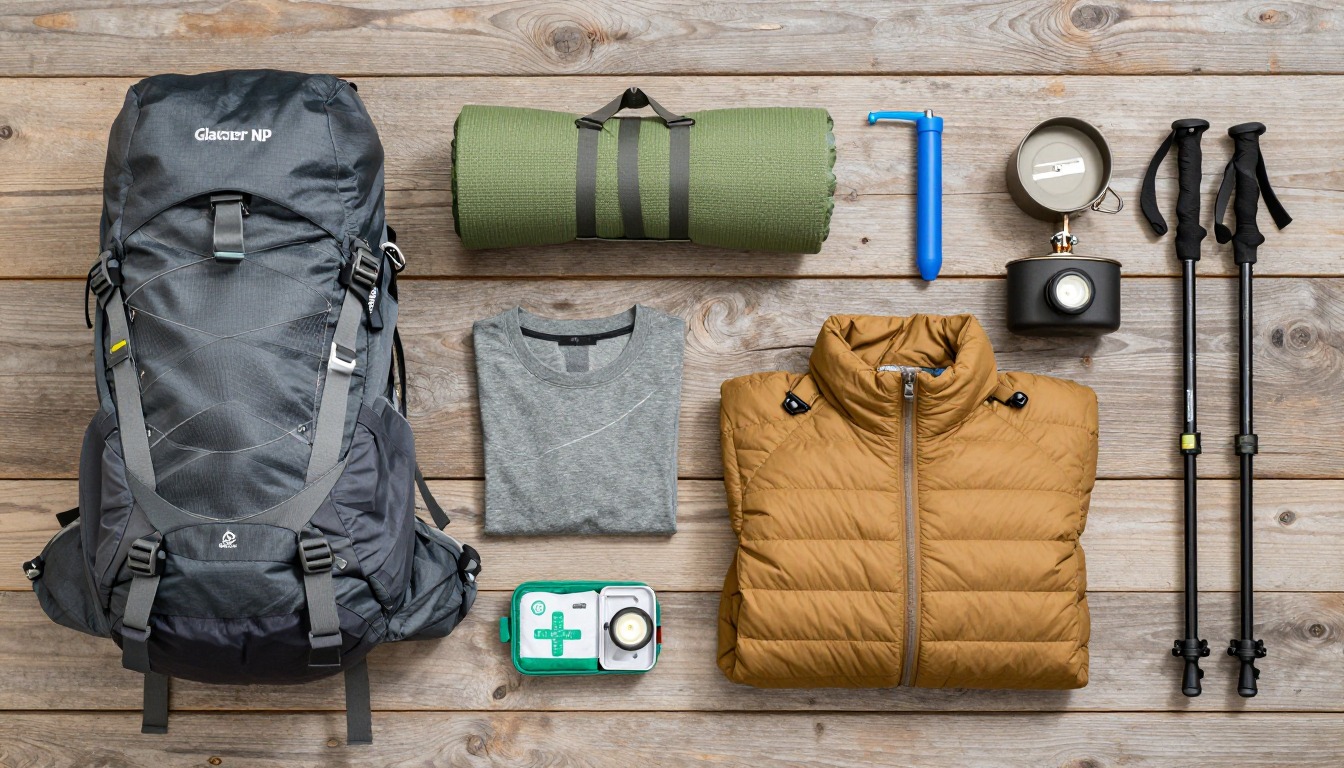
Glacier's backcountry system is designed around one primary risk: this is prime grizzly habitat, with one of the highest bear densities in the contiguous United States, and the park's rules reflect that. Assigned backcountry campsites separate your tent from a communal cooking and food-storage area, permits are tied to specific sites rather than general zones, and the food-storage requirement is treated as seriously as your sleep system. We build the kit in that order — bear spray you can actually reach, food storage handled the way your site provides for it, a kitchen you cook and eat away from camp, then the pack, shelter and layers that get you through Glacier's fast-changing alpine weather.
Hikers who've already done at least one overnight trip and are comfortable with a standard weekend pack, now adding the discipline that grizzly country demands: securing a permit for named sites, carrying bear spray you know how to use, and following food-storage rules exactly as your site specifies. If this is your first overnight anywhere, build confidence on a lower-risk trip first and treat this as advanced backcountry travel, not an entry point. If you're set on an early-season trip with snow still on the high passes, be honest about your comfort on exposed, snow-covered trail before you commit.
- Secure your backcountry permit first — Glacier assigns specific campsites per night, so your itinerary is fixed before you pack.
- Build your bear-safety layer next: spray you can draw in seconds, and a food-storage plan that matches what your assigned sites actually provide.
- Layer for a day that can swing from strong alpine sun to a cold, wind-driven storm on an exposed pass, sometimes within the same afternoon.
- Check current conditions for snow on your route's highest point before you go, and carry traction if a late-season snowfield is still likely.
About this setup
Glacier National Park sits along the spine of the Continental Divide in northern Montana, its high country carved by ice into the knife-edge ridges and cirques that give the park its name. It borders Waterton Lakes National Park in Canada, and together they form the Crown of the Continent — country with one of the largest concentrations of grizzly bears left south of the Canadian border. Trails like the Highline, Grinnell Glacier, and the passes around Gunsight and Piegan put hikers directly through prime grizzly and black bear habitat, often above treeline with long sightlines but little cover, which is part of why the park treats bear safety as a first-order planning question rather than an afterthought.
That safety system starts with food storage and ends with how you carry yourself on trail. Glacier's backcountry campsites are built with cooking and food-storage areas set apart from where you sleep, using hang cables, poles, or steel boxes depending on the site — the plan is to keep every scented item, from your dinner to your toothpaste, well away from your tent. Bear spray belongs on your hip belt or a chest holster, not zipped into a pack pocket, and it's worth practicing the draw at home before you're relying on it in the field. Beyond gear, the biggest factor is behavior: traveling in a group where you can, making noise on blind corners and near loud water or wind, staying alert for fresh sign, and giving any bear you do see plenty of room and time to move off on its own. None of this replaces the park's own current guidance — check for trail and campsite closures at a ranger station or backcountry office before you set out, since bear activity can close specific areas with little notice.
The other thing that catches newer Glacier hikers off guard is how fast the weather changes at elevation. Afternoon thunderstorms build quickly over exposed passes, and wind and cold can arrive well before any rain does, even on a clear morning start. Snow lingers on the higher passes — the Highline, Piegan, and Siyeh among them — often into early summer, so a route that looks straightforward on a map can mean a genuine snowfield crossing depending on when you go. Add a fixed permit system, where Glacier assigns you specific campsites for specific nights rather than a general zone, and the whole trip needs to be planned before you leave home: confirm your sites, check current snow and trail conditions, and build in the judgment to turn around if a pass looks worse than the forecast suggested.
The pack
A 45–60L pack covers a typical Glacier weekend — assigned campsites keep your itinerary short, so you're not carrying the volume of a long thru-hike.
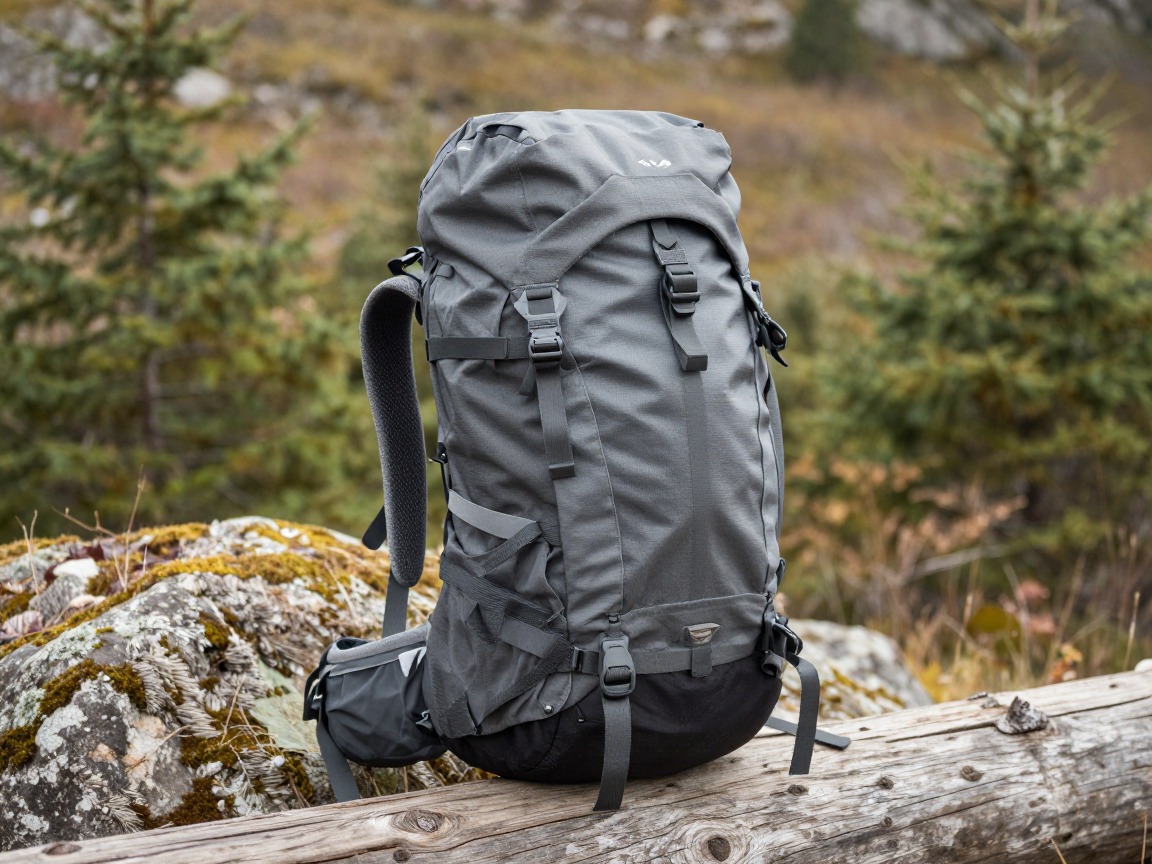
Overnight backpack
Carries your full sleep, shelter, and kitchen system, plus the food and any bear-resistant storage your itinerary calls for, over trail that's often exposed and uneven above treeline.
What to look for: A hip belt that genuinely transfers weight off your shoulders, 45–60L for a weekend's worth of gear and food, and enough structure to carry a loaded pack comfortably up and over a pass.
 WoneNice 50L Check price
  Teton 55L Scout Internal Frame Backpack for Hiking Check price
 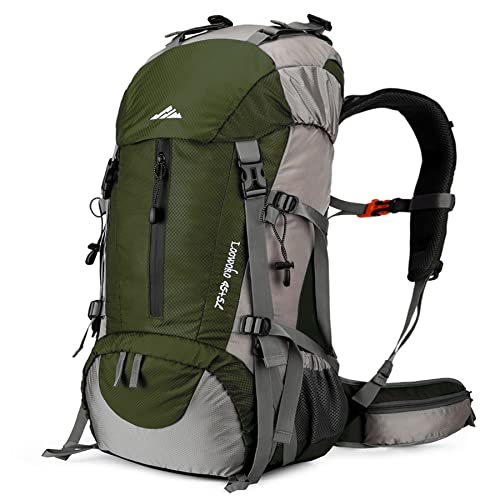 Loowoko 50L Hiking Backpack with Rain Cover for Both Men & Women Check price
 - Pack rain cover or liner — Glacier's weather turns fast
Shelter
Your tent is where you wait out an afternoon storm or spend a cold, windy night at a high camp — pick one that handles both.
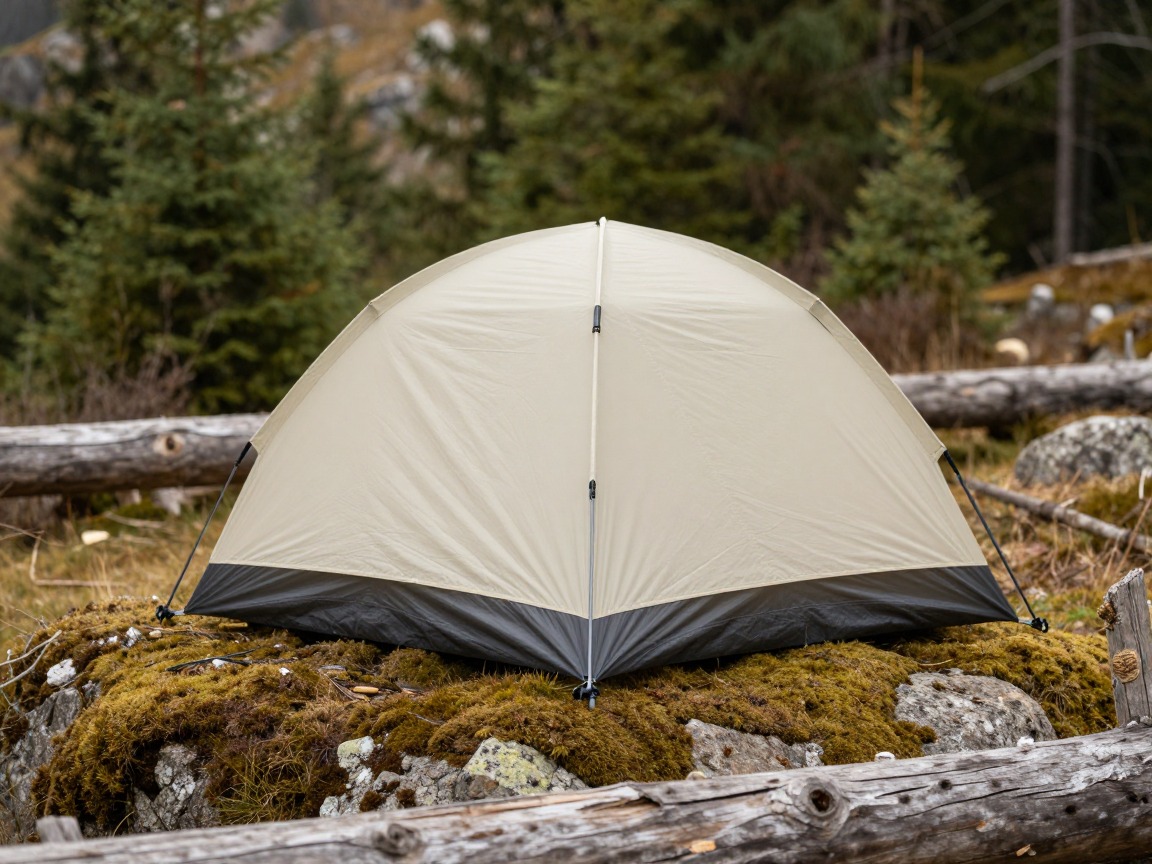
Backpacking tent
Your protection from wind-driven rain and the sudden temperature drop that follows a mountain storm, often pitched at a site with little natural wind cover.
What to look for: A freestanding or semi-freestanding design that pitches quickly and holds up to real wind, a full-coverage fly, and enough ventilation to manage condensation on cold nights.
 Night Cat 2-Persons Backpacking Tent: Waterproof Lightweight Camping Check price
  BISINNA 2/4 Person Camping Tent Lightweight Waterproof Backpacking T Check price
  Forceatt Tent for 2 Person is Waterproof and Windproof Check price
 - Stakes & guylines rated for wind
- Groundsheet / footprint
Sleep system
Nights at Glacier's backcountry campsites run cold even in summer, especially at the higher camps near a pass.
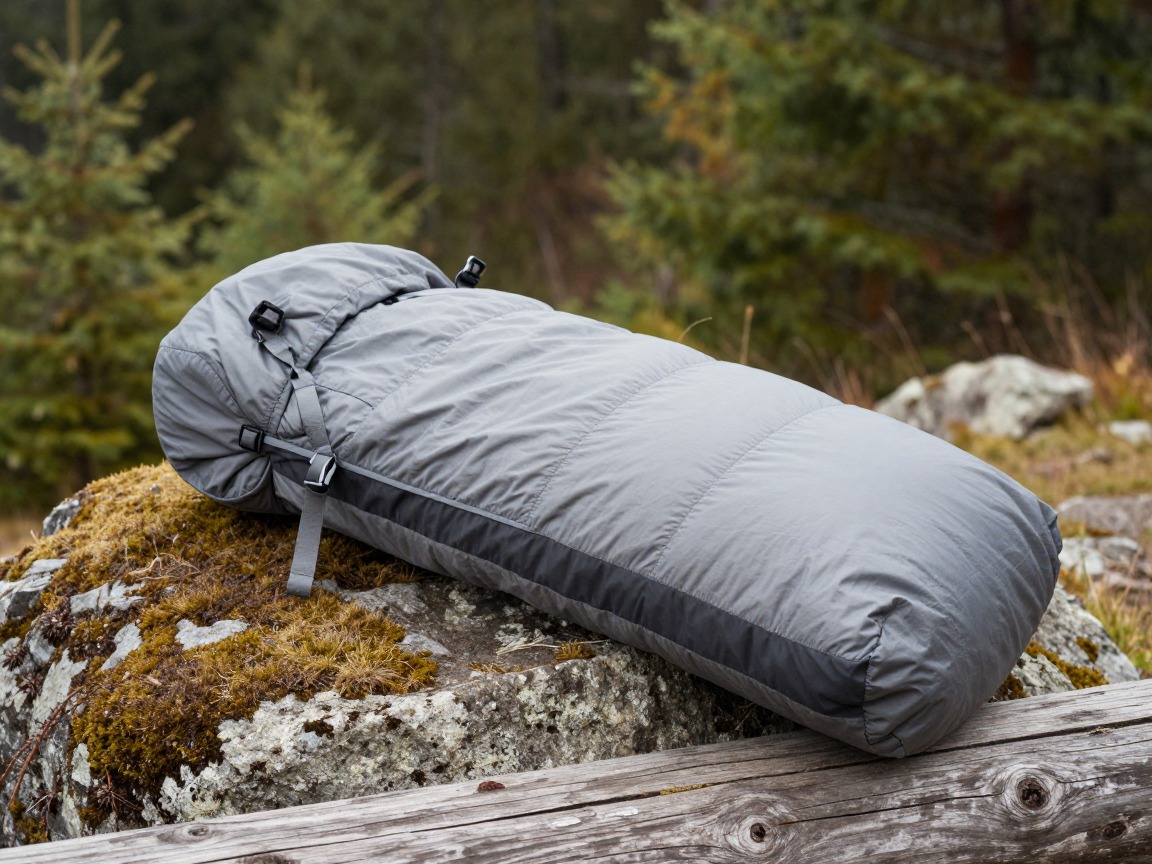
Sleeping bag
Keeps you warm through nights that can drop well below what the daytime high suggests, especially at higher, more exposed campsites.
What to look for: A comfort rating set below the coldest night you realistically expect at your highest camp, not the trailhead forecast, in a fill you trust to stay warm if the tent picks up some condensation.
 MalloMe Sleeping Bags for Adults Cold Weather & Warm - Backpacking C Check price
 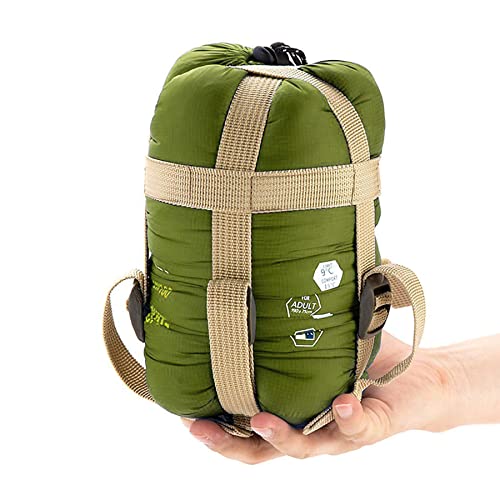 ECOOPRO Portable Check price
  Teton Trailhead Check price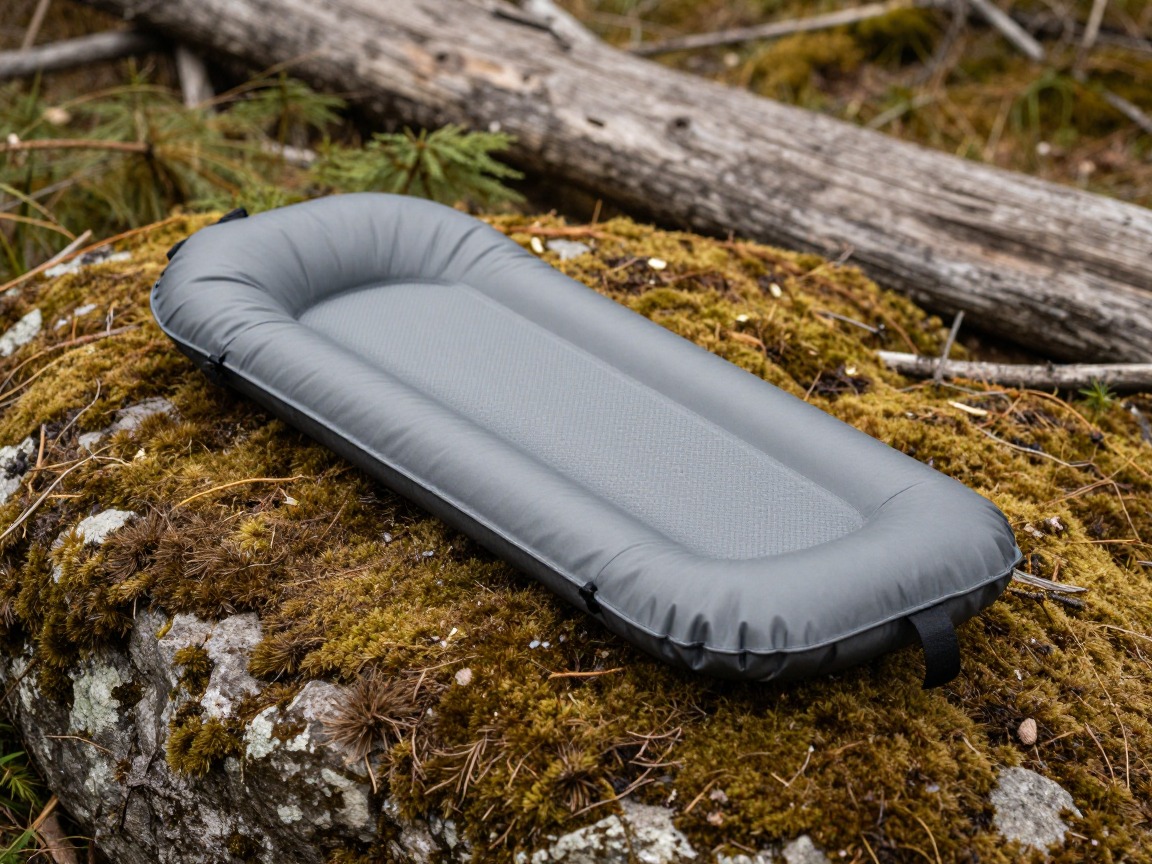
Sleeping pad
Insulates you from cold ground, which pulls heat fast at elevation even when the air itself doesn't feel that cold.
What to look for: An R-value suited to a three-season high-country trip, and a packed size that still leaves room for your food and any bear-resistant storage.
 FUN PAC Camping Sleeping Pad Check price
  Gear Doctors® Ether 17.5oz Ultralight Camping Sleeping Pad Check price
  Oramoose 4in Ultralight Camping Sleeping Pad with Pillow and Foot Pu Check price
 - Inflatable or stuff-sack pillow
Food, water & bear-safe storage
This is the section that matters most in Glacier: your assigned campsite dictates how you store food, and getting it right is non-negotiable in grizzly country.
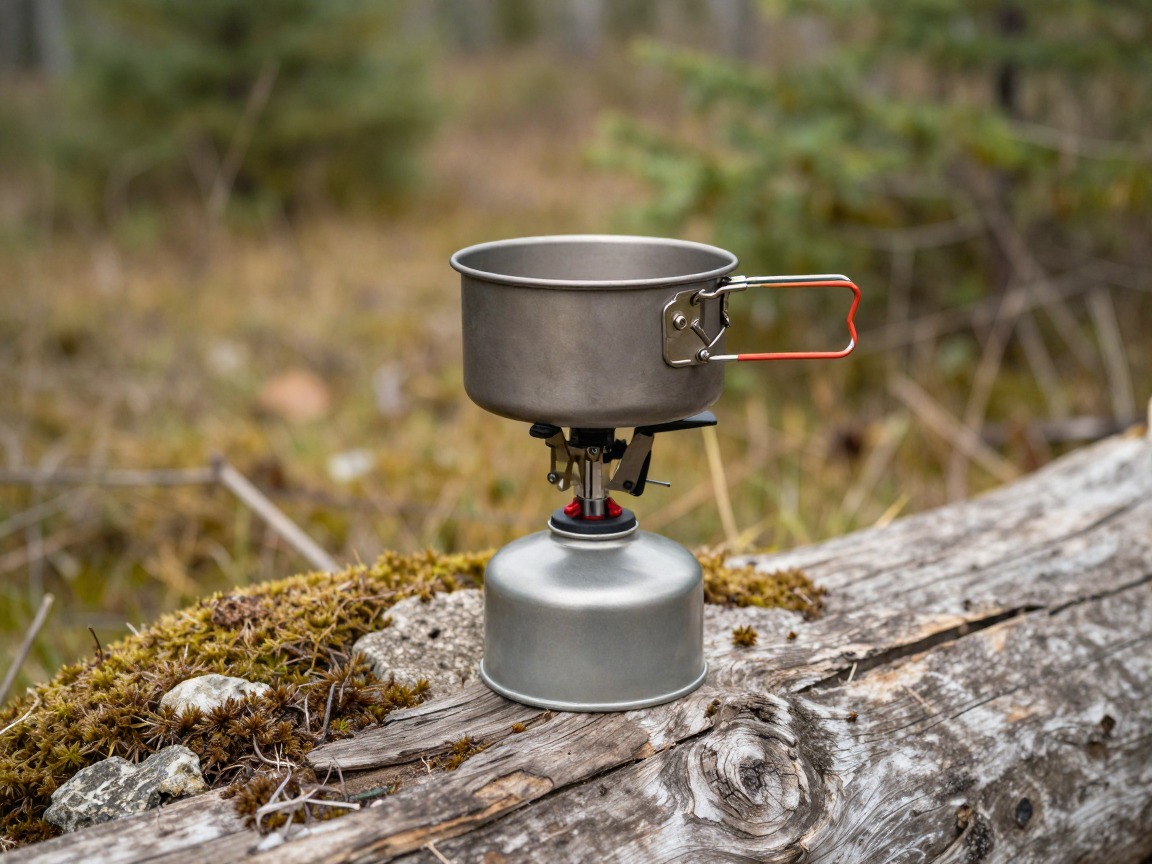
Backpacking stove
Boils water for dinners and hot drinks in a few minutes — simple and reliable, no different from a standard backcountry kitchen.
What to look for: A stable canister stove with a quick boil time, running on fuel you can actually find near your trailhead — a common, reliable setup beats anything unusual out here.
 AOTU Portable Camping Stoves Backpacking Stove with Piezo Ignition S Check price
  MSR PocketRocket 2 Ultralight Camping and Backpacking Stove Check price
  Fire-Maple Greenpeak 1 Camping Stove with Piezo Ignition Portable Ga Check price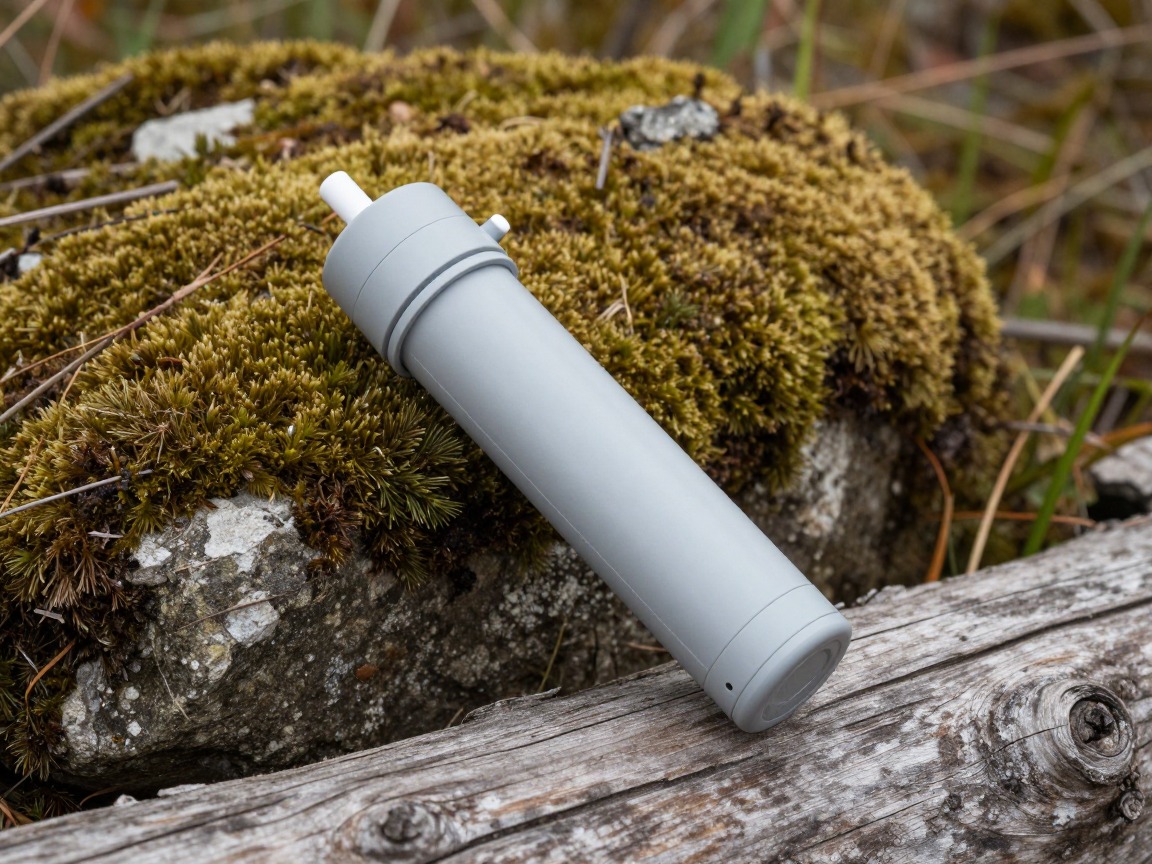
Water filter
Treats Glacier's glacier-fed streams and lakes, which look clean but still carry giardia and other organisms.
What to look for: Fast flow and easy field cleaning, plus awareness of its freeze limits — a cold night at a higher camp can crack a filter left in an outside pocket.
 Sawyer Squeeze Water Filtration System Check price
  Sawyer Products SP128 Mini Water Filtration System Check price
  LifeStraw Personal Water Filter for Hiking Check price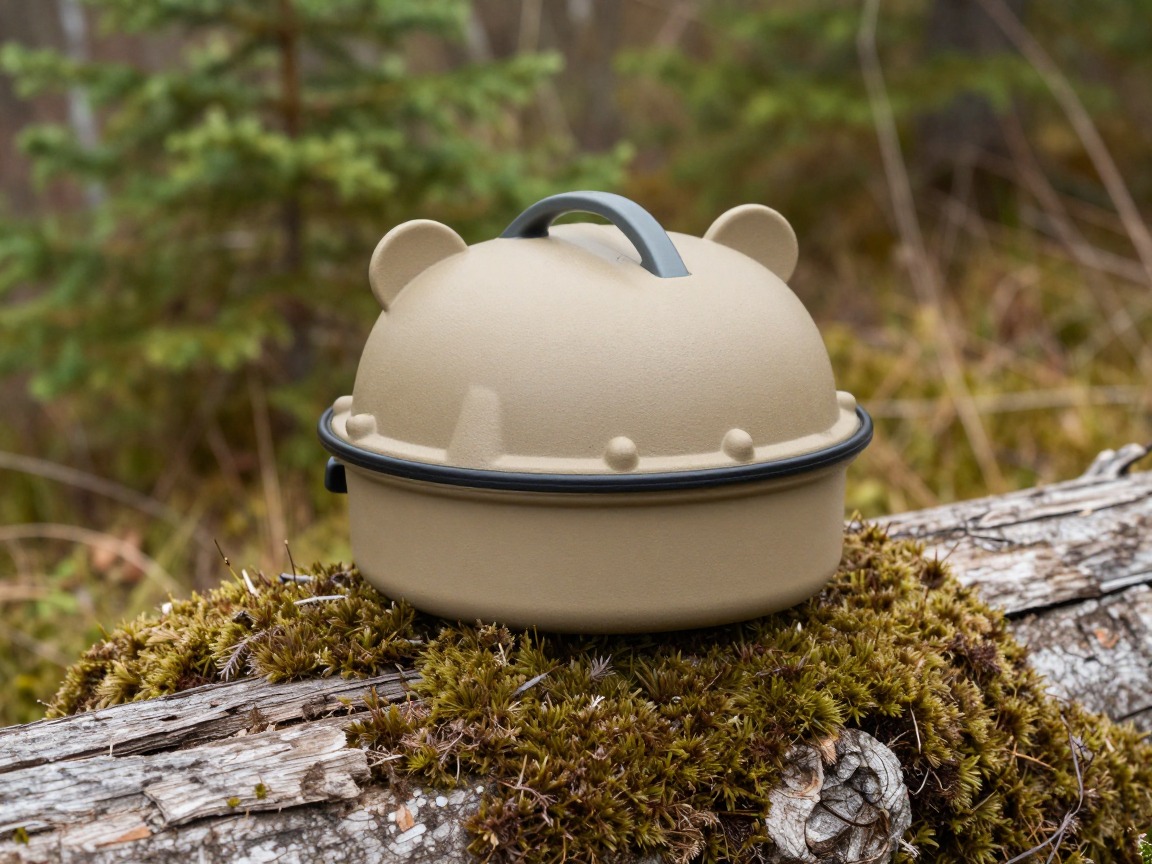
Food storage (site hang system or canister)
Some Glacier backcountry sites store food using a hang cable, pole, or locker the park provides; others, particularly cross-country zones, may call for a portable bear-resistant canister you carry yourself.
What to look for: Follow exactly what your permit and assigned site specify — confirm the current requirement for your itinerary with the park's backcountry office before you go, since the method can vary by site and by season.
 BearVault BV450 Jaunt Portable Bear Canister for Backpacking - Mediu Check price
  BearVault BV425 Sprint Portable Bear Can - Small Check price
  Bear Canister for Backpacking Check price
 - Bear spray, EPA-registered, carried on a hip belt or chest holster where you can draw it in seconds — not buried in your pack
- Practiced drawing your bear spray before the trip, so it's second nature in the field
- Cooking and eating done away from your tent site, using whatever food-prep area your campsite provides
- All food, trash, and scented items (toothpaste, sunscreen, etc.) stored the way your specific site requires
- Backcountry permit confirmed for your exact itinerary and assigned campsites
- Fuel canister, pot, spork & lighter
- Meals and snacks planned for each day, calorie-dense and low in packaging waste
Clothing & layers
Pack a layering system built for a day that can run from strong alpine sun to a cold, wind-driven storm within a few hours.

Base layer
Worn most of the day on the move, wicking sweat on climbs to a pass and resisting odor over a multi-day trip.
What to look for: Merino or a merino blend for odor control, a fit that layers easily, and a weight suited to the season you're hiking.
 100% Merino Wool Base Layer Men Set - Thermal Underwear for Men Long Check price
  Merino.tech Merino Wool Base Layer Women Set - Heavyweight Check price
  100% Merino Wool Base Layer Men Set - Thermal Long Underwear with Ba Check price
Insulating layer
Your warmth at a high camp once the sun drops or a storm rolls through — Glacier's alpine nights turn cold fast.
What to look for: The most warmth for its pack size; down for drier trips, synthetic if you expect a wetter stretch of weather.
 Outdoor Ventures Women's Packable Lightweight Puffer Jacket with Hoo Check price
  Amazon Essentials Women's Lightweight Long-Sleeve Water-Resistant Pa Check price
  Outdoor Ventures Women's Packable Lightweight Puffer Jacket with Hoo Check price
Rain shell
Blocks the wind and rain that arrive with Glacier's fast-building mountain storms, and doubles as a wind layer on an exposed ridge.
What to look for: Genuinely waterproof, not just water-resistant, with a hood that covers a warm hat and enough venting for a hard climb.
 UIQUR Mens Rain Jacket Raincoat Waterproof Windbreaker Black L Check price
  COOFANDY Men's Waterproof Hiking Travel Shell Breathable Rain Jacket Check price
  Columbia Womens Arcadia II Waterproof Rain Jacket Check price
 - Spare hiking socks
- Warm hat & gloves — useful even in summer at higher camps
- Sun hat & sunglasses for strong alpine glare
- Camp clothes kept dry and separate
Navigation, passes & safety
Between lingering snow on the high passes and stretches with no cell coverage, redundancy in navigation and light matters more here than on an average weekend trip.

Trekking poles
Steadies you on scree, switchbacks, and any lingering snowfield near a pass, and takes real strain off your knees on the descent with a loaded pack.
What to look for: Adjustable, packable poles with a comfortable grip — genuinely useful for balance on an exposed or snow-covered stretch of trail.
 Trekology Trek-Z Cork Grip Collapsible Lightweight Hiking Trekking P Check price
  Cascade Mountain Tech Trekking Poles Check price
  covacure Hiking Poles Check price
Headlamp
Essential for camp chores and any pre-dawn start timed to clear a pass before afternoon weather builds.
What to look for: Bright enough for a genuine alpine start, a red mode that's easy on a shared campsite, and reliable spare power.
 LHKNL Headlamp Flashlight Check price
  Lepro LED Headlamp Rechargeable IPX4 Waterproof Headlight 5 Modes - Check price
  Energizer LED Headlamp PRO Check price
First-aid kit
Built for a trip where help may be a full day's walk away, plus your own regular medications.
What to look for: Blister care, basic wound supplies, and your own medications — sized to how remote your itinerary actually is.
 Mini First Aid Kit - 150 Piece Small Waterproof EVA Hard Shell Case Check price
  Adventure Medical Kits Ultralight/Watertight Medical Kit .5 Check price
  211 PCS Waterproof First Aid Kit Check price
 - Map + compass or GPS (offline) covering the full route
- Traction (microspikes) for lingering snow on early-season high passes
- Satellite messenger or PLB — much of the backcountry has no cell coverage
- Sunscreen & lip balm
- Whistle
- Toilet kit — trowel, TP, waste bags (Leave No Trace)
- Current trail and bear-activity closures checked at a ranger station or backcountry office before you leave
How to adapt this setup
The park's most popular trails and hardest-to-get permits — plan well ahead, and expect more hikers and cross-traffic, not less need for bear awareness.
If you're hiking before the high passes are fully melted out, add traction you're confident using, check current snow reports, and be ready to turn around rather than push an unsafe crossing.
Solo hikers should lean harder into noise discipline and route choice — sticking to busier trails and avoiding thick brush or loud-water stretches where a bear can't hear you coming.
Stringing together more nights means more food to store correctly at each site — confirm every campsite's storage method before you build your food plan.
Permits for these areas often specify a portable bear-resistant canister rather than a site hang system — confirm the requirement for your exact zone with the backcountry office.
Common mistakes to avoid
- Storing food, trash, or anything scented in your tent instead of the site's provided storage system.
- Carrying bear spray buried in your pack instead of on your hip belt or chest, where you can actually reach it.
- Hiking silently through blind corners, dense brush, or near loud water in prime grizzly habitat.
- Assuming a clear morning at the trailhead means a clear afternoon on an exposed pass.
- Underestimating snow still on a high pass in early summer, without traction or a turnaround plan.
- Booking an ambitious itinerary before confirming your actual assigned campsites and their food-storage requirements.
Make it yours
Frequently asked questions
Do I need a bear canister for backpacking in Glacier National Park?
It depends on your site and route — many designated backcountry campsites provide their own hang cable, pole, or storage locker, while some cross-country zones may require a portable canister. Confirm the exact requirement for your permit and campsites with the park's backcountry office before you go.
How should I carry bear spray while hiking?
Somewhere you can draw and use it in a few seconds — a hip belt or chest holster, not a pack pocket or the bottom of your bag. Practice the draw at home, and check your spray is EPA-registered and not expired before you rely on it in the field.
How do backcountry permits work in Glacier National Park?
Glacier assigns you specific campsites for specific nights rather than a general zone, so your itinerary is fixed once your permit is issued. Reserve in advance through the park's wilderness permit process, or check for walk-up availability at a backcountry permit office closer to your trip.
Is there still snow on the high passes in early summer?
Often, yes — routes like the Highline, Piegan, and Siyeh can hold lingering snowfields well into early summer depending on the year's snowpack. Check current trail and ranger reports before you go, and carry traction if a snow crossing looks likely.
What should I do if I see a bear on the trail?
Follow the park's current posted guidance rather than general advice — stay calm, keep distance, and give the animal room and time to move off without approaching for a photo. This is exactly the situation formal bear-safety training and the park's own guidance are built for, not something a packing list can substitute for.
Illustrative images show the type of gear, not specific products. Recommendations link to similar items on Amazon; we only ever link real listings and never show fabricated prices or ratings. General planning guidance, not a substitute for your own judgment or professional backcountry-safety instruction.