
The canyon day hike setup
Hiking below the rim into desert canyon country flips the usual day-hike math: shade disappears, water becomes the whole plan, and the hardest, hottest mile is the last one — the climb back out. This setup is built around carrying enough water for that climb, protecting against sun with nowhere to hide from it, and reading both the rock underfoot and the sky overhead before you commit.

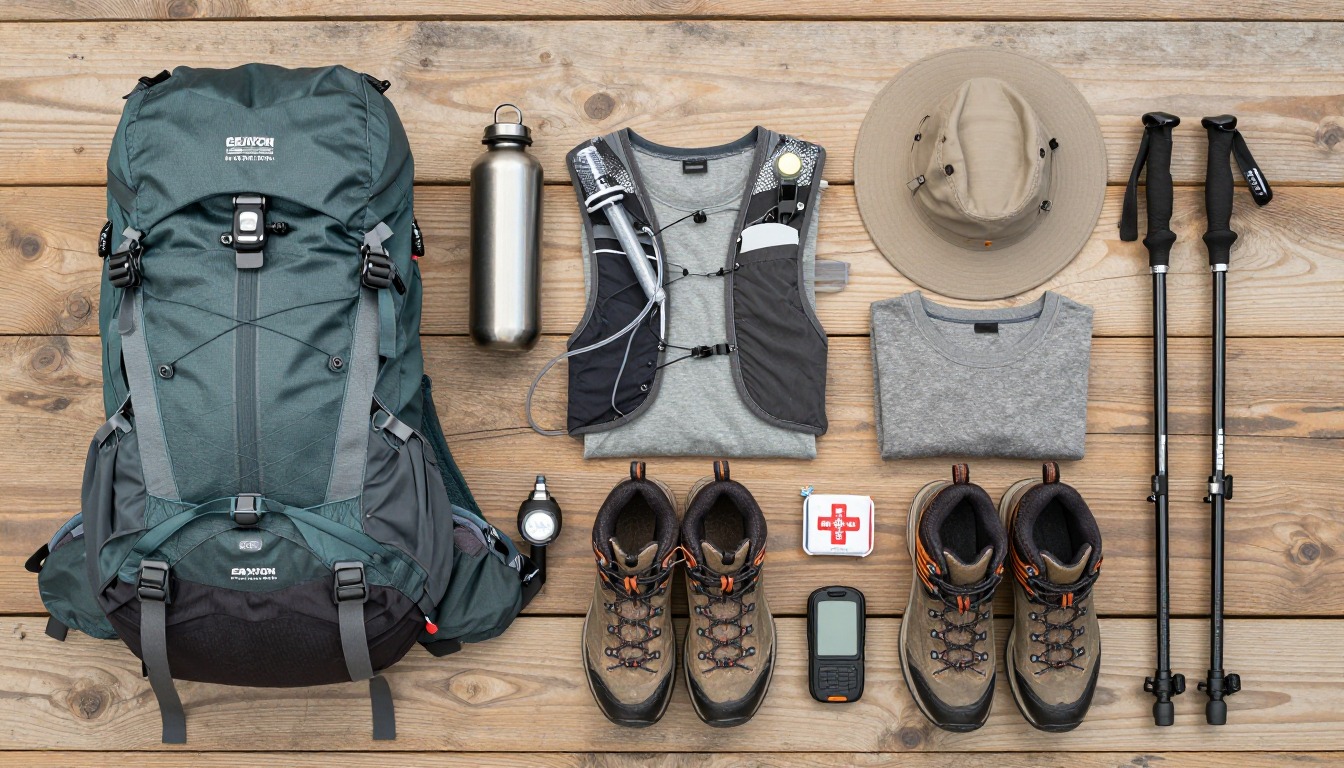
A canyon kit is organized around the one moment most day hikers underestimate: the climb back to the rim, which lands at the end of the day, in the worst heat, when you're already tired and lowest on everything. So the pack is sized for a genuinely big water carry, the sun system is built for canyon walls that offer no shade until you're back at their base, and the footwear is chosen for grip on slickrock rather than cushioning on soft trail. Route-finding gets real weight too, since canyon paths often thin to cairns and wash bottoms with no obvious line, and checking for flash-flood risk becomes part of the plan, not an afterthought, on any route that drops into narrows.
This suits hikers on established canyon trails — slot approaches, rim-to-river routes, desert wash hikes — in dry conditions, comfortable reading a topo map and route cairns where the trail isn't obvious underfoot. If your route drops into true narrows with no quick way up and out, build the whole trip around the forecast and be ready to turn back at the first sign of a storm anywhere upstream of you. New to desert or canyon terrain, or heading somewhere with no cell coverage and no marked escape route? Start with a shorter, well-traveled canyon and build up from there.
- Do the water math around the climb out, not just the hike in — plan to still have real water left when the trail turns uphill for good.
- Build the sun-protection system next: hooded sun shirt, wide-brim hat, sunglasses and sunscreen, since canyon walls often give no shade until late in the day.
- Check the weather and flash-flood forecast for the whole drainage above you, and know your escape route to high ground before you drop below the rim.
- Add sturdy, grippy boots for slickrock and loose rock, trekking poles for the climb out, and a way to call for help where canyon walls block cell signal.
About this setup
Canyon hiking asks more of route-finding than most trails, because there often isn't one — a path across bare slickrock, down a wash, or through a boulder field is read from cairns, water-polished rock and the shape of the terrain rather than a worn line in the dirt. That's a skill worth practicing on short, well-traveled canyons before committing to anything remote, and it's why offline maps or a GPS track matter more here than on a marked trail.
The defining shape of a canyon day hike is a bowl: the hike in is often downhill, cool in the morning, and easy to underestimate, while the hike out is uphill, later in the day, and hotter. Experienced canyon hikers plan the whole day backward from that climb — turning around while there's still enough water and daylight to make it out comfortably, rather than pushing deeper in just because the going down felt easy.
Flash floods are a real and specific canyon hazard, driven by storms that can be miles away and completely invisible from inside a narrow drainage. The non-prescriptive version of that safety rule is simple: check the forecast for the entire watershed above you before you go, avoid entering narrows when storms are possible, and know in advance where the nearest high ground is if the water starts to rise or turn muddy. None of that replaces a wilderness- or canyoneering-specific flash-flood course if you're heading somewhere with real narrows.
The pack
Canyon days mean carrying more water than a typical day hike, plus a warm layer for a cool trailhead start — size up so hydration capacity isn't what limits your day.
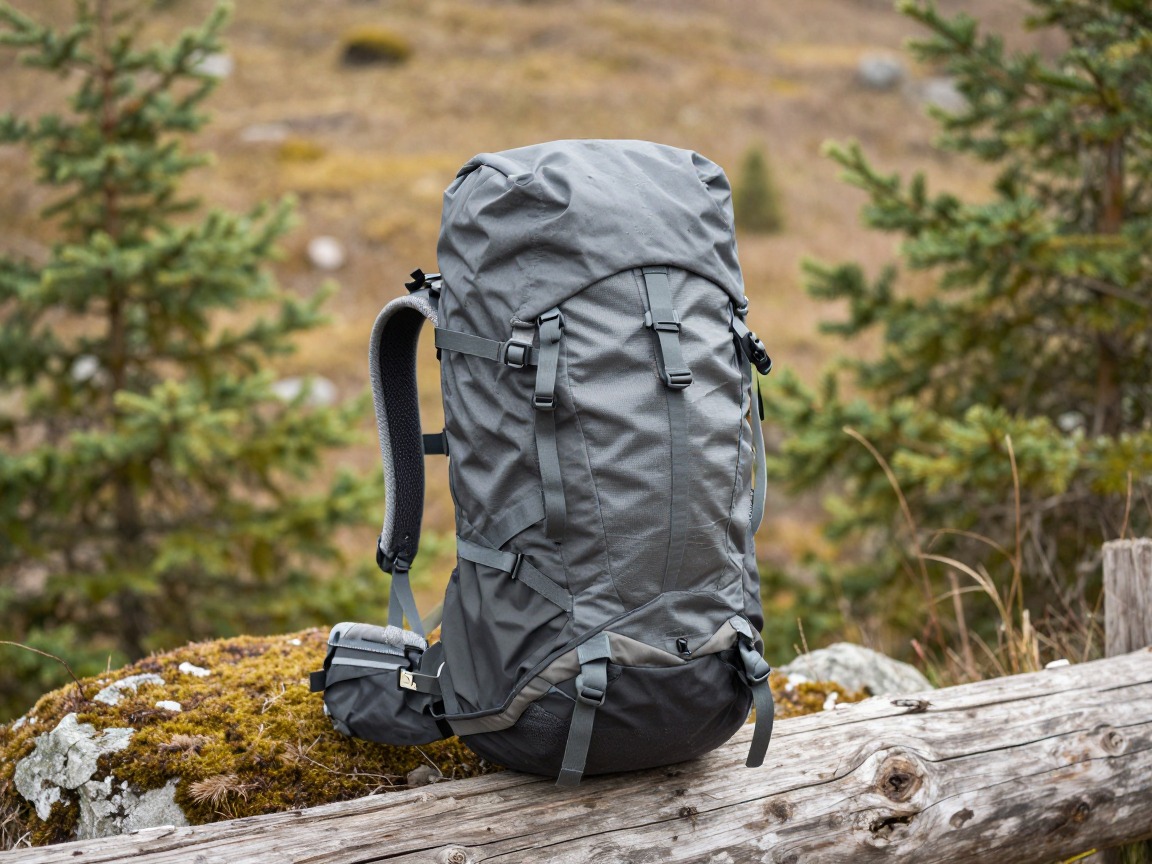
Canyon day pack
Carries a bigger water load than a standard day pack, along with sun gear, a warm layer and the safety kit — with room to spare if you add water at a spring or pothole along the way.
What to look for: 25–35 L with space for extra bottles or a larger reservoir, a side pocket you can reach without stopping, and a frame that still feels balanced loaded heavy for the climb out.
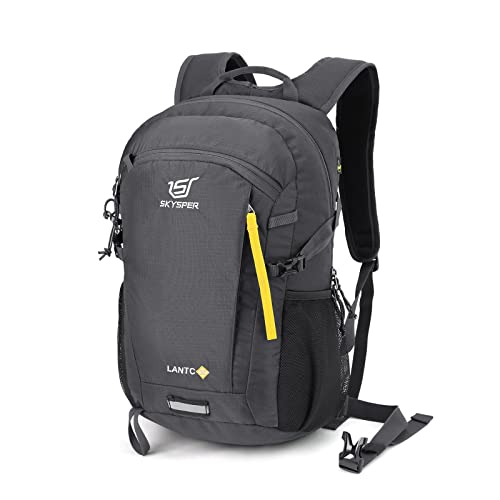 SKYSPER Small Hiking Backpack Check price
  Osprey Sportlite 20L Lightweight Hiking Backpack Check price
 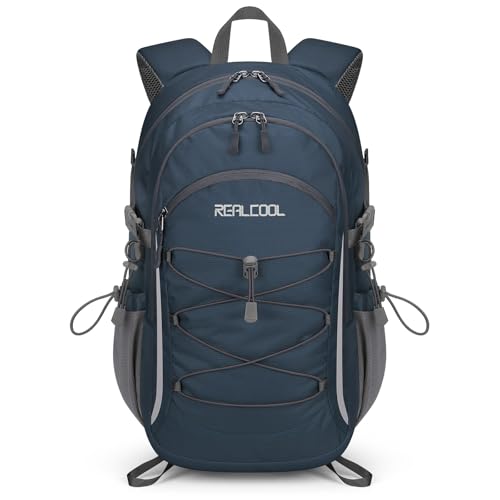 RealCool 20L Lightweight Hiking Backpack Check price
 Water — the big carry
In canyon country, water decides the whole day. Work out your carry — including a real margin for the climb out — before you plan anything else, and never assume a spring or pool marked on a map is actually there.
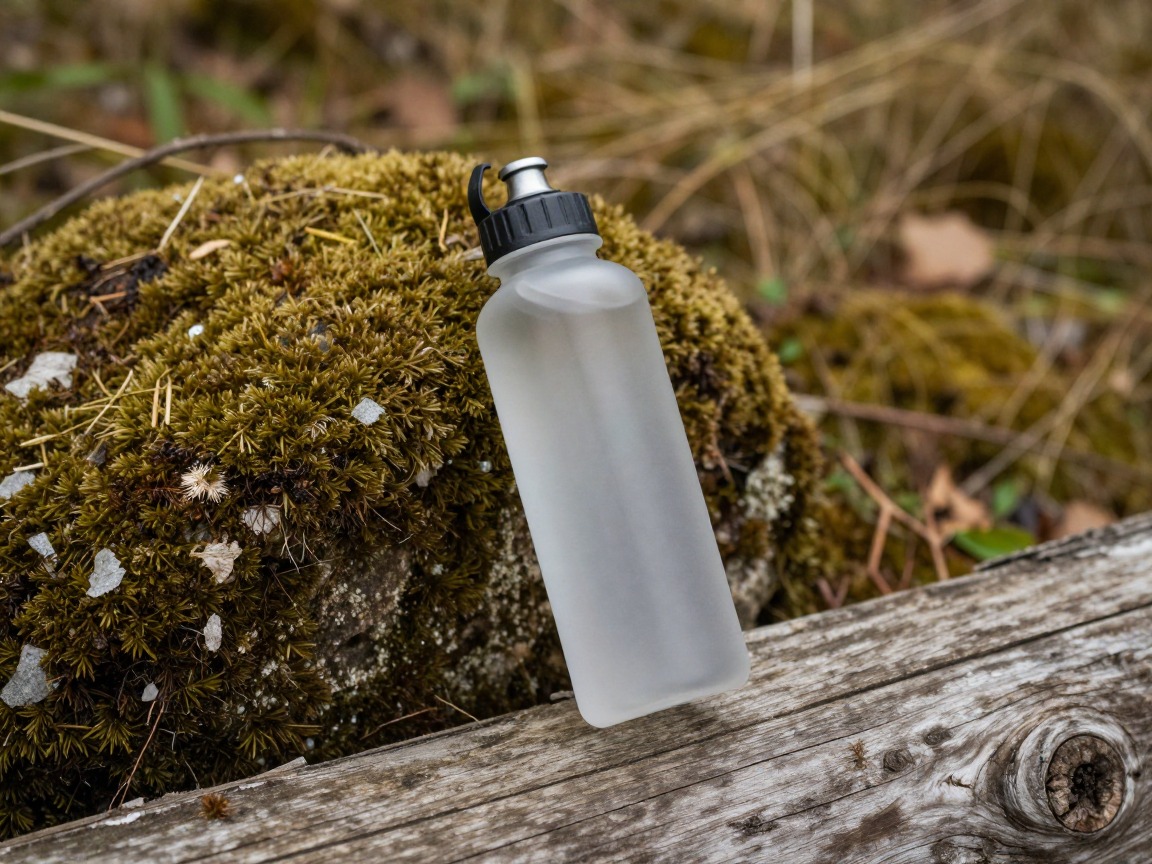
Wide-mouth water bottle
A hard-sided bottle you can see into and count, which makes it easy to track exactly how much you have left as the trail turns uphill.
What to look for: A tough, wide-mouth bottle with clear volume markings, simple to refill at a cache or a trusted pothole, and durable enough for a hot pack all day on rock.
 Nalgene 32 oz Wide Mouth Water Bottle Check price
  Nalgene 32 oz Wide Mouth Water Bottle Check price
  Nalgene 32 oz Wide Mouth Water Bottle Check price
Hydration reservoir
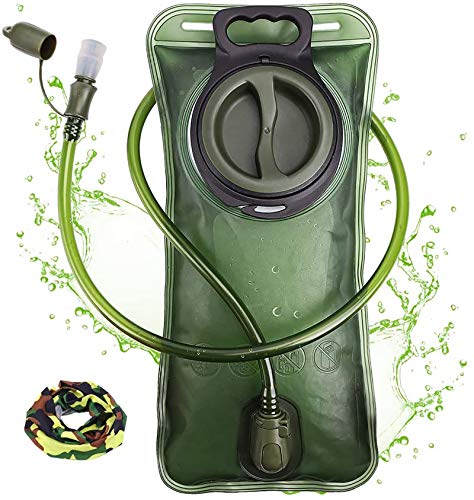
A 2–3 L bladder adds real capacity without extra bottles to manage, and a bite valve makes it easy to sip constantly instead of waiting until you're thirsty.
What to look for: The largest reservoir your pack's sleeve will take, an insulated hose and bite valve to slow heat gain, and a wide fill opening so you can check the water inside is clean.
 Hydration Bladder Check price
  Hydration Bladder Check price
  Mdvora 1.5L/2L/2.5L/3L Hydration Bladder Check price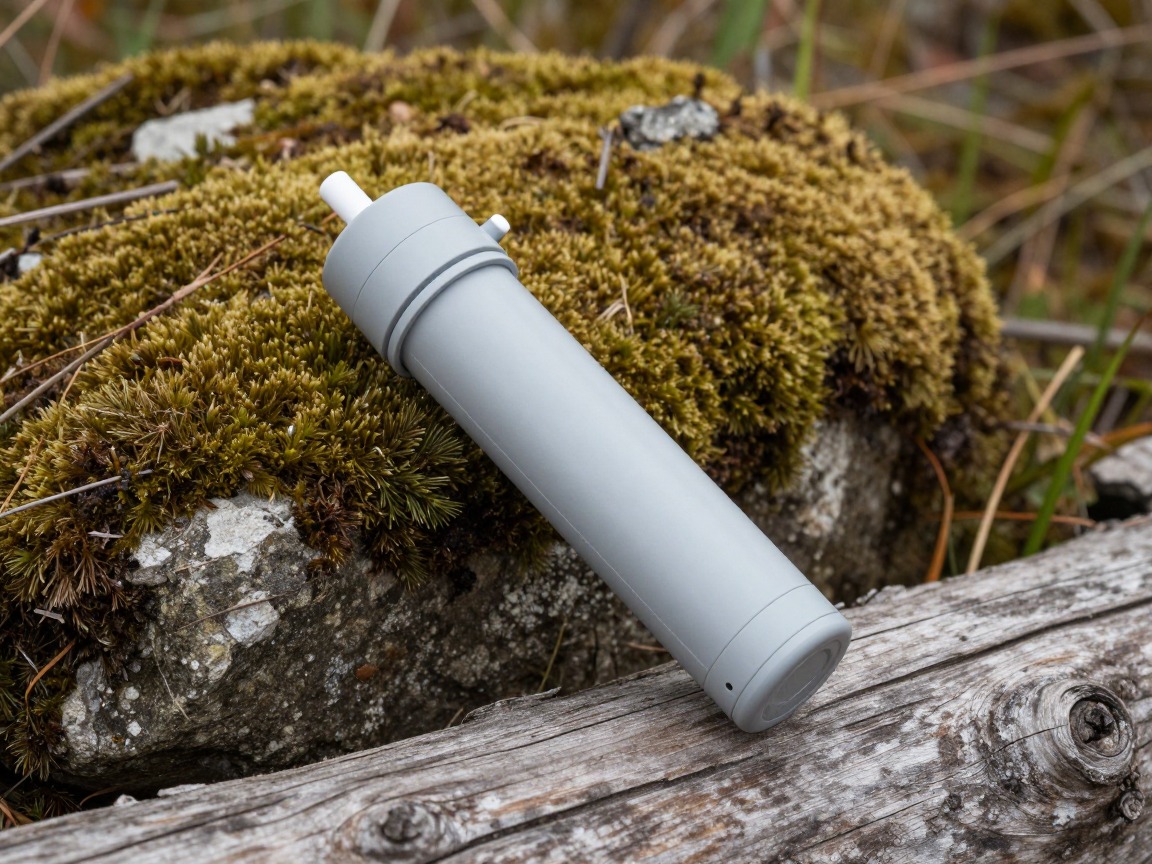
Water filter or purification
Turns a flowing creek, seep or pothole into a legitimate backup rather than a dead end — useful on canyon routes where the only water below the rim is whatever you actually find.
What to look for: A filter that handles silty, tannin-stained canyon water without clogging, or backup tablets with no moving parts — canyon pools are often shallow, stagnant, or simply not there.
 Sawyer Squeeze Water Filtration System Check price
  Sawyer Products SP128 Mini Water Filtration System Check price
  LifeStraw Personal Water Filter for Hiking Check price
 - Electrolyte tabs or drink mix
- Written water plan built around the climb back out, not just the hike in
- Water cached at the trailhead for the finish
Sun & heat protection
Below the rim there's often no shade at all until you're back against the canyon walls late in the day, and pale rock bounces heat back up as well as down. Treat sun protection as a full system.
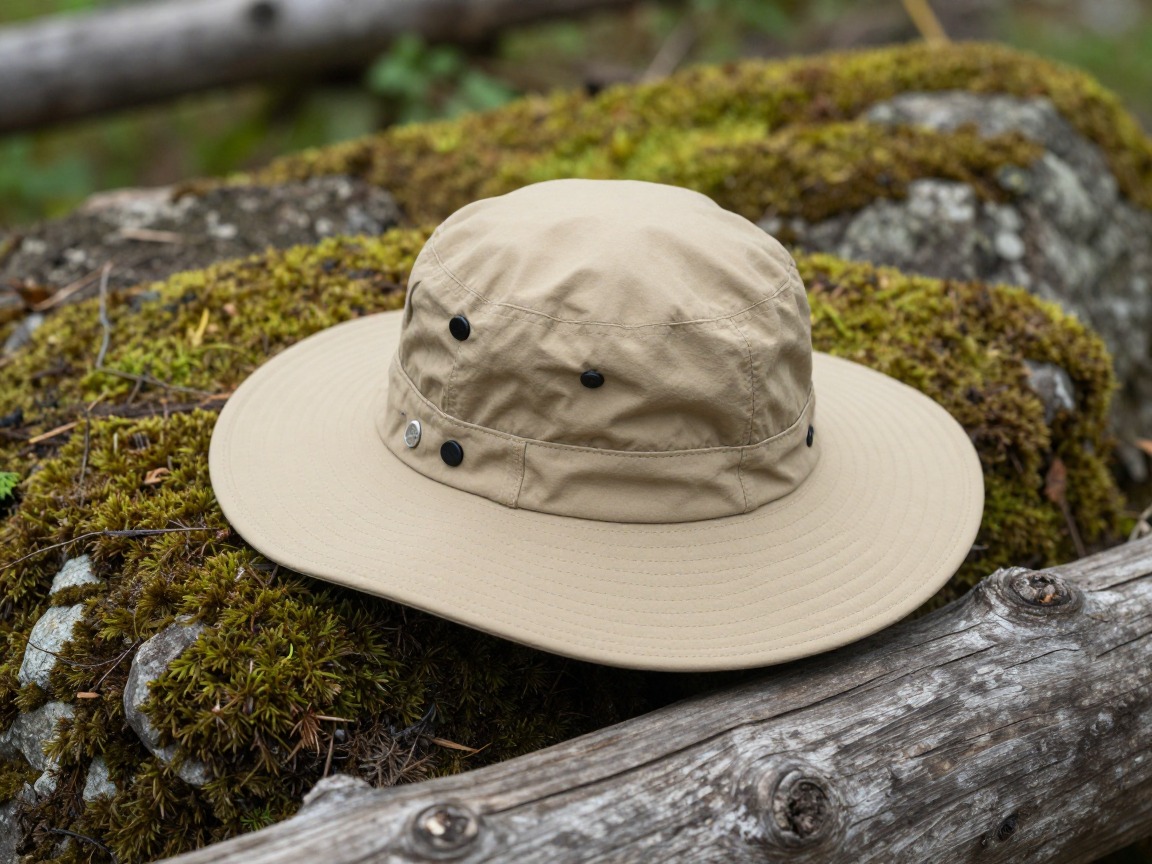
Wide-brim sun hat
Shades your face, ears and neck in a way a ball cap can't — with canyon walls offering little shade through the middle of the day, that coverage does real work.
What to look for: A brim wide enough to shade your neck, a chin cord so canyon updrafts don't take it, and a light color that reflects rather than absorbs heat.
 FURTALK Womens Sun Hat with Ponytail Hole Beach Hiking Summer Wide B Check price
 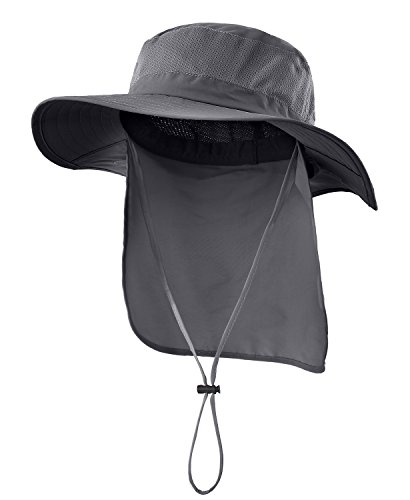 Home Prefer Outdoor UPF50+ Mesh Sun Hat Wide Brim Fishing Hat with N Check price
  FURTALK Sun Hats for Men Fishing Hat UPF Protection Wide Brim Bucket Check price
Sun hoodie
A lightweight, long-sleeve hooded layer that blocks UV directly on the skin, often more comfortable in dry heat than relying on sunscreen alone.
What to look for: A UPF-rated fabric, a loose fit that moves air, thumbholes to cover the backs of your hands, and a light color.
 100% Merino Wool Base Layer Men Set - Thermal Underwear for Men Long Check price
  Merino.tech Merino Wool Base Layer Women Set - Heavyweight Check price
  100% Merino Wool Base Layer Men Set - Thermal Long Underwear with Ba Check price
 - High-SPF sunscreen & SPF lip balm
- UV-blocking sunglasses
- Buff or neck gaiter
Footwear & route-finding on slickrock
Slickrock, loose scree and sandy wash bottoms punish soft soles and vague navigation in equal measure — build this section around grip, ankle support and knowing where you actually are.
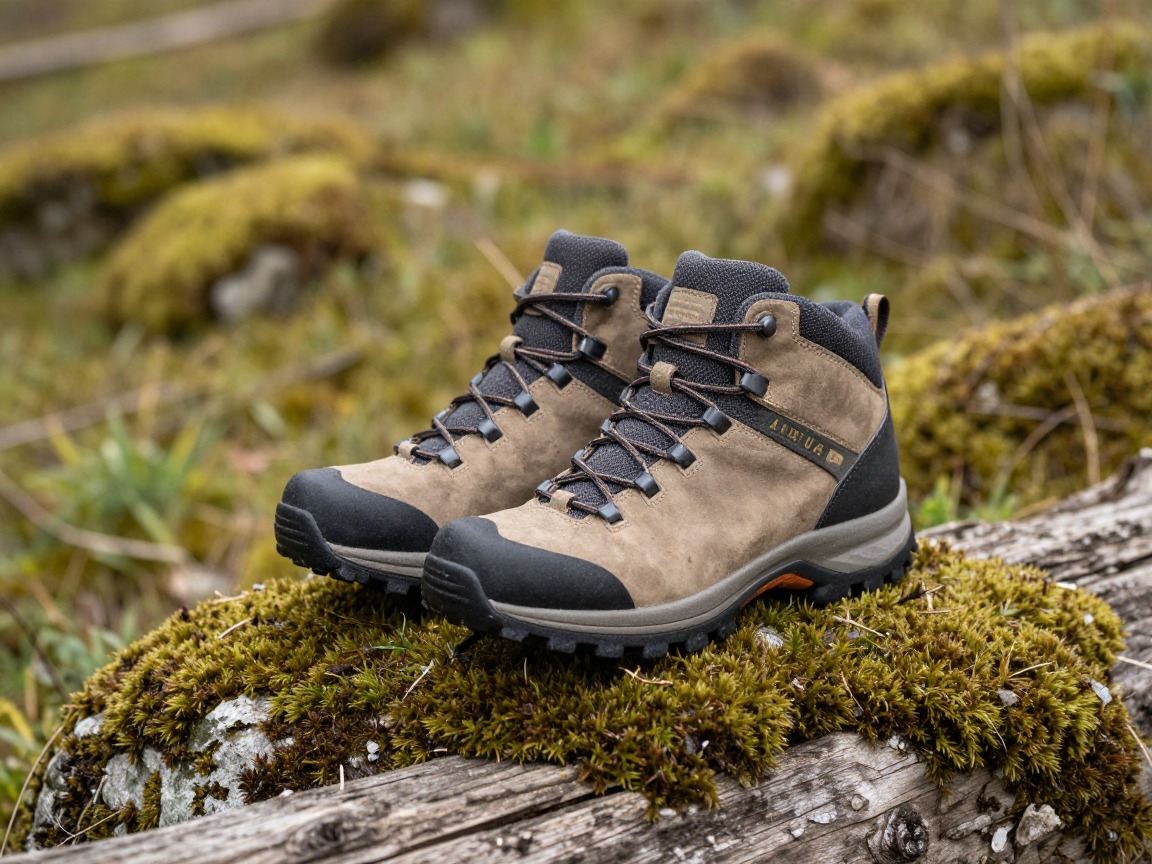
Sturdy hiking boots
A stiffer sole and real tread grip slickrock and loose talus far better than a soft trail shoe, and ankle support matters on uneven, off-camber rock underfoot.
What to look for: A sticky, grippy outsole rated for rock and slickrock, a snug ankle fit for scrambling over boulders, and a boot you've already broken in before the trailhead.
 Columbia Men's Transverse Waterproof Hiking Boot Check price
  NORTIV 8 Men's Ankle High Waterproof Hiking Boots Check price
  Columbia Mens Transverse Waterproof Hiking Boot Check price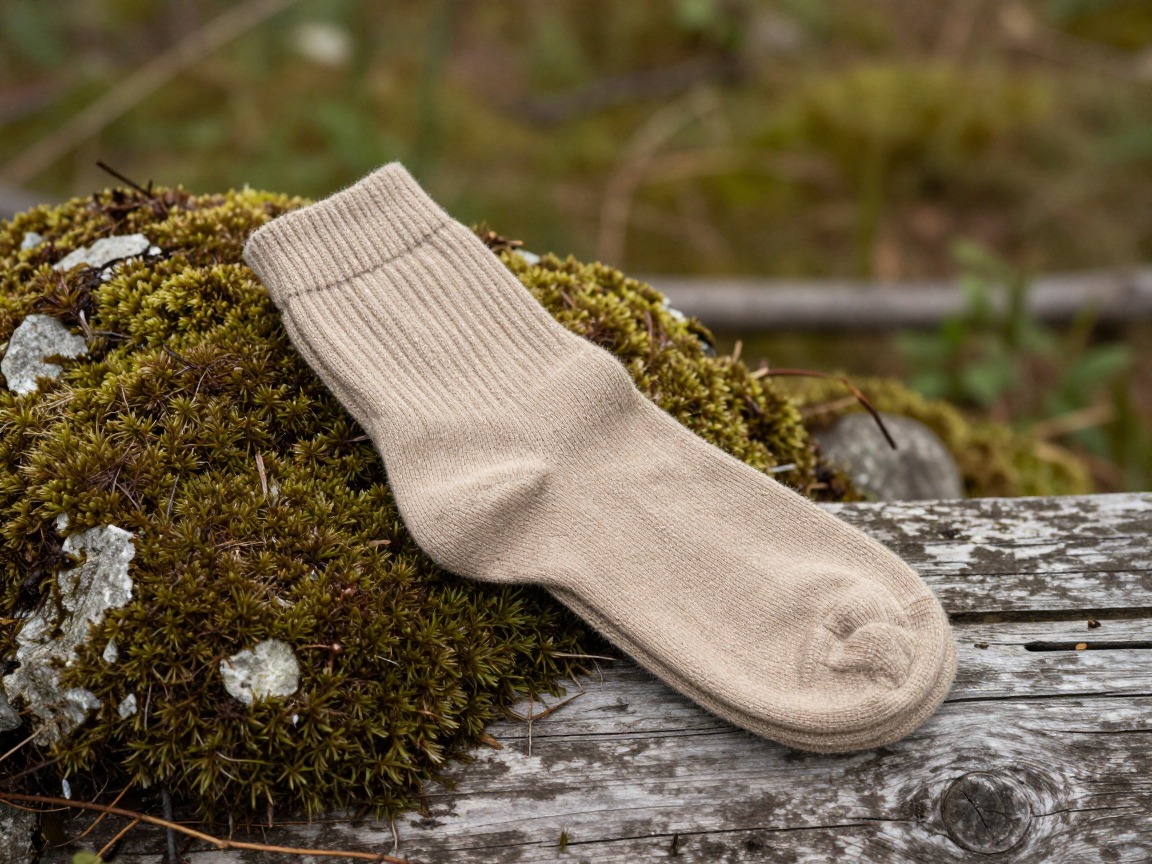
Hiking socks
Wool or synthetic socks resist the sand that works into canyon boots at every wash crossing, and manage the moisture from sweating hard in dry heat.
What to look for: A tighter weave that resists sand infiltration, cushioning under the ball of the foot for the climb out, and enough height to pair with gaiters. Skip cotton.
 Alvada Merino Wool Hiking Socks Thermal Warm Crew Winter Boot Sock F Check price
  DANISH ENDURANCE Merino Wool Socks for Men & Women Check price
  innotree 3 Pack Men's Merino Wool Hiking Socks Check price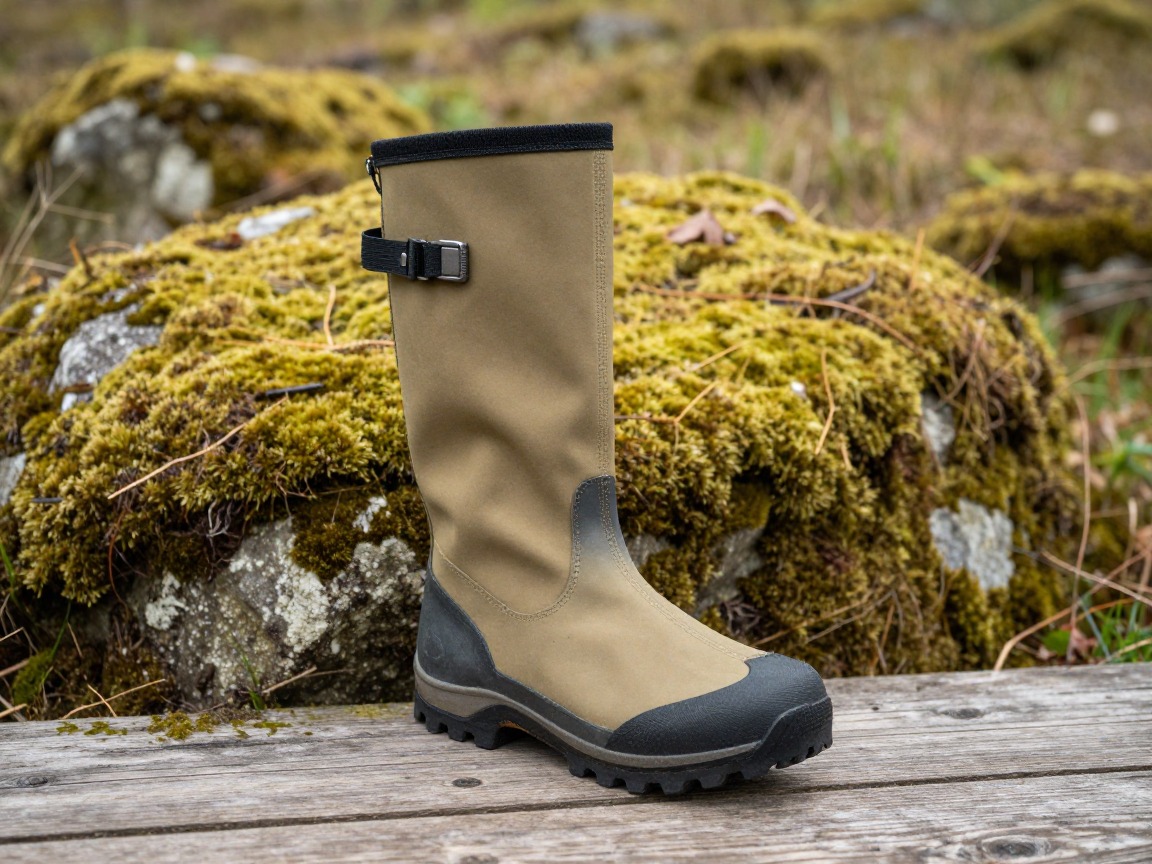
Low gaiters
Keep sand, gravel and grit out of your boots through wash bottoms and dune-like sections — a small item that saves a lot of stopping to empty your socks.
What to look for: A low, breathable pair built for sand rather than snow, with a durable instep strap that survives sharp rock and scrambling.
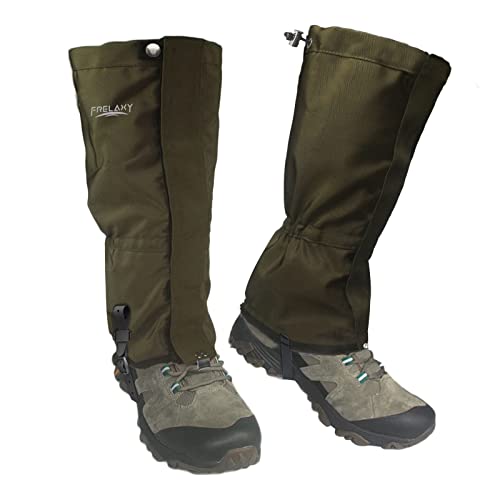 Frelaxy Leg Gaiters 100% Waterproof Hiking Gaiters Check price Frelaxy Ultra High-Performance Hunting Gaiters Check price
 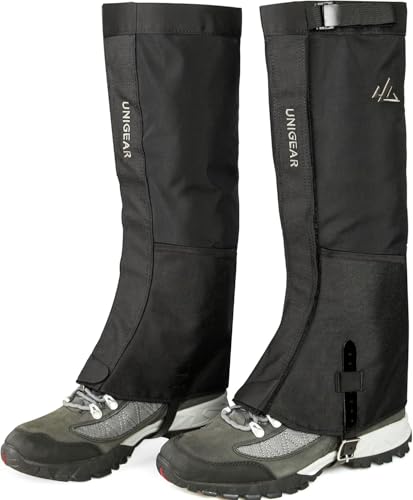 Unigear Leg Gaiters Check price
Trekking poles
Stability on slickrock slopes, loose scree and sandy washes, plus a way to test footing before committing weight to it — useful on the way down and genuinely valuable on the climb back out.
What to look for: Sturdy locks that hold under load, and tips you don't mind wearing down on rock. Carbon saves weight; aluminum shrugs off abuse better.
 Trekology Trek-Z Cork Grip Collapsible Lightweight Hiking Trekking P Check price
  Cascade Mountain Tech Trekking Poles Check price
  covacure Hiking Poles Check price
 - Route notes, cairned-route beta, or a GPS track for unmarked slickrock sections
The climb out, timing & safety
The last mile out of a canyon is where trips go wrong: it's the steepest, comes in the hottest part of the day, and lands when you're already tired and lowest on water. Plan for it from the start, and know how you'd reach high ground if weather turns.

Headlamp
Earns its place for a practical reason: an early start beats the heat on the way in, and a slow climb out can easily run past your planned finish time.
What to look for: Enough output for route-finding on rock in low light, a red mode that's easier on your eyes near camp or the trailhead, and spare batteries.
 LHKNL Headlamp Flashlight Check price
  Lepro LED Headlamp Rechargeable IPX4 Waterproof Headlight 5 Modes - Check price
  Energizer LED Headlamp PRO Check price
First-aid kit
A kit weighted toward blisters, cuts and scrapes from rock, alongside the judgment to notice heat becoming a real problem rather than just discomfort.
What to look for: A compact kit with room for your own meds. Learn the early signs of heat illness — heavy sweating, headache, nausea — as your cue to get to shade, cool off and rehydrate; treat confusion or collapse as a call for emergency help immediately.
 Mini First Aid Kit - 150 Piece Small Waterproof EVA Hard Shell Case Check price
  Adventure Medical Kits Ultralight/Watertight Medical Kit .5 Check price
  211 PCS Waterproof First Aid Kit Check price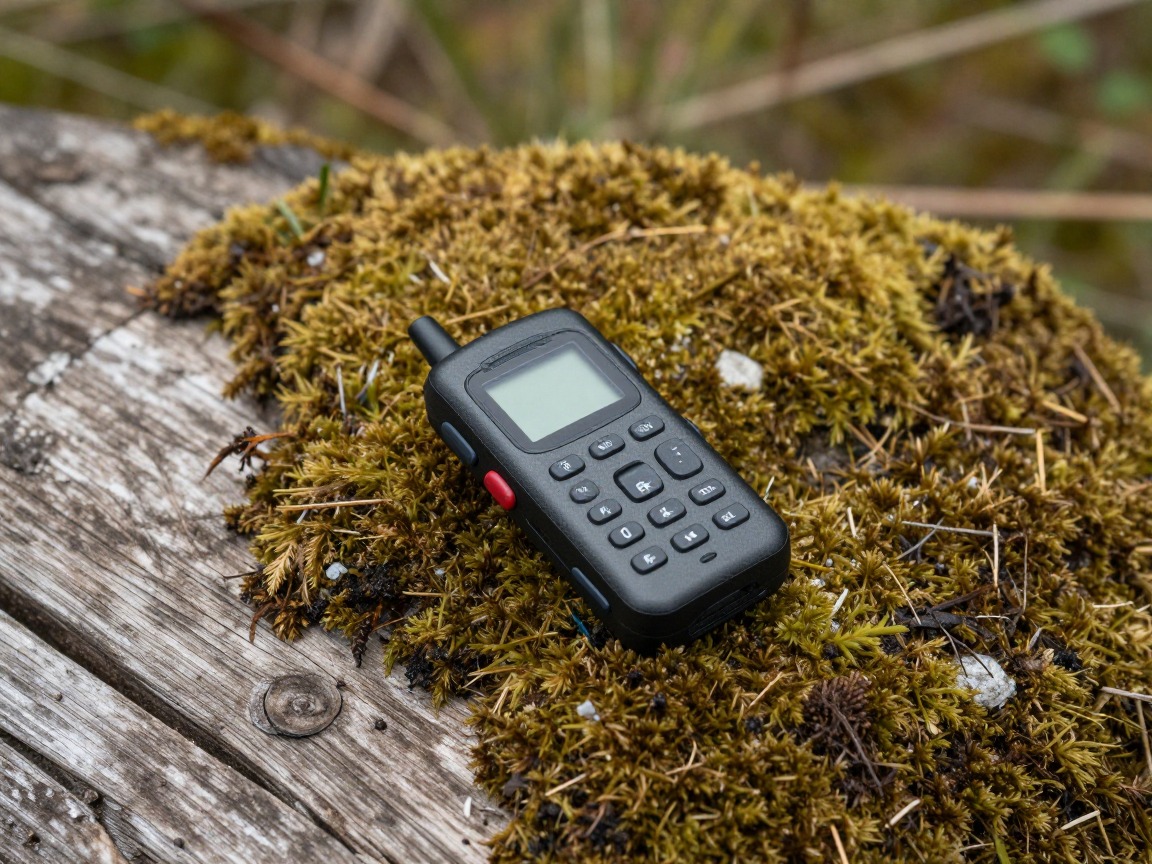
Satellite messenger
Canyon walls block cell signal even where the rim above has coverage, and a canyon route is exactly where you don't want to be stuck with no way to call for help.
What to look for: Two-way messaging so you can confirm help is coming, a subscription plan that matches how often you're out, and battery life that covers the full trip.
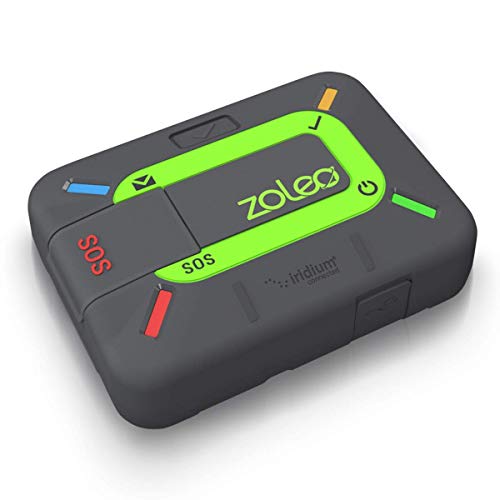 ZOLEO Satellite Communicator Check price
  Garmin inReach® Messenger Satellite Communicator Check price
  Garmin inReach® Mini 2 Check price
 - Current weather and flash-flood forecast checked for the whole watershed above you, the morning of the hike
- Escape route to high ground identified before you drop below the rim
- Turnaround time set by the climb out, not the hike in — keep at least a third of your water in reserve for the return
- Map + compass or GPS (offline maps)
- Whistle
- Phone + power bank
- Route and return time left with someone at home
How to adapt this setup
A short, well-marked canyon with a known water source lets you trim the water math and skip the satellite messenger, but keep the sun system and the flash-flood check — those apply on any canyon route.
Routes that drop into real narrows need a much stricter flash-flood plan: check the forecast for the entire drainage, not just your trailhead, and consider a canyoneering-specific course before committing to anything with no quick exit.
Shift your start well before sunrise, build in extra water for a slower, hotter climb out, and treat electrolytes and a real rest in whatever shade exists as non-negotiable, not extras.
A cooler month trims the water margin and the urgency of an early start, but the climb out, the slickrock footing and the flash-flood check still apply exactly as written.
Add a sleep system built for a big day-night temperature swing — see the desert or overnight backpacking setup — and plan your water carry or cache to cover camp as well as both the way in and the way out.
Common mistakes to avoid
- Treating the hike in as the hard part and running low on water and energy before the climb back to the rim.
- Dropping into a canyon without checking the forecast for the whole drainage above you, not just the trailhead.
- Wearing soft-soled trail shoes with no real grip on slickrock and loose rock.
- Skipping the sun-protection system because the morning felt cool at the trailhead.
- Hiking unmarked wash or slickrock sections without a GPS track or solid route beta.
- Setting a turnaround time based on the clock instead of remaining water and energy for the climb out.
Make it yours
Frequently asked questions
How much water do I need for a canyon day hike?
Plan for more than a typical day hike, and weight the math toward the climb out rather than the hike in — a common approach is roughly a liter per hour of hiking in heat, with a real margin on top. Keep at least a third of your total in reserve for the last uphill mile.
What should I do if a storm is possible before a canyon hike?
Check the forecast for the entire watershed above your route, not just the trailhead — a storm miles upstream can flood a canyon on a clear day where you're standing. If narrows or flash-flood risk are part of the route, avoid entering them when storms are possible and know your escape route to high ground in advance.
What boots are best for canyon hiking?
Look for a sturdy boot with a grippy, rock-rated outsole and good ankle support — slickrock and loose talus reward real tread and stability more than a soft, cushioned trail shoe does. Break them in before the trailhead, not on the trail.
Why does the climb out of a canyon matter so much?
Because it's usually the hardest part of the day: steeper than the way in, later in the afternoon heat, and it comes when you're already tired and lowest on water. Planning your turnaround and water reserve around that climb, rather than the hike in, is the core idea behind a canyon day-hike kit.
Do I need a satellite messenger for a canyon day hike?
It's genuinely useful — canyon walls block cell signal even where the rim above has coverage, which is exactly the situation where a way to call for help matters most. It's optional on short, well-traveled canyons but worth carrying on anything remote or unmarked.
Illustrative images show the type of gear, not specific products. Recommendations link to similar items on Amazon; we only ever link real listings and never show fabricated prices or ratings. General planning guidance, not a substitute for your own judgment or professional backcountry-safety instruction.