
The budget ultralight setup
Ultralight doesn't require cottage-brand gear or a specialist budget. This setup shows where the real weight savings live — the big three, plus a few proven DIY tricks — and how to get there with mainstream, affordable gear instead of exotic materials.

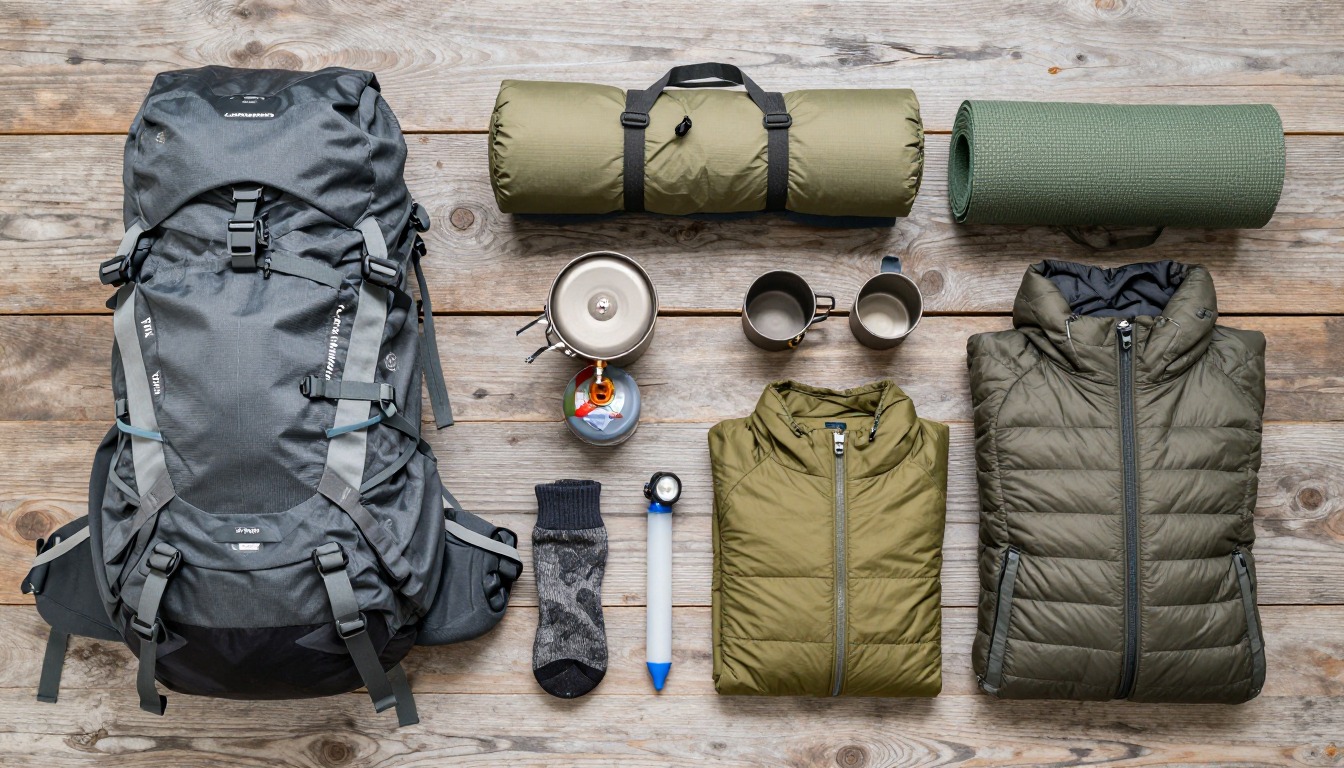
The weight savings in ultralight backpacking come mostly from what you cut and how you pack, not from what you spend. A mainstream frameless pack, a tarp or basic trekking-pole tent, and a value quilt trim the same pounds a premium cottage-brand kit does — the difference is ounces, not pounds. Spend your limited budget on the big three first, cut duplicates with the same discipline any ultralighter uses, and keep every safety essential fully intact regardless of price.
This setup suits hikers who want a genuinely light pack without buying into the cottage-gear ecosystem — people replacing gear piece by piece, or anyone who'd rather spend on trail time than on titanium. It's not for someone chasing the lightest possible number regardless of cost, and it's still not a place to start as a total beginner — get a few overnights in with more forgiving gear first.
- Weigh what you already own before buying anything — the cheapest gram is one you don't have to replace.
- Attack the big three with mainstream, not cottage, gear: a value frameless pack, a tarp or basic trekking-pole tent, and a quilt rated honestly for your coldest night.
- Use DIY substitutes where they genuinely work — a reused jar for cold-soaking, a homemade alcohol stove — and test each one at home first.
- Cut what you don't use, buy secondhand or last season's colors for the rest, and keep the safety layer fully funded no matter what you trim.
About this setup
Ultralight backpacking has a reputation as an expensive hobby, and cottage-brand marketing does little to correct that. But the core insight of going light has nothing to do with price: almost all of your base weight lives in the big three — pack, shelter and sleep system — and a mainstream, affordably priced version of each cuts most of the same weight a premium one does. The exotic fabrics on a boutique cottage tent save ounces over a big-box trekking-pole shelter, not pounds, and those ounces cost disproportionately more than the pounds you cut by choosing the shelter style in the first place.
This is where DIY tricks earn their keep, too. A homemade alcohol stove built from a drink can, a groundsheet cut from window-insulation film, a foam pad trimmed to torso length once you know you don't miss the rest — none of these are compromises so much as the same 'question every item' discipline any ultralighter uses, applied to cost instead of just weight. Borrowing gear before buying, and choosing secondhand or last season's colors, does the same job without the guesswork.
The one rule budget ultralight shares with every other version of the discipline: light is the goal, safe is the constraint. Cutting cost never means cutting the safety layer — navigation, insulation, first aid and water treatment stay fully funded regardless of what you spend elsewhere. A lighter, unstrained hiker still makes better decisions on trail than an exhausted one under a heavy pack, no matter what the gear cost.
The pack
Weight in a pack scales with load, not price — a simple frameless or minimal-frame pack from a mainstream retailer carries a genuinely light kit just as well as an expensive cottage-brand equivalent.
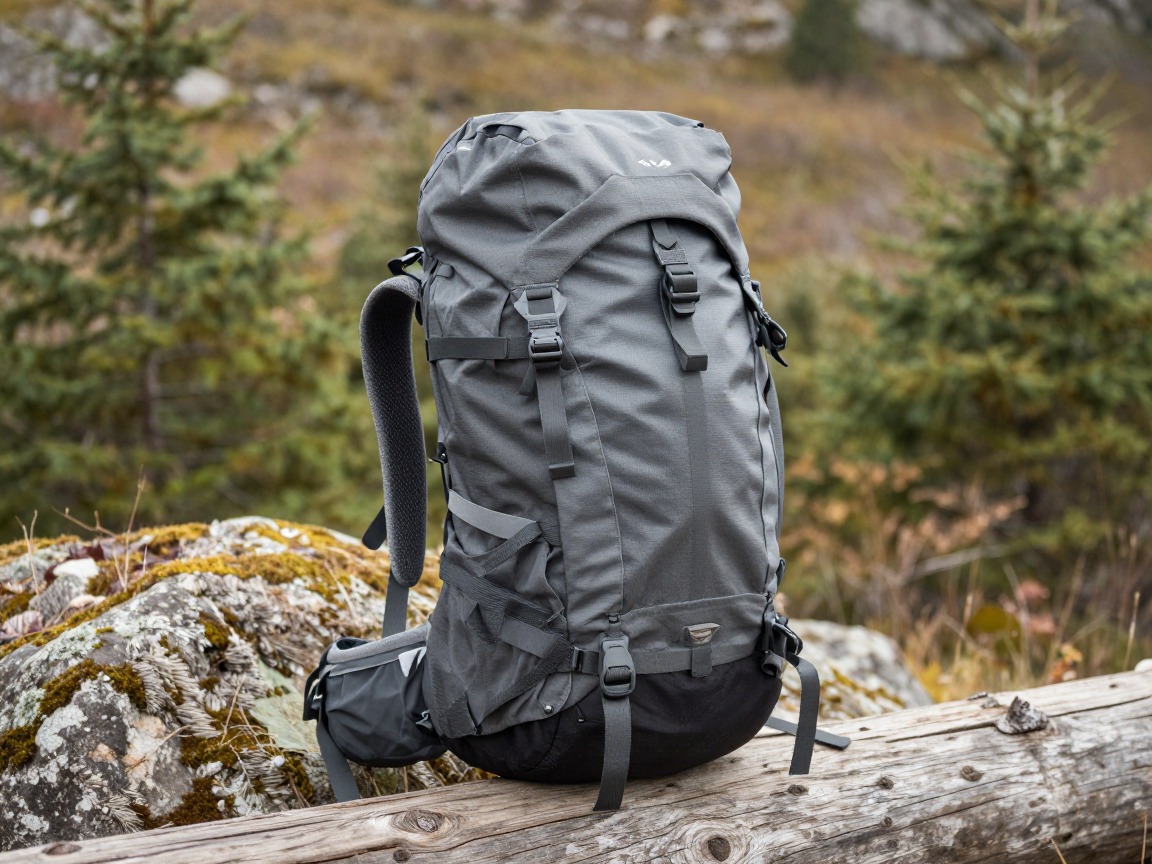
Value frameless pack
A simple internal-frame or frameless pack from a mainstream brand does the same job as an expensive cottage-brand pack once your kit is actually light.
What to look for: A pack in the 40–55 L range with a simple, adjustable harness and few extras. A budget pack that fits well beats an expensive one that doesn't — try it on loaded before committing to a size.
 WoneNice 50L Check price
  Teton 55L Scout Internal Frame Backpack for Hiking Check price
 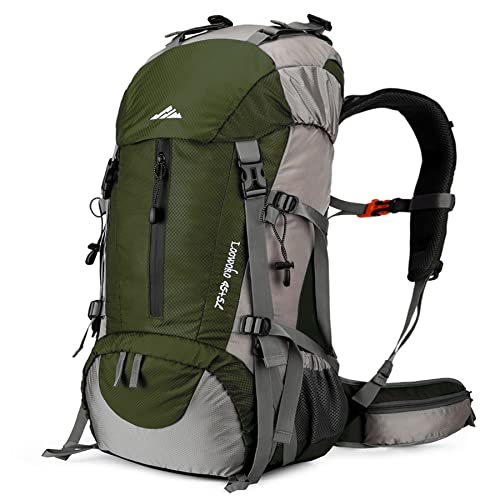 Loowoko 50L Hiking Backpack with Rain Cover for Both Men & Women Check price
 - A hand-me-down pack, resized once you trust your kit
- A trash-compactor bag as a pack liner
Shelter
Shelter is where cottage brands charge the most for the weight they save — a tarp or a basic trekking-pole tent captures most of that savings for a fraction of the outlay.
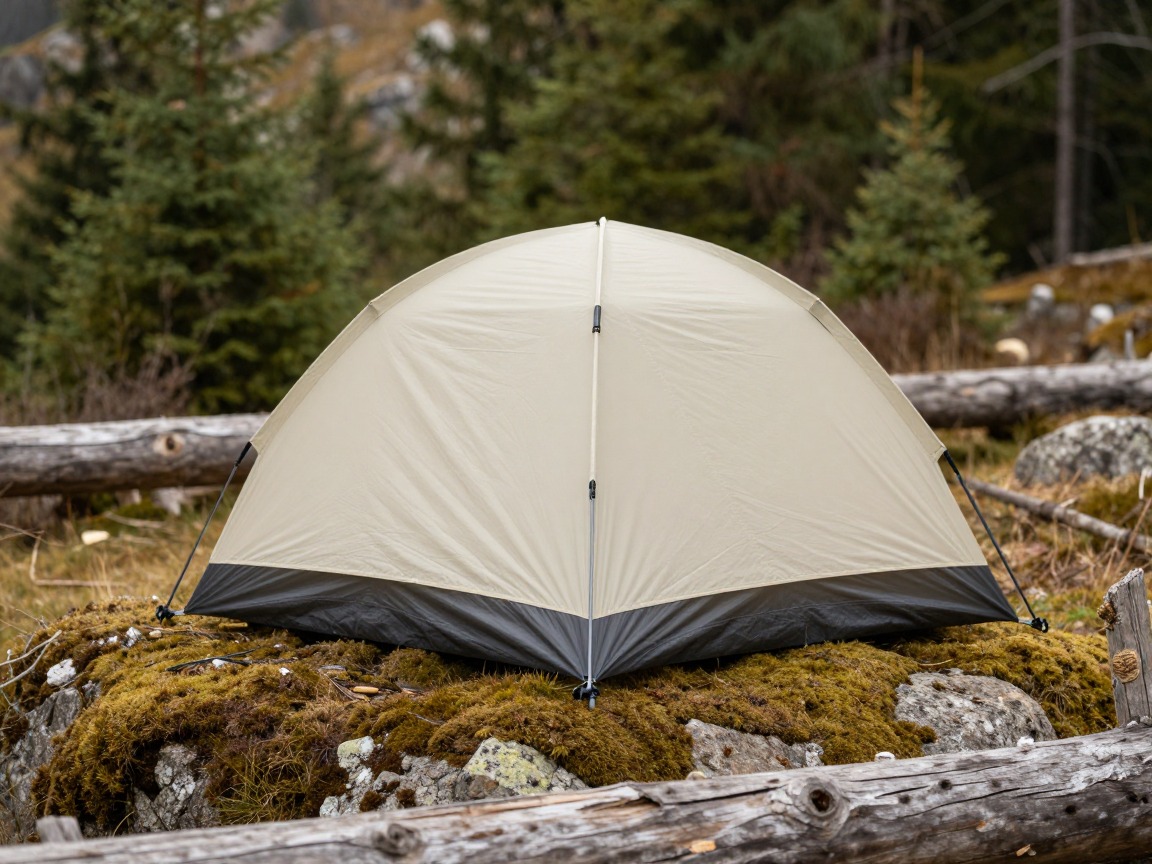
Tarp or budget trekking-pole tent
A flat or shaped tarp, or an entry-level single-wall trekking-pole tent from a mainstream brand, drops the same dedicated poles that expensive ultralight shelters drop — you already own the poles.
What to look for: A tarp or trekking-pole tent with a proven, well-documented pitch rather than the lightest fabric on the shelf. A forgiving shelter you can pitch quickly beats an ounce-perfect one you fight with.
 Night Cat 2-Persons Backpacking Tent: Waterproof Lightweight Camping Check price
  BISINNA 2/4 Person Camping Tent Lightweight Waterproof Backpacking T Check price
  Forceatt Tent for 2 Person is Waterproof and Windproof Check price
 - Stakes and guylines
- Polycryo or contractor plastic as a groundsheet
- Trekking poles double as tent poles
- Practice the pitch at home first
Sleep system
This is the other place the big weight savings live, and a value down or synthetic quilt with a simple foam pad gets you most of the way there without a premium price.
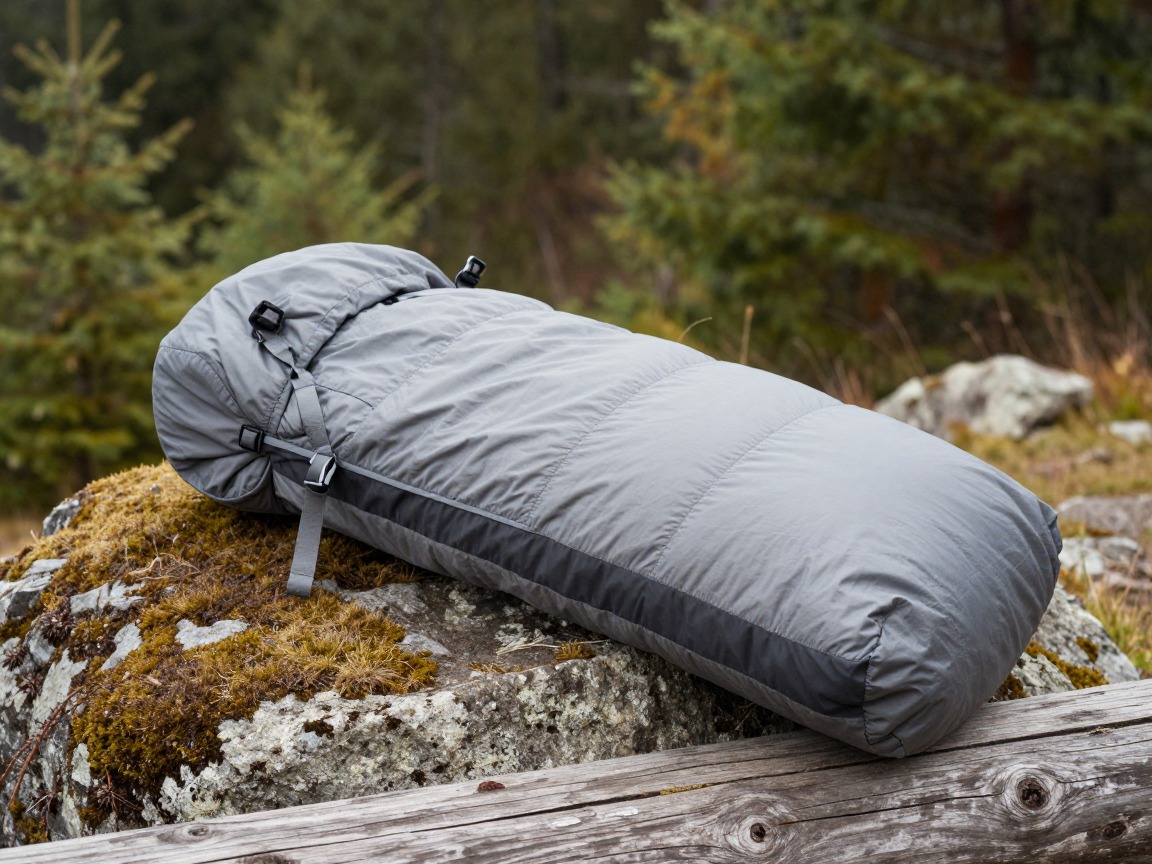
Value down or synthetic quilt
A budget quilt — down or synthetic — drops the zippers, hood and crushed back insulation a mummy bag carries. Synthetic costs less and shrugs off damp; down packs smaller and warmer if kept dry.
What to look for: Choose the temperature rating honestly for your coldest expected night, not your average one. A heavier quilt that's genuinely warm beats a lighter one you're cold in.
 MalloMe Sleeping Bags for Adults Cold Weather & Warm - Backpacking C Check price
 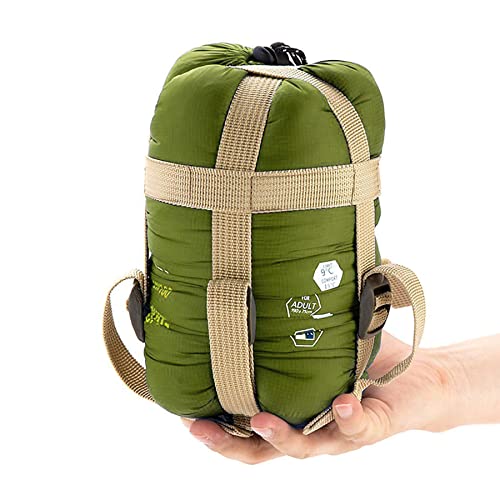 ECOOPRO Portable Check price
  Teton Trailhead Check price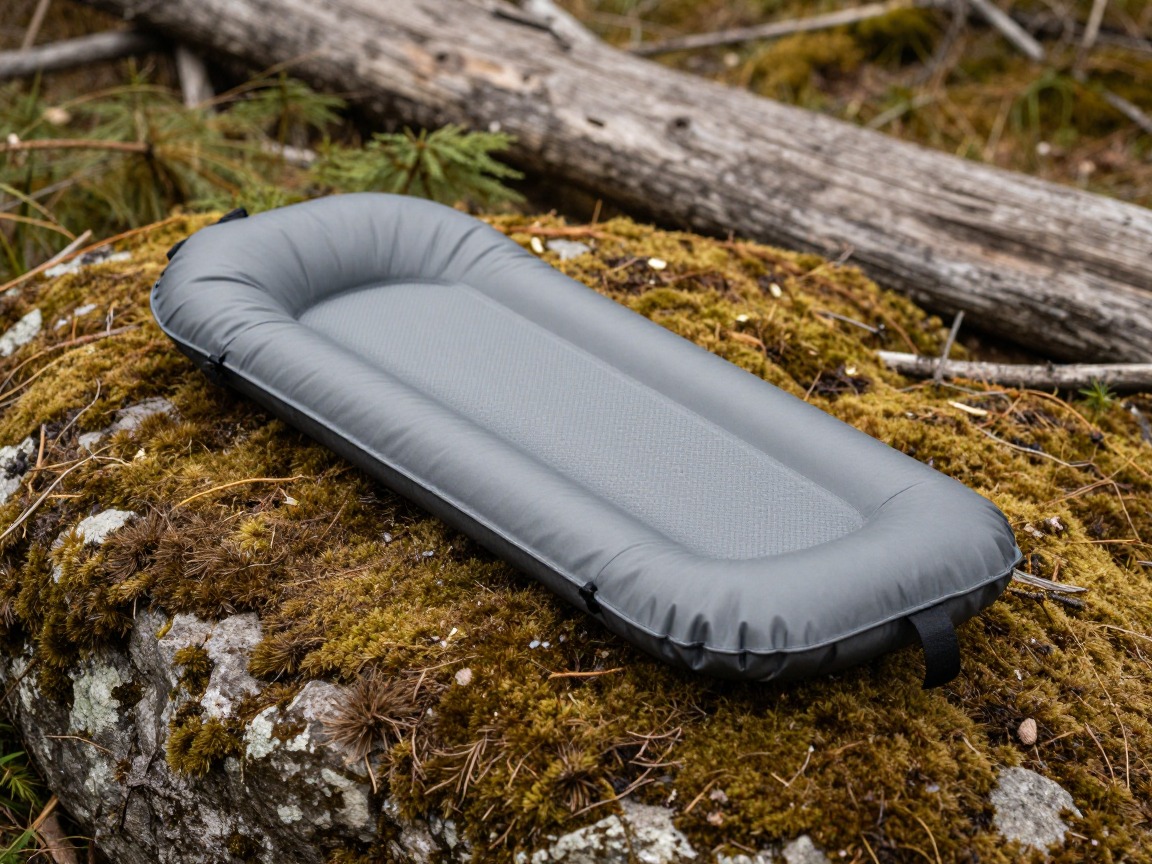
Closed-cell foam pad
A simple closed-cell foam pad is the cheapest weight-to-warmth trade in backpacking — no valve to fail, no leak to chase, and it typically costs far less than an inflatable.
What to look for: A pad with a listed R-value that matches your season. Consider trimming a full-length pad to torso length once you know you don't miss the foot end — your empty pack extends it.
 FUN PAC Camping Sleeping Pad Check price
  Gear Doctors® Ether 17.5oz Ultralight Camping Sleeping Pad Check price
  Oramoose 4in Ultralight Camping Sleeping Pad with Pillow and Foot Pu Check price
 - A stuffed puffy jacket makes a free pillow
- Sleep clothes doubling as your only spare layer
Kitchen & water
A hot meal doesn't require an expensive stove system — a basic canister stove, one pot, and a DIY alternative or two cover the same ground.
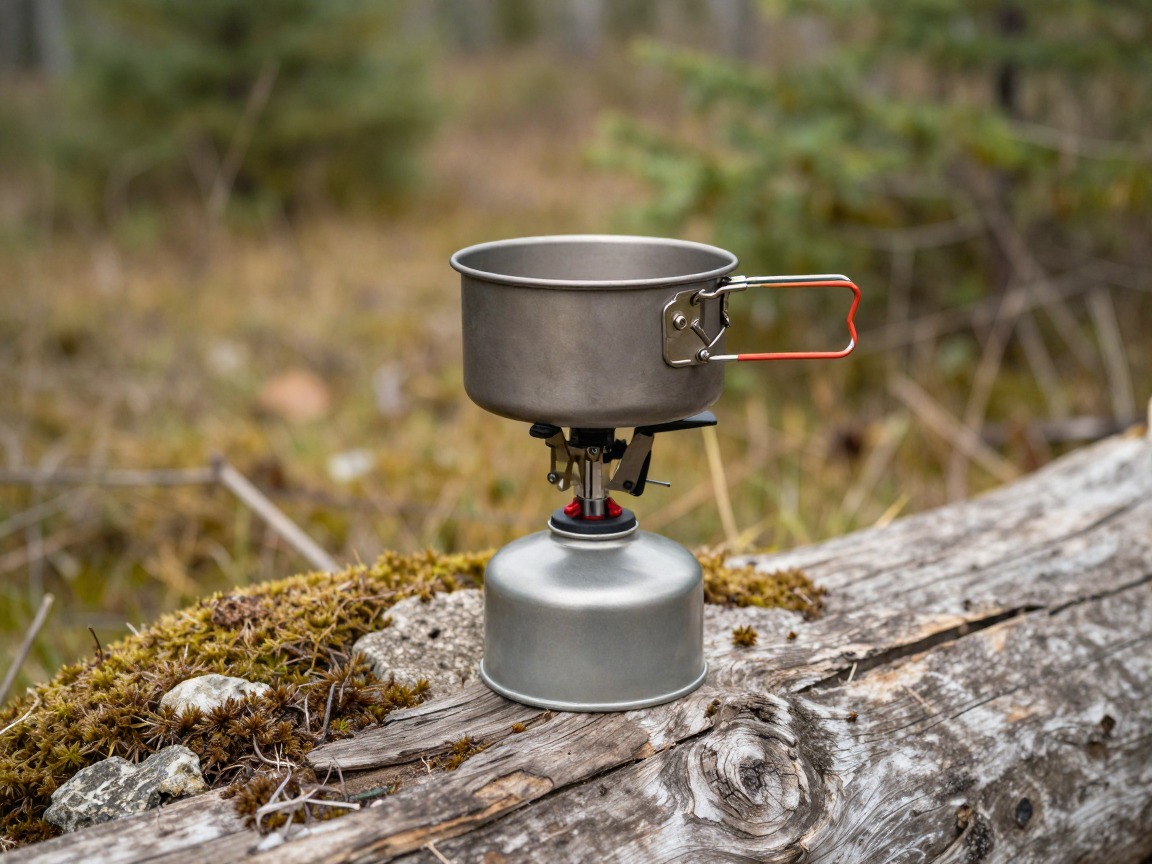
Basic canister stove or DIY alcohol stove
An entry-level canister stove boils water just as fast as an expensive titanium one — the price difference is mostly the burner's weight, not the flame. A homemade alcohol stove built from a drink can removes the cost almost entirely.
What to look for: A simple canister stove with a piezo igniter or a separate lighter. If you build an alcohol stove, test it at home first and know its fuel-burn time before relying on it on trail.
 AOTU Portable Camping Stoves Backpacking Stove with Piezo Ignition S Check price
  MSR PocketRocket 2 Ultralight Camping and Backpacking Stove Check price
  Fire-Maple Greenpeak 1 Camping Stove with Piezo Ignition Portable Ga Check price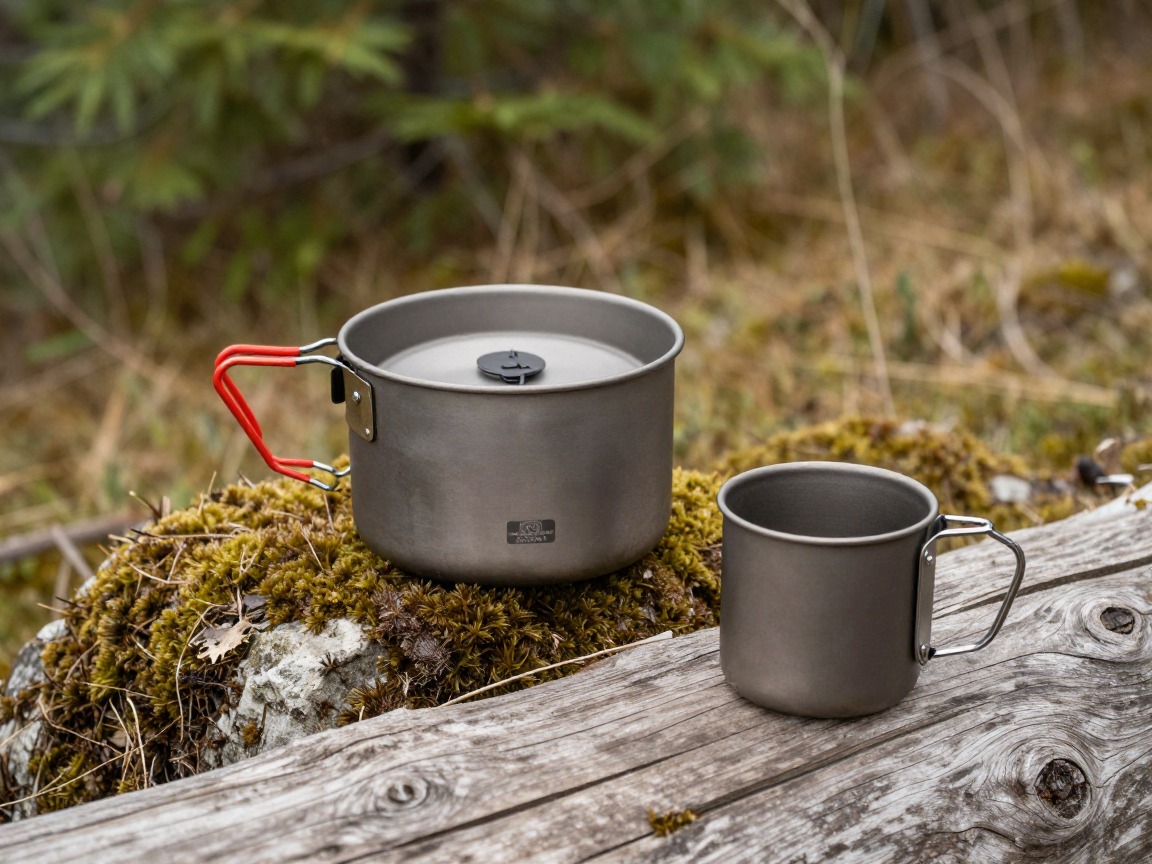
Single pot or repurposed container
One pot doubling as bowl and mug covers a solo kitchen; some backpackers skip cookware entirely by cold-soaking meals in a reused wide-mouth jar instead of buying a dedicated pot.
What to look for: A basic aluminum or steel pot in the 550–900 ml range costs noticeably less than titanium and only weighs a little more — a difference that matters far less than the big three.
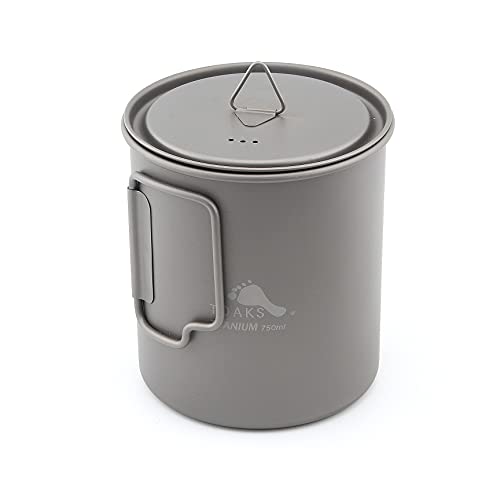 TOAKS Titanium 750ml Pot Check price
  TOAKS Titanium 750ml Pot with Bail Handle for Ultralight Camping Check price
  TOAKS Titanium 1100ml Pot with Pan Check price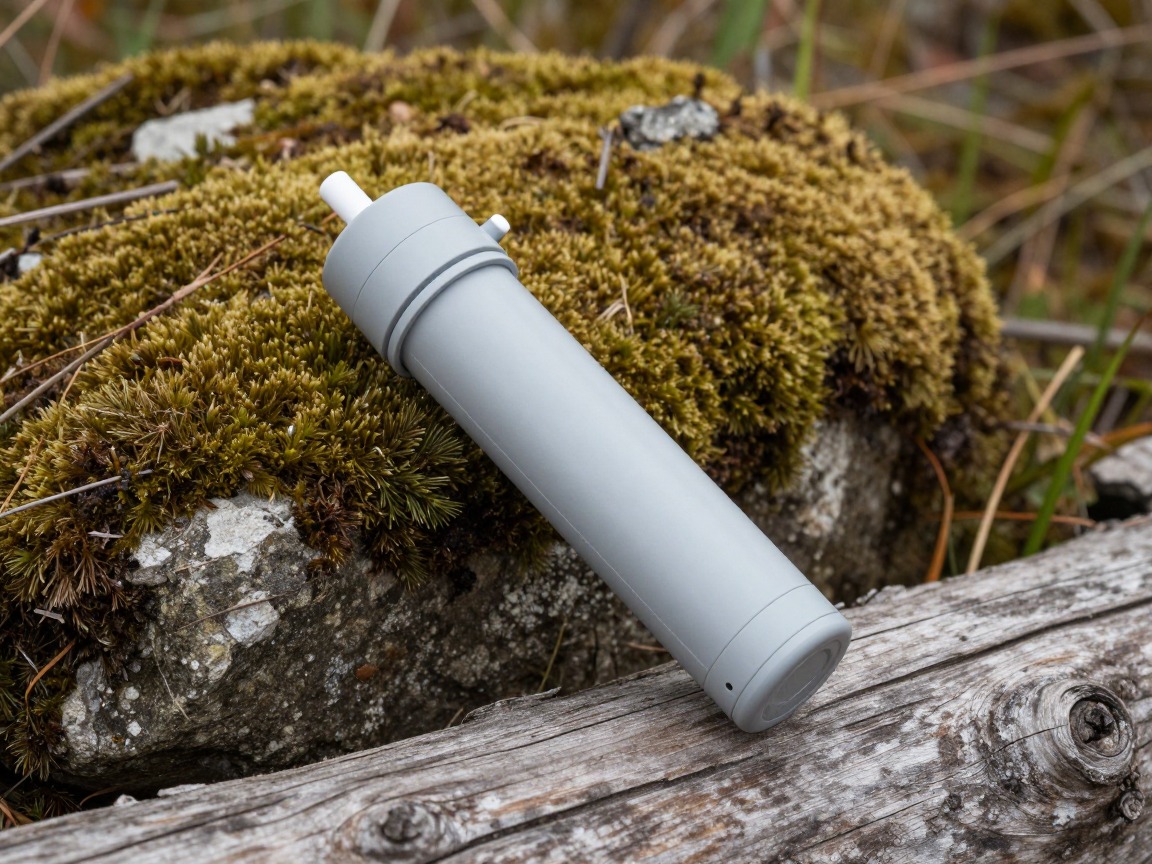
Budget squeeze filter
A simple squeeze-style filter treats water reliably without the cost of a pump or gravity system, and pairs with any bottle you're already carrying.
What to look for: A filter rated for backcountry use with a clearly stated pore size. Know its backwash and cleaning routine so it keeps flowing — a filter you maintain lasts as long as an expensive one.
 Sawyer Squeeze Water Filtration System Check price
  Sawyer Products SP128 Mini Water Filtration System Check price
  LifeStraw Personal Water Filter for Hiking Check price
 - A reused plastic drink bottle
- A long-handled spoon you already own
- Small fuel canister, or fuel for a DIY stove
Clothing & layers
Layering, not brand, is what keeps you warm — a tight, budget-friendly system built from pieces you can find at any outdoor retailer, or repurpose from your closet, does the job.

Synthetic or budget merino-blend base layer
A budget synthetic or merino-blend base layer manages sweat and dries fast; a running layer you already own often performs the same job as a hiking-branded one.
What to look for: A snug, moisture-wicking fit rather than a specific brand — the fabric behavior matters more than the label. Last season's colorway is a reliable way to pay less for identical fabric.
 100% Merino Wool Base Layer Men Set - Thermal Underwear for Men Long Check price
  Merino.tech Merino Wool Base Layer Women Set - Heavyweight Check price
  100% Merino Wool Base Layer Men Set - Thermal Long Underwear with Ba Check price
Synthetic puffy
A synthetic puffy costs noticeably less than an equivalent down jacket and still handles camp warmth well; it keeps insulating if it gets damp, which matters more without a backup layer.
What to look for: A puffy with a simple synthetic fill and a full-zip front so it layers over other pieces. A heavier synthetic jacket at a lower price is a fair trade against a pricier down one.
 Outdoor Ventures Women's Packable Lightweight Puffer Jacket with Hoo Check price
  Amazon Essentials Women's Lightweight Long-Sleeve Water-Resistant Pa Check price
  Outdoor Ventures Women's Packable Lightweight Puffer Jacket with Hoo Check price
Basic waterproof-breathable shell
An entry-level waterproof-breathable shell blocks wind and rain; it won't breathe quite as well as a premium membrane, but that's a minor trade for a major price difference.
What to look for: Taped seams and a functional hood over any brand name — a jacket that actually keeps water out matters more than what the fabric is marketed as.
 UIQUR Mens Rain Jacket Raincoat Waterproof Windbreaker Black L Check price
  COOFANDY Men's Waterproof Hiking Travel Shell Breathable Rain Jacket Check price
  Columbia Womens Arcadia II Waterproof Rain Jacket Check price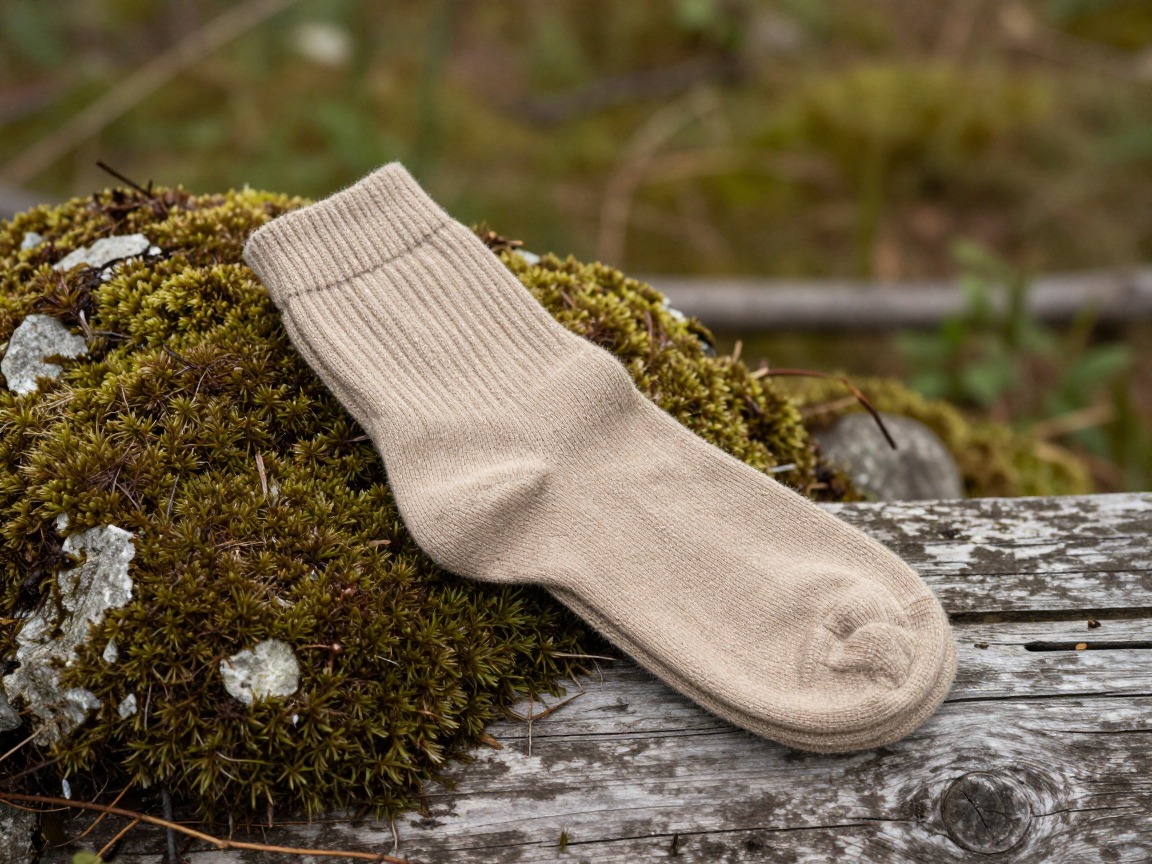
Budget wool-blend socks
A wool-blend sock resists odor and dries faster than cotton without a premium hiking-sock brand; two pairs — one worn, one spare — covers most trips.
What to look for: Wool blend over cotton, and a toe seam that sits somewhere it won't rub — fit matters more here than price.
 Alvada Merino Wool Hiking Socks Thermal Warm Crew Winter Boot Sock F Check price
  DANISH ENDURANCE Merino Wool Socks for Men & Women Check price
  innotree 3 Pack Men's Merino Wool Hiking Socks Check price
 - A billed cap or bandana instead of a sun hat
- Sunglasses you already own
Navigation, light & safety
This is the layer that stays fully funded no matter the budget — cut cost here by building your own kit, not by leaving pieces out.

Basic headlamp
An entry-level headlamp puts out enough light for camp chores and an early start; a premium price mostly buys beam distance and battery life you may not need.
What to look for: A simple, reliable on/off and a stated lumen output rather than red-light modes or app connectivity. Carry spare batteries or a way to recharge regardless of which headlamp you choose.
 LHKNL Headlamp Flashlight Check price
  Lepro LED Headlamp Rechargeable IPX4 Waterproof Headlight 5 Modes - Check price
  Energizer LED Headlamp PRO Check price
Build-your-own first-aid kit
A first-aid kit assembled yourself from a pharmacy — blister care, basic wound supplies, any personal medications — covers the same ground as a pre-packaged kit for far less, and you'll know what's in it.
What to look for: Build toward the same short list every trip: blister care, wound closure, personal medication, and a way to treat minor cuts and sprains. Pair it with wilderness first-aid training if you can.
 Mini First Aid Kit - 150 Piece Small Waterproof EVA Hard Shell Case Check price
  Adventure Medical Kits Ultralight/Watertight Medical Kit .5 Check price
  211 PCS Waterproof First Aid Kit Check price
 - Phone with offline maps, plus a paper map and compass
- Whistle
- Lighter or matches in a dry container
- An inexpensive power bank
How to adapt this setup
Don't buy anything new yet. Weigh your current kit, identify the big three, and replace them one at a time with mainstream budget versions as your old gear wears out.
If you can afford exactly one upgrade, put it toward the quilt — sleep quality affects every day that follows it, and a warm night is hard to DIY around.
A heavier, warmer synthetic quilt and a higher-R foam pad cost less than a comparable down-and-inflatable setup, so the budget approach still works — it just adds weight as temperatures drop.
Splitting shared gear — one shelter, one stove, one filter — across a group cuts the per-person cost further than any single piece of budget gear could alone.
Over many days, food cost and weight matter more than gear cost — a slightly heavier setup that lets you carry more affordable calories often beats an expensive kit stretched thin on food.
Common mistakes to avoid
- Buying an expensive cottage-brand item before confirming you'll actually use that gear category.
- Skipping a DIY substitute you never tested at home, then finding it doesn't work on trail.
- Cutting genuine safety gear to save money — navigation, first aid and water treatment aren't the place to economize.
- Chasing the cheapest option in every small category while ignoring the big three.
- Under-rating a budget quilt's temperature to save money, then being cold every night.
- Trusting a well-used secondhand shelter or pack without checking it for wear before relying on it on trail.
Make it yours
Frequently asked questions
Can you do ultralight backpacking on a budget?
Yes — most of the weight savings in ultralight backpacking come from technique and the big three (pack, shelter, sleep system), not from spending on cottage-brand gear. A mainstream frameless pack, a tarp or basic trekking-pole tent, and an honestly rated value quilt get you most of the benefit for a fraction of the outlay.
What's the cheapest way to cut backpacking weight?
Weigh what you already own, then replace the big three first — pack, shelter and sleep system — since that's where most weight lives regardless of price. DIY substitutes like a homemade alcohol stove or a cold-soak jar cut both weight and cost further before you spend on anything new.
Are DIY alcohol stoves reliable for backpacking?
They can be, if you test one at home first and know its fuel-burn time and wind sensitivity before relying on it on trail. They're slower and more wind-affected than a canister stove, so many budget ultralighters carry one as a backup or use it only in sheltered conditions.
Is a tarp shelter a good idea for a beginner?
A tarp asks more of your pitching skill and offers less bug and weather protection than an enclosed tent, so it suits someone comfortable practicing the pitch at home first. A basic enclosed trekking-pole tent is a more forgiving budget option for someone newer to backpacking.
Where should I spend money first if I can't build a full budget ultralight kit at once?
Replace the big three one at a time as your current gear wears out, rather than buying everything new immediately. If you can prioritize a single purchase, a genuinely warm, honestly rated quilt affects more nights of comfort than any other piece of gear.
Illustrative images show the type of gear, not specific products. Recommendations link to similar items on Amazon; we only ever link real listings and never show fabricated prices or ratings. General planning guidance, not a substitute for your own judgment or professional backcountry-safety instruction.