
The budget day hike setup
A great day hike doesn't need a full price tag — it needs the right handful of things, chosen smart. This is a budget-built kit: what to pull from your closet, what to find secondhand or on sale, and the few items worth paying for outright because they keep you safe.

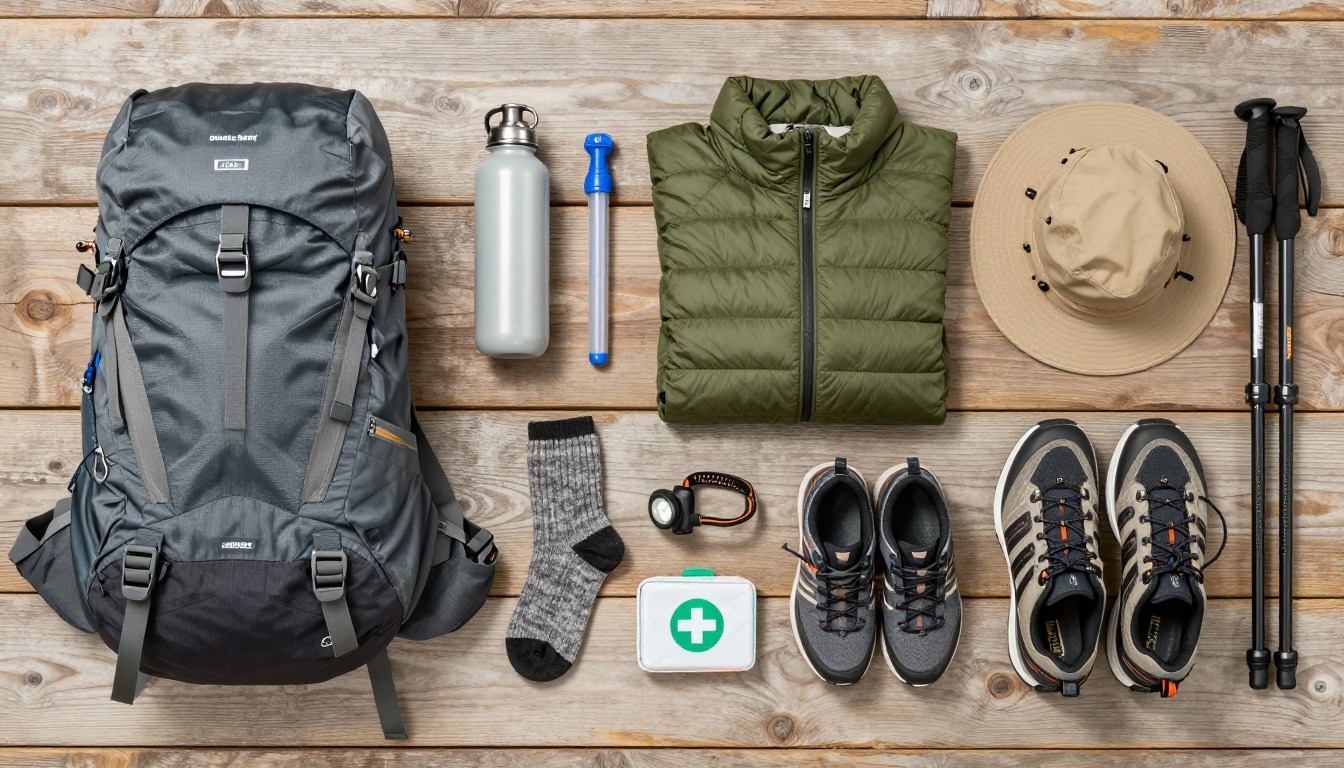
This kit is built around one rule: spend where the consequence of getting it wrong is high, and save everywhere else. A rain jacket that fails on an exposed ridge, or shoes that don't fit, cause problems no discount is worth risking — so those get real budget. A fleece from the back of a closet, a bottle you already own, or a pack picked up secondhand does the same job as a brand-new version for far less outlay. This isn't about doing without. It's about aiming a limited budget at the items that actually change how a hard day goes, and feeling entirely fine skipping the ones that don't.
This setup suits hikers watching their spending — students, families, or anyone easing into the hobby without a big gear budget — who still want a properly safe, properly capable day-hike kit. It works whether this is your first hike or your fiftieth; the logic of buying what matters and borrowing or thrifting the rest holds either way. If cost genuinely isn't a factor, the standard day-hike setup covers the same ground with less hunting for deals.
- Inventory what you already own — a bag, a rain-capable jacket, athletic clothes, sneakers — before buying anything; most of a day kit is usually already sitting in a closet somewhere.
- Fill the real gaps secondhand or discounted first: gear swaps, outdoor consignment shops, end-of-season sales, and last year's colors cost far less than current-season new for identical function.
- Reserve actual spending for the few items where fit and reliability matter most — a rain shell that genuinely works, footwear that fits, and the safety trio you'd never want to skimp on.
- Hike, notice what you actually reached for and what stayed in the bag untouched, and only then spend on the next upgrade — let real trail use guide the budget, not a store display.
About this setup
Outdoor gear marketing leans hard on upgrading — newer fabric, lighter buckles, this season's colorway — but a genuinely capable day-hike kit has never required any of that. It requires a bag, water, a couple of layers, and a small safety kit, and every one of those already exists in most closets or on a secondhand shelf somewhere nearby. The gap between what keeps a hike safe and what a gear wall tries to sell is exactly where a budget kit lives, and it's a wider gap than most first-time buyers expect.
The secondhand and discount market for outdoor gear has grown enough that it's now a legitimate first stop, not a fallback: gear swaps, outdoor consignment shops, and end-of-season or past-color sales regularly carry perfectly functional packs, insulation, and trekking poles for a fraction of current-season pricing. None of that gear performs worse for having had a previous owner — a fleece keeps you just as warm, a pack carries just as much weight. The exception is anything fit-critical worn directly against your feet, where trying something on in person (or buying new) is worth the extra step.
None of this is about doing without the things that matter. A rain shell that fails, a first-aid kit left at home to save a little, or a headlamp skipped because it felt optional — those are the one kind of budget mistake that can turn a bad afternoon into a genuinely dangerous one. The safety trio in this kit costs little already, which is exactly why it isn't the place to economize further. If a situation on trail goes beyond what a basic kit and common sense can handle, the right move is always wilderness first-aid training beforehand and a call to emergency services in the moment — no amount of gear replaces either one.
The pack
You don't need a purpose-built hiking daypack to start — you need something comfortable enough to carry water, food, and a layer for a few hours.
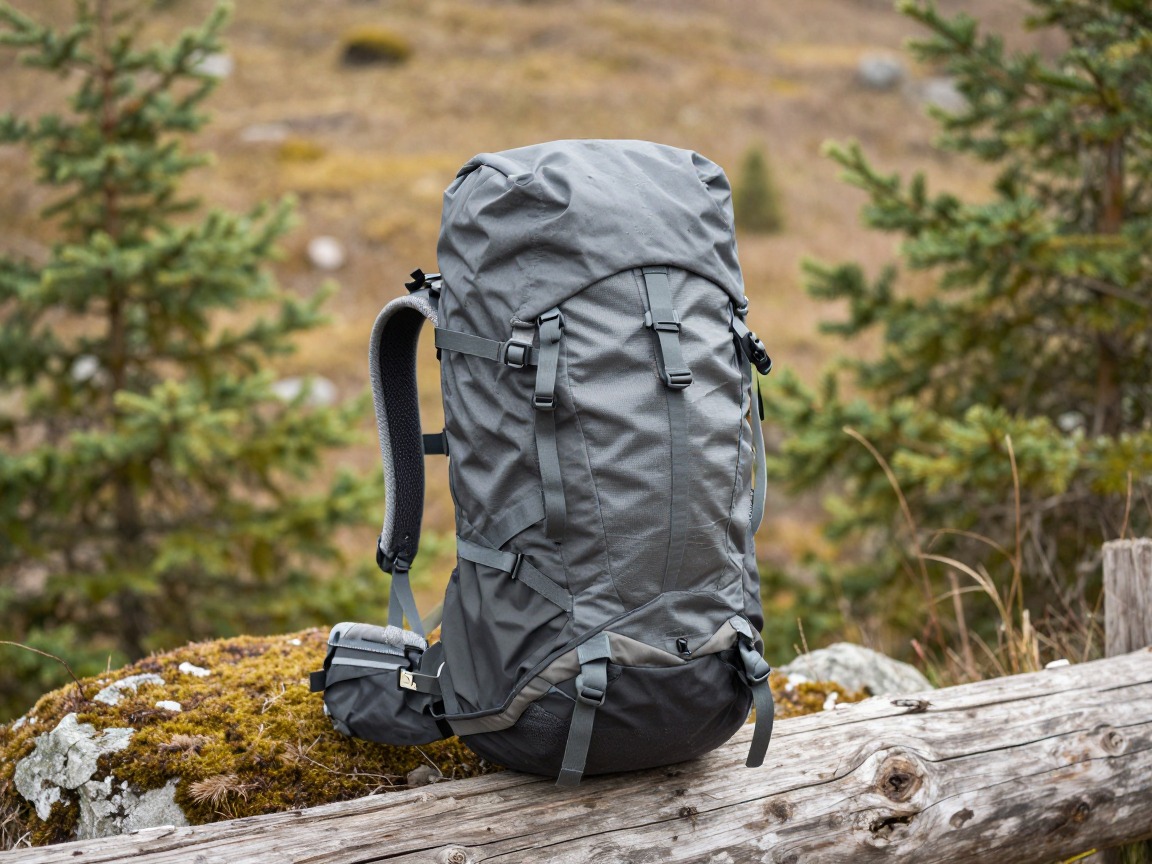
A secondhand or hand-me-down daypack
Carries your water, food, layers, and safety kit; a school bag, gym bag, or an older pack pulled out of a closet does this job just as well as something new for your early hikes.
What to look for: Padded straps, a bit of back support, and enough room for a liter of water plus a layer — 15 to 20 liters covers most day hikes. Check gear swaps and outdoor consignment shops before buying new; fit matters far more than the label.
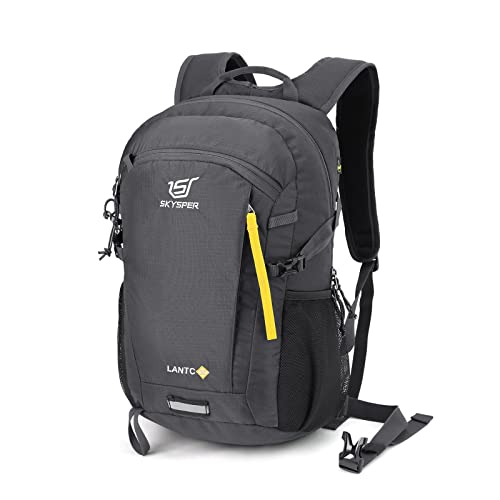 SKYSPER Small Hiking Backpack Check price
  Osprey Sportlite 20L Lightweight Hiking Backpack Check price
 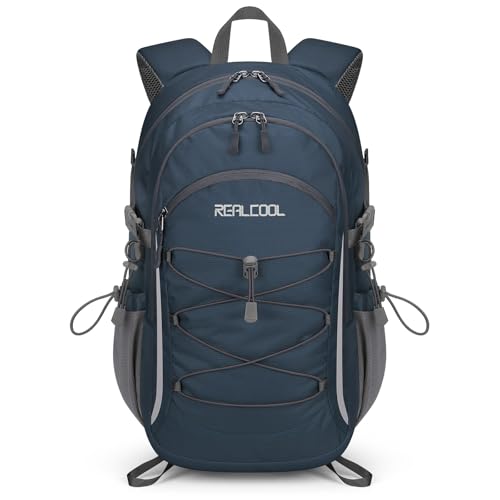 RealCool 20L Lightweight Hiking Backpack Check price
 Water & food
Water is the one thing you truly can't improvise, but the container it comes in doesn't need to be new or hiking-branded.
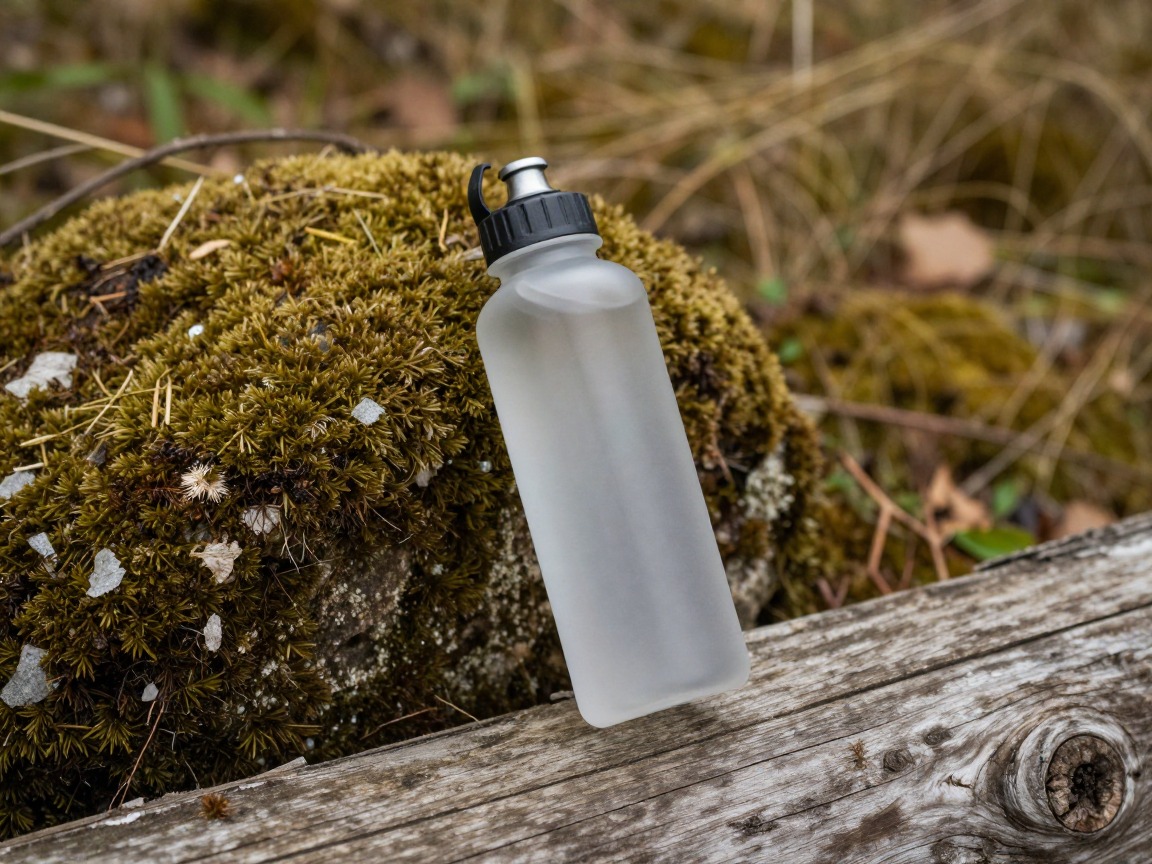
Any bottle you already own
Holds the water that matters most on the trail; a reused bottle from home does exactly the same job as one bought specifically for hiking.
What to look for: Wide-mouth and leakproof beats anything with a logo — a bottle from your kitchen or a past event works fine. Spend on an insulated one later, only once you're hiking in real heat or cold often enough to notice.
 Nalgene 32 oz Wide Mouth Water Bottle Check price
  Nalgene 32 oz Wide Mouth Water Bottle Check price
  Nalgene 32 oz Wide Mouth Water Bottle Check price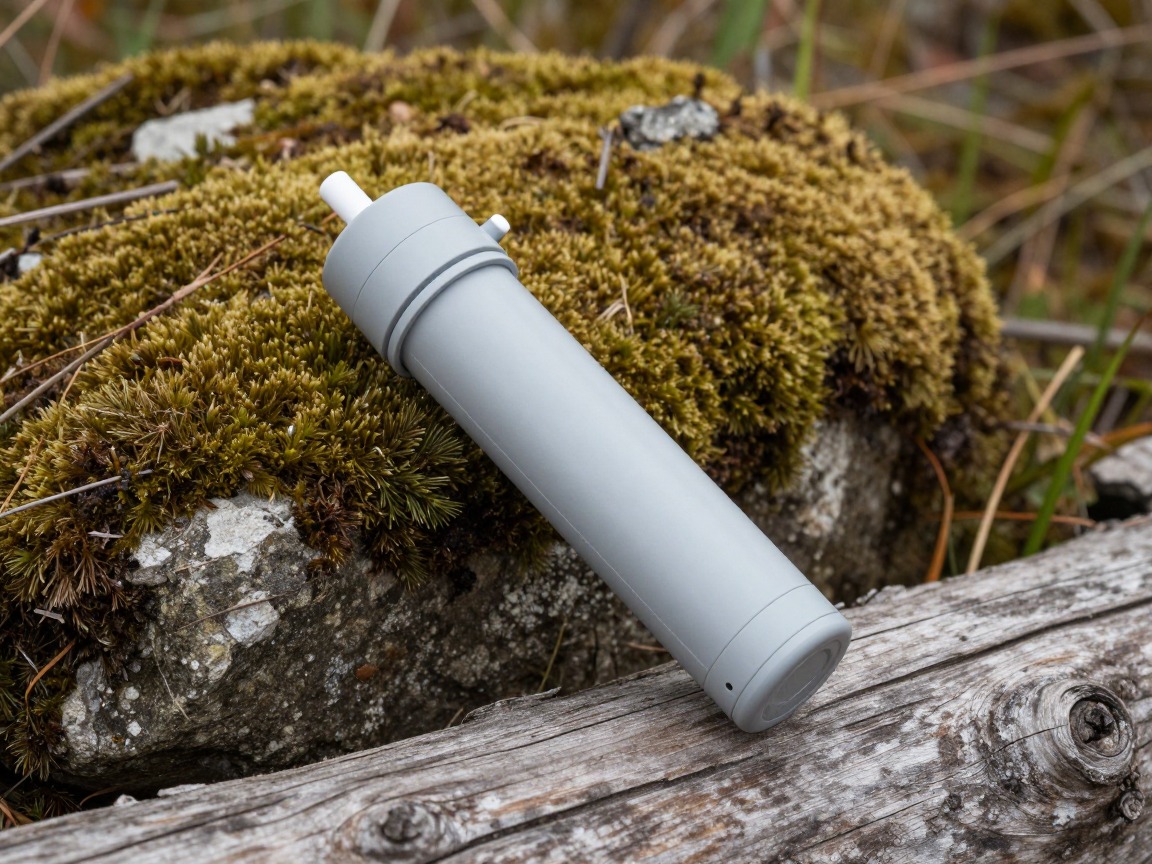
Water filter — one of the better one-time buys
Turns any stream into safe drinking water, which cuts down on the bottled water you'd otherwise buy trip after trip for years to come.
What to look for: A simple squeeze filter costs little relative to how long it lasts and how much bottled water it replaces over its lifetime. Treat this as a genuine investment, not something to skip on a tight budget.
 Sawyer Squeeze Water Filtration System Check price
  Sawyer Products SP128 Mini Water Filtration System Check price
  LifeStraw Personal Water Filter for Hiking Check price
 - A home-packed lunch and snacks instead of trail-branded ones — the same fuel for far less
- A bottle refilled from the tap instead of buying bottled water before every hike
Clothing & layers
Dress from your closet first, and reserve real spending for the one layer that earns it: a rain shell that actually works when it needs to.

Rain shell — worth buying properly
Blocks wind and rain on the one hike where the forecast turns out to be wrong; of everything in this kit, this is the layer most worth spending real money on.
What to look for: Genuinely waterproof, not just water-resistant, with a hood — even if that means buying new rather than thrifting. A jacket that lets water through on the one day you need it isn't actually the cheaper option.
 UIQUR Mens Rain Jacket Raincoat Waterproof Windbreaker Black L Check price
  COOFANDY Men's Waterproof Hiking Travel Shell Breathable Rain Jacket Check price
  Columbia Womens Arcadia II Waterproof Rain Jacket Check price
Warm layer — thrift-friendly
A fleece or synthetic layer for breaks and cooler stretches of the hike; secondhand insulation performs almost identically to new, since warmth doesn't wear out the way waterproofing does.
What to look for: Any non-cotton fleece or synthetic layer from a thrift store or your own closet works well here. Put the budget you save toward the rain shell instead.
 Outdoor Ventures Women's Packable Lightweight Puffer Jacket with Hoo Check price
  Amazon Essentials Women's Lightweight Long-Sleeve Water-Resistant Pa Check price
  Outdoor Ventures Women's Packable Lightweight Puffer Jacket with Hoo Check price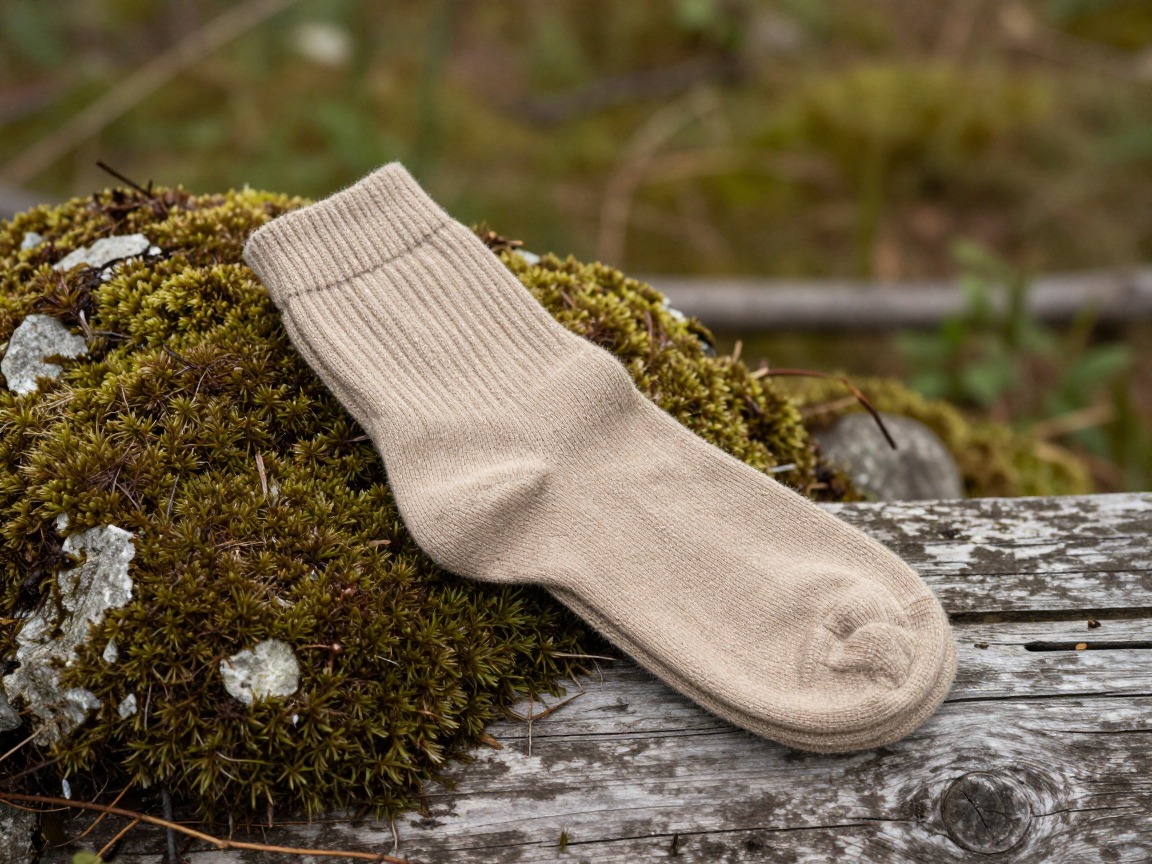
Non-cotton socks — buy these new
The one small, inexpensive swap that prevents the blisters ending more hikes than any other single cause; worth buying new even when everything else on this list is secondhand.
What to look for: A basic wool-blend or synthetic sock costs little even new and comfortably outperforms any cotton sock already in your drawer. Buy a couple of pairs — it's one of the lowest-cost, highest-value items in the whole kit.
 Alvada Merino Wool Hiking Socks Thermal Warm Crew Winter Boot Sock F Check price
  DANISH ENDURANCE Merino Wool Socks for Men & Women Check price
  innotree 3 Pack Men's Merino Wool Hiking Socks Check price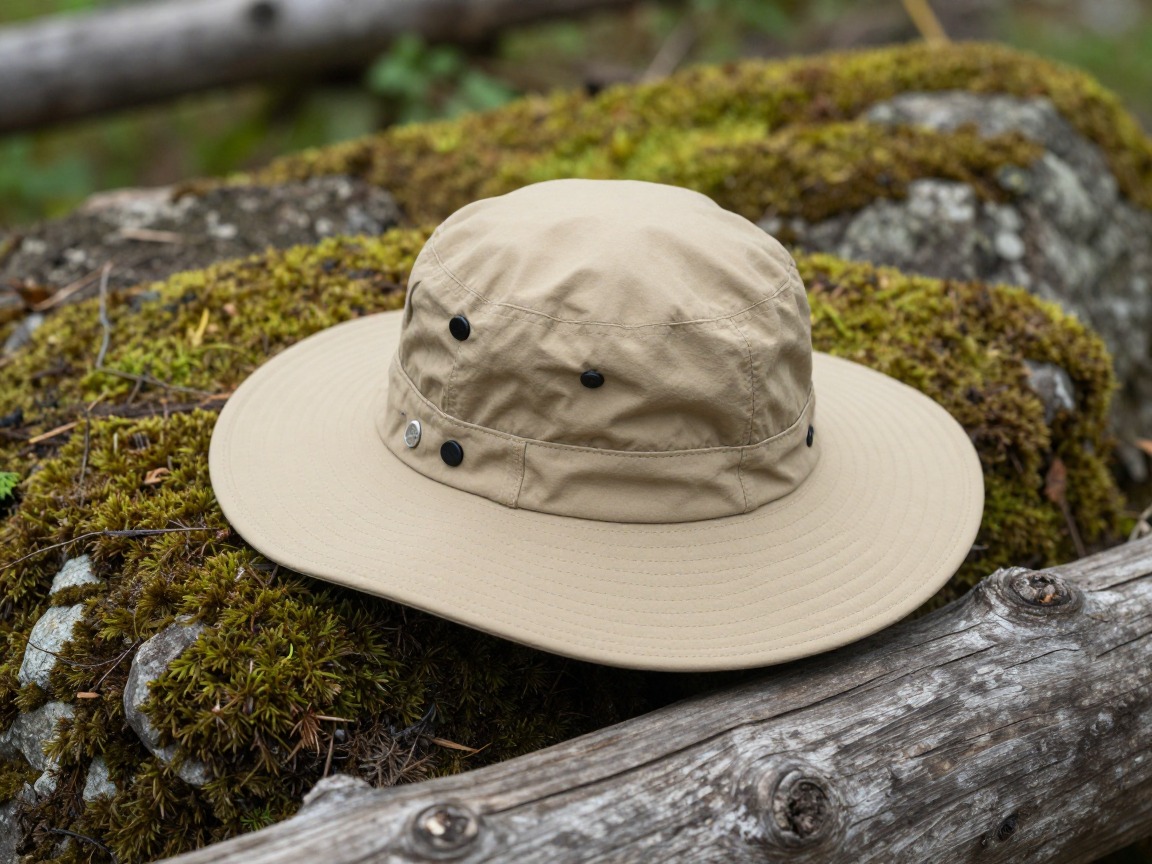
Sun protection — whatever you already own
A brimmed hat plus sunscreen; sun exposure adds up on exposed trails regardless of what the hat cost or where it came from.
What to look for: Any hat with a real brim, paired with sunscreen and an inexpensive pair of sunglasses. A dedicated hiking sun hat can wait until you know you'll wear it often enough to justify it.
 FURTALK Womens Sun Hat with Ponytail Hole Beach Hiking Summer Wide B Check price
 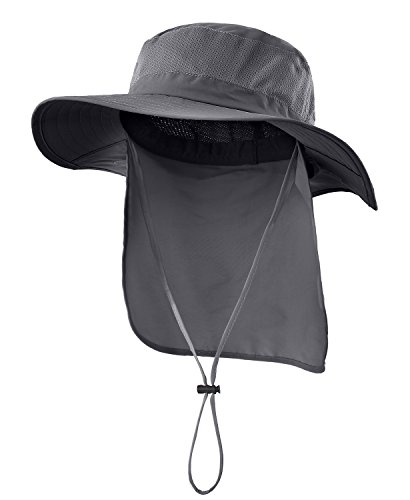 Home Prefer Outdoor UPF50+ Mesh Sun Hat Wide Brim Fishing Hat with N Check price
  FURTALK Sun Hats for Men Fishing Hat UPF Protection Wide Brim Bucket Check price
 - A moisture-wicking or athletic top and bottoms you already own
- A spare pair of socks kept in the bag
Footwear
Footwear is the other place worth real spending — fit problems here turn into blisters and a shortened hike fast, no matter how little the shoes cost.
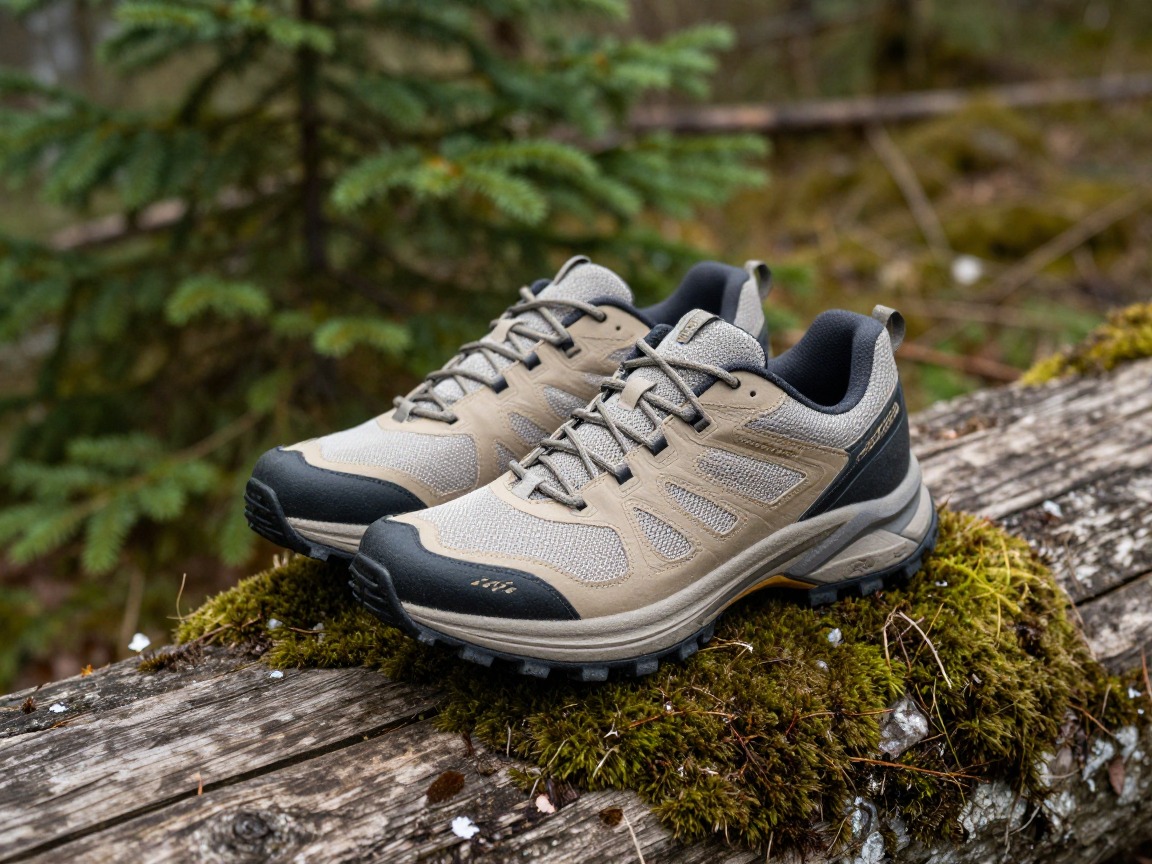
Trail shoes or trainers that actually fit
Supportive shoes with decent grip; for many day hikes on maintained trails, a well-fitted pair of athletic or trail shoes does the job without a full leather boot.
What to look for: Fit and a shoe you've already broken in beat anything discounted that pinches. Footwear is the one category worth buying new, or at minimum trying on in person first — a bad fit costs you the whole hike, budget or not.
 Saucony Men's Excursion TR14 Trail Running Shoe Check price
  Adidas Mens Terrex Tracefinder 2 Trail Running Check price
  Brooks Men’s Cascadia 19 Mountain Trail Running Shoe - Black/Black/E Check price
 Safety essentials — never the place to cut
This is the one section where 'budget' doesn't mean 'less.' Every item here is already inexpensive, so there's no real saving in leaving one behind.

Basic headlamp
Hands-free light for an unplanned late finish; a simple, inexpensive model does this job just as well as a premium one.
What to look for: A basic model with fresh batteries covers a day hike completely — no need for high lumens or rechargeable features yet. Keep it in the bag permanently so carrying it is never a decision.
 LHKNL Headlamp Flashlight Check price
  Lepro LED Headlamp Rechargeable IPX4 Waterproof Headlight 5 Modes - Check price
  Energizer LED Headlamp PRO Check price
Small first-aid kit
Covers blisters, cuts, and the small stuff that can otherwise end a hike early; a basic pre-made kit or one assembled from a pharmacy costs little and does the job.
What to look for: A compact kit with bandages, blister pads, and antiseptic wipes is all a day hike needs. Assembling your own from a pharmacy is often the cheapest route, and it teaches you exactly what's inside.
 Mini First Aid Kit - 150 Piece Small Waterproof EVA Hard Shell Case Check price
  Adventure Medical Kits Ultralight/Watertight Medical Kit .5 Check price
  211 PCS Waterproof First Aid Kit Check price
Trekking poles (optional, thrift-friendly)
Not required on flat, easy trails, but genuinely useful on any real descent; secondhand or off-brand poles hold up just as well as premium ones for casual use.
What to look for: Skip these for flat terrain and save the money entirely. For hillier trails, a secondhand or budget pair works fine — the grip and the locking mechanism matter far more than the brand name.
 Trekology Trek-Z Cork Grip Collapsible Lightweight Hiking Trekking P Check price
  Cascade Mountain Tech Trekking Poles Check price
  covacure Hiking Poles Check price
 - A map or a downloaded offline trail map on your phone
- A fully charged phone, with your route and expected return time shared with someone
- A whistle — even a free one already clipped to an old life jacket or bag
- Any personal medication you need
How to adapt this setup
Own nothing yet? Borrow a bag and rain jacket from a friend for your first hike or two, and spend only on non-cotton socks and a basic first-aid kit. Let a couple of real hikes tell you what's worth buying before you commit to anything bigger.
Check gear swaps, outdoor consignment shops, and online marketplaces for the pack, insulation, and trekking poles — none of these are fit-critical in the way footwear is. Save new purchases for footwear and anything worn directly against skin.
When you're ready to spend on a single item, properly fitted footwear or a supportive daypack tend to pay off the most. Everything else in this kit can happily stay secondhand or borrowed indefinitely.
Share what doesn't need doubling — one first-aid kit and one map between a small group is plenty, as long as everyone in the group knows who's carrying them and where.
Common mistakes to avoid
- Buying the cheapest option in every category, including the safety trio, instead of only the categories where inexpensive genuinely works fine.
- Skipping the rain jacket or warm layer to save money, then getting caught out once the weather turns.
- Buying secondhand footwear without checking fit and wear pattern in person — shoes are the one place secondhand can genuinely go wrong.
- Spending on a full kit before a single hike, instead of borrowing or improvising for the first few trips and letting real use guide purchases.
- Chasing a recognizable brand name instead of the function it performs — a well-fitted off-brand rain shell beats a stylish one that leaks.
- Treating a first-aid kit or headlamp as an optional extra to cut when trimming the budget, when both are already inexpensive and exactly the wrong place to save.
Make it yours
Frequently asked questions
What's the cheapest way to get started day hiking?
Use what you already own — a bag, athletic clothes, and sneakers — and spend only on the few cheap items that matter most: non-cotton socks, a basic headlamp, and a small first-aid kit. Borrow a rain jacket if you don't have one, and build from there after your first hike.
Which hiking gear is worth buying new, and what can I buy secondhand?
Buy footwear and socks new, or at least try footwear on in person, since fit matters most for anything worn on your feet. Packs, insulation layers, and trekking poles all work just as well secondhand, since none of them are fit-critical in the same way.
Is it safe to hike with secondhand or thrifted gear?
Yes, for most categories — a secondhand pack, fleece, or trekking poles perform the same as new ones. The one exception is footwear, where fit and wear pattern matter enough that trying it on in person, or buying new, is worth the extra effort.
Do I need to spend a lot on hiking boots?
No, but you do need them to fit well. For many maintained day-hike trails, a well-fitted, already broken-in pair of trail shoes or trainers works fine without a full leather boot. Prioritize fit and comfort over price or brand every time.
How can I avoid overspending on hiking gear?
Inventory what you already own before buying anything, fill real gaps secondhand or on sale first, and reserve actual spending for footwear, a rain shell, and the safety trio. Let a few real hikes tell you what's genuinely worth upgrading, rather than buying a full kit up front.
Illustrative images show the type of gear, not specific products. Recommendations link to similar items on Amazon; we only ever link real listings and never show fabricated prices or ratings. General planning guidance, not a substitute for your own judgment or professional backcountry-safety instruction.