
The blister-prone feet setup
Blisters end more hikes than any other single problem, and almost all of them are preventable. This kit is built around one goal: keep friction, moisture and heat off your feet before they ever become a hot spot, from the boots you choose down to the tape in your first-aid kit.

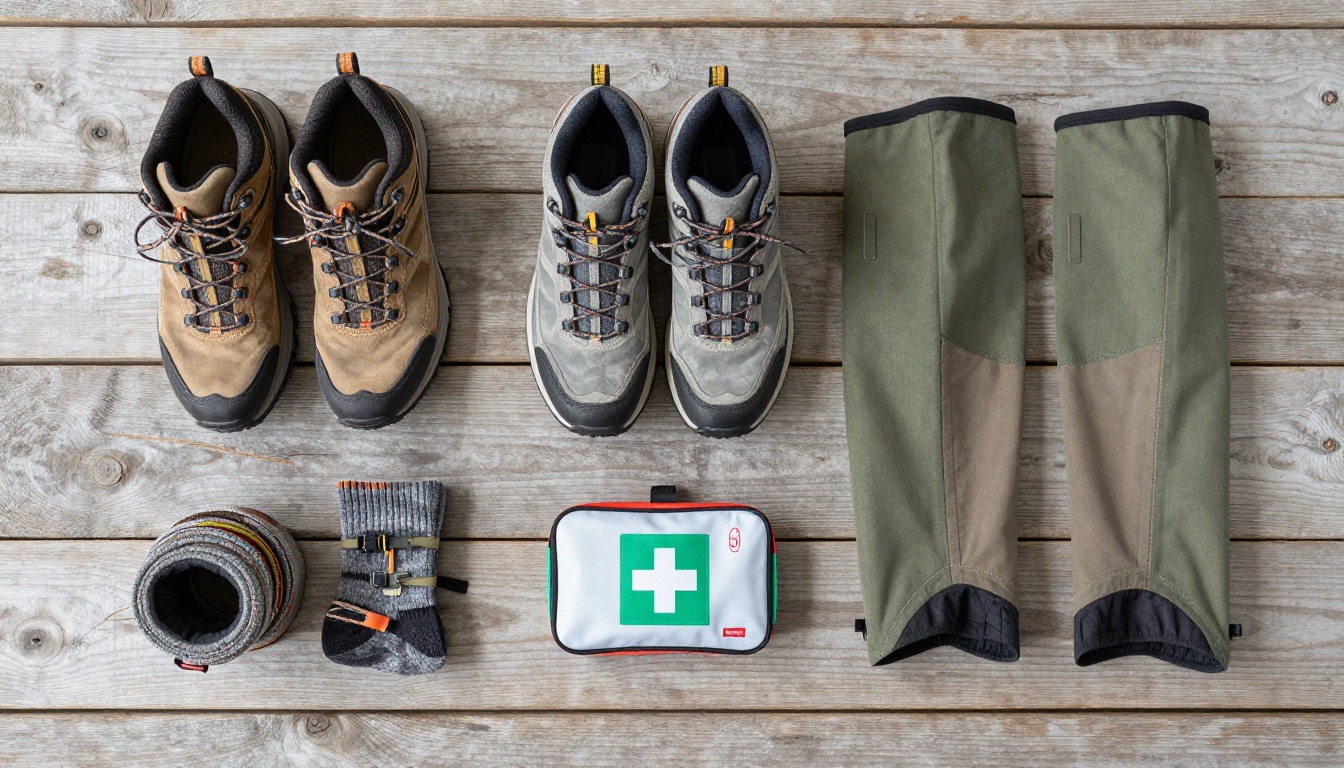
This setup treats blister prevention as a system, not a single product. Fit comes first — footwear that matches your foot shape and leaves room for normal swelling — because no sock or tape fixes a boot that's simply the wrong shape or size. From there, a two-layer sock system manages the moisture and friction that boots alone can't, and a dedicated foot-care kit handles the moment prevention isn't quite enough. The habit that ties it together matters as much as any item: stop and treat a hot spot the instant you feel it, before it becomes a blister that can end your day.
Built for hikers who blister reliably — on new boots, on hot or humid days, on long descents, or no matter what they've tried before. It suits day hikes and multi-day trips alike, since the fit and sock-system logic carries over either way. If your feet rarely give you trouble, the standard day-hike kit covers you fine. If blisters keep recurring despite good technique, or you have diabetes, neuropathy or another condition affecting foot sensation, see a podiatrist — this kit is for prevention and trailside care, not for diagnosing or treating an underlying foot problem.
- Start with footwear fit, not features: try boots or trail runners on later in the day when your feet are slightly swollen, and size up about half a size from your everyday shoe if you're between sizes.
- Build a sock system next — a thin wicking liner under a cushioned outer sock, or a purpose-made double-layer sock — so friction moves between the layers instead of against your skin.
- Pre-tape any spot that's blistered before and carry lubricant or anti-chafe balm for the rest, so friction management starts before you ever feel a hot spot.
- Pack a small, dedicated foot-care kit — tape, pads, scissors — and commit to the one rule that matters most: stop and treat a hot spot the second you notice it.
About this setup
Blisters are the single most common reason a good hike goes bad, and they're almost entirely mechanical: skin under repeated friction, heat and moisture separates into layers and fills with fluid. That means blister prevention isn't about toughening up your feet — it's about managing three things you can actually control on every hike: how well your footwear fits, how your socks handle moisture and friction, and how fast you react the moment a hot spot shows up.
Fit does more of the work than any product marketed specifically as blister-proof. A boot that's too short, too narrow, or too loose in the heel creates friction no sock system fully solves, which is why trying footwear on later in the day — after your feet have swollen the way they will on trail — and sizing up when in doubt matters more than any single feature. From there, a two-sock system or a purpose-built double-layer sock separates the two surfaces that actually rub, moving the friction to a seam between socks instead of straight onto skin.
The habit worth building above all others is stopping at the first hot spot — the warm, faintly stinging patch that shows up before a blister ever forms. Tape or a pad applied in that window usually stops it cold; the same spot ignored for another mile often turns into a blister that changes how you walk for the rest of the trip. If blisters keep showing up no matter how well you fit, sock and tape, that's worth a conversation with a podiatrist rather than more trial and error on trail — persistent foot problems deserve a professional look, not just a bigger first-aid kit.
Footwear that actually fits
Blister prevention starts with the boot or shoe, not the sock — a fit problem no sock system can fully solve.
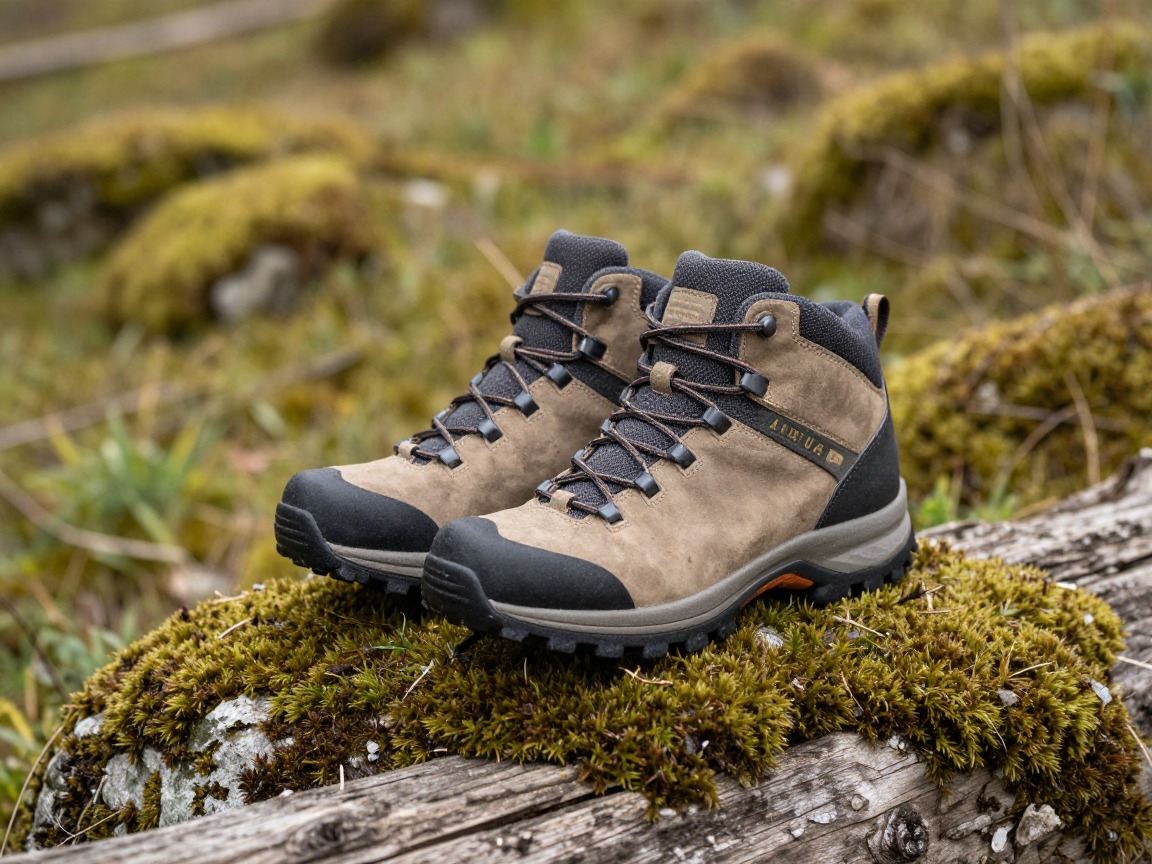
Properly fitted hiking boots
A boot with the right length, width and volume for your foot stops the internal slip that causes most heel and toe blisters, and ankle support helps on uneven ground where your foot shifts inside the boot with every step.
What to look for: A thumb's width of space ahead of your longest toe, a heel that doesn't lift when you walk, and enough volume for your foot to swell over a long day. Try boots on later in the day, in the socks you'll actually hike in, and size up about half a size from your street-shoe size if you're between sizes.
 Columbia Men's Transverse Waterproof Hiking Boot Check price
  NORTIV 8 Men's Ankle High Waterproof Hiking Boots Check price
  Columbia Mens Transverse Waterproof Hiking Boot Check price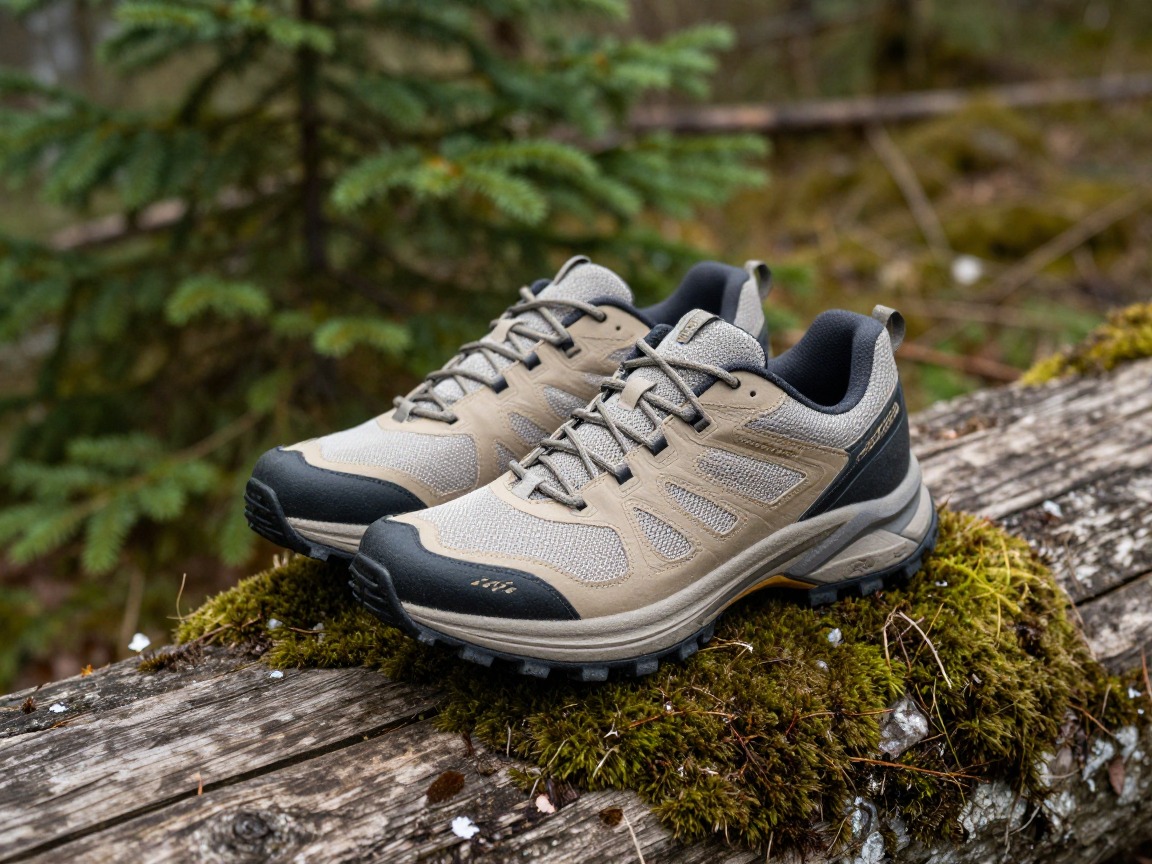
Trail runners
A lower-cut, more flexible shoe that many blister-prone hikers do better in — less structure means less rubbing at the ankle collar, and a roomier toe box on most models leaves toes space to splay instead of jam together.
What to look for: A wide toe box, a snug but not tight midfoot and heel, and a tread that suits your terrain. If boots have never stopped your blisters despite good fit, a trail runner is worth trying before assuming your feet are simply blister-prone.
 Saucony Men's Excursion TR14 Trail Running Shoe Check price
  Adidas Mens Terrex Tracefinder 2 Trail Running Check price
  Brooks Men’s Cascadia 19 Mountain Trail Running Shoe - Black/Black/E Check price
 - Break in new footwear on several short walks before a long hike — never debut boots or trail runners on trail day
- Learn a heel-lock (runner's) lacing technique to stop the heel slip on descents that causes friction blisters
- Re-lace at the first sign of discomfort rather than pushing on and hoping it settles
Sock system
A liner-and-outer sock system, or a purpose-built double-layer sock, moves friction between the layers instead of against your skin.
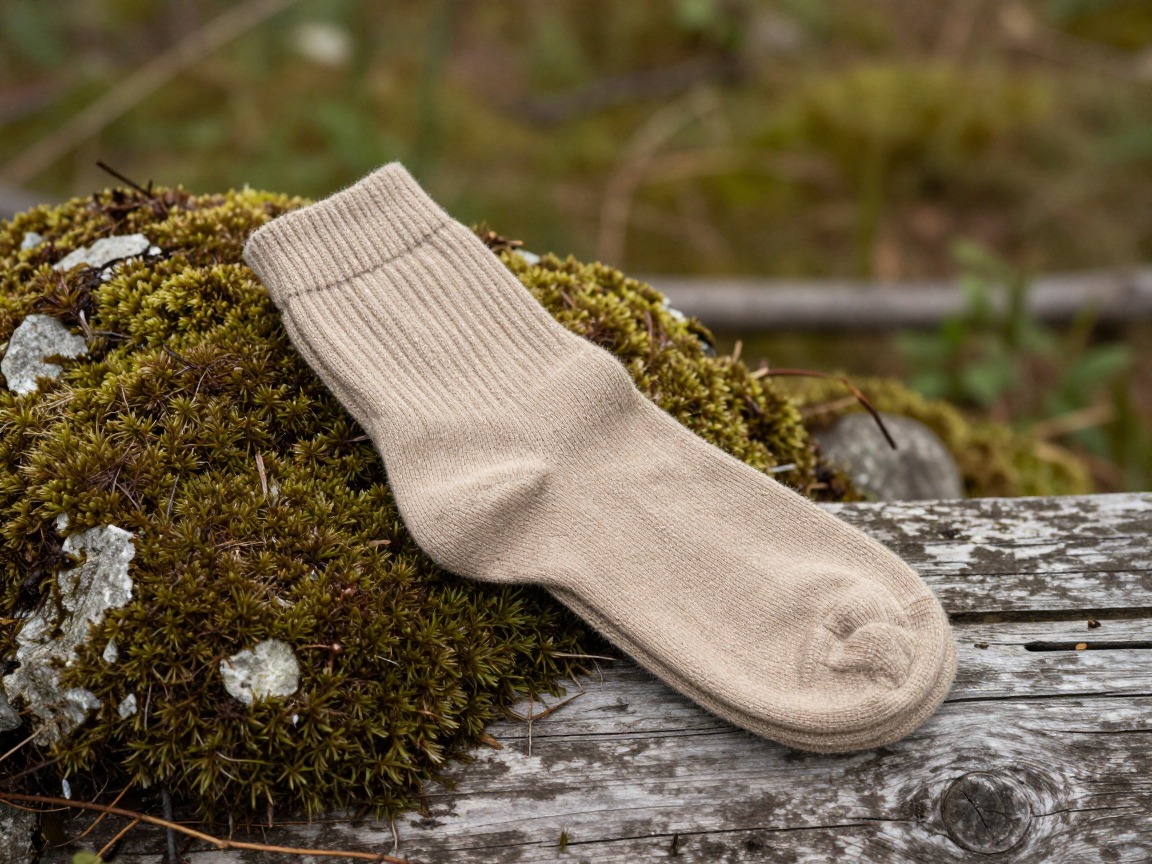
Thin liner socks
A thin, snug-fitting liner worn under your regular hiking sock wicks sweat off skin and lets the two sock layers slide against each other instead of your skin sliding against the sock.
What to look for: A snug, wrinkle-free fit with a smooth toe seam, in a synthetic or fine wool blend that dries fast. It should feel like a second skin, not add bulk inside your boot.
 Alvada Merino Wool Hiking Socks Thermal Warm Crew Winter Boot Sock F Check price
  DANISH ENDURANCE Merino Wool Socks for Men & Women Check price
  innotree 3 Pack Men's Merino Wool Hiking Socks Check price
 Cushioned outer socks
A wool or synthetic-blend hiking sock worn over the liner adds cushioning at the heel and ball of the foot, the two spots that take the most impact and friction.
What to look for: Wool or a wool blend over cotton, extra cushioning at the heel and forefoot, and a snug fit through the arch with no bunching. Go a touch thicker on the outer sock if your boots have room to spare.
Alvada Merino Wool Hiking Socks Thermal Warm Crew Winter Boot Sock F Check price DANISH ENDURANCE Merino Wool Socks for Men & Women Check price innotree 3 Pack Men's Merino Wool Hiking Socks Check price - A spare pair of dry socks to change into at lunch or the moment a pair feels damp
- Skip cotton entirely — it holds moisture against skin and multiplies friction rather than reducing it
Keeping feet dry
Moisture softens skin and multiplies friction, so keeping feet dry does almost as much work as the socks themselves.
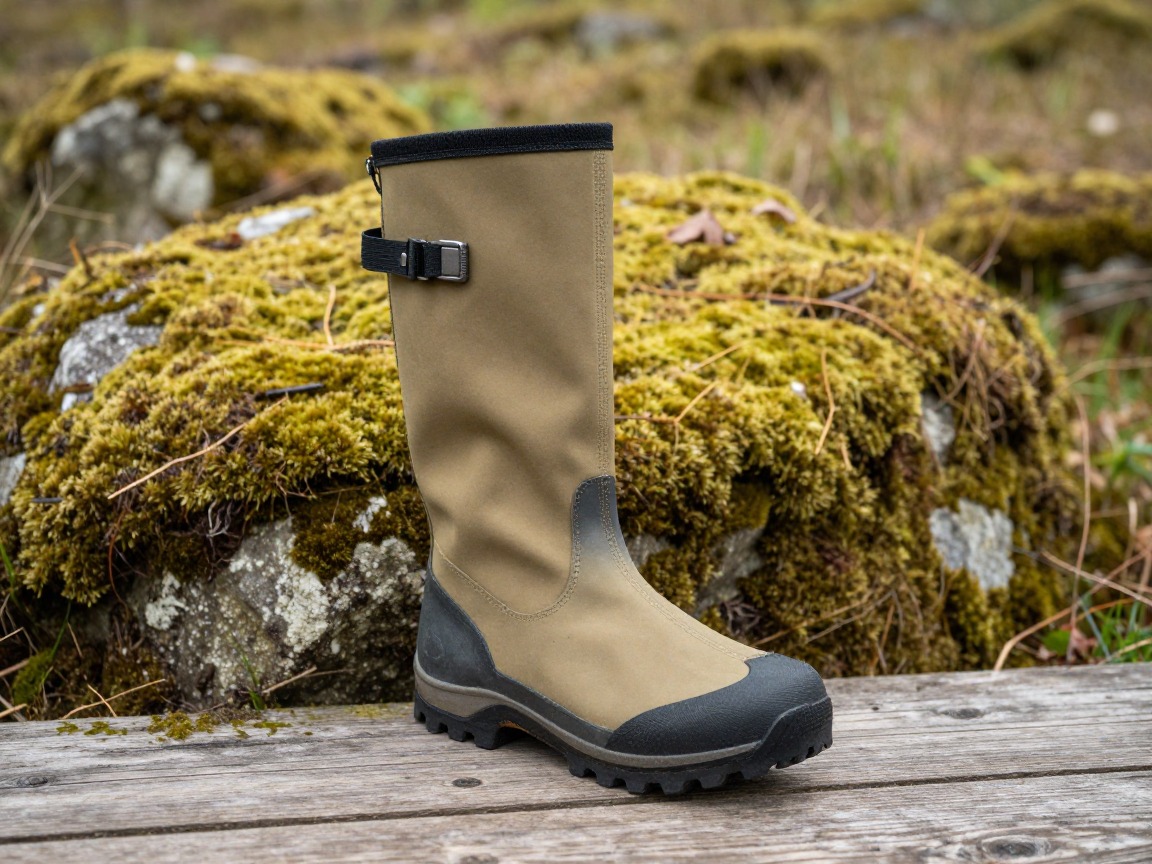
Low or trail gaiters
Keep trail dust, grit and water out of your boots — debris inside a boot creates its own friction point regardless of how good your sock system is.
What to look for: A low, breathable gaiter for dry trail dust and grit, or a taller waterproof one for wet terrain, mud or light snow. Look for a durable under-boot strap that sits flat without chafing.
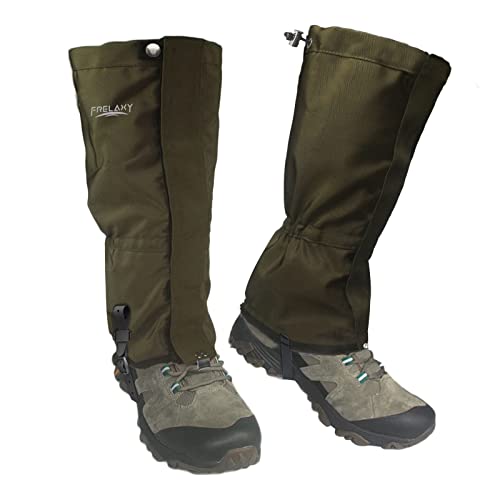 Frelaxy Leg Gaiters 100% Waterproof Hiking Gaiters Check price Frelaxy Ultra High-Performance Hunting Gaiters Check price
 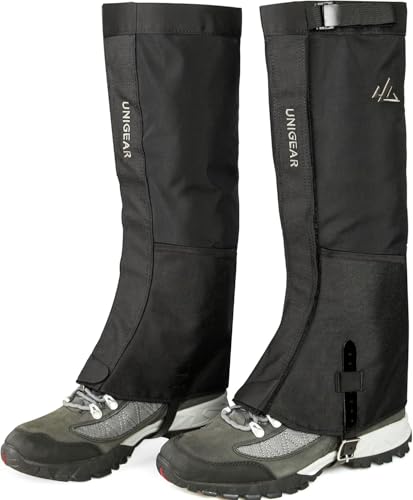 Unigear Leg Gaiters Check price
 - Rinse and dry feet at a stream crossing or break rather than hiking on wet socks for hours
- Ventilate boots and liners overnight on multi-day trips instead of packing them away damp
- Lightweight camp shoes or sandals so feet can air out completely at rest stops and in camp
Blister prevention & foot-care kit
A small, dedicated kit for taping hot spots before they start and treating the ones that get through anyway.

Foot-focused first-aid kit
A first-aid kit built around feet specifically — tape, pads and small tools — rather than a generic kit with a couple of bandages tucked in.
What to look for: Enough tape and pads to treat more than one hot spot, small blunt-tip scissors that cut tape cleanly, and room to restock after a trip that used it. Learn what's in it and how to use it before you need it on trail.
 Mini First Aid Kit - 150 Piece Small Waterproof EVA Hard Shell Case Check price
  Adventure Medical Kits Ultralight/Watertight Medical Kit .5 Check price
  211 PCS Waterproof First Aid Kit Check price
 - Zinc oxide tape or a kinesiology tape like Leukotape to pre-tape any spot that's blistered before, applied before you start walking
- Blister lubricant or anti-chafe balm on heels, toes and arches before setting out
- Foot powder or antiperspirant on hot, sweaty-foot days to cut moisture and friction
- Hydrocolloid blister pads or moleskin to treat a hot spot the moment you feel it
- Toenail clippers — trimmed, filed nails catch on sock fabric less and cause fewer blisters
How to adapt this setup
Heat and sweat soften skin fast, so lean harder on foot powder or antiperspirant, change socks at breaks, and consider a more breathable trail runner over an insulated boot.
Pack enough spare socks to rotate a dry pair daily, ventilate boots overnight rather than sealing them in a pack, and restock your tape and pads if the trip runs longer than a weekend.
A liner-and-outer sock system still applies, but add a waterproof gaiter and dry your feet at every real opportunity — wet, cold skin blisters just as easily as wet, hot skin.
Trail runners over boots keep weight down, but don't skip the sock system or foot-care kit to save grams — foot problems cost far more time on trail than a few ounces ever will.
If good fit, socks and taping still aren't enough, see a podiatrist. Persistent blistering, especially with diabetes, neuropathy or poor circulation, calls for professional care beyond anything in a packing list.
Common mistakes to avoid
- Buying boots by street-shoe size instead of trying them on later in the day, in hiking socks, when feet are slightly swollen.
- Wearing cotton socks, or a single sock layer, when a liner-and-outer system would move friction off your skin.
- Debuting new boots or trail runners on a long hike instead of breaking them in on short walks first.
- Ignoring the first hot spot and hoping it 'walks off' instead of stopping to tape or pad it immediately.
- Packing a generic first-aid kit with no blister-specific tape, pads or lubricant in it.
- Hiking all day in wet socks instead of changing into a dry pair or airing feet out at a break.
Make it yours
Frequently asked questions
What's the best way to prevent blisters when hiking?
Start with footwear that genuinely fits — tried on later in the day, with room to swell — then add a liner-and-outer sock system and pre-tape any spot that's blistered before. Stop and treat a hot spot the moment you feel it; that single habit prevents more blisters than any product.
Should hiking boots be a half size bigger?
Often yes, especially if you're between sizes — feet swell over a long day, and a boot with a thumb's width of room ahead of your longest toe leaves space for that without your toes jamming forward on descents. Try boots on in the afternoon and in your hiking socks to judge fit accurately.
What's a good sock system for blister-prone feet?
A thin, moisture-wicking liner sock worn under a cushioned wool or synthetic outer sock is the classic combination — the two layers slide against each other instead of your skin sliding against the sock. A purpose-built double-layer sock does the same job in one piece.
What should I do the moment I feel a hot spot?
Stop walking and treat it right away — tape over it with zinc oxide or kinesiology tape, or cover it with a hydrocolloid pad, before it becomes a full blister. A minute of trailside taping now is far cheaper than an hour of limping later.
Are trail runners better than boots for preventing blisters?
Not universally, but many blister-prone hikers do better in them — less structure around the ankle means less rubbing, and many models have a roomier toe box. If boots have never worked for your feet despite good fit, a well-fitted trail runner is worth trying. For ongoing or severe foot problems, a podiatrist can help beyond what any packing list covers.
Illustrative images show the type of gear, not specific products. Recommendations link to similar items on Amazon; we only ever link real listings and never show fabricated prices or ratings. General planning guidance, not a substitute for your own judgment or professional backcountry-safety instruction.