
The birdwatching hike setup
A birdwatching hike runs on a different clock than a regular day hike — short distances, long stops, and a premium on staying quiet and comfortable while you wait. This is a complete setup for that kind of morning, explained piece by piece: what each item is for, why the kit is built this way, and how to shape it into your own.

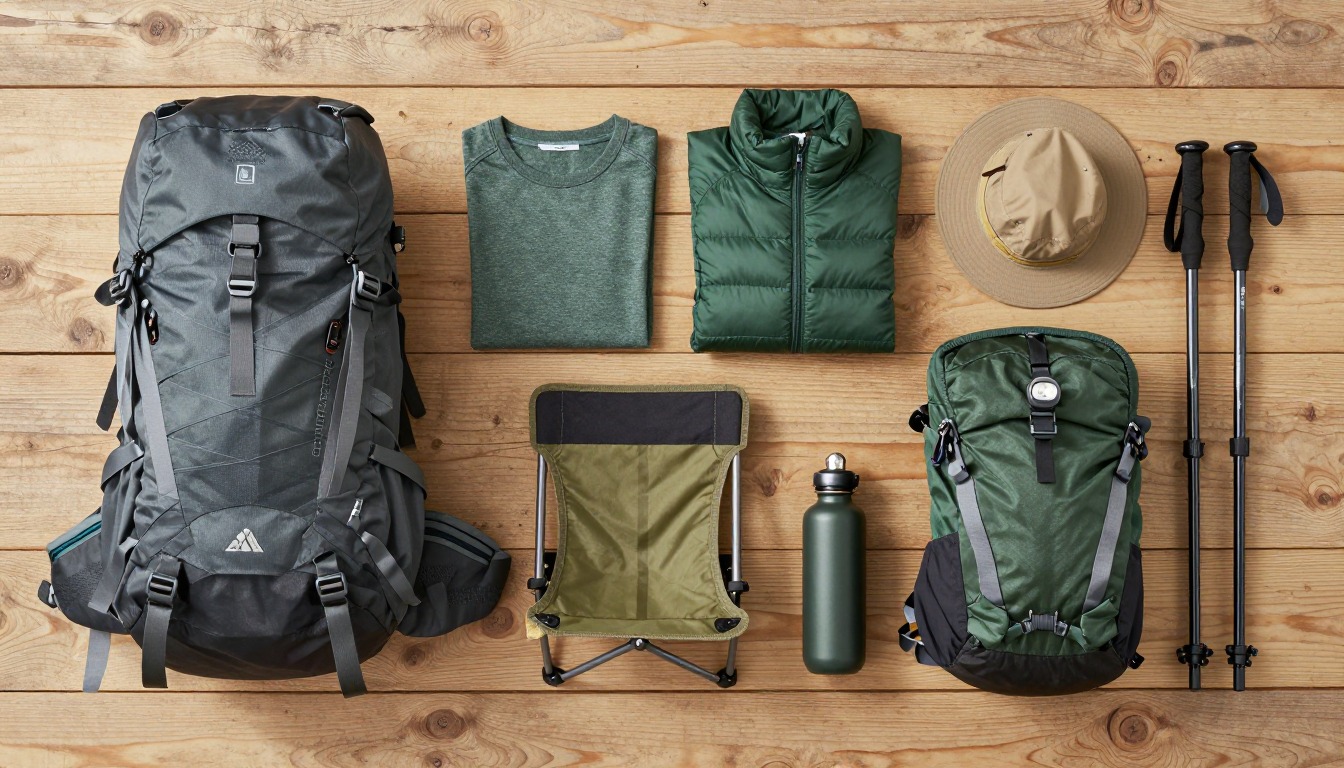
This kit is built around patience and stealth rather than mileage. A birding hike might cover a single mile in three hours, so everything here supports standing, sitting and waiting in comfort rather than covering ground: optics and a way to identify what you're seeing, clothing that doesn't draw attention or make noise, and enough warmth and a place to sit that you're never the one who decides it's time to move on. A light daypack carries all of it without ever feeling like a burden.
This setup suits anyone heading out for a slow morning or evening of birding on established trails — a local wetland, a woodland edge, or a stakeout along a feeder trail. It's built for a walk-and-stop pace rather than covering distance. If you're planning a longer hike where birding is secondary to mileage, lean toward a standard day-hike kit and add binoculars on top.
- Start with the pack and keep it small — 15–20 L is plenty once you're not carrying a full day hike's worth of layers and food.
- Add your optics and ID tools first, since they're the reason for the trip: binoculars, a field guide or app, and a way to log what you see.
- Layer in quiet, muted clothing and enough warmth to stand still, not just to walk.
- Finish with a sit pad, a warm drink and a reliable light for the early start, then practice moving slowly and pausing often.
About this setup
Birdwatching hikes run on a different clock than most day hikes. Where a regular hike rewards covering ground, a good birding outing rewards covering almost none of it — walking a short stretch, then stopping, standing and waiting for the trail to come back to life around you. That single difference reshapes the whole kit: less about carrying capacity, more about staying warm and comfortable while stationary, and staying quiet enough that the birds don't clear out before you arrive.
The two things that matter most are optics and stealth. A pair of binoculars turns a distant shape in the canopy into an actual bird, and a field guide or app turns that bird into a species you can name and remember — between them, they're the entire point of the trip. Everything else in this kit exists to support long stretches of standing and looking: warm layers so cold doesn't cut the sit short, muted colors and quiet fabrics so you don't announce yourself, and a place to sit so ten minutes of waiting doesn't turn into an aching back.
Timing adds one more layer. Bird activity is typically heaviest in the first couple of hours after sunrise and again toward dusk, which is why a dependable headlamp for the walk in matters more here than on an ordinary day hike. None of this requires specialized backcountry skills — it's a normal, short day hike with a different rhythm, built around patience rather than pace.
The pack
A light 15–20 liter daypack is plenty — a birding hike is short on miles and long on standing still, so a quiet, comfortable carry matters more than capacity.
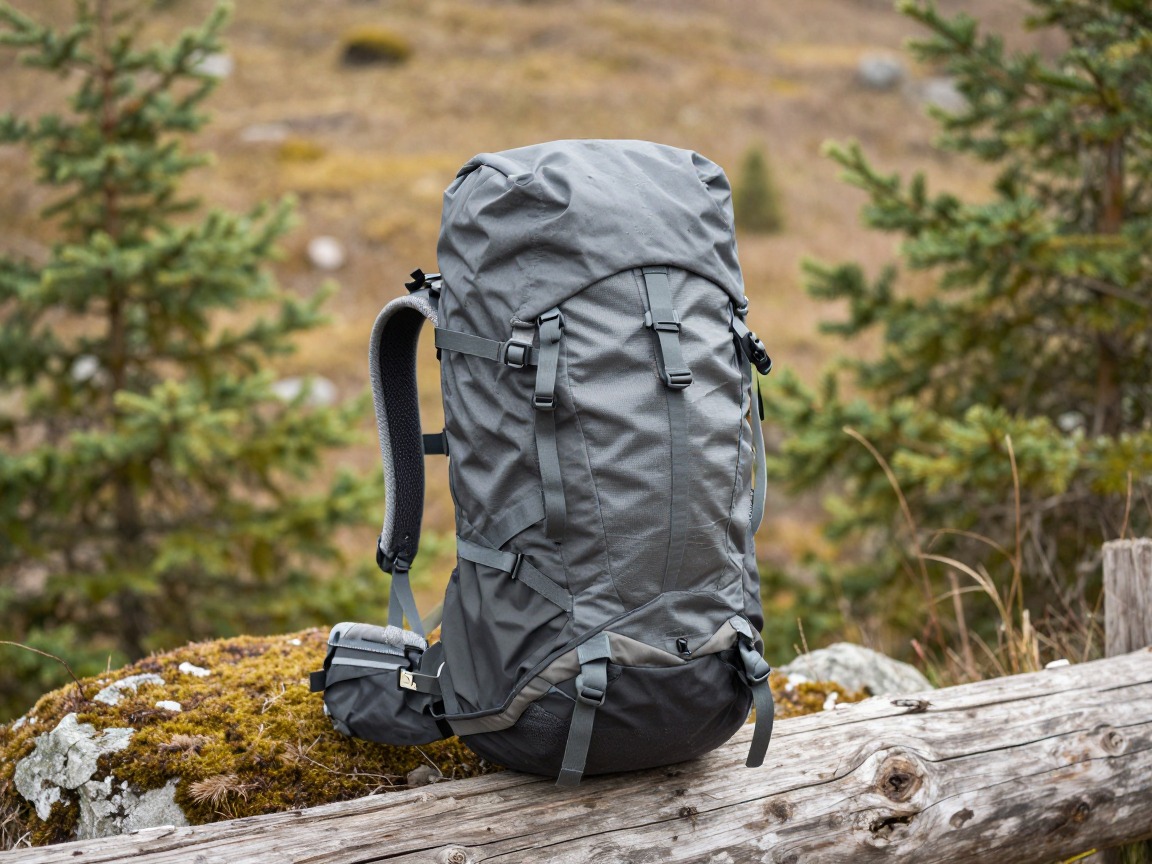
A light daypack
Carries your optics, a spare layer and snacks for a slow morning on the trail; nothing about a birding hike calls for a bigger pack.
What to look for: A quiet fabric that doesn't rustle with every arm swing, external pockets you can reach without taking it off, and 15–20 L for most outings. Fit and hush matter more than any feature list.
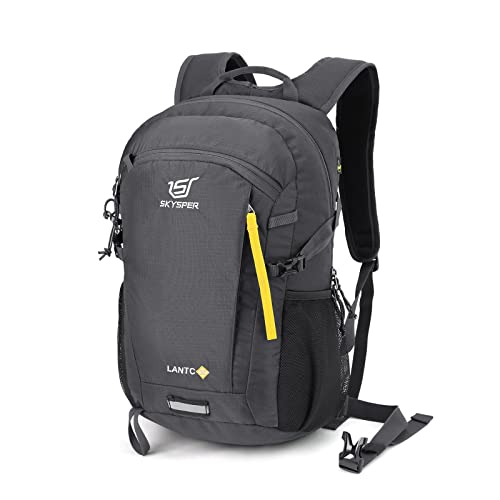 SKYSPER Small Hiking Backpack Check price
  Osprey Sportlite 20L Lightweight Hiking Backpack Check price
 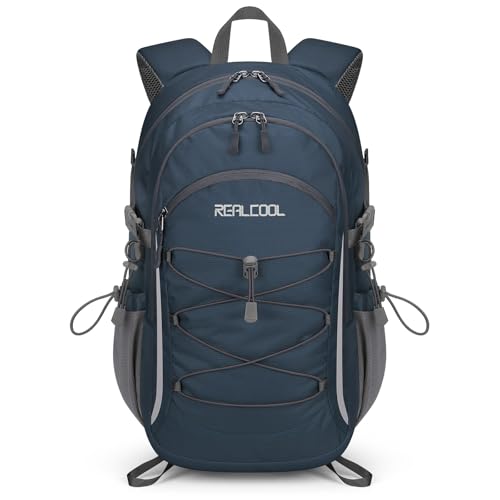 RealCool 20L Lightweight Hiking Backpack Check price
 Optics & field ID
Binoculars and a way to identify what you're looking at do more for a birding hike than anything else in the pack.
- Binoculars — the single most important piece of gear for this hike
- A field guide or a birding ID app, with any offline data downloaded before you leave cell coverage
- A small notebook and pencil for sightings, or a voice-memo app
- A lens cloth for damp, dewy mornings
Quiet, muted clothing
What you wear either helps you fade into the treeline or announces you a hundred yards out — muted colors and quiet fabrics matter as much as warmth.

Quiet base layer
A soft, non-rustling layer in muted greens, browns or grays keeps you from standing out — or sounding out — against the birds you're trying to get close to.
What to look for: Earth tones over bright colors, a soft-finish fabric that doesn't swish with every step, and enough wicking to stay comfortable through long stretches of standing still.
 100% Merino Wool Base Layer Men Set - Thermal Underwear for Men Long Check price
  Merino.tech Merino Wool Base Layer Women Set - Heavyweight Check price
  100% Merino Wool Base Layer Men Set - Thermal Long Underwear with Ba Check price
Warm layer for standing still
Birding means long stops rather than steady walking, so you cool down fast; a packable warm layer is what lets you stay put for the good sighting instead of moving on to warm up.
What to look for: More warmth than you'd pack for a moving hike of the same length — you'll wear it far more often standing at a blind or a pond edge than walking. Muted color over anything bright.
 Outdoor Ventures Women's Packable Lightweight Puffer Jacket with Hoo Check price
  Amazon Essentials Women's Lightweight Long-Sleeve Water-Resistant Pa Check price
  Outdoor Ventures Women's Packable Lightweight Puffer Jacket with Hoo Check price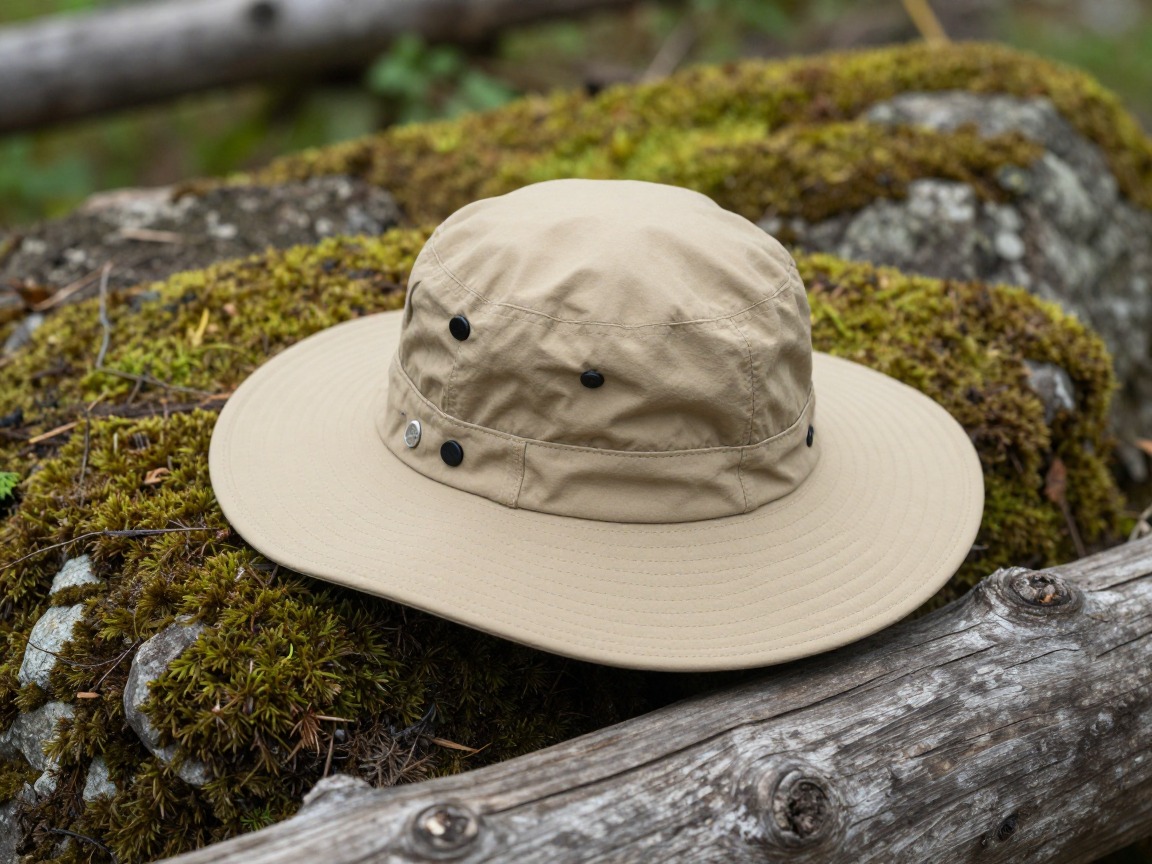
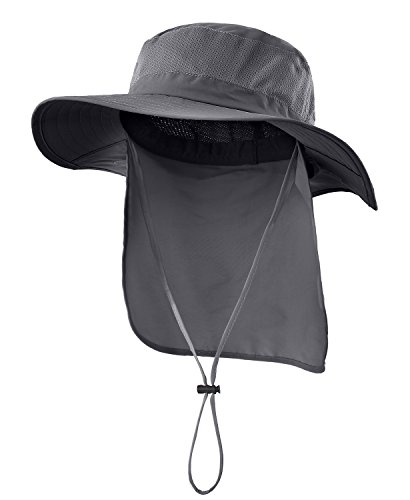
Brimmed hat, muted color
Shades your face and, just as important for birding, dulls the pale oval of a face tipped straight up into the canopy at a bird overhead.
What to look for: A soft brim in a dull color rather than bright, breathable fabric, and a chin cord so it doesn't blow off when you tip your head back to track something.
 FURTALK Womens Sun Hat with Ponytail Hole Beach Hiking Summer Wide B Check price
  Home Prefer Outdoor UPF50+ Mesh Sun Hat Wide Brim Fishing Hat with N Check price
  FURTALK Sun Hats for Men Fishing Hat UPF Protection Wide Brim Bucket Check price
Packable rain shell
Weather can turn while you're standing still for an hour at a stakeout — a light shell means a passing shower doesn't end the sit early.
What to look for: A quiet-fabric shell rather than anything crinkly that rustles with every arm movement, in a muted color, packed small enough that you always bring it.
 UIQUR Mens Rain Jacket Raincoat Waterproof Windbreaker Black L Check price
  COOFANDY Men's Waterproof Hiking Travel Shell Breathable Rain Jacket Check price
  Columbia Womens Arcadia II Waterproof Rain Jacket Check price
 - Gloves for cold, still mornings
- Quiet-soled shoes rather than anything that squeaks or crunches loudly
- Neutral pants or shorts — avoid noisy synthetic wind pants
Patience gear
Good birding is mostly waiting well — a place to sit, a warm drink and a snack turn ten minutes of standing into an hour of watching.
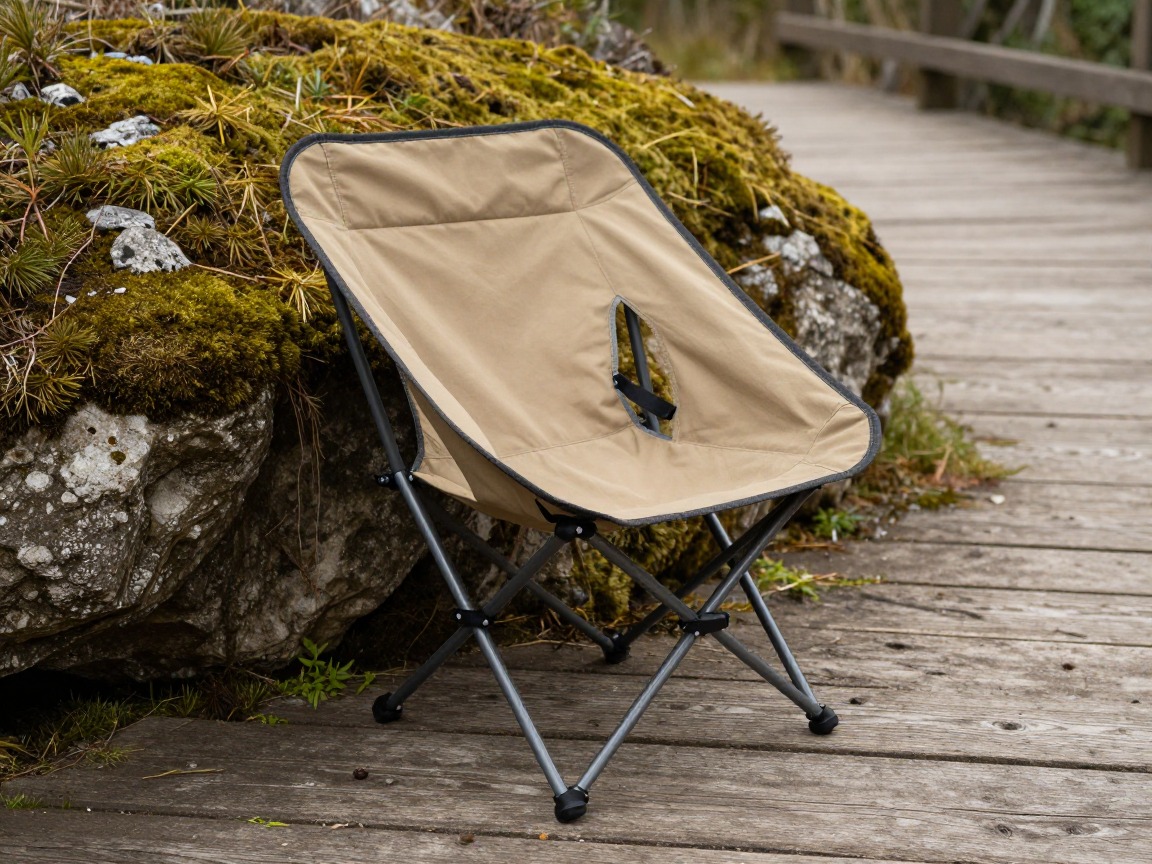
Sit pad or camp stool
Something low, light and quick to set down turns a damp log or wet ground into a place you're happy to wait on for as long as it takes.
What to look for: Light enough that you'll actually carry it, a seat that keeps you off wet or cold ground, and quick to set up and fold away without a production.
 ONETIGRIS Tigerblade Camping Chair Check price
  ONETIGRIS Tigerblade Camping Chair Check price
  MOON LENCE Portable Camping Chair Backpacking Chair - The 4th Genera Check price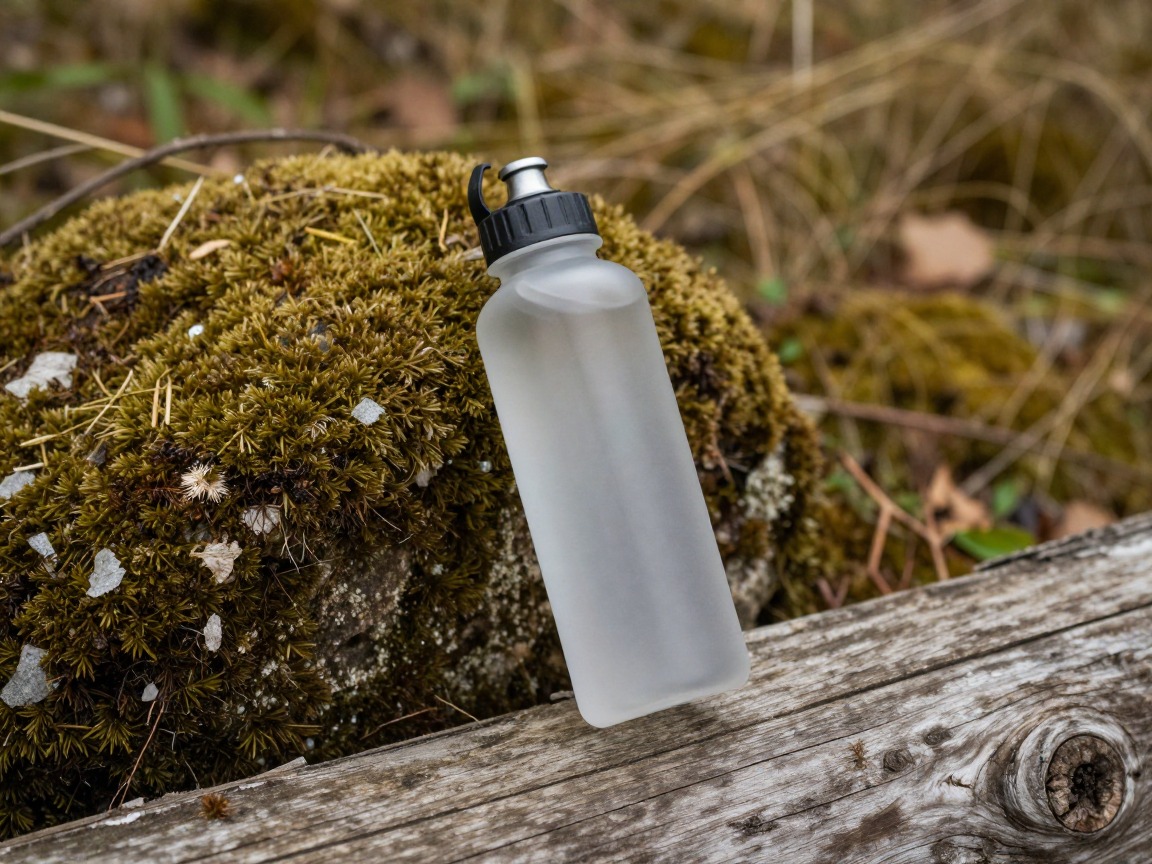
Water bottle or thermos
Standing still in the cold burns almost no calories to keep you warm, so a hot drink does real work — and plain water still matters on longer outings.
What to look for: An insulated bottle if you're out in the cool of early morning, wide-mouthed if you're also using it for tea or soup, and a size matched to how long you plan to sit.
 Nalgene 32 oz Wide Mouth Water Bottle Check price
  Nalgene 32 oz Wide Mouth Water Bottle Check price
  Nalgene 32 oz Wide Mouth Water Bottle Check price
 - High-energy snacks that don't need loud unwrapping
- A light packable blanket or extra layer to sit on
Early starts & moving softly
Birds are most active at first light, so a reliable light for the walk in — and habits that keep you quiet on the trail — matter more here than on an ordinary day hike.

Headlamp
Gets you to the trailhead or the blind before sunrise, when bird activity peaks — arguably the most-used piece of gear on this hike outside your optics.
What to look for: A dim, adjustable low setting for walking in without blinding your own night vision or startling wildlife, plus a stronger mode for the walk out. A red-light mode helps preserve night vision.
 LHKNL Headlamp Flashlight Check price
  Lepro LED Headlamp Rechargeable IPX4 Waterproof Headlight 5 Modes - Check price
  Energizer LED Headlamp PRO Check price
Trekking poles (optional)
Useful for picking a slow, careful line over roots and creek banks without the stumbles and snapped twigs that scatter birds well before you arrive.
What to look for: Adjustable length, rubber tips for quiet, controlled placement instead of a metal click on rock, and light enough that you're not tempted to leave them behind.
 Trekology Trek-Z Cork Grip Collapsible Lightweight Hiking Trekking P Check price
  Cascade Mountain Tech Trekking Poles Check price
  covacure Hiking Poles Check price
 - Phone silenced, camera shutter sound off
- A small first-aid kit and any regular medication
- A plan to move in short stints and pause often rather than walking continuously
How to adapt this setup
Mudflats and marsh edges mean more standing in one place on soft ground — add gaiters or waterproof footwear if it's genuinely wet underfoot, and expect to lean on your binoculars more than your legs.
Dense cover rewards patience over gear — the pack barely changes, but move even slower, use pauses to let the woods settle, and lean on call and song ID in your app as much as on sight.
Add a warmer insulating layer, gloves and a hat, and lean on the thermos — you'll be standing still in the coldest part of the day, which is a different problem from walking through it.
Keep the group small and spread the noise budget thin — fewer conversations, softer footfalls, and a shared understanding to pause and freeze rather than point and chatter.
Covering more ground between stakeouts? Add extra water and snacks and treat it like a light day hike with birding stops, rather than a birding hike with occasional walking.
Common mistakes to avoid
- Bright colors or noisy, crinkly fabrics that give you away before the birds do.
- Skimping on the warm layer because you're 'just standing still' — that's exactly when you get cold fastest.
- Talking, phone notifications, or an unmuted camera shutter that clears the area before you get a good look.
- Walking continuously instead of pausing often — birds settle back into activity once you stop moving.
- Leaving the field guide or app at home and coming back unsure what you actually saw.
- No headlamp for the walk in, so you start too late and miss the best activity of the morning.
Make it yours
Frequently asked questions
What do I need to pack for a birdwatching hike?
A light daypack, binoculars, a field guide or birding app, quiet muted clothing, a warm layer for standing still, a sit pad, a snack or hot drink, and a headlamp for an early start. It's a normal short day hike built around patience rather than mileage.
What should I wear birdwatching?
Muted, earth-toned clothing in a soft fabric that doesn't rustle, plus a brimmed hat in a dull color rather than anything bright or reflective. Comfort for standing still matters as much as comfort for walking.
Do I need a spotting scope to go birdwatching?
No — a good pair of binoculars covers the large majority of birding, especially on foot in wooded or mixed terrain. A scope helps for distant birds over open water or mudflats, but it's an add-on, not a requirement to start.
How early should I start a birdwatching hike?
Aim to be on the trail before or right at sunrise, since bird activity is typically heaviest in the first couple of hours of daylight and again near dusk. A reliable headlamp makes that early start easy rather than risky.
How do I avoid scaring birds away while hiking?
Move in short stretches and pause often instead of walking continuously, keep noise to a minimum — voices, phones, gear rattling — and wear muted colors and quiet fabrics. Patience matters more than any single piece of gear.
Illustrative images show the type of gear, not specific products. Recommendations link to similar items on Amazon; we only ever link real listings and never show fabricated prices or ratings. General planning guidance, not a substitute for your own judgment or professional backcountry-safety instruction.