
The beginner backpacking starter kit
Your first night in the backcountry doesn't call for a garage full of new gear. This starter kit is built around borrowing or renting the big three, spending real money only on what keeps you safe, and picking a short, close-to-home trip to find out if backpacking is for you.

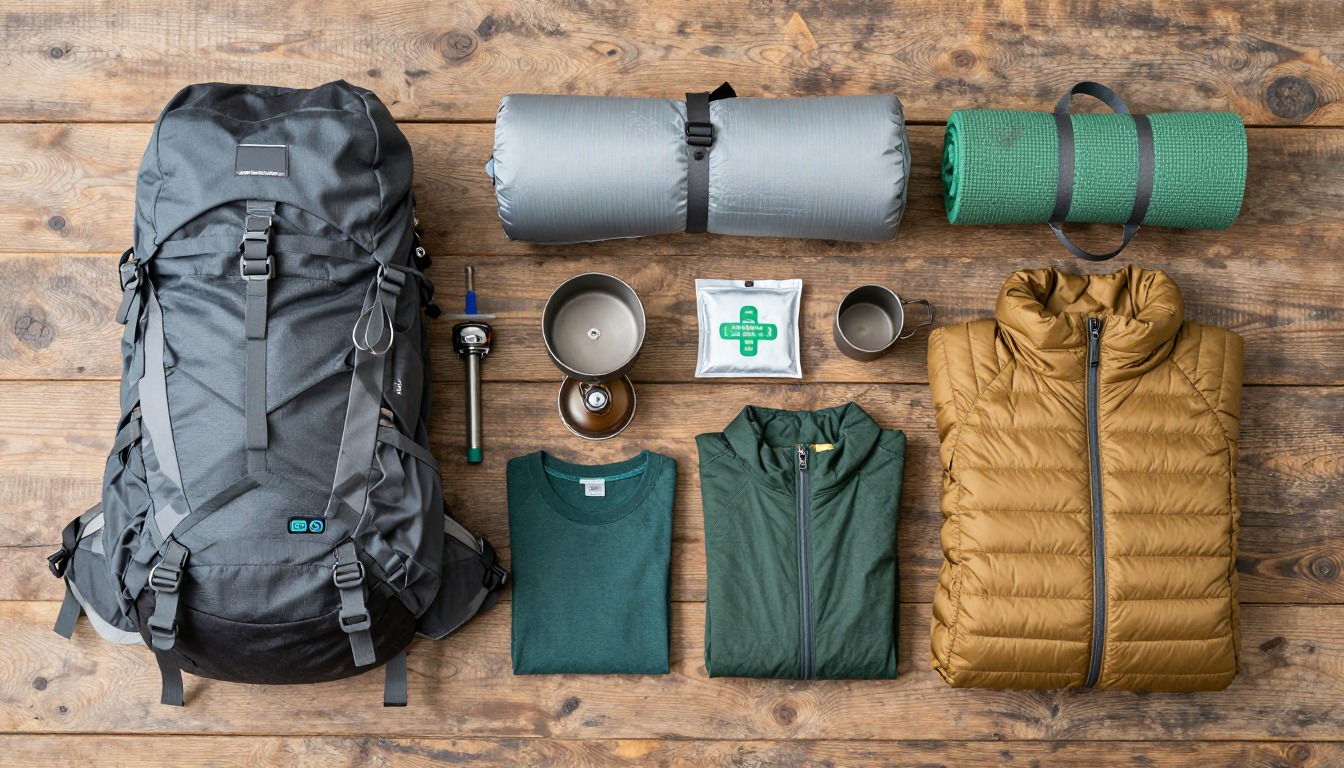
A first overnight is a test, not a commitment, so the smartest kit is the one that costs the least to find out whether backpacking suits you. Borrowing or renting the big three — pack, tent and sleeping bag — lets you try the whole system without buying anything you might use only once. What you do spend on goes toward the layer that actually keeps you safe and reasonably comfortable: a headlamp, a first-aid kit, a way to treat water, and real rain protection. None of that needs to be expensive to work, and none of it should be skipped to save a few dollars.
This kit suits someone who has never spent a night outside a tent in the backcountry and isn't sure yet whether backpacking is for them — someone about to try it for the first time on a short, well-traveled trail close to home. If you already own a pack, tent and sleeping bag, or you know you love this and are planning your second or third trip, the overnight backpacking or weekend backpacking setups are a better fit. If you're chasing the lightest possible kit, this isn't the place to start — get one night under your belt first.
- Borrow or rent the big three first — a pack, tent and sleeping bag from a friend, family member or local outfitter — before buying any of them yourself.
- Spend your actual budget on the safety layer: a headlamp, a first-aid kit, a way to treat water, and a real rain shell. These are the items worth buying new.
- Pick a short, well-traveled trail close to home for trip one, so a gear gap or a change of plans is never more than an hour from the car.
- Weigh the finished pack, cut anything you added 'just in case,' and treat this trip as the test that tells you what to actually buy next.
About this setup
Most people who try backpacking for the first time already own more of the kit than they think — hiking clothes, a rain jacket, maybe trekking poles from a past trip. The gap is almost always the big three: a backpack big enough to carry an overnight load, a tent, and a sleeping bag rated for actually sleeping outside. Buying all three before you know if you'll use them again is how gear closets end up full of once-used equipment. Borrowing or renting solves that problem completely for trip one.
The items worth buying outright are the ones that keep you safe rather than comfortable: a headlamp, a first-aid kit, a way to treat water, and a rain shell that actually works. None of these need to be expensive — a basic headlamp and a simple squeeze filter do their job just as well as a premium version on a single overnight — but none of them should be skipped, or shared around a group of one. Spend here, borrow everywhere else, and the whole kit costs a fraction of buying new from top to bottom.
The single best decision most first-time backpackers make isn't a gear choice at all — it's picking a short, well-traveled trail close to home. A gear problem, a change of weather, or simply deciding you've had enough is never more than an hour or two from the car. Treat the trip as a test: what worked, what you'd change, and what's actually worth buying next. That's a far better guide to your second kit than any packing list, including this one.
The pack
For one night, almost any pack with a real hip belt will do — this is the easiest of the big three to borrow before you own one.
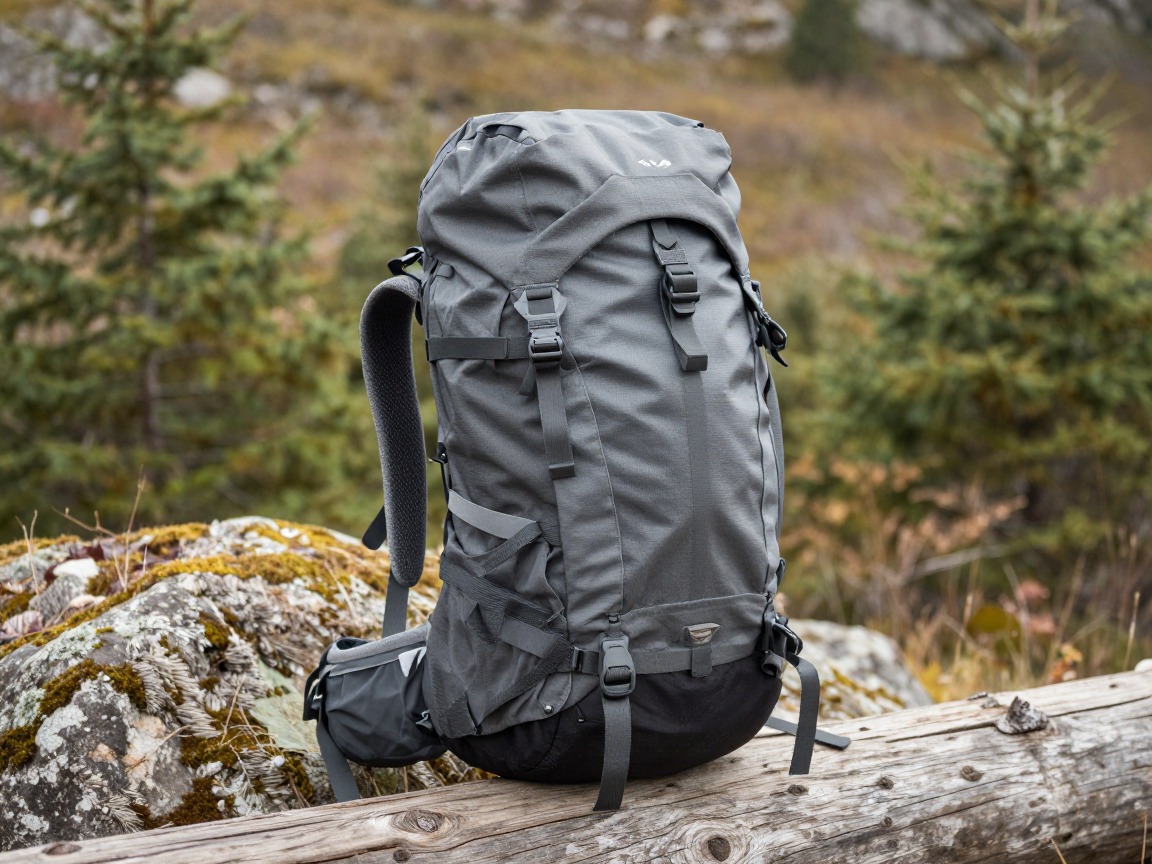
Overnight backpack
Carries your borrowed or basic tent, sleeping bag and one day of food — for a single night, you don't need a large or feature-heavy pack.
What to look for: A hip belt that actually carries weight and a torso length close to yours. Ask around before buying — a friend's spare pack or a rental from a local outfitter is often the easiest way to try backpacking before you own anything.
 WoneNice 50L Check price
  Teton 55L Scout Internal Frame Backpack for Hiking Check price
 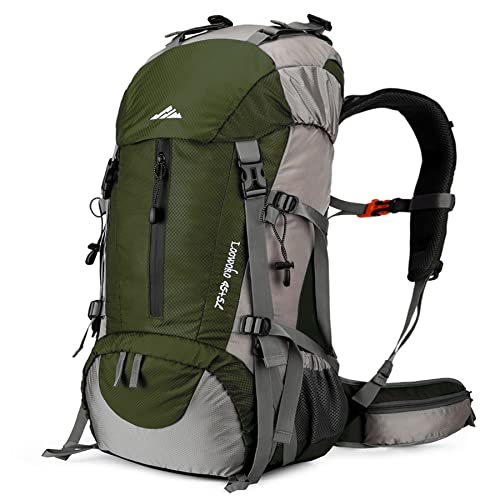 Loowoko 50L Hiking Backpack with Rain Cover for Both Men & Women Check price
 - A pack rain cover or a large trash bag as a liner
Shelter
A simple, freestanding tent you can borrow or rent is all a first overnight calls for — save researching ultralight shelters for later.
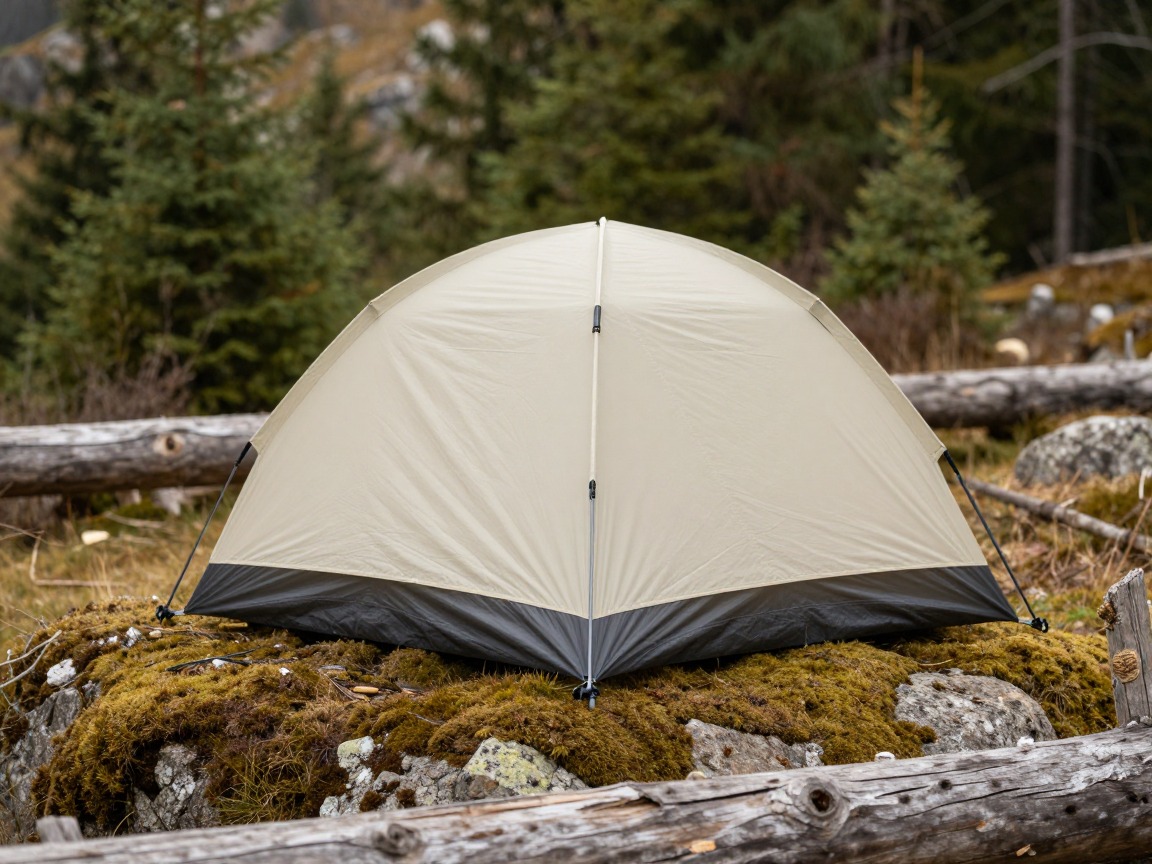
Backpacking tent
Your shelter for the night — a basic two-person freestanding tent is easy to pitch even the first time you've ever done it.
What to look for: Simple, forgiving setup and a full-coverage rainfly. Borrowing one from a friend or renting from a local gear shop or outdoor program means you can try backpacking before spending anything on a tent at all.
 Night Cat 2-Persons Backpacking Tent: Waterproof Lightweight Camping Check price
  BISINNA 2/4 Person Camping Tent Lightweight Waterproof Backpacking T Check price
  Forceatt Tent for 2 Person is Waterproof and Windproof Check price
 - Stakes & guylines (check they're included if borrowing)
Sleep system
A borrowed or budget bag and pad, matched honestly to the night's low, keeps you just as warm for one night as an expensive one would.
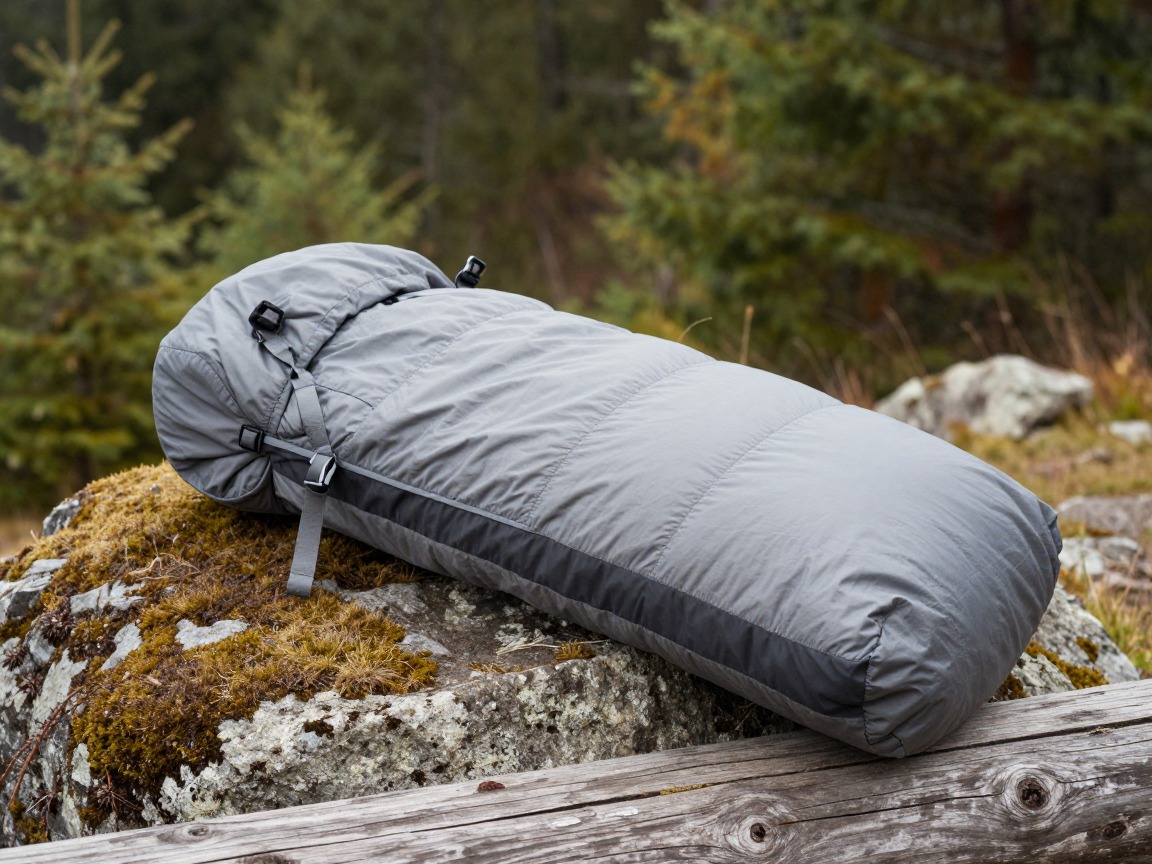
Sleeping bag
Keeps you warm through the one night that matters on this trip — a budget or borrowed bag works fine as long as it's rated for the actual forecast low.
What to look for: A comfort rating a little below the expected overnight low. Borrow one if you can, or look at an inexpensive synthetic bag if buying — synthetic tolerates a beginner's learning curve, and the occasional damp night, better than down.
 MalloMe Sleeping Bags for Adults Cold Weather & Warm - Backpacking C Check price
 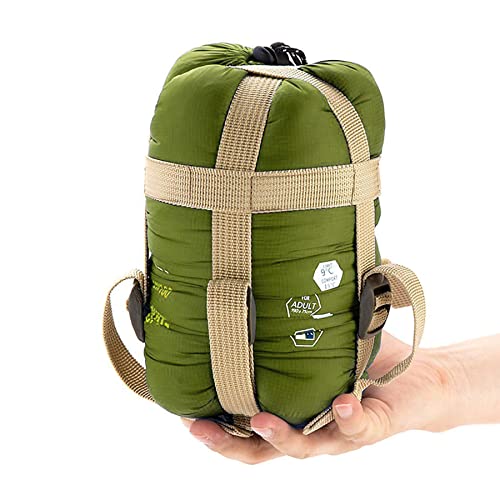 ECOOPRO Portable Check price
  Teton Trailhead Check price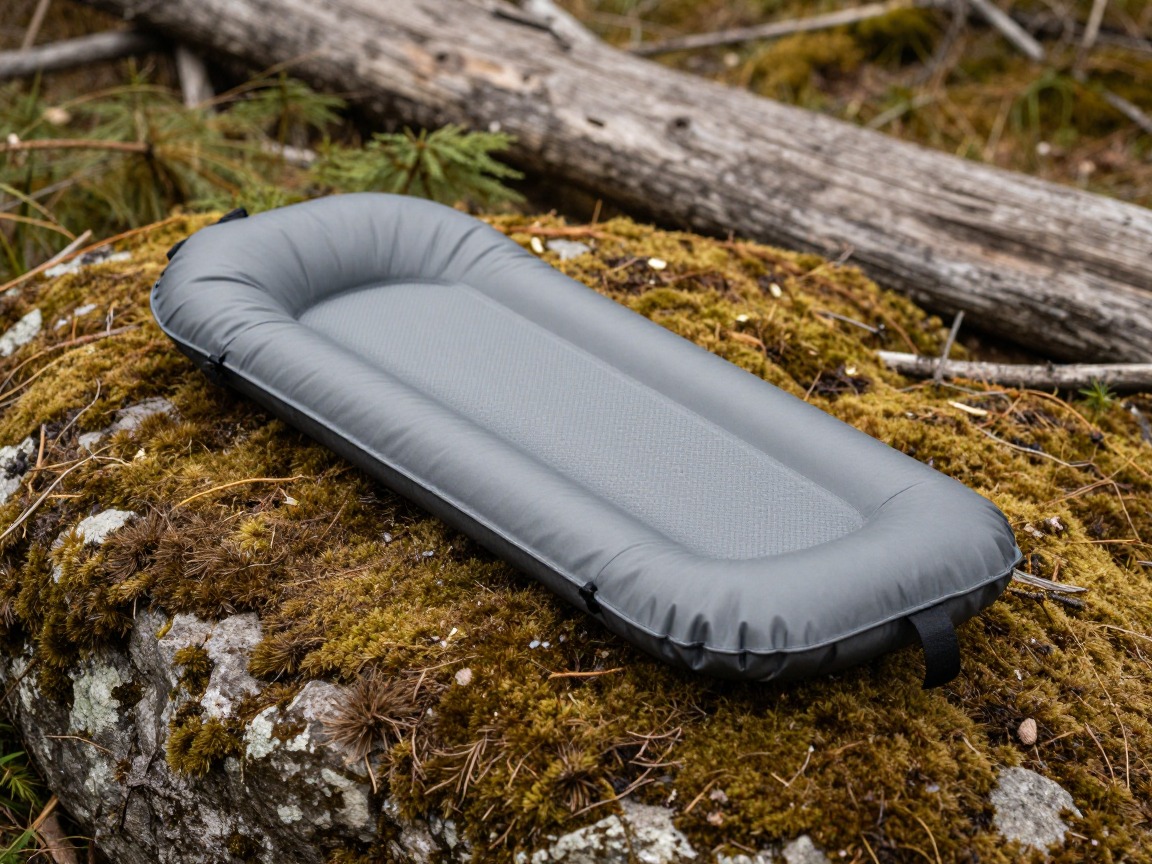
Sleeping pad
Insulates you from the cold ground beneath you — often the piece beginners skip, and the one that makes the biggest difference to actually sleeping.
What to look for: Enough insulation for the season (an R-value of roughly 3+ for three-season nights). A basic foam pad is inexpensive, nearly indestructible, and a perfectly good way to start.
 FUN PAC Camping Sleeping Pad Check price
  Gear Doctors® Ether 17.5oz Ultralight Camping Sleeping Pad Check price
  Oramoose 4in Ultralight Camping Sleeping Pad with Pillow and Foot Pu Check price
 - Inflatable or stuff-sack pillow (optional — a stuffed jacket works)
Kitchen & water
The kitchen is inexpensive to buy outright, so it's one part of this kit worth owning from the start rather than borrowing.
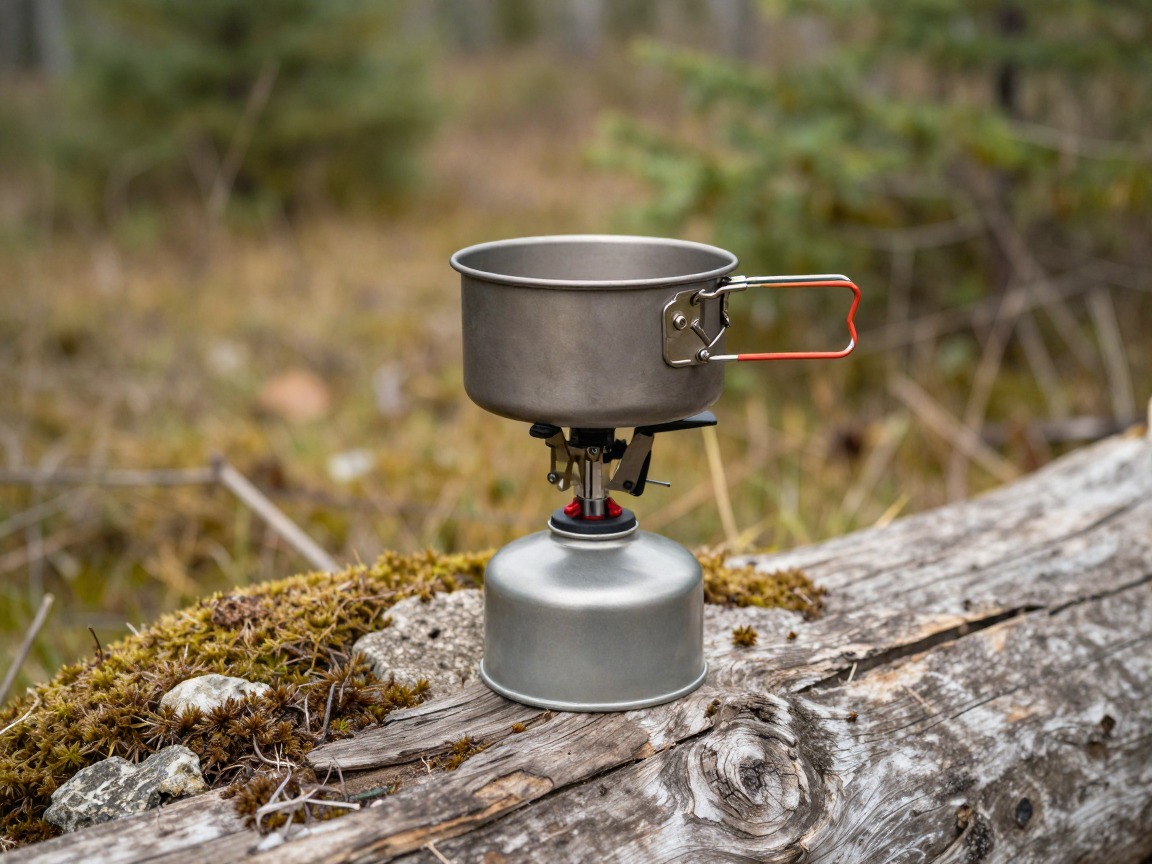
Backpacking stove
Boils water for a simple dinner and a hot breakfast — an entry-level canister stove costs little and does the job for years.
What to look for: A basic, stable canister stove that boils water reliably. You don't need simmer control or multiple burners to cook two meals on a one-night trip.
 AOTU Portable Camping Stoves Backpacking Stove with Piezo Ignition S Check price
  MSR PocketRocket 2 Ultralight Camping and Backpacking Stove Check price
  Fire-Maple Greenpeak 1 Camping Stove with Piezo Ignition Portable Ga Check price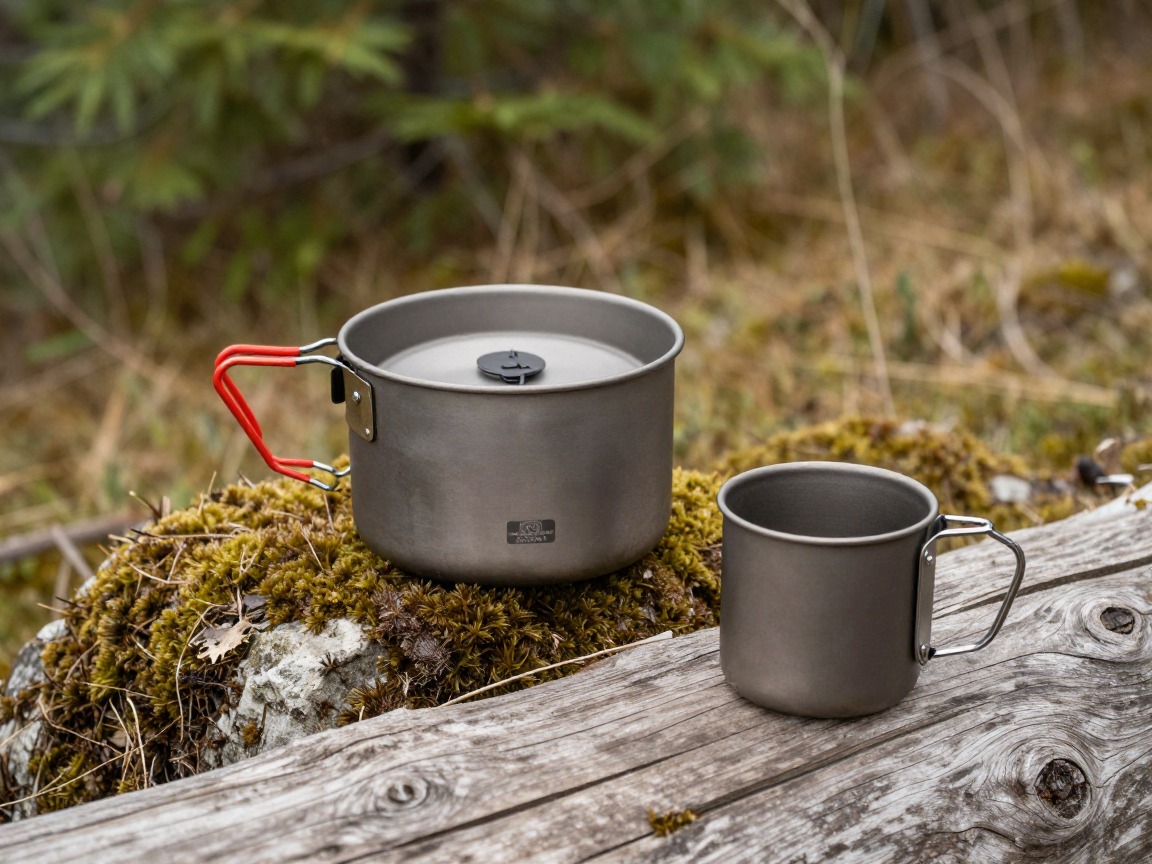
Pot & mug
One small pot handles both meals and doubles as your bowl, keeping the whole kitchen down to a single item.
What to look for: One pot sized for one person, in lightweight aluminum or titanium, with a lid you can eat off of. A simple, no-frills option is plenty for a beginner kit.
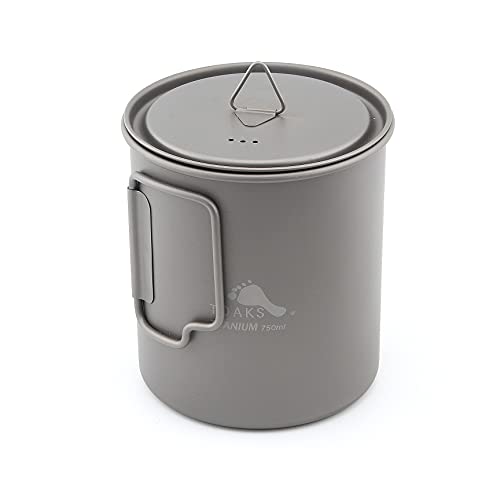 TOAKS Titanium 750ml Pot Check price
  TOAKS Titanium 750ml Pot with Bail Handle for Ultralight Camping Check price
  TOAKS Titanium 1100ml Pot with Pan Check price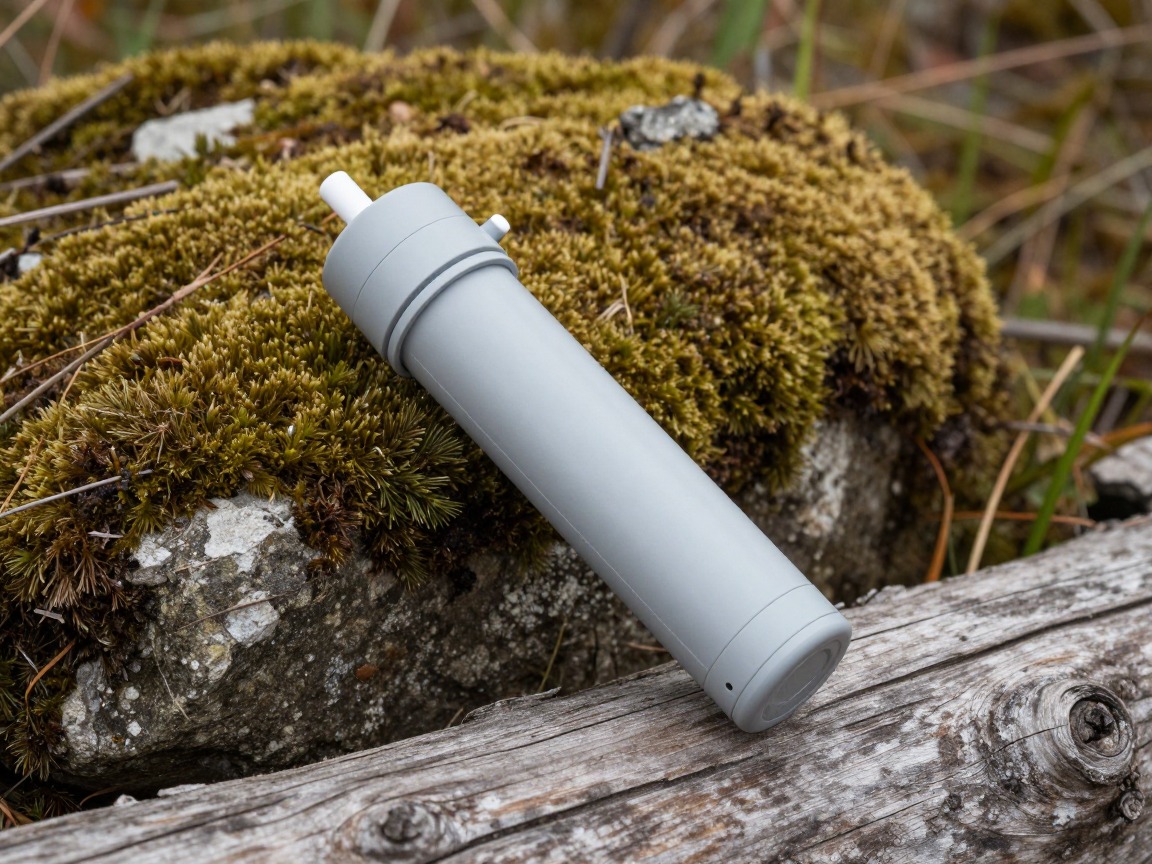
Water filter
Lets you treat water from a stream or lake instead of carrying every drop from the trailhead — a genuine safety item, not a luxury.
What to look for: A simple squeeze filter that's fast and easy to use straight out of the package. This is one to buy rather than borrow, since it's inexpensive and you'll want to know exactly how yours works before you rely on it.
 Sawyer Squeeze Water Filtration System Check price
  Sawyer Products SP128 Mini Water Filtration System Check price
  LifeStraw Personal Water Filter for Hiking Check price
 - Fuel canister
- Spork & lighter
- Dinner, breakfast & snacks
- Food storage (bag + hang line, or check local requirements)
Clothing & layers
Start with hiking clothes you already own. The one layer worth buying new for safety, even on a tight budget, is a real rain shell.

Base layer
Whatever you already wear to exercise in — moisture-wicking synthetic or wool works fine, so there's no need to buy anything new here for trip one.
What to look for: Something you already own that isn't cotton. If you are buying, a simple synthetic base layer is inexpensive and works nearly as well as premium merino for a single overnight.
 100% Merino Wool Base Layer Men Set - Thermal Underwear for Men Long Check price
  Merino.tech Merino Wool Base Layer Women Set - Heavyweight Check price
  100% Merino Wool Base Layer Men Set - Thermal Long Underwear with Ba Check price
Insulating layer
A packable fleece or puffy for camp once the sun goes down — the layer you'll actually put on the moment you stop moving.
What to look for: Whatever warm layer you already own for cold weather. It doesn't need to be a dedicated backpacking puffy to do the job for one chilly evening at camp.
 Outdoor Ventures Women's Packable Lightweight Puffer Jacket with Hoo Check price
  Amazon Essentials Women's Lightweight Long-Sleeve Water-Resistant Pa Check price
  Outdoor Ventures Women's Packable Lightweight Puffer Jacket with Hoo Check price
Rain shell
Protects you from rain and wind on the trail and around camp — this is genuine safety gear, not a luxury item, and worth buying new if you don't own one.
What to look for: Something genuinely waterproof rather than just water-resistant. An inexpensive shell that actually keeps rain out beats an expensive jacket you don't yet own — this is one of the few items on this list worth buying rather than borrowing.
 UIQUR Mens Rain Jacket Raincoat Waterproof Windbreaker Black L Check price
  COOFANDY Men's Waterproof Hiking Travel Shell Breathable Rain Jacket Check price
  Columbia Womens Arcadia II Waterproof Rain Jacket Check price
 - Spare hiking socks
- Camp/sleep clothes
- Warm hat & gloves (shoulder seasons)
- Sun hat & sunglasses
Navigation, light & safety
This is where the budget goes. The whole point of a beginner kit is buying safety over luxury, even when everything else is borrowed.

Headlamp
Essential the moment the sun goes down, for cooking, camp chores and finding your way to the tent — worth buying new even on the tightest budget.
What to look for: A basic, reliable headlamp with fresh batteries. You don't need the brightest or most expensive model, just one you trust to work the moment you need it.
 LHKNL Headlamp Flashlight Check price
  Lepro LED Headlamp Rechargeable IPX4 Waterproof Headlight 5 Modes - Check price
  Energizer LED Headlamp PRO Check price
First-aid kit
A small kit for blisters, cuts and the basics — one of the most important items on this list to actually own rather than borrow.
What to look for: A compact, pre-made kit is fine to start with. Know what's inside it before you leave the trailhead, and add any personal medication you rely on.
 Mini First Aid Kit - 150 Piece Small Waterproof EVA Hard Shell Case Check price
  Adventure Medical Kits Ultralight/Watertight Medical Kit .5 Check price
  211 PCS Waterproof First Aid Kit Check price
 - Map + compass or offline GPS maps
- Trekking poles (optional — borrowed ski poles work in a pinch)
- Sunscreen & lip balm
- Whistle
- Phone + power bank
- Fire — lighter or matches
- Toilet kit — trowel, TP, waste bags (Leave No Trace)
How to adapt this setup
Ask around before buying anything — a friend's spare pack, tent or sleeping bag, or a rental from a local outfitter or university outdoor program, is the cheapest way to find out if backpacking is for you.
Loved it? The overnight backpacking or weekend backpacking setups are the natural next step, with a little more redundancy and room to start owning your own big three.
Many outdoor shops and gear libraries rent packs, tents and sleeping bags by the weekend — often cheaper than one impulse purchase you might not use again.
Lighten the sleep system to match a mild forecast and lean on layers you already own; keep the safety items on the list regardless of season.
A first overnight is easier and safer with someone who's done it before — they can help you judge fit, sanity-check your kit, and answer the questions a packing list can't.
Common mistakes to avoid
- Buying a full new kit before you know whether backpacking is for you — borrow or rent the big three first.
- Skimping on the safety layer to save money — a headlamp, first aid and rain protection are worth buying new.
- Choosing a remote or unfamiliar trail for trip one instead of somewhere short and well-traveled, close to the car.
- Packing 'just in case' extras that add weight without adding safety — stick to the list.
- Assuming a borrowed tent or sleeping bag fits and works without checking it — pitch and test it at home first.
- Skipping water treatment because it's 'just one night' — treat every trip's water regardless of length.
Make it yours
Frequently asked questions
Do I need to buy expensive gear for my first backpacking trip?
No. Borrow or rent the big three — pack, tent and sleeping bag — and spend your budget on the safety layer instead: a headlamp, first aid, a water filter and a real rain shell. You can always upgrade once you know backpacking is for you.
What backpacking gear is actually worth buying new as a beginner?
The safety essentials: a headlamp, a first-aid kit, a water filter and a genuinely waterproof rain shell. These are inexpensive, you'll use them on every future trip, and they're not worth going without to save money.
Can I borrow a tent and sleeping bag for my first backpacking trip?
Yes, and it's a smart way to start. Ask friends, family or a local outdoor program, or look into gear rentals from an outfitter — just pitch the tent and check the bag's warmth at home before you rely on either overnight.
How short should my first backpacking trip be?
One night on a short, well-traveled trail close to home is plenty. It keeps the risk low if something in a borrowed kit doesn't work out, and it's enough to tell you whether you want to do it again.
What if my borrowed gear doesn't fit or work well?
Test everything at home first — pitch the tent, try the pack loaded and adjusted to your torso, and check the sleeping bag's actual warmth. If something's clearly wrong, it's easier to fix or swap before the trailhead than at camp.
Illustrative images show the type of gear, not specific products. Recommendations link to similar items on Amazon; we only ever link real listings and never show fabricated prices or ratings. General planning guidance, not a substitute for your own judgment or professional backcountry-safety instruction.