
The bear-country backpacking setup
Across much of North America's backcountry, black bears are simply part of the landscape, and in the northern Rockies, parts of the Pacific Northwest, Alaska, and western Canada, grizzlies are too. This weekend setup covers the same overnight system as any other trip — pack, shelter, sleep, kitchen — built around the handful of things that actually change once bears are a real consideration: how you store food, how you carry bear spray, and how you keep a clean camp that never gives a bear a reason to come closer.

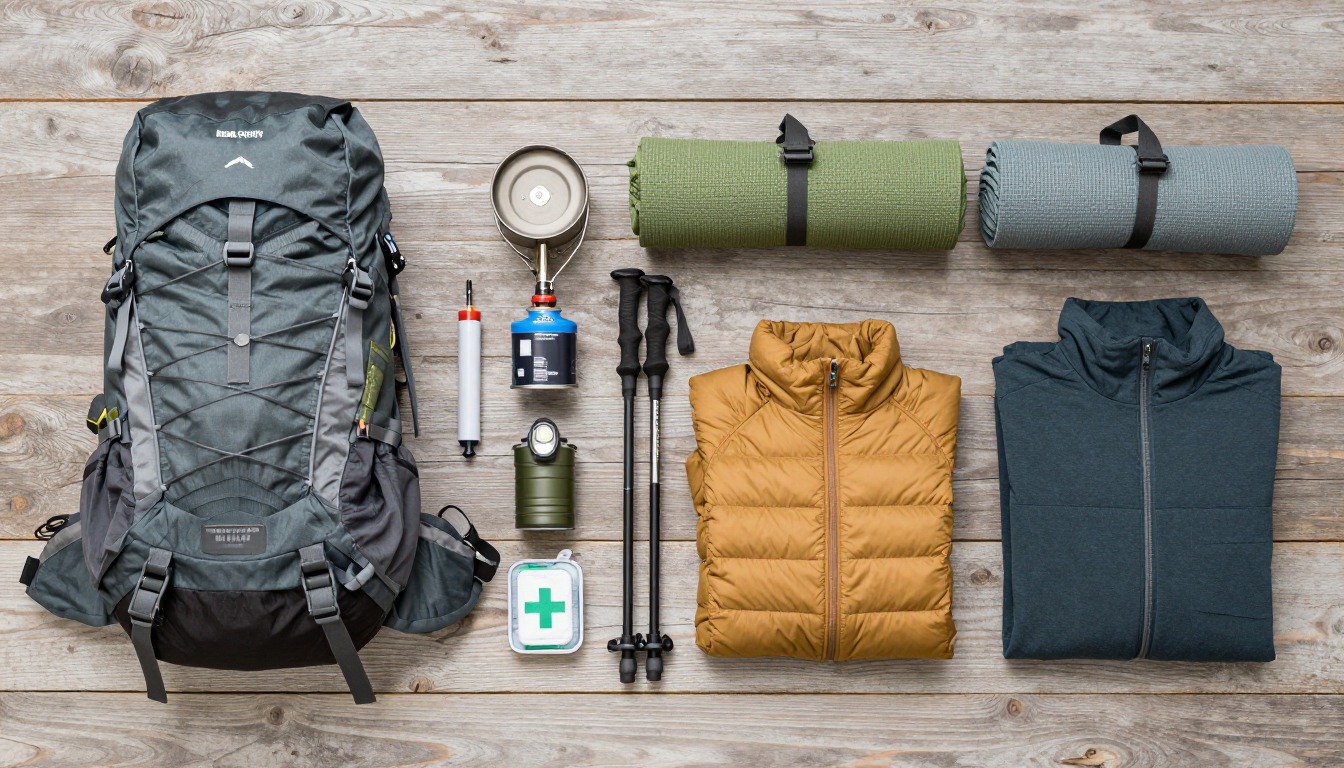
Bears aren't drawn to camps by tents or hikers — they're drawn by food odor, and almost every serious bear-camp problem traces back to something scented left within reach. The fix isn't fear, it's discipline: store food and anything scented the way the land you're on requires, cook and eat somewhere separate from where you sleep, carry bear spray where you can actually use it, and keep your camp clean enough that a passing bear finds nothing worth investigating. We build the kit in that order — storage and spray first, then the same pack, shelter, sleep, and clothing system any weekend trip needs.
Backpackers who've already got a weekend overnight or two under their belt and are heading into black bear or grizzly habitat on an established trail, ready to add the storage and scent discipline that bear country asks for. If this is your first overnight anywhere, build confidence on a lower-risk trip first — bear country isn't the place to also be learning how to pitch a tent for the first time. Wherever you're headed, check the specific food-storage and bear-spray rules for that land manager before you go; they vary by forest, park, and even by individual trailhead, and this guide can't substitute for the current local rule.
- Check the food-storage requirement for your specific trail and campsites first — a canister, a provided locker, or an approved hang method, since the rule varies by land manager and even by site.
- Build your bear-safety layer next: spray you can draw in seconds, and a storage plan that matches what's actually required or provided where you're camping.
- Keep the rest of the kit to the standard weekend system — pack, shelter, sleep, and a simple stove kitchen — cooked and stored well away from your tent.
- Read up on current bear activity for your route before you leave, and carry the layers your season and elevation actually call for.
About this setup
Bear country isn't one specific place — it's most of the wild backcountry in North America. Black bears range across the vast majority of forested terrain in the Lower 48, Canada, and Alaska, from the Appalachians to the Sierra to the Pacific Northwest, and they're generally the bear most backpackers will actually encounter. Grizzly (brown) bears occupy a much smaller, more specific range today — parts of the northern Rockies, the Pacific Northwest's mountain ranges, and much of Alaska and western Canada — but where they're present, the food-storage and behavior guidance tends to be stricter, and land managers usually say so clearly in their permit information and trailhead postings. Knowing which one you're actually hiking among, in general terms, is worth five minutes of research before any trip, since it shapes how seriously a given area treats storage rules.
The core of bear-safety practice is scent and food discipline, and it's consistent across most of bear country regardless of species: keep food, trash, and anything scented (toothpaste, sunscreen, even deodorant) away from where you sleep, using whichever storage method your specific land manager requires — a hard-sided bear canister, a correctly executed counterbalance or single-cable hang, or a provided locker or pole at a designated site. Cook and eat somewhere separate from your tent, ideally in a rough triangle with sleeping, cooking, and food storage each set apart from the others. None of this is about a specific product being 'bear-proof' in an absolute sense — a certified canister is simply the storage method that best resists a determined bear and doesn't depend on finding the right tree, a long enough rope, or a branch strong enough to hold the weight.
Bear spray is the other piece worth planning around rather than packing as an afterthought. Carried on a hip belt or chest holster — not zipped into a pack pocket — it's meant to be drawn and used in a few seconds, which is exactly why it's worth practicing the motion at home before you're relying on muscle memory in the field. Beyond gear, route and season awareness matter: bear activity shifts with spring emergence and cubs, fall hyperphagia as bears feed heavily before winter, and local food sources like berry patches or salmon runs that can concentrate bears in specific areas at specific times of year. None of this is a substitute for checking current conditions with the actual land manager for your trip, and encounter behavior specifically — what to do if you see a bear, or if one approaches — is exactly what formal bear-safety training and the agency's own current guidance are built for, not something a packing list can responsibly cover in general terms.
The pack
A 45–60L pack covers a typical bear-country weekend, with enough room left for whatever food-storage method your itinerary requires.
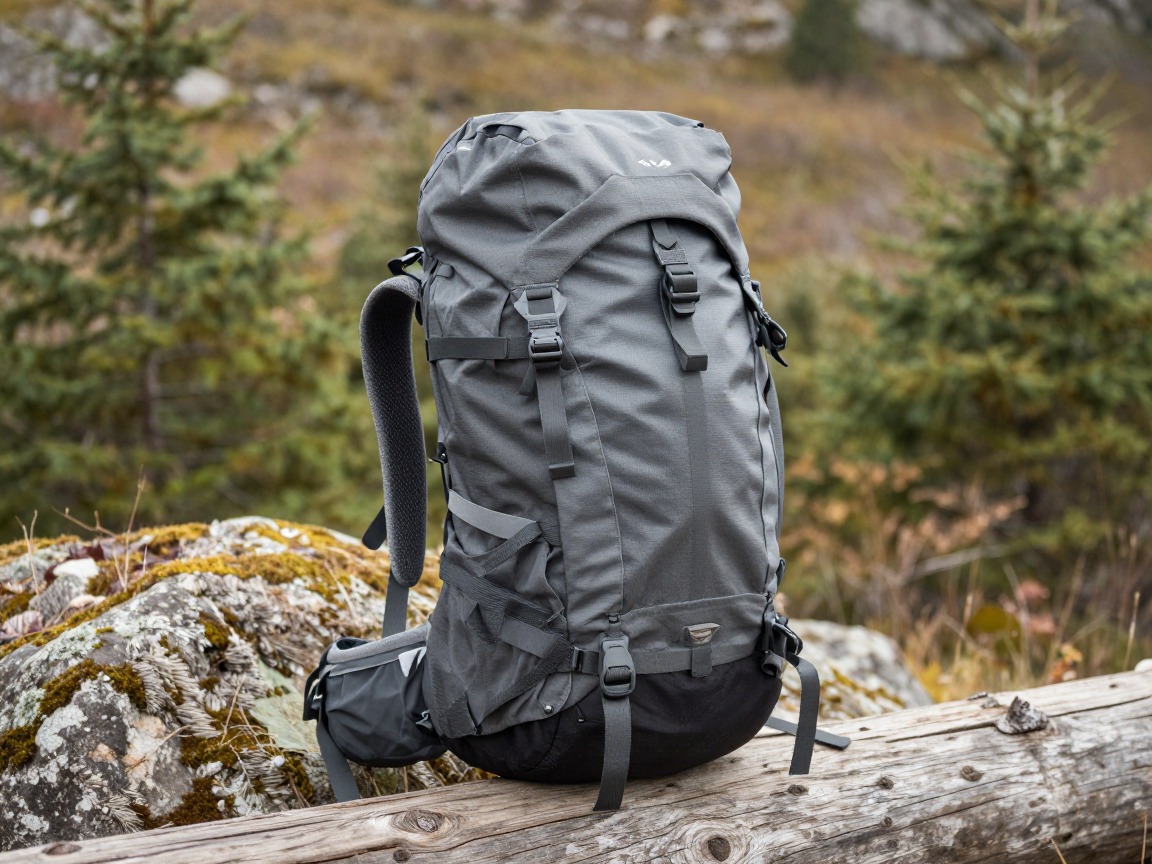
Overnight backpack
Carries your full sleep, shelter, and kitchen system, plus food and any bear-resistant storage your trip calls for, comfortably enough to keep your attention on the trail rather than your shoulders.
What to look for: A hip belt that genuinely transfers weight off your shoulders, 45–60L for a weekend's gear and food, and enough room or external straps to carry a bear canister if your route requires one.
 WoneNice 50L Check price
  Teton 55L Scout Internal Frame Backpack for Hiking Check price
 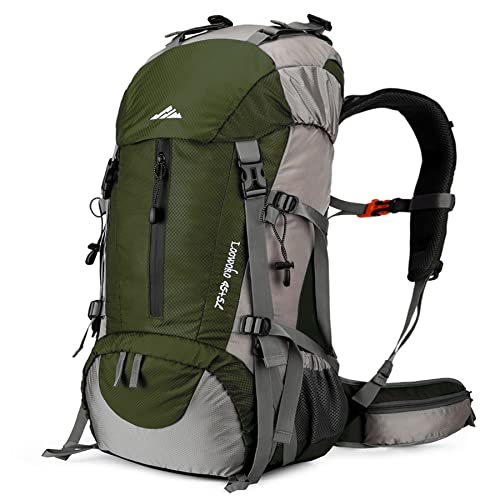 Loowoko 50L Hiking Backpack with Rain Cover for Both Men & Women Check price
 - Pack rain cover or liner
Shelter
A standard lightweight tent works fine in bear country — there's nothing special about the tent itself, only where you pitch it relative to your cooking and storage area.
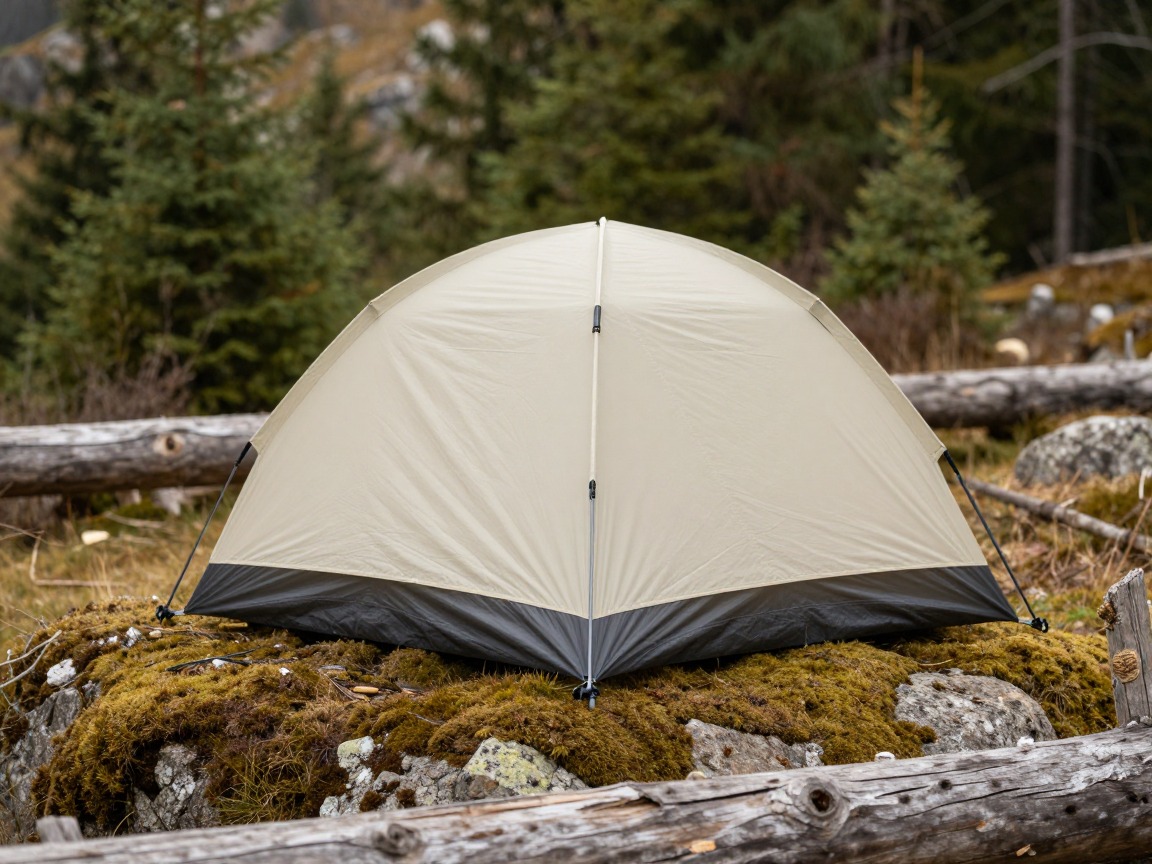
Backpacking tent
Your shelter for the night, pitched at a distance from wherever you cook and store food so cooking odors don't linger where you sleep.
What to look for: A freestanding or semi-freestanding two-person tent that's easy to pitch, a full-coverage fly, and enough ventilation to manage condensation — the same qualities that matter on any weekend trip.
 Night Cat 2-Persons Backpacking Tent: Waterproof Lightweight Camping Check price
  BISINNA 2/4 Person Camping Tent Lightweight Waterproof Backpacking T Check price
  Forceatt Tent for 2 Person is Waterproof and Windproof Check price
 - Stakes & guylines
- Groundsheet / footprint (optional)
Sleep system
Nothing about bear country changes your sleep system — rate it to the night's expected low the same as any weekend trip.
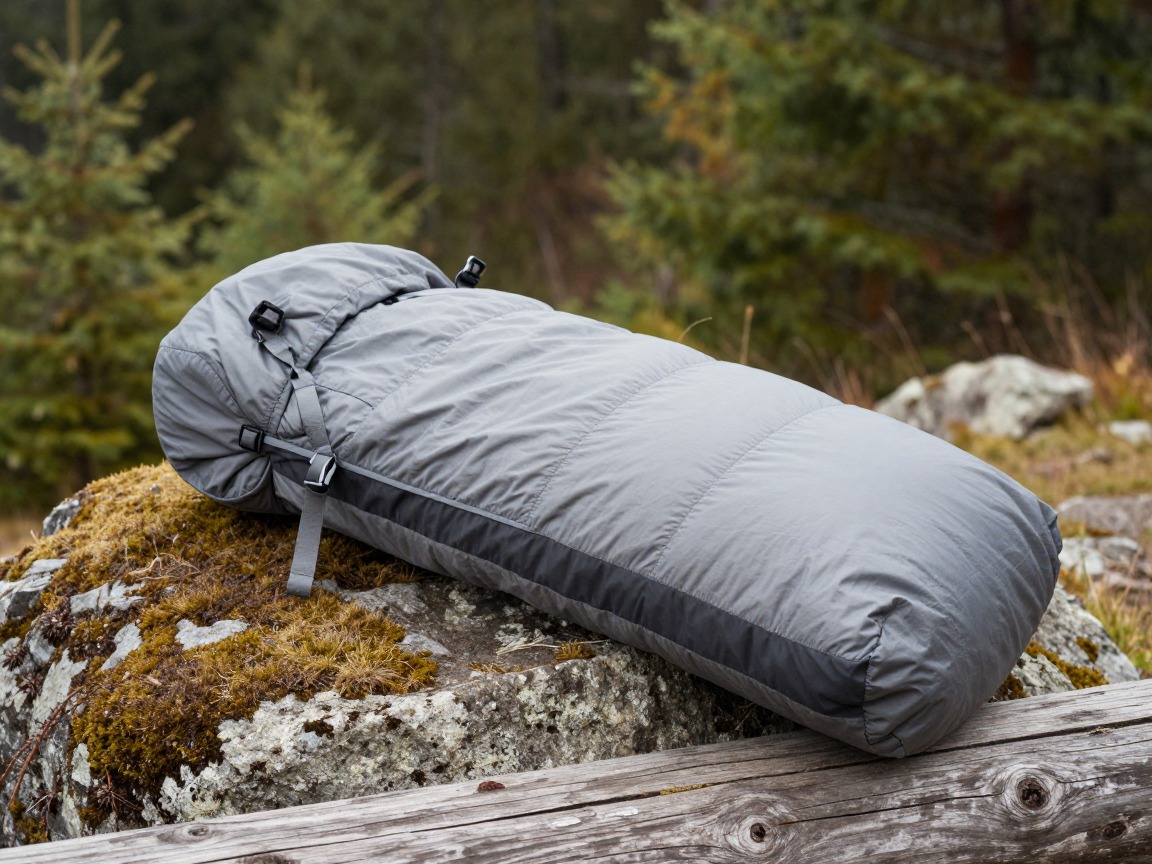
Sleeping bag
Keeps you warm overnight; choose it for the temperature, not for anything specific to bear country.
What to look for: A comfort rating a little below the coldest night you realistically expect, in a fill suited to how wet your trip is likely to be.
 MalloMe Sleeping Bags for Adults Cold Weather & Warm - Backpacking C Check price
 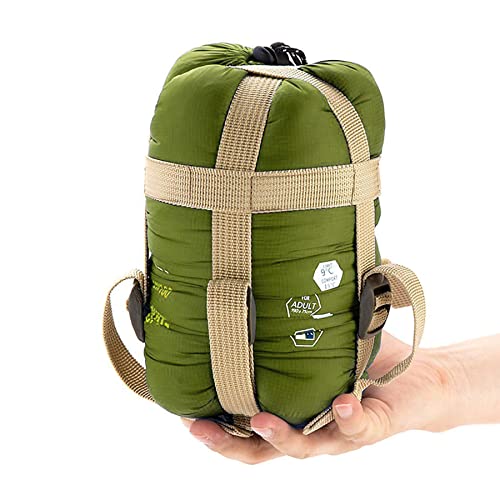 ECOOPRO Portable Check price
  Teton Trailhead Check price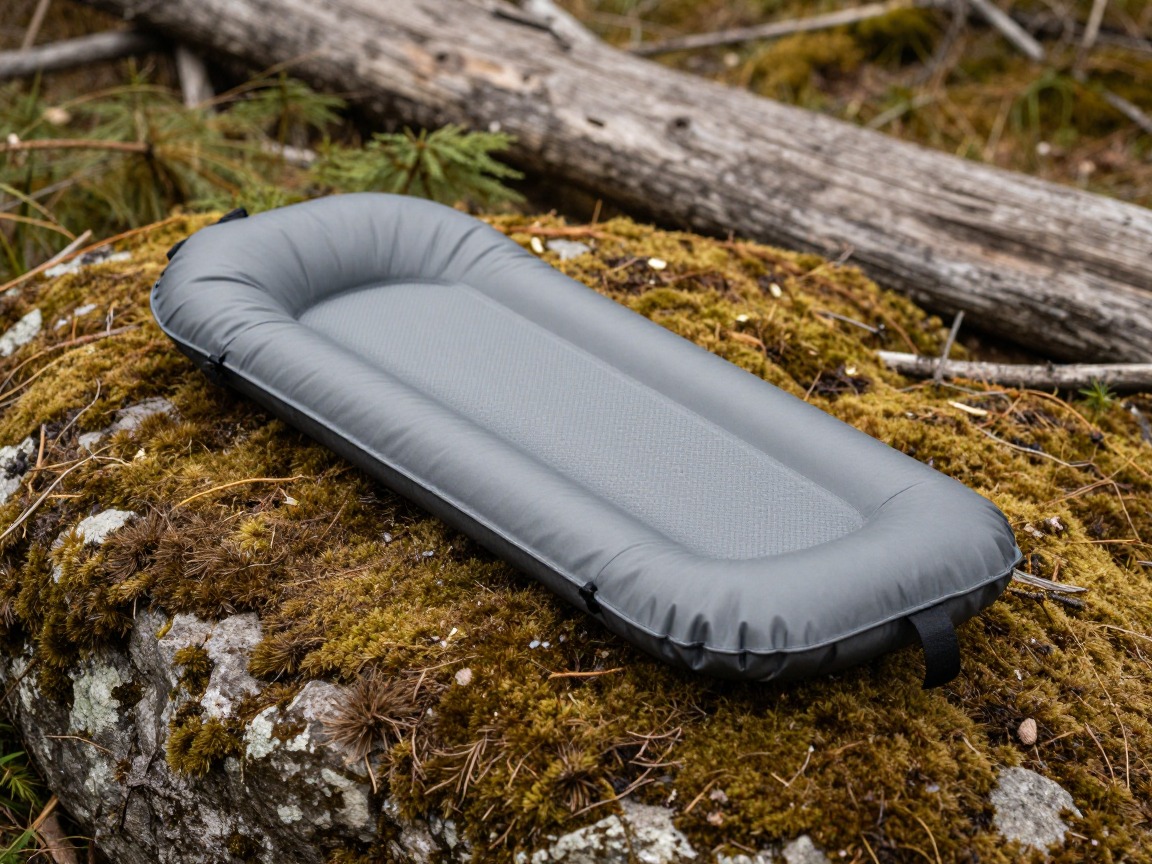
Sleeping pad
Insulates you from the ground and adds comfort — again, a standard weekend choice.
What to look for: An R-value suited to the season, and a packed size that still leaves room for food and any bear-resistant storage in your pack.
 FUN PAC Camping Sleeping Pad Check price
  Gear Doctors® Ether 17.5oz Ultralight Camping Sleeping Pad Check price
  Oramoose 4in Ultralight Camping Sleeping Pad with Pillow and Foot Pu Check price
 - Inflatable or stuff-sack pillow
Food, water & bear-safe storage
This is the section that actually changes in bear country: how you store food, where you cook, and how you carry bear spray matter more here than almost anything else in the kit.
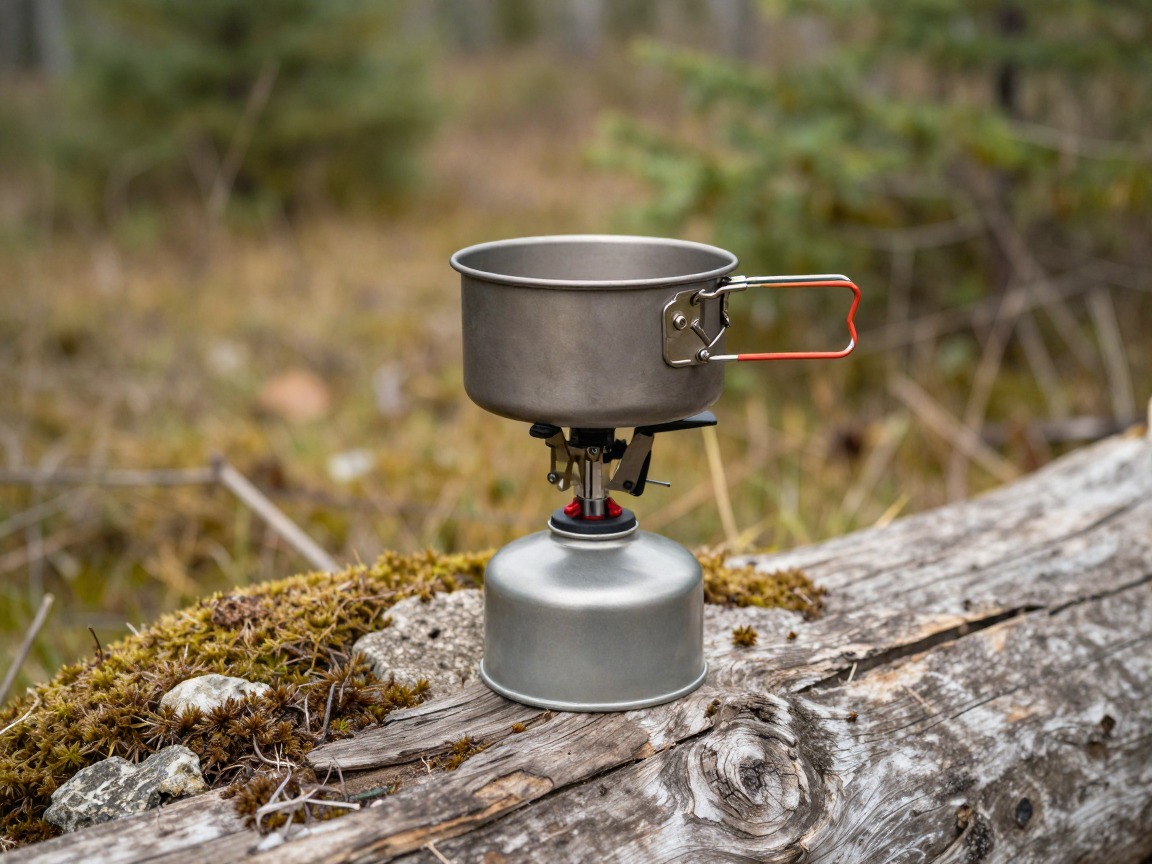
Backpacking stove
Boils water for dinners and hot drinks in a few minutes — a standard canister stove, no different from any other backcountry kitchen.
What to look for: A stable canister stove with a quick boil time, running on fuel you can find near the trailhead. There's nothing bear-specific about the stove itself, only where and how far from your tent you use it.
 AOTU Portable Camping Stoves Backpacking Stove with Piezo Ignition S Check price
  MSR PocketRocket 2 Ultralight Camping and Backpacking Stove Check price
  Fire-Maple Greenpeak 1 Camping Stove with Piezo Ignition Portable Ga Check price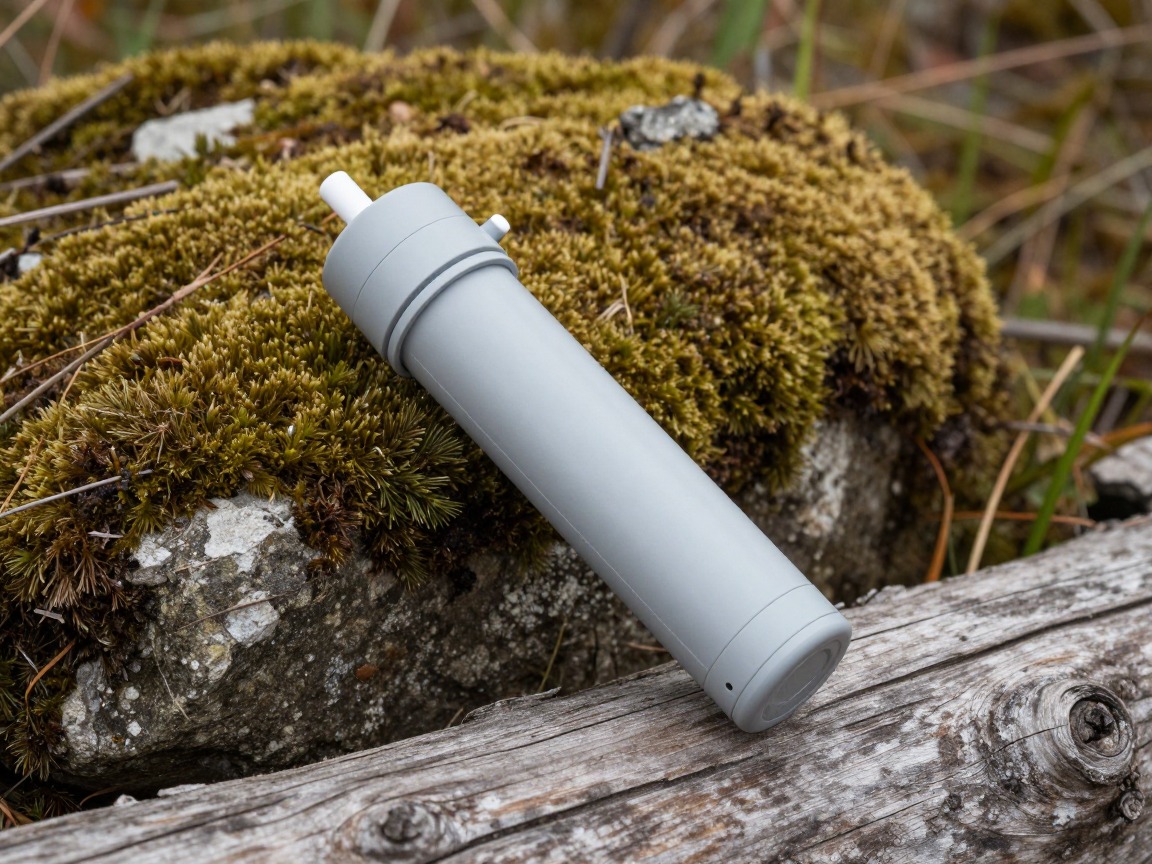
Water filter
Treats stream and lake water so you're not carrying more than you need — the same essential as any backcountry trip.
What to look for: Fast flow, easy field cleaning, and freeze-awareness in shoulder seasons. Keep it, and any food-scented gear, away from your tent overnight like everything else that carries an odor.
 Sawyer Squeeze Water Filtration System Check price
  Sawyer Products SP128 Mini Water Filtration System Check price
  LifeStraw Personal Water Filter for Hiking Check price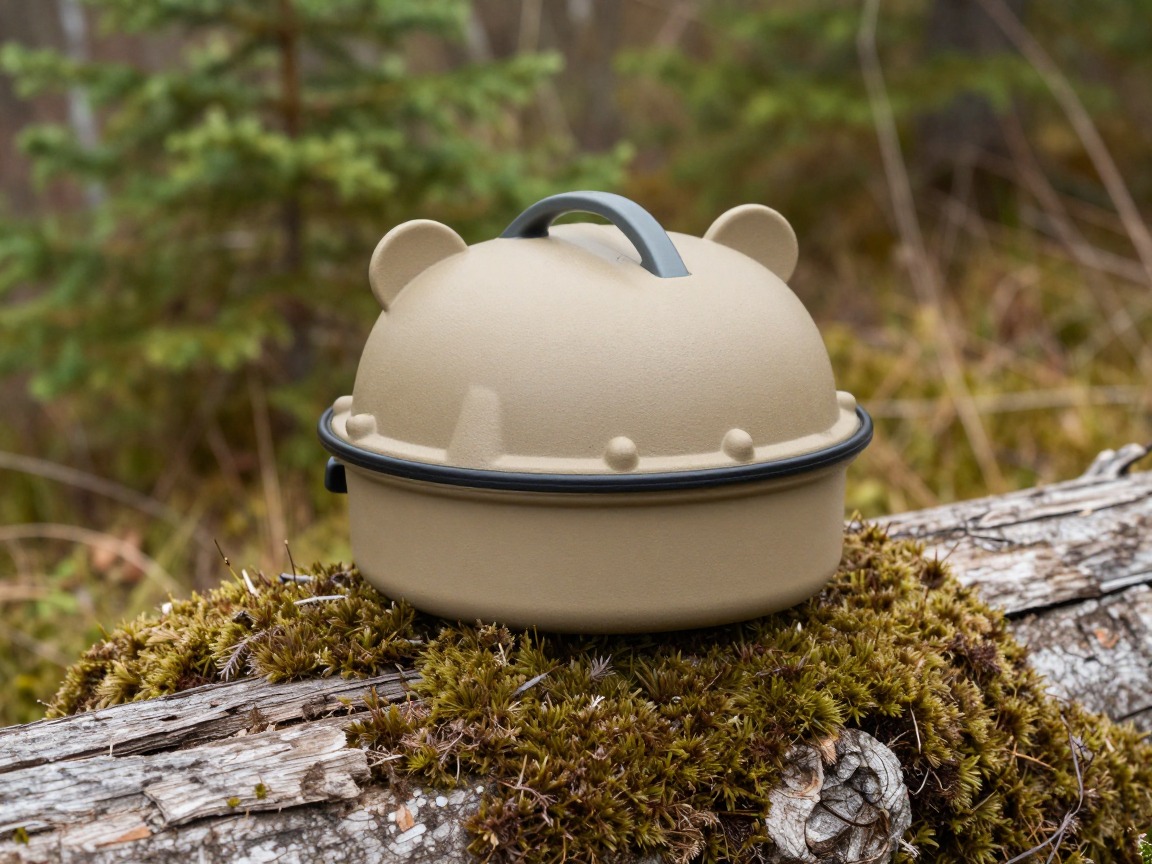
Bear-resistant food canister
A hard-sided, bear-resistant container for food and anything scented — required on many trails and backcountry zones, and a solid choice even where it isn't, since it doesn't depend on finding the right tree or an intact hang cable.
What to look for: Follow exactly what your land manager requires for the specific trail and campsites on your itinerary — some areas mandate a certified canister, some provide lockers or hang cables at designated sites, and some allow either. Confirm the current rule with the ranger station or backcountry office before you go, since requirements can differ by trailhead and by season.
 BearVault BV450 Jaunt Portable Bear Canister for Backpacking - Mediu Check price
  BearVault BV425 Sprint Portable Bear Can - Small Check price
  Bear Canister for Backpacking Check price
 - Bear spray, EPA-registered and not expired, carried on a hip belt or chest holster where you can draw it in seconds — never buried in your pack
- Time spent practicing the draw before your trip, so it's automatic if you ever need it
- Cooking and eating done well away from your tent site, using a provided food-prep area where one exists
- All food, trash, and scented items — toothpaste, sunscreen, deodorant, wrappers — stored the way your specific site or land manager requires, day and night
- Current food-storage and bear-activity rules confirmed for your exact trail before you leave
- Fuel canister, pot, spork & lighter
- Meals and snacks planned for each day, calorie-dense and packed to minimize scent and packaging waste
Clothing & layers
Pack the same layering system as any weekend trip — a base layer, insulation, and a waterproof shell — matched to the season and elevation of the country you're actually hiking.

Base layer
Worn most of the day on the move, wicking sweat and resisting odor over a multi-day trip.
What to look for: Merino or a merino blend for odor control, a comfortable fit, and a weight matched to the season.
 100% Merino Wool Base Layer Men Set - Thermal Underwear for Men Long Check price
  Merino.tech Merino Wool Base Layer Women Set - Heavyweight Check price
  100% Merino Wool Base Layer Men Set - Thermal Long Underwear with Ba Check price
Insulating layer
Your warmth at camp once the sun drops — nights can run cold even where the days are warm, especially at elevation.
What to look for: The most warmth for its pack size; down for a drier trip, synthetic if you're expecting damp conditions.
 Outdoor Ventures Women's Packable Lightweight Puffer Jacket with Hoo Check price
  Amazon Essentials Women's Lightweight Long-Sleeve Water-Resistant Pa Check price
  Outdoor Ventures Women's Packable Lightweight Puffer Jacket with Hoo Check price
Rain shell
Waterproof, breathable protection from rain and wind, and a backup layer around camp.
What to look for: Genuinely waterproof rather than merely water-resistant, with a sealing hood and enough venting for a hard climb.
 UIQUR Mens Rain Jacket Raincoat Waterproof Windbreaker Black L Check price
  COOFANDY Men's Waterproof Hiking Travel Shell Breathable Rain Jacket Check price
  Columbia Womens Arcadia II Waterproof Rain Jacket Check price
 - Spare hiking socks
- Camp clothes kept separate from anything worn while cooking
- Warm hat & gloves (shoulder seasons)
- Sun hat & sunglasses
Navigation & safety
Carry the same navigation and safety layer as any weekend trip, plus a little extra awareness of your route's bear activity and how remote it actually is.

Trekking poles
Steadies you on uneven ground and takes strain off your knees with a loaded pack — a standard backpacking tool, not bear-specific gear.
What to look for: Adjustable, packable poles with a comfortable grip suited to the terrain you're covering.
 Trekology Trek-Z Cork Grip Collapsible Lightweight Hiking Trekking P Check price
  Cascade Mountain Tech Trekking Poles Check price
  covacure Hiking Poles Check price
Headlamp
Essential after dark for camp chores and moving between your tent and a cooking or storage area set apart from it.
What to look for: Bright enough for genuine camp use, a red mode that's easier on shared or nearby campsites, and reliable spare power.
 LHKNL Headlamp Flashlight Check price
  Lepro LED Headlamp Rechargeable IPX4 Waterproof Headlight 5 Modes - Check price
  Energizer LED Headlamp PRO Check price
First-aid kit
A fuller kit than a day hike, built for a trip where help may be a real distance away.
What to look for: Blister care, basic wound supplies, and your own regular medications, sized to how remote your itinerary actually is.
 Mini First Aid Kit - 150 Piece Small Waterproof EVA Hard Shell Case Check price
  Adventure Medical Kits Ultralight/Watertight Medical Kit .5 Check price
  211 PCS Waterproof First Aid Kit Check price
 - Map + compass or GPS (offline) covering the full route
- Satellite messenger or PLB for routes with little or no cell coverage
- Sunscreen & lip balm
- Whistle
- Phone + power bank
- Toilet kit — trowel, TP, waste bags (Leave No Trace)
- Current trail conditions and any bear-activity closures checked with a ranger station or land-management office before you leave
How to adapt this setup
Where grizzlies are present, storage and spray rules tend to be stricter and more specifically enforced — confirm the exact requirement for your trail and campsites with the land manager, and lean harder into the noise-and-awareness habits formal bear-safety guidance recommends.
Even on busy, well-established black bear trails, food storage still matters — bears that get used to human food become a problem for every hiker after you. Follow the posted storage rule regardless of how tame the area feels.
Larger groups are generally noisier and more visible on trail, which most guidance treats as a modest advantage — but the food-storage and camp-discipline rules don't relax just because there are more of you.
Solo hikers benefit from extra noise discipline on blind corners and near loud water, and from sticking to well-traveled trails where practical — check current agency guidance on solo travel for your specific area.
Late summer and fall often mean bears feeding heavily to prepare for winter, sometimes concentrated around berry patches or salmon streams. Check current bear-activity reports for your route before you go, since specific areas can see closures with little notice.
Common mistakes to avoid
- Storing food, trash, or anything scented in your tent instead of a canister, hang, or provided locker.
- Carrying bear spray buried in your pack instead of on your hip belt or chest, where you can actually reach it.
- Never having practiced drawing your bear spray before you actually needed to.
- Cooking or eating right next to your tent instead of a separate area.
- Assuming an area is 'safe' because it's popular — busy trails still require proper food storage.
- Not checking current bear-activity reports or storage requirements for your specific trail before leaving home.
Make it yours
Frequently asked questions
Do I need a bear canister for backpacking?
It depends on where you're going — many national parks, forests, and specific backcountry zones require a certified bear-resistant canister, while others provide lockers or hang cables at designated sites. Confirm the exact requirement for your trail and campsites with the land manager before you go.
How should I carry bear spray while hiking?
Somewhere you can draw and use it in a few seconds — a hip belt or chest holster, not a pack pocket or the bottom of your bag. Practice the draw at home, and check it's EPA-registered and not expired before relying on it in the field.
What's the difference between hiking in black bear versus grizzly country?
Black bears range across most forested backcountry in North America, while grizzlies occupy a smaller, more specific range in parts of the northern Rockies, the Pacific Northwest, Alaska, and western Canada. Storage rules and safety guidance are often stricter where grizzlies are present — check the specific guidance for your destination rather than assuming.
What should I do if I see a bear on the trail?
Follow the current posted guidance for the specific area you're in rather than general advice — this is exactly the situation formal bear-safety training and your land manager's own guidance are built for, not something a packing list can substitute for. Keep distance and never approach for a photo.
How do I store food if there's no bear box or hang cable at my campsite?
Carry a certified bear-resistant canister — it doesn't depend on finding a suitable tree, a long enough rope, or a branch strong enough for a correct counterbalance hang. Check ahead of time whether your specific trail or campsite requires one, since many designated bear country areas do.
Illustrative images show the type of gear, not specific products. Recommendations link to similar items on Amazon; we only ever link real listings and never show fabricated prices or ratings. General planning guidance, not a substitute for your own judgment or professional backcountry-safety instruction.