
How to Break in Hiking Boots Before a Big Trip
Breaking in boots is the process of letting a new pair and your feet adjust to each other before the miles start to matter. Leather softens, the footbed compresses to your arch, and you find the rub points while you're still close to home. It isn't about brute-forcing stiff materials. It's a short, deliberate progression that turns an unknown pair of boots into ones you trust on a long day.
Affiliate disclosure: this page contains affiliate links. Purchases made through them may earn us a commission at no extra cost to you. See our affiliate disclosure.
In plain English
Breaking in boots means wearing them little by little before a big hike, so the stiff parts soften and you find out where they rub. It is a bit like wearing new jeans a few times before they feel like yours.
Start at home, then go for short walks, then longer ones carrying your backpack. Each step adds a little more challenge. If something rubs, you find out on a short walk near home instead of halfway up a mountain.
Pay attention to hot spots. A hot spot is a warm, sore patch of skin that shows up before a blister. When you feel one, stop and deal with it right away. If a boot still hurts after weeks of wearing it, the size or shape is probably wrong, and more walking will not fix it.
Who it's for
Anyone wearing a genuinely new pair, and anyone who has changed sock thickness, added an aftermarket insole, or gone up a half size since their last trip. Stiff, high-cut leather boots ask the most of this process. Flexible trail shoes ask the least, though even they deserve a few walks before a trip you've been planning for months.
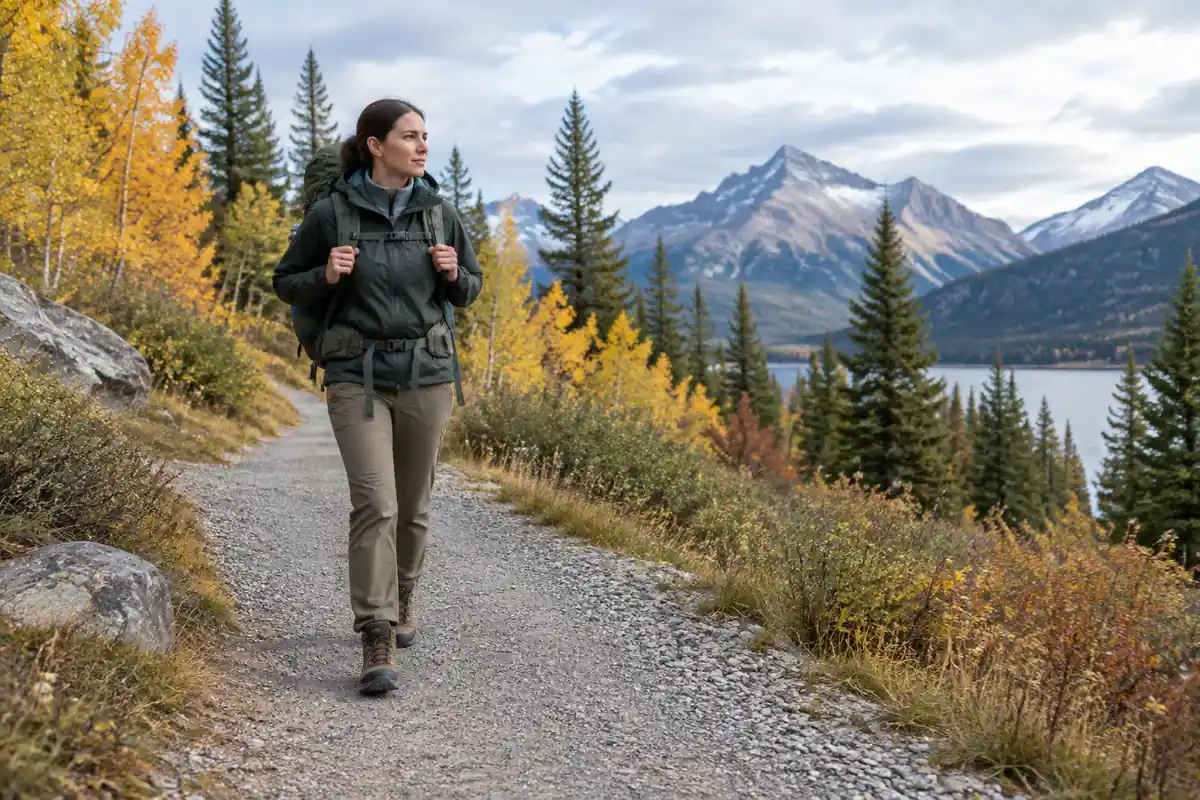
The break-in process
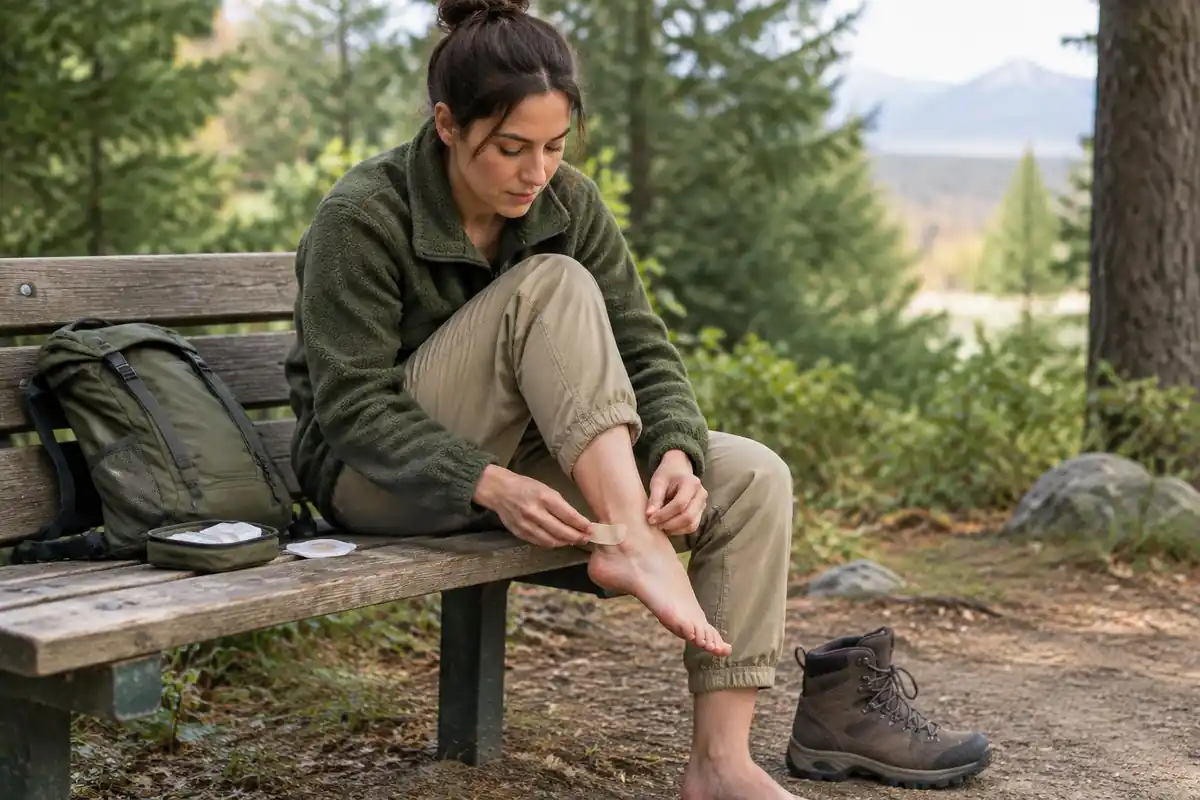
Start at home, on carpet, in the exact socks you plan to hike in and with whatever insole you'll use. An hour or two at a time, over a few days, lets the footbed take your shape and tells you whether the length, width, and instep volume are right, while the boots are still clean enough to return if they're clearly wrong.
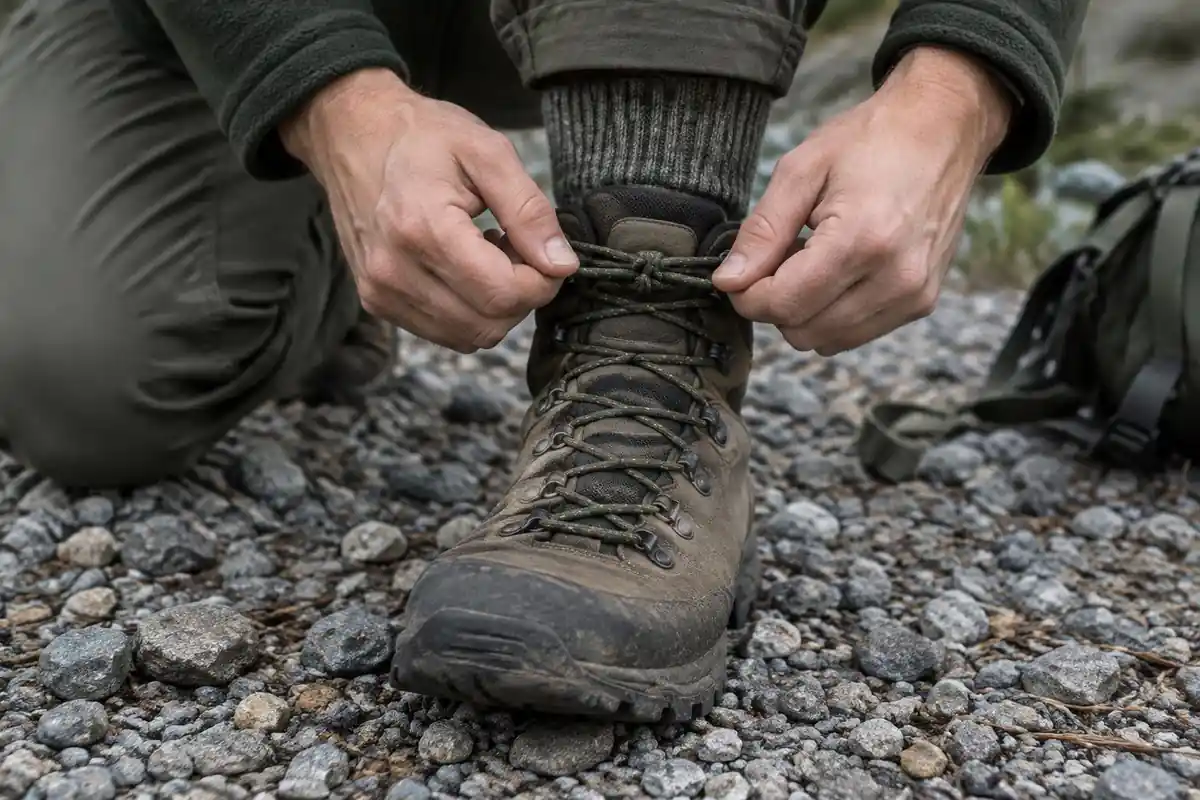
Move on to errands and one- to two-mile walks on pavement and easy path. Real ground flexes the sole and works the heel counter in a way pacing a living room never will. Lace them the way you'd lace them on trail, and pay attention to how your heel behaves on a small hill in both directions.
Weight changes everything about fit: a loaded pack presses your foot forward and down, so a boot that felt roomy empty can bruise toenails on a descent. Build up over several day hikes, a light load first and then the weight you'll actually carry, and include real descents, which is where fit problems surface first.
A hot spot is the warm, tender patch that arrives before a blister does, and it is the whole reason to break boots in at home. Stop the moment you feel one, look at the skin, and cover it or adjust your lacing rather than walking through it. For taping, padding and blister care, see /trail-smarts/first-aid-and-blisters/.
Timelines follow construction more than any mileage rule. Stiff, full-grain leather boots with a supportive shank often want several weeks of regular wear before they stop feeling like equipment. Lighter fabric mid-boots need far less, and flexible trail shoes are usually comfortable from the first walk and need only a check walk.
The one rule that matters: a big trip is not the place to find out how a boot fits. New boots plus consecutive high-mileage days plus a full pack is how a trip turns into a limp. If a pair is still unproven a week out, wear the older pair you already trust, or carry camp shoes and plan shorter first days.
What break-in is really testing
The point of breaking in boots is less about softening leather than about finding friction before a trip. Blisters and ankle sprains are the most common hiking injuries, and blisters made up 8 to 33% of reported injuries in a 2023 systematic review.4 Military research also ranks foot blisters among the common injuries of long load carriage.5
The American Academy of Dermatology says stopping activity when skin becomes painful or red can prevent a blister, and that adhesive moleskin or soft bandages can protect problem areas.1 That is why the page treats every hot spot on a practice walk as useful information: it shows exactly where to pad, adjust lacing, or rethink the fit. Most blisters heal on their own in one to two weeks, but see a doctor if you notice redness, pus or swelling that suggests infection.1
Why the loaded step matters so much
A boot that feels fine on an errand can behave very differently with a pack on. In long-distance hikers, forefoot pressure rose 5.41% with a pack weighing 10% of body weight and 8.73% with one at 20%, and packs heavier than about 10% of body weight produced a clear, load-dependent rise.3 That extra pressure pushes the foot forward and down, which is why loaded descents reveal toe-room problems that flat walks hide.
Test with the gear you will actually use. The American Academy of Orthopaedic Surgeons advises wearing the same kind of sock you will use for the activity, and trying footwear at the end of the day because feet swell.2 If you change sock thickness or add an insole after break-in, you are effectively wearing a different boot, so do a few more test walks.
How long it takes, and what the numbers mean
The page suggests stiff full-grain leather may need several weeks of regular wear. No source in this site's library tests break-in time. The honest answer is that it depends on the boot's materials and your feet, which is why the page's own test, one day close to your longest planned day with no hot spot, is more useful than any mileage count.
Some things break-in cannot fix. Materials soften, but length and width do not change. Orthopedic guidance says to leave about half an inch between the longest toe and the tip of the shoe, and to size for the larger foot, measured standing.6 If a boot misses those basics, more walking only wears it past the point where you can return it.
Common questions
How many miles should I put on new boots before a big hike?
There's no universal number, but a useful target is enough loaded walking that you've done at least one day close to your longest planned day and come home without a hot spot. For stiff leather, that usually means several weeks of steady wear; for flexible shoes, a couple of solid walks is often plenty.
Can I speed up break-in by soaking my boots?
Soaking is an old trick that mostly ages leather and glue faster than it shapes anything, and it can leave a wet boot drying into a shape you didn't want. Steady wear in dry conditions does the same job with less risk. If one specific spot hurts, a cobbler can stretch that area far more precisely than water can.
What if a boot still hurts after weeks of break-in?
Break-in softens materials; it does not change your foot's length, width, or volume. Persistent heel slip, numb toes, or pressure across the instep usually means the shape is wrong, not that you haven't walked enough. Try different lacing and a thicker or thinner sock first, then treat it as a sizing problem and change boots.
This is general footwear & apparel guidance, not a lab review — it explains what to look for and how to choose so you can pick well. See our affiliate disclosure.