
How to Dehydrate Your Own Backpacking Food
Drying your own food at home is the most direct way to build a backpacking menu that actually tastes like something you'd eat at the table. A dehydrator — or an oven on its lowest setting — pulls the water out of meals you already cook, cutting weight sharply while leaving the calories behind. This page walks through the whole process: prep, drying, testing, packaging, and rehydrating in camp.
Affiliate disclosure: this page contains affiliate links. Purchases made through them may earn us a commission at no extra cost to you. See our affiliate disclosure.
In plain English
Dehydrating food means drying it slowly with gentle heat and moving air until most of the water is gone. Without water, the germs and molds that spoil food have a much harder time growing. It is how raisins are made from grapes.
For hiking, it lets you turn home cooking into light trail meals. You cook a pot of chili or pasta sauce, spread it thin on trays, dry it for many hours, and pack it into bags. At camp you add hot water and wait, and dinner comes back.
The steps are simple, but a few numbers matter for safety. Meat needs extra care because drying alone does not make raw meat safe. And dried food does not last forever. Where you store it, especially how warm it gets, changes how long it stays good.
Who it's for
Home drying pays off most once you're cooking for more than a night or two, or repeating trips through a season. A weekend hiker can get by with grocery-store food, while someone planning a week-long route or a long-distance hike benefits from meals built around their own calorie needs, spice tolerance and dietary restrictions. It also suits hikers who find commercial meals too salty or too small.
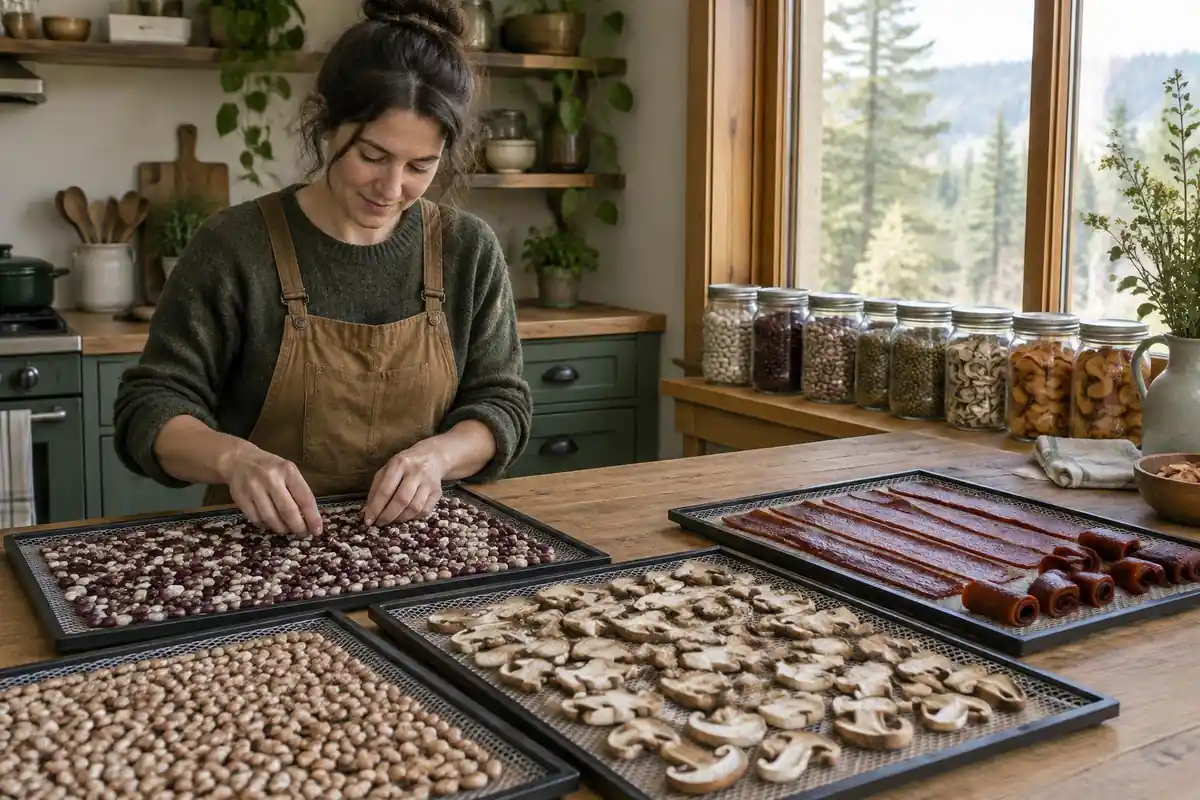
The dehydrating process

Cut everything to a uniform thickness — roughly a quarter inch or less for fruit and vegetables — so a tray finishes all at once instead of leaving chewy pockets. Cooked dishes like chili or pasta sauce go onto liner sheets in a thin, even layer. Blanching vegetables and dipping sliced apples or bananas in lemon juice keeps color and texture better.
Dehydrators are designed to dry food at 140°F, according to the National Center for Home Food Preservation. Meat is different: jerky meat should first reach an internal temperature of 160°F to kill bacteria such as E. coli, then be dried at 140°F, so use a food thermometer. Most produce takes roughly 6–10 hours; saucy dishes take longer. Follow your machine's manual. Choosing a machine is covered at /food/best-food-dehydrators/.
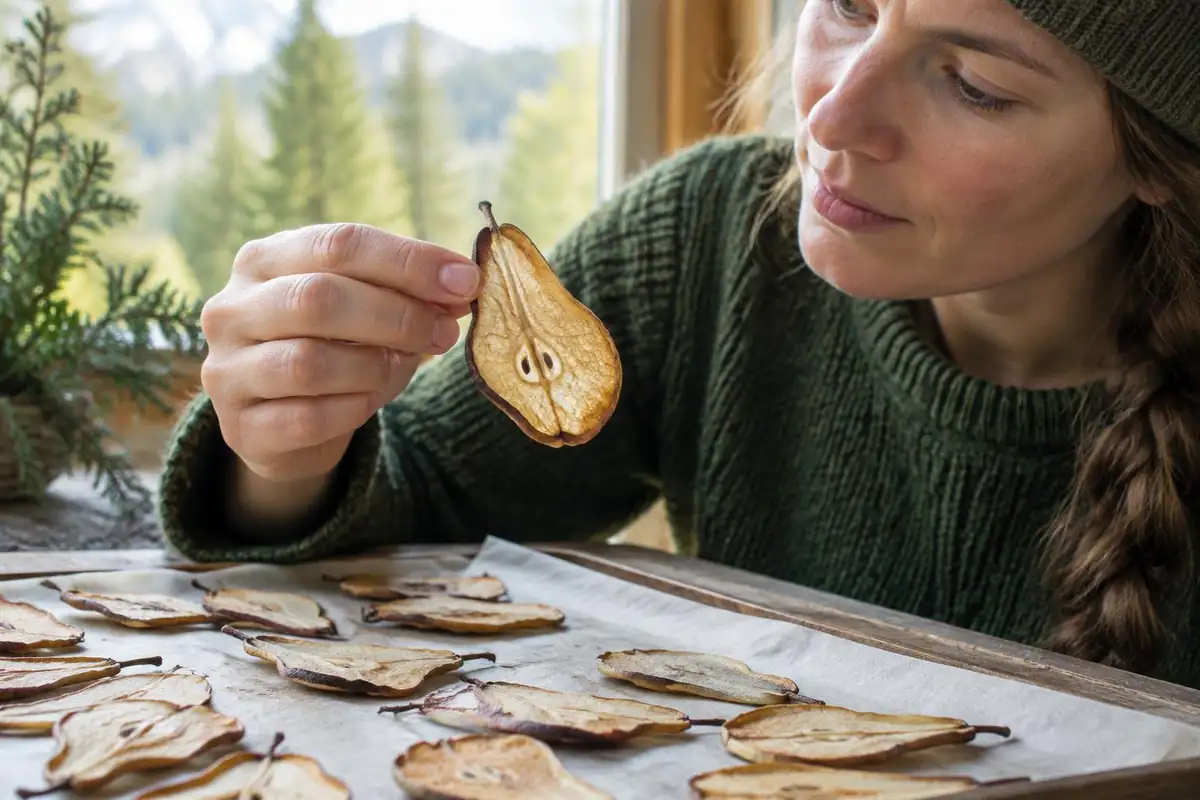
Warm food feels drier than it is, so let pieces cool to room temperature before judging them. Fruit should be leathery with no visible moisture when torn; vegetables and cooked meals should snap or crumble. Anything still soft, sticky or cool in the center goes back on the tray — under-dried food is the main cause of mold in storage.
Portion each dinner into its own bag at packing time — pasta, sauce powder, dried vegetables and protein together, ready to rehydrate as one meal rather than loose ingredients you measure in the dark. Conditioning fruit first helps: a week in a sealed jar, shaken daily, and any condensation means it goes back on the tray. Vacuum-sealing stretches shelf life.
Write the contents, the date it was dried and how much water it needs straight on the bag — a bag of beige powder is unidentifiable three weeks later, and the water ratio is the detail people forget. Adding the soak or simmer time helps too. Keeping a simple list of what you dried and when makes rotating older batches easy.
Heat, light and air are what age dried food. Sealed bags or jars in a cool, dark cupboard hold quality for months; the freezer extends it further, especially for anything with fat in it, which goes rancid long before starch or vegetables do. Check bags before a trip and throw out anything with an off smell, softness or visible mold.
The temperatures, from the food-safety side
The National Center for Home Food Preservation, run by the University of Georgia, describes dehydrators as designed to dry food at 140°F and recommends a machine with an enclosed thermostat adjustable from 85°F to 160°F.1 If your manual and the center differ, the center's 140°F is the food-safety reference.
For meat the page follows the center's guidance: meat for jerky should reach an internal temperature of 160°F to kill bacteria such as E. coli O157:H7, and then be dried in a dehydrator or oven preheated to 140°F.2 Drying air at 140°F does not bring the inside of a strip of meat to 160°F, which is why the heating step comes first. A food thermometer is the only way to know.
How long it really keeps
The center's storage figures depend heavily on temperature. Most dried fruits keep about 1 year at 60°F or 6 months at 80°F, and vegetables keep about half as long.3 So dried vegetables in a warm 80°F pantry are good for roughly three months, while a cool cupboard stretches that. Store dried foods somewhere cool, dry and dark.3
Meat is the bigger difference. For jerky, the center says properly dried jerky keeps about two weeks at room temperature in a sealed container.2 Treat two weeks as the room-temperature limit for dried meat and freeze anything meant for a later trip, which matches the page's own advice to store it sealed and ideally frozen.
Conditioning, explained
Conditioning is a check for hidden moisture. Pieces from the edge of a tray dry faster than pieces from the middle, so a batch can look done while some pieces are still damp inside. The center recommends conditioning dried fruit in sealed jars for 7 to 10 days so moisture evens out across the batch.3 Shake the jar daily; if drops form on the glass, the batch goes back on the trays.
Home dehydrating versus freeze-drying
Commercial trail meals are usually freeze-dried, a different process. A freeze dryer freezes the food and then pulls the water off under vacuum, removing up to 98% of the moisture.4 Utah State University Extension notes that bacteria can survive freeze-drying in a dormant state and that meats and eggs must be cooked before freeze-drying or after rehydration.5 Neither method is a substitute for cooking meat properly first.
Common questions
How do I make dried meals rehydrate faster in camp?
Grind or chop dense items — dried beans, mushrooms, tough vegetables, cooked meat — in a blender or spice grinder before packing; smaller pieces take on water much faster. Add boiling water, stir, then insulate the pot or freezer bag in a cozy and let it soak until everything is soft. Starting the soak ahead in a leakproof jar also works.
Can I dehydrate meat safely at home?
Yes, with care. Use lean cuts and trim visible fat, since fat doesn't dry and turns rancid quickly. Ground meat rehydrates better if you cook it, rinse it in hot water to wash out fat, then dry it. Food-safety guidance for jerky is to bring the meat to an internal temperature of 160°F first, then dry it at 140°F. Store the dried result sealed and frozen: properly dried jerky keeps only about two weeks at room temperature, according to the National Center for Home Food Preservation.
How long does home-dried food keep?
Dried fruit keeps about a year at 60°F or 6 months at 80°F, and vegetables about half as long, according to the National Center for Home Food Preservation; the freezer extends that. Anything containing oil or nuts has a shorter window, and dried meat is shortest of all: jerky keeps about two weeks at room temperature, so freeze it. Dry it thoroughly, seal it well, date it, and use older batches first.
This is general backpacking-food guidance, not a lab review — it explains what to look for and how to plan so you can choose well. See our affiliate disclosure.