Camp Coffee: How to Make Coffee While Backpacking
Coffee is one of the few comforts worth carrying into the backcountry, and there are several ways to brew it — from an instant packet to a filter cone set over your mug. Each method trades weight, fuel, cleanup and cup quality against the others, and the right answer changes with trip length, temperature and how much you care about flavor. This page walks through the main methods and how to run each one well.
Affiliate disclosure: this page contains affiliate links. Purchases made through them may earn us a commission at no extra cost to you. See our affiliate disclosure.
In plain English
Making coffee on the trail uses the same basic idea as at home: hot water soaks ground coffee, and then you separate the grounds from the drink. The differences are that you heat the water on a tiny camping stove, you carry everything on your back, and you have to take your used grounds home with you.
Each method trades something. Instant powder is quick and light but tastes less fresh. A filter cone makes a clean cup but takes time. Boiling grounds straight in the pot, called cowboy coffee, needs no extra gear but leaves grit.
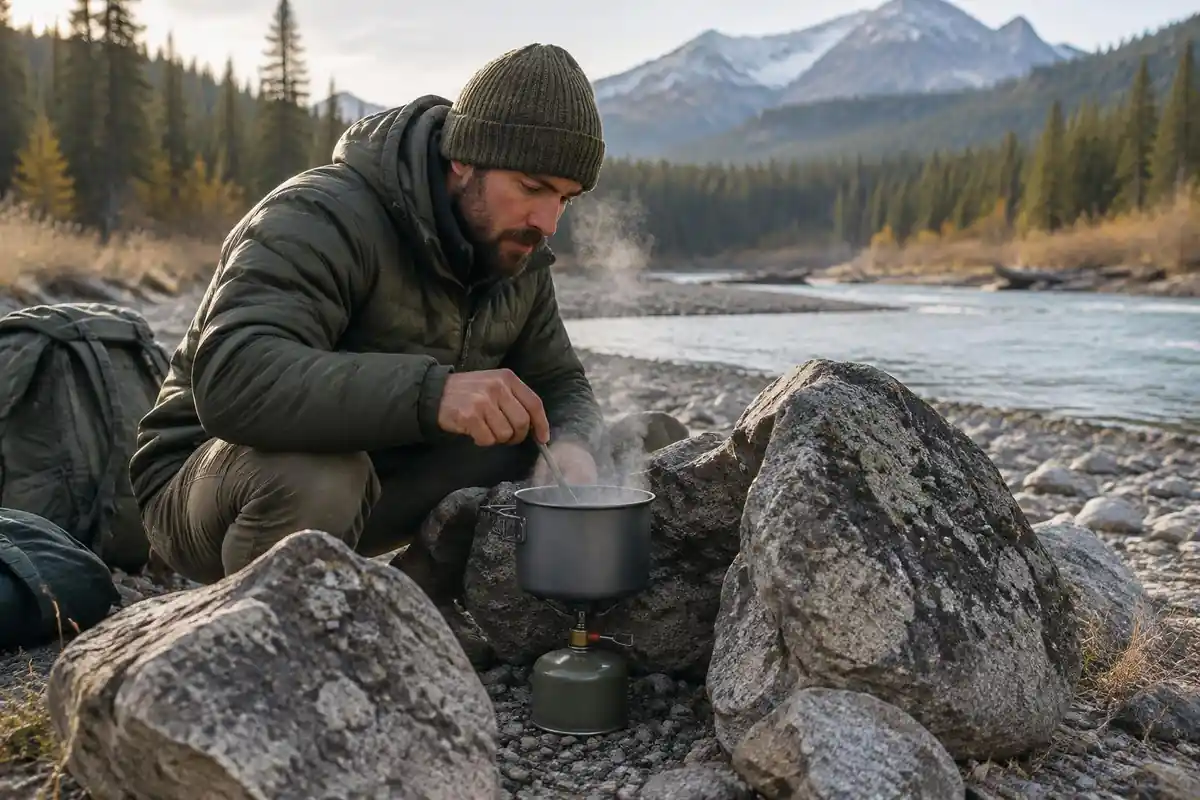
Whatever method you pick, the water matters. Stream water can make you sick even when it looks clear, so it needs to be boiled or treated first. And the stove should always be used outside your tent, never inside, even on a cold morning.
Who it's for
Anyone who drinks coffee at home and does not want to quit it on trail. On an overnight, almost any method works — you can afford a little extra weight and mess. On a week-long trip or a thru-hike, fuel, pack weight and morning speed start to matter, and most long-distance hikers drift toward instant or cold brew concentrate.
The main methods
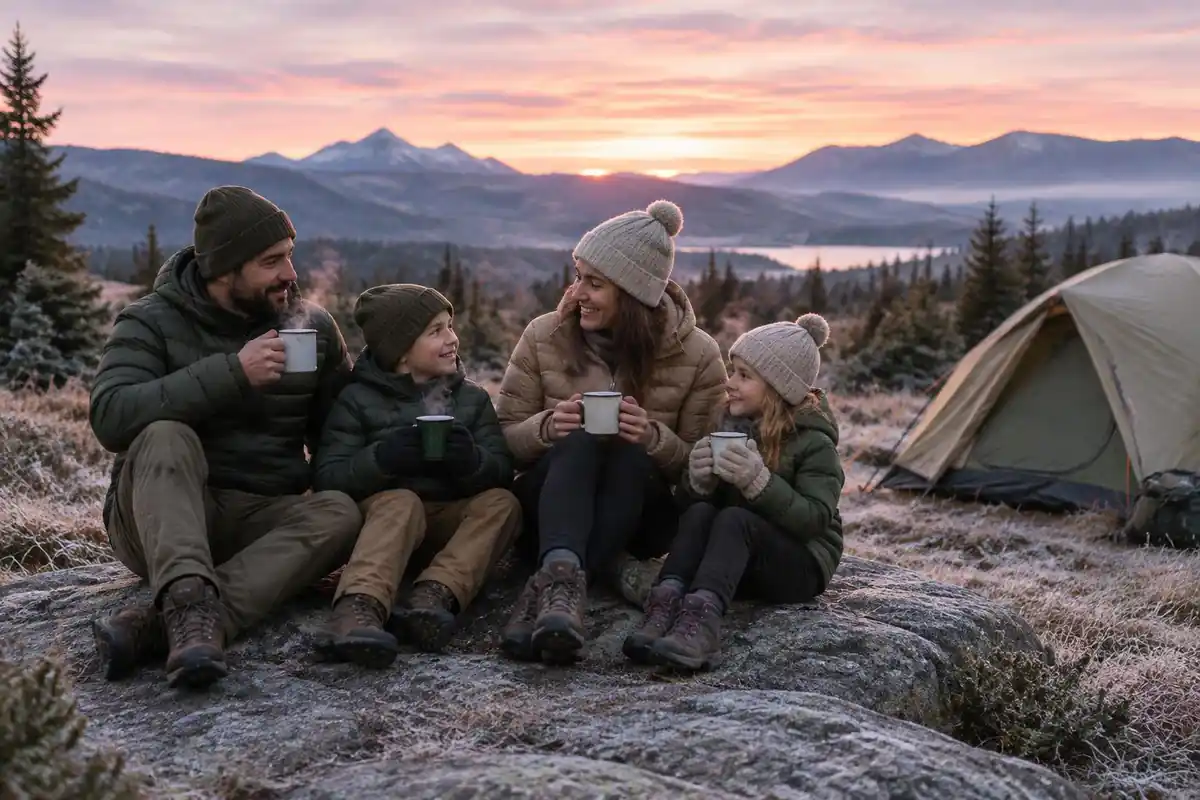
The fastest and lightest option: tear the packet into your mug, add hot water, stir. Modern freeze-dried instant is far better than the old stuff, and single-serve packets keep grounds out of your pack. Cleanup is a rinse, or nothing at all if you drink it from the pot. It's the default for long trips and cold mornings.
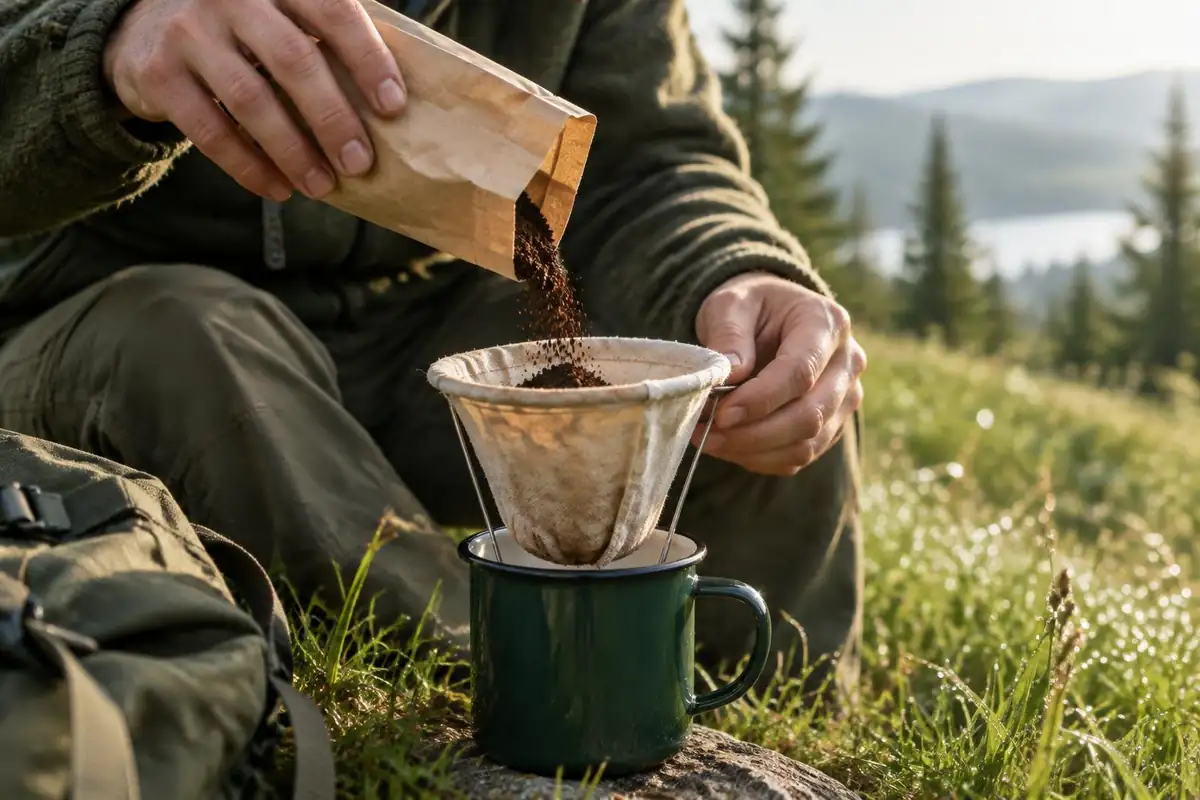
A collapsible cone or a filter that clips over your mug gives the cleanest, most familiar cup. Wet the filter, add medium-ground coffee, then pour hot water in slow circles over two to three minutes. The cost is time, a little extra gear and wet grounds you must pack out — bag them with the used filter rather than scattering them.
A stovetop percolator cycles boiling water through a basket of coarse grounds until the brew is strong. It makes several cups at once, which suits a basecamp or a group, and it needs no filters. It is also the heaviest method here, burns more fuel, and leaves you scrubbing a basket and pot away from any water source.
Grounds straight into the pot: boil water, pull it off the flame, stir in coarse grounds, and wait four or five minutes. Splash in a little cold water or tap the side to drop the grounds, then pour slowly and stop before the sludge. Zero extra gear, zero filters — but you still pack the wet grounds out with your trash.
Brew concentrate at home, carry it in a small leakproof bottle, and dilute with cold or hot water on trail. No stove, no fuel, no wait — useful on hot trips, dry camps and mornings when you want to walk before you brew. The limits are liquid weight and shelf life, so it suits overnights and weekends more than long hauls.
A useful starting ratio is about two tablespoons of coffee per eight ounces of water, adjusted to taste. Match grind to method: coarse for percolator and cowboy coffee so the grounds settle and don't over-extract, medium for pour-over. Let boiling water sit for thirty seconds before pouring — water straight off a roaring boil scorches the coffee and turns it bitter.
Boil time, altitude and the cold splash
Coffee made with boiled water starts out with safe water, provided the boil was long enough. The CDC says boiling is the best way to kill germs and recommends boiling clear water for 1 minute, or 3 minutes above 6,500 feet.1 The EPA's emergency guidance uses a lower threshold, calling for three minutes at altitudes above 5,000 feet.2 Between those heights the agencies differ, so the longer boil is the cautious choice.
Cowboy coffee has a catch this page does not mention. The splash of cold water used to settle the grounds goes straight into your cup. If it comes untreated from a stream, you have put untreated water back into a pot you just boiled clean. Use water from your treated bottle. The same applies to cold brew concentrate: the concentrate may be fine, but the water you dilute it with on the trail must be treated too.1
Altitude also changes the brew itself. The CDC Yellow Book notes that at about 16,000 feet boiling water reaches only about 182°F, still hot enough to inactivate intestinal germs.6 At a high camp the boil is already cooler than at sea level, so the page's advice to let water rest before pouring matters less up high.
Brewing in the cold without the tent
The page says to brew outside the tent and drink your coffee in your sleeping bag on cold mornings, and the reason is serious. A CDC report on 1999 camping deaths in Georgia found six carbon monoxide deaths, including one from a propane stove burning in a zipped tent, and warned that stoves should never be used inside a tent and that opening flaps or windows does not prevent dangerous build-up.4 The US Consumer Product Safety Commission adds that the risk is higher at high altitude and that poisoning can be mistaken for a cold or flu.7 Headache, dizziness and confusion after cooking are a reason to get to fresh air and seek medical help.8
Why your stove slows down on frosty mornings
The page's tip to keep the fuel canister warm overnight has a clear physical basis. MSR's fuel guide puts isobutane's sea-level boiling point at 11°F, so it vaporizes poorly in the cold, while propane boils at -44°F.9 MSR also notes that canister pressure falls as temperatures drop and the user cannot offset it.3 A canister kept in the foot of your sleeping bag starts the morning with more pressure, which is the difference between a quick boil and a long wait.
Grounds count as food
The National Park Service says bears treat any scented item, trash included, as food, and that storage rules vary by park.5 In Yosemite, the food that must be stored includes all food and drinks, trash, toiletries and other scented items.10 Bagged grounds go into the canister at night, not in a pack pocket by the tent.
Common questions
What's the best method for cold mornings?
Instant wins below freezing. Every extra minute a pour-over takes is a minute your water and your hands lose heat, and a cold mug chills the brew on contact. Brew outside the tent, pour straight into a pre-warmed insulated mug, and drink it in your sleeping bag. Never run a stove inside a tent, even with the flaps open: carbon monoxide is odorless and can build up while you sleep. Keep your fuel canister warm overnight too, since cold canisters lose pressure and boil slower.
Can I bury or scatter used coffee grounds?
No — treat wet grounds as trash and carry them out. They break down slowly, they attract animals, and a scattered pile next to camp is obvious to the next hiker. Squeeze the water out, bag them with your used filter, and keep food waste well away from your tent along with the rest of your food.
Which brewer should I actually carry?
That depends on how much weight you'll trade for a better cup, and the hardware options change more often than the methods do. If you have settled on pour-over or a press-style brewer and want to compare the gear itself, see our guide to backpacking coffee makers at /food/best-backpacking-coffee-makers/ rather than sorting it out here.
This is general backpacking-food guidance, not a lab review — it explains what to look for and how to plan so you can choose well. See our affiliate disclosure.